
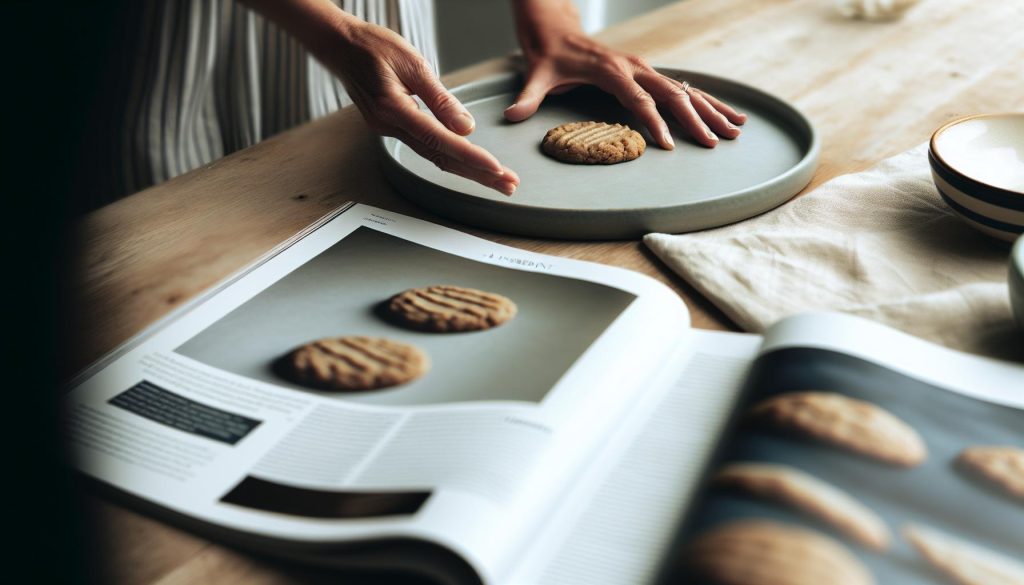
Looking for a quick and delicious treat that satisfies your sweet tooth without the hassle of baking? You’re in for a treat with these 3 Ingredient No Bake Peanut Butter Cookies! Perfect for busy weeknights or unexpected guests, this recipe combines creamy peanut butter, oats, and a sweetener into a delightful snack that comes together in minutes. No special skills or equipment are required-just a saucepan and a spoon! These cookies are not only easy to make, but they also let you indulge in a homemade dessert that feels decadent yet effortless. Imagine the joy of sharing a warm, chewy treat that you whipped up in no time, perfect for all ages. So grab your ingredients, and let’s transform pantry staples into a delightful confection that will have everyone asking for seconds!
Essential Ingredients for No Bake Cookies
When it comes to whipping up a batch of no-bake cookies, simplicity is key, and just three essential ingredients can create a delightful treat that requires no oven time. The classic combination for 3 Ingredient No Bake Peanut Butter Cookies is surprisingly straightforward, making it accessible even for novice bakers.
The star of the show is undoubtedly peanut butter. The creaminess not only lends a rich flavor but also acts as a binding agent, holding the cookies together without the need for baking. Choose a natural peanut butter without added sugar or hydrogenated oils for a more wholesome treat.
Next, you’ll need oats. Old-fashioned rolled oats work best, providing texture and a chewy bite that complements the creamy peanut butter. They also add fiber, making these cookies a more satisfying snack.
Finally, add a sweetener. This can be honey or maple syrup; both will enhance the natural sweetness of the peanut butter and provide a sticky element that helps everything meld together. These three ingredients meld perfectly to create an indulgent yet simple treat that can satisfy your sweet cravings in no time.
To experiment, consider mixing in extras like chocolate chips, nuts, or dried fruits to create your own spin on these timeless favorites. The only limit is your creativity in the kitchen!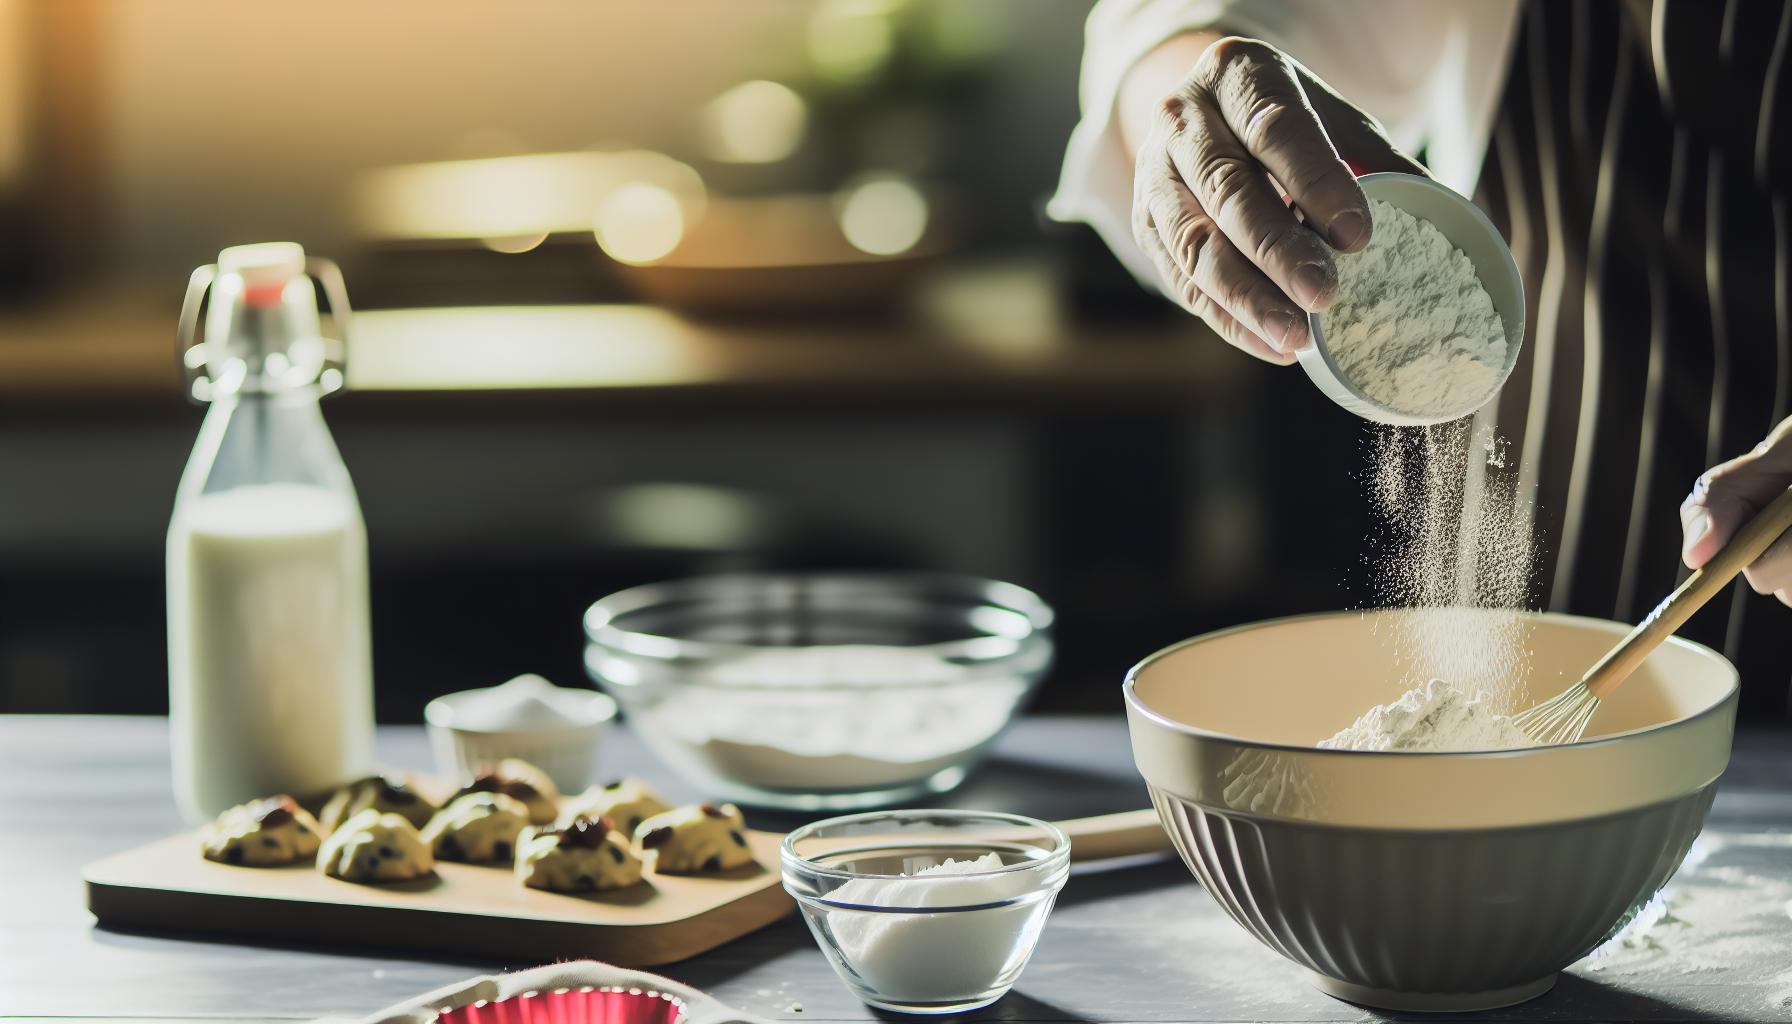
Simple Steps for Easy Cookie Prep
Creating your own batch of no-bake peanut butter cookies is as easy as it gets! With just a few ingredients and simple steps, you’ll have a delicious treat ready in no time. You don’t need fancy tools or a long list of supplies-just a mixing bowl, a spatula, and a desire for something sweet!
Start by gathering your ingredients: natural peanut butter, old-fashioned rolled oats, and your choice of sweetener (honey or maple syrup). The beauty of this recipe lies in its adaptability, but sticking to the basics ensures that you achieve that iconic flavor and texture. First, in a large mixing bowl, combine the peanut butter and sweetener. Give them a good stir to create a smooth, creamy mixture. If you like a little warmth to help blend them better, feel free to pop this mixture in the microwave for just a few seconds-this not only makes mixing easier but also enhances the flavor.
Once blended, fold in the rolled oats. Make sure the oats are evenly coated in the peanut butter mixture for that perfect chewy consistency. At this point, you can customize your cookies! If you want to add chocolate chips or nuts, now is the time to mix those in. Just be sure to keep the overall balance of ingredients in mind, so your cookies hold together well.
Now comes the fun part: shaping your cookies! Use a spoon or a cookie scoop to drop spoonfuls of the mixture onto a parchment-lined tray. If you want uniform shapes, you can press them down lightly with the back of a fork or your fingers. Once you’ve shaped all your cookies, transfer the tray to the fridge to let them set for about 30 minutes. This step allows them to firm up beautifully, making them easier to enjoy!
Once they’re chilled, your no-bake peanut butter cookies are ready to eat! The whole process takes under an hour, and you’ll be rewarded with a treat that hits all the right notes of sweetness and chewiness. Enjoy them right away or save some for later-though we can’t guarantee they’ll last long!
Creative Variations to Elevate Your Cookies
The beauty of no-bake peanut butter cookies lies in their simplicity, but you can easily elevate these treats with a few fun twists. Imagine the delightful surprise of a chocolate-dipped version or a crunchy granola variant! Here are some creative ideas that transform your basic cookies into something truly special.
Mix-Ins for Flavor and Texture
Adding a personal touch to your cookies is easier than you think. Consider mixing in chocolate chips, chopped nuts, or coconut flakes to give your cookies a deliciously crunchy texture. For a fruity twist, fold in some dried cranberries or raisins. Want a little spice? A sprinkle of cinnamon or a pinch of sea salt can elevate the flavor profile immensely.
Chocolate Overload
For the chocolate lovers in your life, why not dip your cookies in melted chocolate? Simply melt some dark or milk chocolate and dip half of each cookie for a decadent touch. Alternatively, drizzle melted chocolate on top for a stylish finish. You could even experiment by using white chocolate or flavored chocolates like peppermint around the holidays.
Healthy Substitutions
If you’re looking for healthier alternatives, try using almond or cashew butter instead of peanut butter for a different flavor and nutritional benefits. You could also substitute honey with a natural sweetener like agave syrup or even a stevia blend for a low-sugar version. Adding chia seeds or flaxseeds boosts omega-3 fatty acids while maintaining your cookies’ chewy texture.
Fun Shapes and Themes
Get creative with cookie shapes! Use cookie cutters to make festive shapes, especially for holidays and special occasions. You can also use colored sprinkles or edible glitter to make them visually appealing for parties or just a fun family treat.
With these variations, you can transform your no-bake peanut butter cookies from a simple snack into gourmet treats that are sure to impress! Enjoy the process, and don’t hesitate to experiment until you find your perfect cookie combination.
Tips for Perfectly Shaped No Bake Cookies
Creating perfectly shaped no-bake cookies can be as fun as it is satisfying. With just three simple ingredients for your peanut butter cookies, you have the foundation for delicious treats that can be shaped to your liking. One of the best parts about no-bake cookies is their forgiving nature; even if they don’t look picture-perfect, they always taste amazing!
To achieve those ideal cookie shapes, start with a smooth mixture. After combining your peanut butter, sweetener, and oats, ensure everything is thoroughly incorporated. A slightly sticky dough is perfect for shaping. Use a cookie scoop or two spoons to portion out the dough-this will help create uniform sizes. If you want a classic round cookie shape, roll the dough into balls in your hands, then flatten them gently with the back of a fork or your fingers. A hint of oil on your hands can prevent the mixture from sticking.
Another tip is to chill the shaped cookies. Once you’ve formed them, refrigerate the cookies for at least 30 minutes. This not only helps maintain their shape but also gives them a firmer texture that’s easier to bite into. If you’re feeling creative, consider using cookie cutters for fun shapes. Just make sure to press the mixture firmly into the cutter to retain the shape once removed.
Lastly, presentation adds to the enjoyment! Arrange your cookies on a colorful plate or sprinkle some cocoa powder or chopped nuts on top to create visual interest. No matter the shape, these cookies are a delightful treat, and the fun of shaping and decorating them makes the process all the more enjoyable!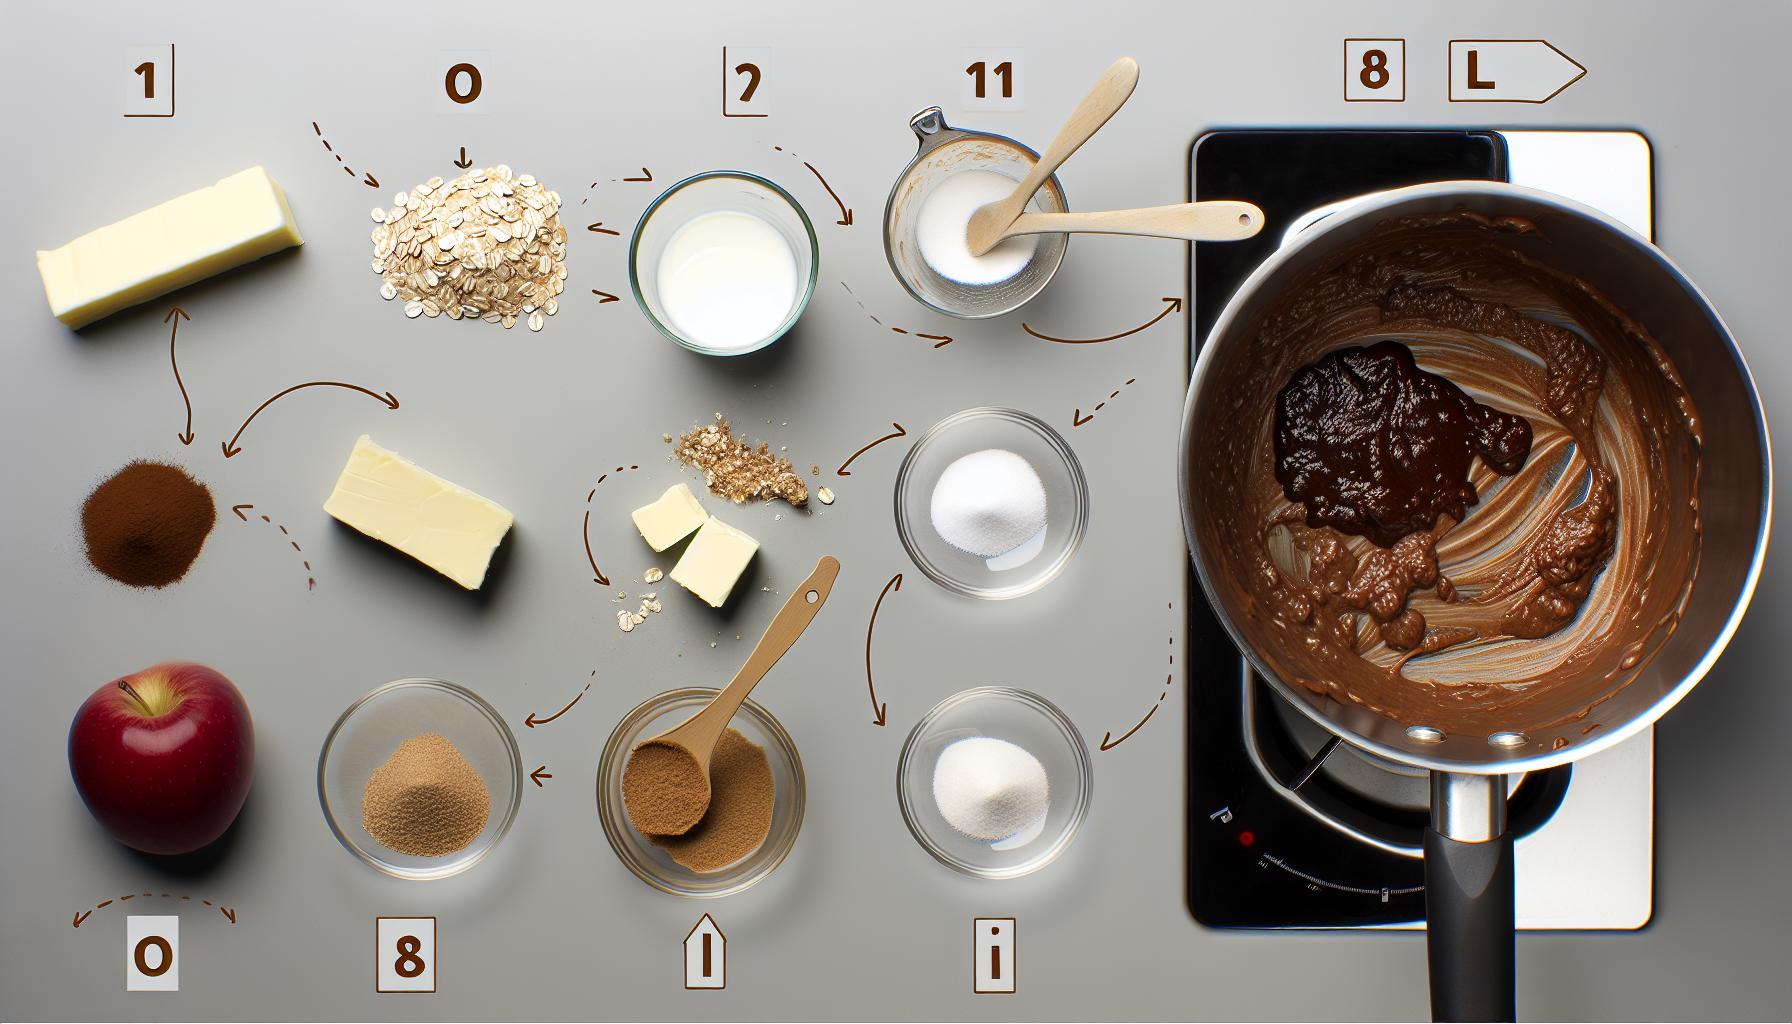
Common Mistakes to Avoid When Making No Bake Cookies
When whipping up a batch of no-bake peanut butter cookies, it’s easy to think the process is as simple as mixing ingredients and rolling them into balls. However, there are a few common pitfalls that can turn your easy treat into a sticky mess or a cookie disaster. Understanding these minor missteps can help ensure your no-bake cookies are consistently delicious.
One of the most frequent mistakes is skimping on mixing the ingredients thoroughly. It’s crucial to blend your peanut butter, oats, and sweetener until you achieve a consistent mixture. If the mixture isn’t combined well, some cookies may crumble while others might end up too sticky. Aim for a uniform texture where the oats are evenly coated with peanut butter and sweetener. A few additional stirs can make a significant difference in the final product.
Another common issue arises from misjudging the consistency of the dough. If your dough seems too dry and crumbly, or too wet and gooey, you may need to adjust the ratios or add a touch of moisture or binding agent. For instance, a dash of milk can help if the mixture feels too dry, while an extra spoonful of oats can absorb excess moisture if it’s too sticky. Finding that sweet spot can take a little practice, but it’s worth the effort for cookie perfection.
Chilling your cookies is essential, yet some people skip this crucial step. Proper refrigeration, usually for at least 30 minutes, helps them firm up and hold their shape. Not chilling your cookies can lead to a melty, overly sticky cookie that’s hard to handle. Additionally, be mindful of how you portion the dough. Using a cookie scoop can lead to uniform sizes, ensuring that all cookies set and firm up evenly.
Lastly, don’t overlook the storage aspect. Leaving cookies uncovered or in a warm area can lead to a soggy or stale texture. Store them in an airtight container in the refrigerator to keep them fresh longer. By avoiding these simple mistakes and following a few best practices, you can ensure that every batch of your no-bake peanut butter cookies is a crowd-pleaser!
How to Store and Enjoy Your Cookies Longer
To keep your no-bake peanut butter cookies fresh and tasty for as long as possible, proper storage is key. These delightful treats, while incredibly easy to whip up, can lose their charm if not stored correctly. Start by allowing your cookies to cool completely at room temperature. This ensures that any residual moisture evaporates, preventing sogginess.
Once cooled, transfer your cookies to an airtight container. If you’re stacking them, place a layer of parchment paper between each layer to avoid sticking. This little trick helps maintain their perfect shape and texture. Keep the container in the refrigerator, where they can last for about a week. If you want to keep them even longer, consider freezing them! Just separate layers with parchment and place them in a freezer-safe bag or container-they can last up to three months in the freezer.
For serving, there are endless possibilities to enjoy your cookies. You could crumble them over yogurt or ice cream for a sweet crunch, or pair them with a glass of milk or your favorite plant-based alternative. You might even consider using them to sandwich your favorite frosting or filling for a delightful treat that’s ready to impress guests!
Remember, no-bake cookies can be a bit finicky when it comes to temperature. If they have been stored in a warm location or for too long at room temperature, they may become overly soft. A quick trip back to the refrigerator can revive them. So, whether you’re snacking at home or taking them to a gathering, these storage tips ensure that your homemade treats stay delicious and fun to enjoy!
Healthier Alternatives for Peanut Butter Cookies
Looking for a way to indulge in delicious no-bake peanut butter cookies without the guilt? With just a few simple swaps, you can create a healthier version of these scrumptious treats. Not only will they taste great, but they’ll also satisfy your sweet tooth while keeping your health goals in check.
Start by substituting traditional peanut butter with natural peanut butter or almond butter. These options often have less added sugar and no hydrogenated oils, keeping your cookies healthier. For a nut-free version, try using sunflower seed butter – it’s just as tasty and great for those with nut allergies!
When it comes to sweeteners, consider using maple syrup or honey instead of granulated sugar. These natural sweeteners not only add a unique flavor but also come with trace minerals and antioxidants. If you’re watching your sugar intake, stevia or erythritol can be fantastic alternatives, providing sweetness with fewer calories.
You can also sneak in some extra nutrition by incorporating ground flaxseed or chia seeds into your cookie mixture. These tiny powerhouses are high in omega-3 fatty acids and fiber, which can help keep you feeling full longer. Just mix in a tablespoon or two to your existing no-bake cookie recipe for an added health boost.
For an extra crunch and flavor, consider adding oats if you don’t mind a change in texture. They’re a whole grain that enhances fiber content while keeping the cookies chewy.
By making these simple adjustments, you can enjoy your no-bake cookies even more, knowing they align better with your healthy lifestyle. Cooking and baking at home not only enhances creativity but also ensures what you’re consuming supports your well-being. So grab your ingredients and have fun experimenting with these healthier alternatives!
Serving Ideas and Pairings for No Bake Treats
There’s something magical about no-bake peanut butter cookies; their simplicity allows for delightful creativity when it comes to serving and pairing. These treats not only satisfy a sweet tooth but can also become a centerpiece of your snack spread or a delightful addition to gatherings and meals.
For a fun and casual serving style, try presenting your cookies on a colorful plate surrounded by fresh fruit like strawberries, bananas, or apple slices. Not only does this add a pop of color, but the fresh fruit also complements the rich flavor of the peanut butter perfectly. You can even create a simple dessert platter: alongside your cookies, add mini chocolate cups or a small dish of yogurt for dipping. This offers a fun, interactive way for guests to enjoy their treats, especially at gatherings.
Incorporate no-bake cookies into your breakfast or snack routine by serving them with a side of Greek yogurt or a smoothie for a balanced meal. A drizzle of honey over yogurt paired with a couple of these cookies makes for a deliciously satisfying breakfast. Alternatively, crumble them up and use them as a topping for oatmeal or smoothie bowls, adding both crunch and flavor.
If you’re feeling adventurous, consider making a peanut butter cookie sandwich. Take two cookies and spread a layer of cream cheese, Nutella, or even a fruit spread in between. This creates an indulgent treat that’s perfect for shareable moments, whether it’s for a picnic or a cozy movie night at home.
Lastly, remember that these cookies are not just for snacking. Use them as a base for other desserts, like a crust for a cheesecakes or as a component in a trifle layered with whipped cream and fruit. Their versatility is limited only by your imagination, so get creative and enjoy the delicious world of no-bake peanut butter treats!
The Science Behind No Bake Cookie Texture
The magic of no-bake cookies lies in their delightful texture, which is both satisfying and unique. When you whip up a batch of three-ingredient no-bake peanut butter cookies, the balance of your ingredients plays a crucial role in achieving that perfect chewy yet firm consistency. The primary ingredients-peanut butter, oats, and sweetener-combine to create a luscious treat that doesn’t require any baking, yet still feels substantial.
The role of peanut butter is especially noteworthy. It not only acts as a binding agent, enhancing the cookie’s overall cohesiveness, but it also infuses each cookie with rich flavor. The natural oils in peanut butter help keep the cookies moist, while providing that creamy texture we all love. Additionally, the oats provide structure and chewiness. When combined with a sweetener like honey or maple syrup, the oats absorb moisture and expand slightly, contributing to that lovely, soft texture.
To maintain an ideal texture, consider the proportions of your ingredients. If you add too much peanut butter, your cookies might become overly soft and hard to shape. Conversely, using too many oats can lead to a drier result. Striking the right balance is key; for every cup of oats, about 2/3 cup of peanut butter tends to yield the best results.
Lastly, the way you let the cookies set is critical. Refrigeration helps them firm up without the need for baking. Simply chilling them for a short period allows the ingredients to mingle beautifully, solidifying the cookies while keeping them chewy. Just remember to give your creations at least 30 minutes in the fridge before diving in, ensuring they hold their shape beautifully when served. Enjoy the process of experimentation-every batch can be a little different, leading to delightful surprises!
Quick Cleanup Tips for Effortless Baking
Cleaning up after making no-bake peanut butter cookies can be just as delightful as the baking itself! With only a few ingredients and minimal equipment involved, you can keep the mess to a minimum and spend more time enjoying your delicious creations. Here are some practical tips to make your cleanup as effortless as your cookie prep.
Start by laying out your workspace efficiently. Use a large mixing bowl for combining your ingredients, and a spatula for stirring. When you’re done, simply scrape the bowl with the spatula to ensure you get every last bit of that peanut buttery goodness. This not only makes efficient use of your ingredients but also reduces the amount you’ll need to scrub later.
After mixing, clean up any spills right away. A simple damp cloth will do the trick for most surfaces. Keeping a moisture-wicking towel handy can make wiping down countertops faster and less of a chore. For sticky residues on utensils, fill the bowl or pot with warm, soapy water and let them soak while you enjoy your cookies. This softens any stuck-on material, making it easier to clean with minimal effort.
Consider using parchment paper for setting your cookies on; this creates a non-stick surface that simplifies both shaping your cookies and cleaning up afterwards. Once the cookies are ready, just lift the parchment paper and throw it away after you’re done-no messy scrubbing of baking sheets needed!
Lastly, place all dirtied utensils directly into the dishwasher or designated wash bin as soon as you finish, rather than letting them pile up in the sink. This small step can help prevent drying and sticking, making for an easier scrubbing session later on. Remember, keeping your kitchen tidy during baking isn’t just about aesthetics; it also keeps your cooking space welcoming for your next culinary adventure!
No Bake Cookies: Kid-Friendly Kitchen Fun
Making no-bake cookies can be a delightful activity for kids and adults alike, combining fun and creativity in the kitchen with minimal fuss. The simplicity of 3 Ingredient No Bake Peanut Butter Cookies makes them an ideal choice for a family cooking project. With just peanut butter, oats, and honey or sugar, you can create delicious treats that everyone will enjoy, and kids will love getting involved in the process!
One of the best parts about making these cookies is how interactive the experience can be. Children can help measure the ingredients and mix them together, enjoying the sensory experience of combining sticky peanut butter with sweet honey. After mixing, they can use their hands to form the dough into rustic cookie shapes or scoop them onto parchment paper, allowing them to unleash their creativity. Plus, since there’s no baking involved, they don’t have to wait long to enjoy the fruits of their labor!
Fun Variations to Try
Encourage your little ones to experiment with add-ins to create custom flavors. Here are some ideas to inspire creativity:
- Chocolate Chips: Stir in mini chocolate chips for a sweetness boost.
- Chopped Nuts: Add chopped almonds or walnuts for extra crunch.
- Dried Fruit: Incorporate raisins or dried cranberries for a fruity twist.
Each variation can lead to a conversation about textures, tastes, and healthy ingredients, transforming the cooking session into an educational experience.
Kitchen Safety and Responsibility
While making no-bake cookies is mostly safe and fun, it’s good practice to teach kids about kitchen safety. Explain why they should wash their hands before starting and remind them to handle any utensils carefully. Assign age-appropriate tasks and supervise where necessary, turning the kitchen into a great learning environment. For instance, younger children can handle mixing and pouring, while older kids can take charge of cutting or measuring ingredients.
Through the joy of making no-bake cookies, kids not only develop cooking skills but also build lasting memories with family. The combination of simple ingredients, vibrant creativity, and shared laughter in the kitchen makes for a delightful baking experience everyone will cherish. Enjoy your time together, and remember that the best ingredient in any recipe is the love and laughter shared while preparing it!
Frequently Asked Questions about No Bake Cookies
If you’re diving into the delightful world of no-bake cookies, you might have a few questions swirling in your mind. These cookies are not just tasty; they’re a quick and easy way to satisfy your sweet tooth without turning on the oven! Let’s explore some of the frequently asked questions regarding these effortless treats.
One common question revolves around setting time. How long do no-bake cookies take to firm up? Typically, you should allow your cookies to chill in the refrigerator for about 30 minutes to an hour. This provides enough time for the mixture to harden and become easier to eat. Just remember, the longer they chill, the firmer they get!
You might also wonder about ingredient substitutions. If you’re out of peanut butter, can you use something else? Absolutely! Alternatives like almond butter, sunflower seed butter, or even cashew butter work beautifully. Each one will impart a unique flavor to your cookies, allowing for plenty of creativity and taste testing.
Another important aspect is storage. How do you keep these delicious treats fresh? Store your no-bake cookies in an airtight container in the refrigerator. They’ll typically last for about one week, making them perfect for quick snacks throughout the week. For longer storage, you can freeze them-just be sure to separate layers with parchment paper to prevent sticking.
Finally, many people ask about the consistency and texture of the cookies. The magic lies in the perfect ratio of ingredients. If your mixture seems too dry and crumbly, try adding a little more peanut butter or a splash of milk to bring everything together. Conversely, if it’s too sticky, adding a bit more oats can help.
Making no-bake cookies is all about experimenting and finding the balance that works for you, so don’t hesitate to play around with the ingredients! Whether you’re making them with kids or just craving something sweet, these cookies are sure to bring joy and flavor to your kitchen. Enjoy your baking adventure!
Frequently asked questions
Q: How long do no bake peanut butter cookies need to set?
A: No bake peanut butter cookies typically need to set for about 30 minutes to 1 hour in the refrigerator. This allows them to firm up properly. For best results, place them on a parchment-lined baking sheet and chill until ready to enjoy!
Q: Can I make no bake peanut butter cookies without sugar?
A: Yes, you can make sugar-free no bake peanut butter cookies by substituting traditional sugar with a natural sweetener like stevia or erythritol. This keeps the cookies delicious while reducing added sugars. Check out our section on healthier alternatives for tips!
Q: What type of peanut butter is best for no bake cookies?
A: Creamy peanut butter works best for no bake cookies to ensure a smooth texture. If you prefer chunky peanut butter for some crunch, that’s fine too! Just mix it well for even consistency.
Q: How can I make my no bake cookies firmer?
A: To make no bake cookies firmer, ensure you use enough binding ingredients like oats or desiccated coconut. Additionally, letting them chill longer in the fridge helps them set more effectively. Consider exploring our tips for perfectly shaped no bake cookies!
Q: Can I freeze no bake peanut butter cookies?
A: Yes! No bake peanut butter cookies freeze well. Just place them in an airtight container with parchment paper between layers to avoid sticking. When you’re ready to enjoy them, simply thaw for a few minutes before serving.
Q: What toppings can I add to no bake peanut butter cookies?
A: You can add various toppings like chopped nuts, chocolate chips, or drizzled chocolate to enhance your no bake peanut butter cookies. Experiment with toppings to create a custom treat you’ll love!
Q: Do I need to use oats in my no bake peanut butter cookies?
A: Oats are a key ingredient in no bake peanut butter cookies as they provide structure and texture. However, if you’re looking for a gluten-free or lower-carb option, consider using crushed nuts or seeds instead of oats. Check our creative variations for more ideas!
Q: How do I know when no bake cookies are ready to eat?
A: Your no bake cookies are ready to eat when they have firmed up and are easy to handle. A quick way to test it is by pressing down gently; they should hold their shape. Enjoy them fresh out of the fridge!
In Summary
You’ve just discovered how easy it is to whip up delicious 3 Ingredient No Bake Peanut Butter Cookies-no oven required! These effortless treats are perfect for satisfying your sweet tooth in just minutes. Don’t hesitate to get creative: try adding a pinch of sea salt or incorporating your favorite mix-ins like chocolate chips for an irresistible twist!
Feeling inspired? Dive deeper into our collection of quick recipes by checking out our No-Bake Desserts and explore variations like Nut-Free Cookie Ideas to suit every dietary need. If you loved this recipe, sign up for our newsletter to get more effortless treats delivered straight to your inbox. Remember, the kitchen is your playground-so let’s keep experimenting and enjoying the delightful world of homemade goodies together!
Share your cookie creations in the comments below, and don’t forget to tag us on social media. Your feedback helps us bring more enticing recipes your way! Keep baking, and let your culinary journey continue!
Get our latest guides, news, and insights highlighted in your Google Search & AI Overviews.










