
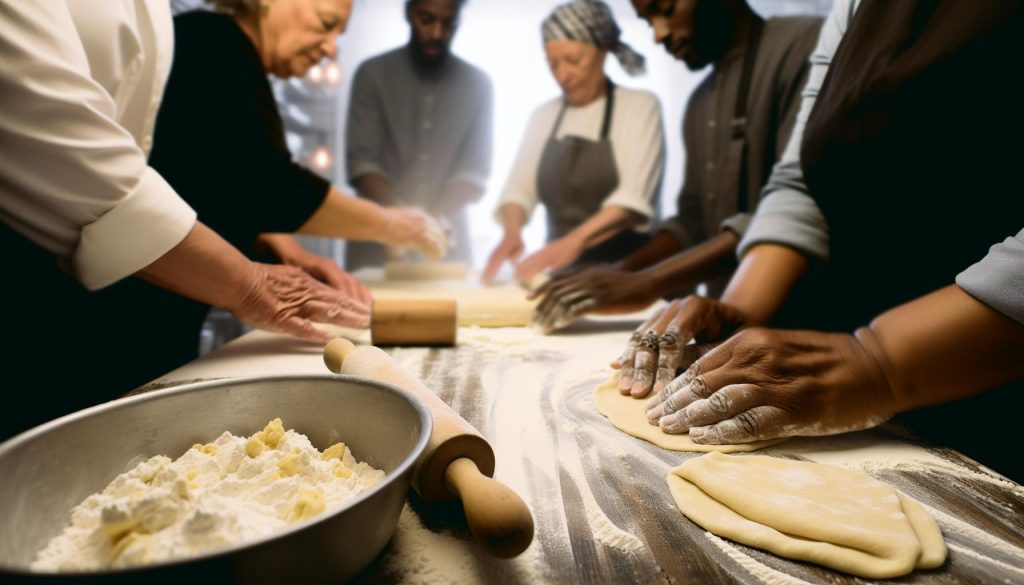
Imagine biting into a warm, soft flour tortilla, its pliability perfect for wrapping your favorite fillings. With this Butter Flour Tortilla Recipe, you can create those tender, restaurant-style wraps right in your own kitchen! Not only are they simple to make, but these tortillas will elevate your tacos, burritos, and quesadillas, providing a taste that will have everyone coming back for seconds.
Whether you’re a seasoned cook or just starting out, the joy of making fresh tortillas is truly rewarding. This easy-to-follow recipe uses just a handful of ingredients and takes minimal time-no fancy equipment required! Picture the smiles as you serve up these delightful wraps, and feel the satisfaction of mastering a skill that enhances every meal. Keep reading to discover how you can impress your family and friends with these delicious, homemade tortillas that are all about embracing creativity and comfort in your cooking!
Understanding the Basics of Butter Flour Tortillas
There’s something truly special about homemade butter flour tortillas. They can elevate even the simplest meal into a culinary experience, softening with warmth and taste that store-bought versions just can’t match. The essence of butter flour tortillas lies in their texture and flavor; think soft, pliable wraps that can cradle your favorite fillings without tearing. This is a straightforward yet satisfying process that encourages experimentation and personal flair in the kitchen.
To get started, you’ll want to understand the basic ingredients that contribute to the perfect tortilla. The primary components are all-purpose flour, unsalted butter, water, and a pinch of salt. The butter not only enriches the flavor but also makes the tortillas tender and adds a delightful chewiness. If you’re sensitive to dietary restrictions, it’s simple to substitute the butter with a plant-based version to make vegan tortillas, ensuring everyone can enjoy these homemade delights [2].
Once you’ve assembled your ingredients, the key to achieving the ideal tortilla lies in the dough. You’ll be blending the flour and salt, then incorporating the butter until you achieve a crumbly texture, followed by gradually adding water until the mixture comes together. This process not only builds flavor but sets a foundation for tortillas that are both robust and flexible. With a little practice, you can create restaurant-style wraps that impress family and friends alike. Whether it’s for tacos, burritos, or enjoying with dips, mastering the art of butter flour tortillas is a rewarding journey that enhances your cooking repertoire.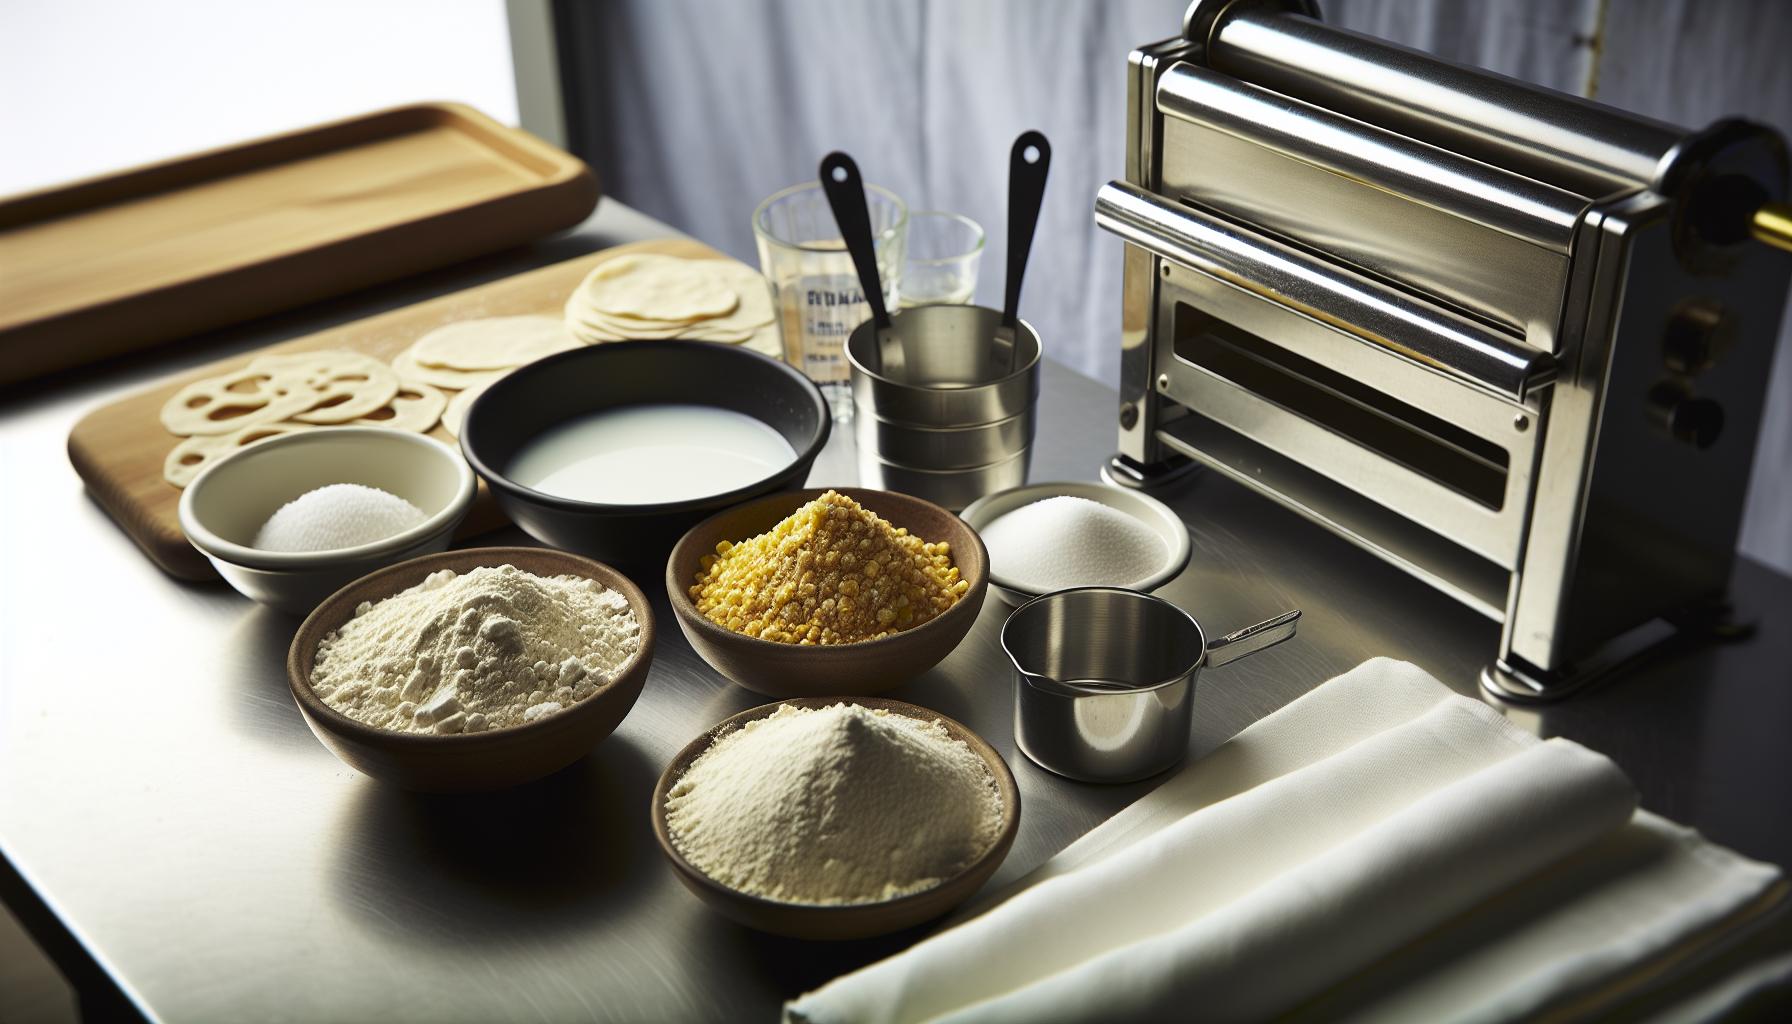
Essential Ingredients for Tender Tortillas
To create butter flour tortillas that are tender and restaurant-quality, choosing the right ingredients is vital. The magic happens with just a few simple items, each playing a crucial role in achieving that irresistible texture and flavor.
Start with all-purpose flour, which provides the backbone for your tortillas. It’s versatile and readily available, making it perfect for this recipe. For the best results, consider using flour with a higher protein content, as this can contribute to a better gluten structure, leading to stretchier tortillas.
Next is unsalted butter, which is perhaps the star of the show. It not only enriches the flavor but also helps make the tortillas incredibly tender. The fat in the butter coats the flour particles, which contributes to that delightful chewiness and prevents the tortillas from becoming tough. Remember, using unsalted butter allows you to control the saltiness of your tortillas, letting you customize the flavor to your liking.
Don’t forget the water, which brings everything together. The temperature can make a difference; using warm water helps to melt the butter slightly as you mix, creating a smoother dough. Finally, a pinch of salt enhances the overall flavor of the tortillas, elevating them from bland to flavorful.
Here’s a quick rundown of the essential ingredients:
| Ingredient | Purpose |
|---|---|
| All-purpose flour | Forms the base and provides structure. |
| Unsalted butter | Adds flavor and tenderness. |
| Water | Hydrates the flour and binds the dough. |
| Salt | Enhances flavor. |
Feel free to experiment! If you’re looking for a healthier option or have dietary restrictions, you can easily substitute the butter with olive oil or a vegan butter alternative. Each choice will impart a slightly different flavor, allowing you to create tortillas that are uniquely yours. With these ingredients at hand, you’re well on your way to making delicious, tender tortillas that will impress everyone at your table.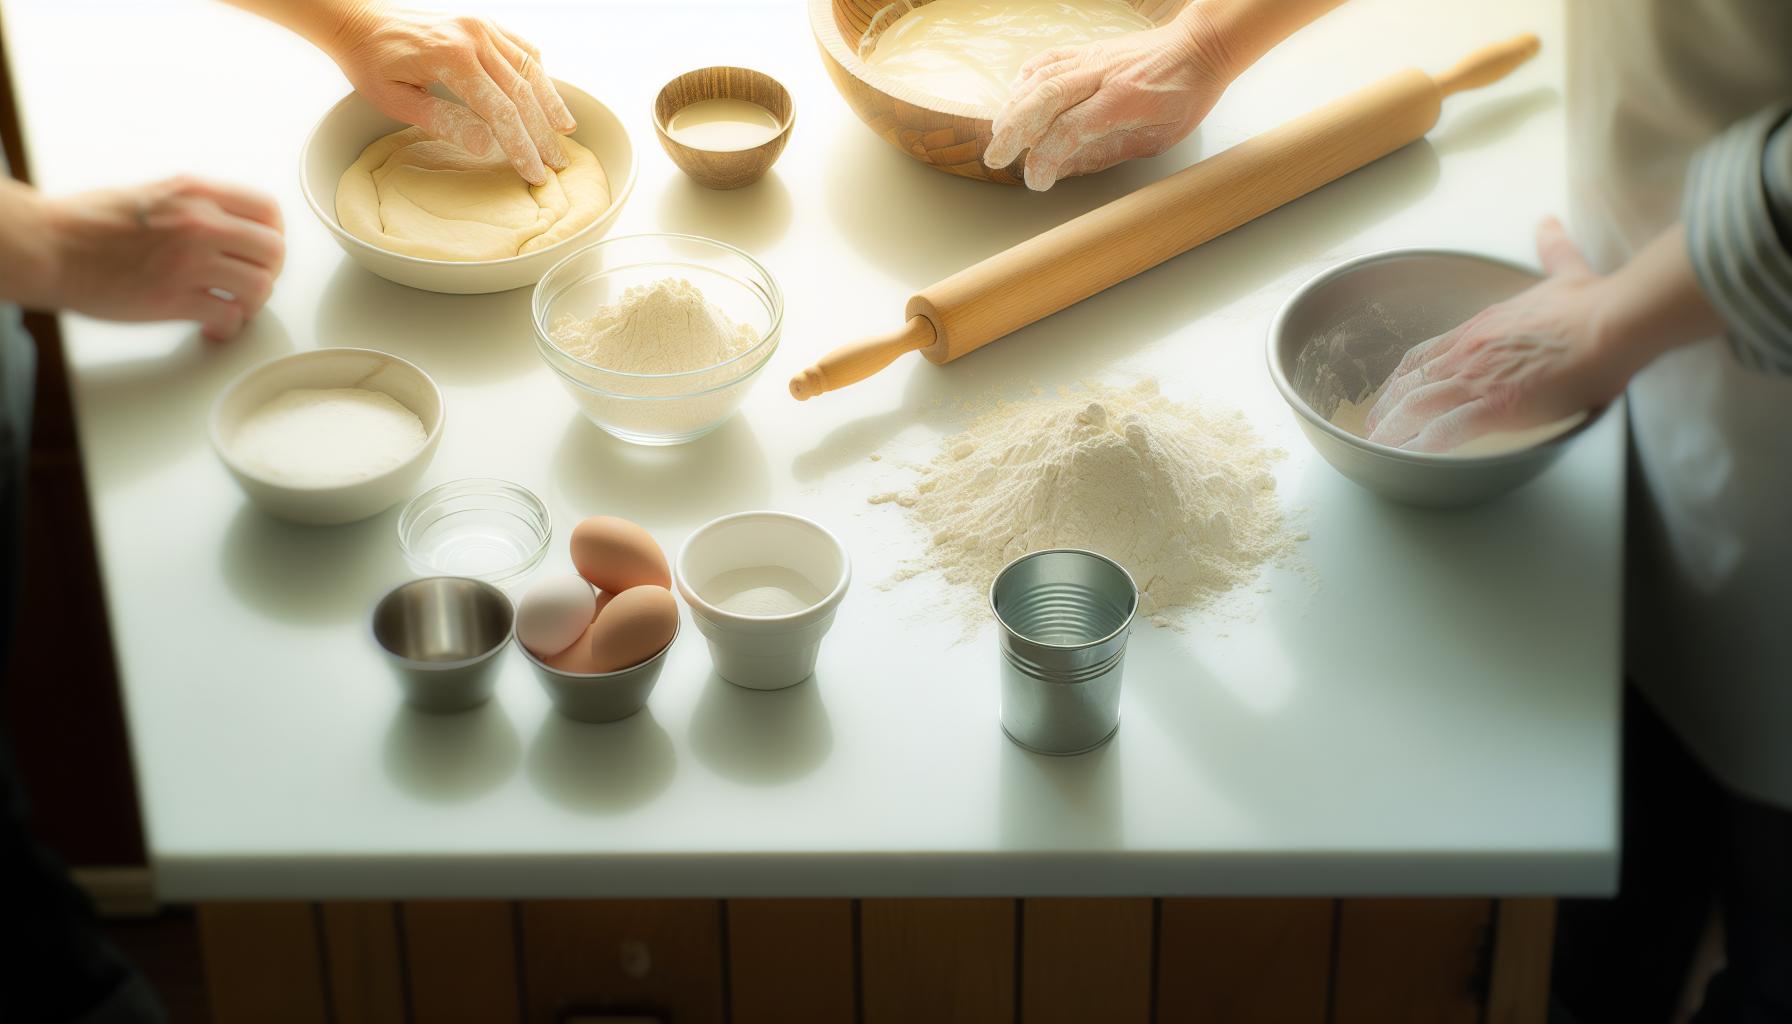
Step-by-Step Instructions for Perfect Tortilla Dough
The journey to crafting perfect butter flour tortillas begins with a delightful dough that combines ease and flavor. Making this dough is a simple yet rewarding experience, perfect for home cooks of all levels. You’ll be thrilled to see how a few straightforward steps can lead to delicious, tender tortillas that enhance any meal.
Start by measuring out your all-purpose flour into a large mixing bowl. About 2 cups is usually a good starting point, but feel free to adjust based on how many tortillas you want to make. Next, add a pinch of salt-about half a teaspoon-as it enhances flavor while mixing. In a separate bowl, take your unsalted butter (around 4 tablespoons, softened and cut into small pieces) and mix it with your flour mixture. Use your fingers to rub the butter into the flour until you achieve a crumbly texture, resembling coarse sand. This step is crucial because it allows the butter to coat the flour, leading to tender tortillas.
Once the flour and butter are combined, it’s time to incorporate warm water. Slowly add about 3/4 cup of warm water to the mixture, a little at a time, while stirring with a fork or your fingers. You want the dough to come together without being sticky. If it feels too dry, add a splash more water; if it’s too wet, sprinkle in a touch more flour. Once combined, knead the dough gently on a floured surface for about 3-5 minutes until it’s smooth and elastic. This is where the magic happens, as kneading develops the gluten, giving your tortillas structure.
After kneading, wrap your dough in plastic wrap or cover it with a clean kitchen towel and let it rest for at least 30 minutes. This resting period is essential as it relaxes the gluten, allowing for easier rolling and a softer final product. When you’re ready, divide the dough into smaller portions-about 8-10 pieces-depending on your desired tortilla size, and shape them into balls. You’re now ready to roll out these delightful dough balls into thin, even rounds, preparing for the final cooking step that will transform them into soft, flavorful tortillas!
Making your tortillas from scratch might seem like a chore, but with these simple steps, you’ll find the process enjoyable and rewarding. Just remember-like any recipe, practice makes perfect, so don’t hesitate to adjust and refine your technique as you go!
Mastering the Rolling Technique for Even Wraps
Once your dough is rested and ready, you’ll find that rolling it out can create more than just a circle of dough; it’s where the magic happens, transforming simple ingredients into tender, delicious tortillas. The key to achieving that perfect, even wrap lies in your technique, and it’s easier than you might think!
Begin by lightly dusting your work surface with flour to prevent sticking. This little step can make a big difference. Take one of your dough balls and flatten it slightly with your hand. Using a rolling pin, start from the center and roll outward, applying gentle, even pressure. Rotate the dough a quarter turn after each roll; this technique ensures that the tortilla maintains a circular shape while keeping you from overworking any one area. Aim for a thickness of about 1/8 inch. If you notice any areas becoming too thin, simply patch them up by pinching the dough back together and rolling again.
For even more consistent results, consider using a tortilla press. This handy tool helps flatten the dough evenly, allowing you to achieve that perfect thickness with minimal effort. Just place a ball of dough between the press plates, apply gentle pressure, and voilà! You’ll have a beautifully shaped tortilla ready for cooking. No special skills needed-simple adjustments make all the difference.
Don’t get discouraged if your first few tortillas aren’t perfect. Each time you roll, you’ll refine your technique and find your rhythm. And remember, those little imperfections-like the occasional irregular edge-add character and charm to your homemade tortillas. With practice, you’ll not only master the rolling technique but also relish the process of making fresh, buttery tortillas that elevate every meal. Enjoy the journey, and celebrate each tortilla as a delicious creation of your own!
Cooking Techniques: Stovetop vs. Oven
One of the most vital decisions when making butter flour tortillas is how you cook them. While many home cooks stick to the stovetop, the oven presents a fantastic option for those looking to make several at once or aiming for crispier results. Understanding the pros and cons of each method enables you to elevate your tortilla game and tailor the experience to your needs.
Cooking tortillas on the stovetop is the traditional method and offers immediate results. You simply heat a cast-iron skillet or non-stick pan over medium-high heat, and once it’s hot, you lay the rolled-out tortilla directly onto the dry surface. The key here is to cook each side for about 30-45 seconds, or until you see bubbles forming and the edges slightly lifting. For optimal flavor and texture, the pan should be hot enough to create those beautiful brown spots, which impart a slightly toasted taste. It’s quick, efficient, and, best of all, allows you to monitor progress closely, flipping them as needed until they achieve that perfect softness and slight char.
The oven, on the other hand, can be your secret weapon for serving multiple tortillas. Preheat your oven to 350°F (175°C), and then place your tortillas on a baking sheet. Cover them lightly with aluminum foil to prevent them from drying out as they warm. Baking usually takes about 10-15 minutes-perfect for holding a warm stack of tortillas while you whip up the rest of your meal. For those who love a little extra texture, consider removing the foil during the last few minutes to let the tops crisp up, creating a delightful contrast with the soft interior. This method is also fantastic for reheating leftover tortillas without compromising their quality.
In conclusion, whether you opt for the stovetop or the oven, each technique brings something unique to the table. If you’re cooking just a few tortillas and want a warm, flexible wrap, the stovetop is your best bet. However, if you’re planning a taco night with friends or need more workhorses for a family feast, the oven will shine, providing batches of perfectly warm tortillas with minimal fuss. Embrace the method that aligns with your cooking style, and don’t hesitate to experiment-after all, that’s where the joy of homemade cooking truly lies!
Flavor Variations: Infusing Your Tortillas
Imagine biting into a warm tortilla that bursts with flavor; it’s a delightful experience that’s simply unforgettable. Infusing your butter flour tortillas with exciting flavors is a fantastic way to elevate your dishes and impress your family and friends. Here’s how you can add depth and creativity to your wraps, making each homemade bite an adventure.
One easy method to enhance the flavor of your tortillas is to incorporate seasonings directly into the dough. Consider adding dried herbs like oregano or rosemary for a fragrant touch. You could also mix in spices such as cumin, paprika, or garlic powder. These aromatic additions not only enrich the taste but also provide a lovely color to your tortillas. To give you a head start, try the following combinations in your dough:
- Herb-Infused: Mix in 1 tbsp of dried oregano and 1 tsp of garlic powder.
- Spicy Kick: Add 1 tsp of cayenne pepper or chili powder to bring some heat.
- Sweet Touch: For sweet tortillas, blend in a hint of cinnamon or even a tablespoon of sugar.
Another exciting approach is to play with the fats you use in the dough. While butter creates a rich, tender tortilla, why not try using flavored butters? You can whip up a compound butter with herbs, garlic, or even citrus zest and incorporate it into your tortilla dough. This little twist will not only enhance the taste but also deliver a subtle surprise in each bite.
Don’t forget about the cooking stage! Brush your rolled-out tortillas with flavored oil or melted garlic butter before cooking to beautifully amplify their richness. If you’re looking for a sophisticated touch, sprinkle some finely chopped fresh herbs or feta cheese on the surface of your tortillas right before cooking them on the stovetop. They’ll caramelize beautifully, creating a deliciously elevated experience.
With these simple variations, you’re not just making tortillas; you’re crafting flavorful canvases that can enhance everything from tacos to wraps. So roll up your sleeves, get creative in the kitchen, and enjoy the process of infusing your homemade tortillas with personality and taste!
Storage Tips for Freshness and Longevity
To ensure your homemade butter flour tortillas maintain their deliciousness and tenderness, proper storage is key. These freshly made wonders can easily become a staple in your kitchen, but knowing how to store them will extend their freshness and flavor. Whether you’re making a large batch for a family gathering or just a few for tacos tonight, these tips will help you enjoy them at their best.
Start by letting your tortillas cool completely on a wire rack. This prevents condensation from creating moisture in their storage container, which might lead to soggy tortillas. Once cool, stack your tortillas, placing a piece of parchment paper between each one. This simple trick not only allows you to easily separate them later but also helps avoid sticking.
For short-term storage, place the stack in a resealable plastic bag or an airtight container. Be sure to squeeze out as much air as possible from the bag before sealing it. Stored this way at room temperature, your tortillas can last for about 1 to 2 days. However, if you want to prepare for the week ahead or save leftovers, freezing is your best option.
Freezing for Longevity
For longer storage, take the bundled tortillas from your fridge and wrap them tightly in aluminum foil or plastic wrap. Then, place the wrapped tortillas in a heavy-duty freezer bag. This double-layer approach safeguards against freezer burn and keeps them fresh for up to 3 months.
When you’re ready to enjoy the frozen tortillas, simply transfer them to the fridge to thaw overnight or take them out and let them sit at room temperature for about an hour before using. If you’re in a hurry, you can also thaw them in the microwave. Just make sure to use a damp paper towel to keep them from drying out during the reheating process.
Reheating Tips
When it’s time to eat, reheating is a breeze. You can warm them on a skillet over medium heat for about 30 seconds on each side, or pop them in a microwave for 15-20 seconds. This quick reheating will bring back their soft, pliable texture, making them perfect for wrapping around your favorite fillings!
By following these simple storage tips, your homemade butter flour tortillas can stay fresh, tender, and ready to delight your taste buds anytime you need them. Enjoy the satisfaction of having your own delicious tortillas ready for any meal!
Creative Uses for Butter Flour Tortillas
Using homemade butter flour tortillas opens up a world of culinary creativity that can elevate any meal. These soft and tender wraps aren’t just great for tacos; they can transform a variety of dishes with a little imagination and flair.
Start your tortilla journey by making classic street tacos, filled with your choice of grilled meats, fresh salsas, and a drizzle of lime. The rich buttery flavor of the tortillas complements savory fillings beautifully. However, don’t stop there! These tortillas also shine in breakfast dishes. Try them for breakfast burritos filled with scrambled eggs, cheese, and your choice of veggies or meat. Wrap the ingredients snugly in a butter flour tortilla, and you have a hearty meal that will keep you satisfied all morning.
Snack Time Innovation
Get creative during snack time by using your tortillas to make quesadillas. Simply fill a tortilla with cheese and any extras you desire-perhaps some spinach, mushrooms, or beans. Cook it on a skillet until the cheese is melted and the tortilla is golden brown. Cut it into triangles for easy sharing (if you want to!) and serve with salsa or guacamole for a delightful treat.
Another fun twist is to bake tortilla chips. Cut your butter flour tortillas into wedges, sprinkle them with your favorite seasonings, and bake until crispy. You can enjoy these homemade chips with dips like salsa, guacamole, or creamy cheese sauces. They’re a healthier and more flavorful alternative to store-bought chips!
Dessert Tortillas
Don’t forget the sweet possibilities! You can use your tortillas to make delicious dessert wraps. Spread a layer of Nutella or peanut butter on the tortilla, add some sliced bananas or strawberries, and roll it up for a delectable treat. For an added touch, dust it with powdered sugar or drizzle with honey before serving.
With just a bit of creativity, your butter flour tortillas can be the foundation for a wide range of meals and snacks. Whether you’re going for savory or sweet, the versatility of these tortillas makes them a staple in any home kitchen, ready to impress family and friends alike!
Common Mistakes to Avoid When Making Tortillas
Making butter flour tortillas is an exciting culinary adventure, but even the most enthusiastic home cooks can trip up along the way. Here are some key pitfalls to avoid, ensuring your tortillas turn out perfectly tender and flavorful every time.
First, pay close attention to your dough’s consistency. Too dry, and your tortillas may crack; too wet, and they’ll be sticky and hard to roll. Aim for a smooth, slightly tacky dough that feels soft in your hands. If you’re unsure, start with less water or milk, adding just enough to get that ideal texture. Remember, you can always adjust-just add a little flour to fix things if it’s too moist or a bit more liquid if it’s too dry.
Another common mistake is not allowing the dough to rest. After mixing, let it sit covered for at least 30 minutes. This resting time relaxes the gluten, making your tortillas softer and easier to roll out. Think of it as giving the dough a mini vacation! If you skip this step, your tortillas may be tough and chewy instead of light and airy.
When it’s time to roll out your tortillas, many folks forget to keep the rolling surface and the dough lightly floured. A stick-free surface is crucial. If the dough sticks, your tortillas can end up uneven or misshapen. And trust me-nobody wants an awkwardly shaped tortilla on their plate! To keep things smooth, use a rolling pin with a light dusting of flour and don’t rush. Aim for an even thickness across the entire tortilla.
Lastly, be conscientious about your cooking temperature. A pan that’s too hot will scorch your tortillas, while one that’s too low might leave you with a soggy result. Preheat your skillet over medium heat-it should be hot enough that water sizzles when dropped on it, but not so hot that the tortillas burn instantly. Cook for about 30 seconds on each side; you’ll know they’re ready when they puff slightly and have beautiful golden spots.
By being mindful of these tips, you’ll be well on your way to creating truly delightful butter flour tortillas that impress every time. They’re worth the effort, and with practice, you’ll find your rhythm in making these delicious wraps!
Nutritional Benefits of Homemade Tortillas
When you decide to make homemade butter flour tortillas, you’re not just creating a delicious dish; you’re also preparing something that’s nutritionally advantageous compared to store-bought options. These tortillas are often made using simple, wholesome ingredients, allowing you to control what goes into them and tailor them to your family’s dietary needs.
One significant benefit of homemade tortillas is that you can choose high-quality ingredients that enhance their nutritional profile. For instance, using whole wheat flour instead of all-purpose flour boosts the fiber content, which is great for digestive health. Fiber helps to keep you feeling full longer, making it easier to maintain a healthy diet. Additionally, by using butter in your recipe, you’re incorporating healthy fats that can be beneficial in moderation. Butter provides essential vitamins such as A, D, E, and K, which support various bodily functions, including immune health and bone strength.
Another important aspect is that making tortillas at home allows you to avoid additives and preservatives often found in packaged varieties. Many store-bought tortillas use stabilizers and artificial flavorings, which can detract from the quality and safety of your food. By crafting your tortillas, you can enjoy a cleaner ingredient list, ensuring that every bite is just as nutritious as it is tasty. Plus, the act of making them can be a wonderful way to bond with family or friends, turning cooking into an enjoyable activity that promotes a healthier lifestyle.
In terms of versatility, homemade tortillas can be paired with a variety of healthy fillings and toppings. Think fresh vegetables, lean proteins, and wholesome beans! This not only adds nutritional diversity but also enhances the overall meal experience. So, the next time you whip up a batch, consider all the deliciously nutritious possibilities that accompany your freshly made tortillas. You’ll feel good about nourishing yourself and your loved ones with food that is as wholesome as it is delicious!
Frequently Asked Questions About Tortilla Making
When embarking on the journey of making butter flour tortillas, it’s not uncommon to have questions. Understanding the most frequently asked questions can help you navigate any uncertainties and create the perfect tortilla with confidence.
What type of flour should I use for butter flour tortillas?
For the best results, all-purpose flour is ideal as it creates a tender and pliable tortilla. However, if you’re looking for a healthier twist, consider using whole wheat flour. It gives the tortillas a nuttier flavor and enhances their nutritional value due to increased fiber content.
How can I ensure my tortillas stay soft and pliable?
The key to soft tortillas lies in the fat you use and the cooking method. Use butter as your fat, as it adds flavor and helps with texture. After cooking, wrap your tortillas in a clean dish towel and let them rest for a few minutes. This traps steam and keeps them soft.
Can I make the dough in advance?
Absolutely! You can make your tortilla dough ahead of time and store it in the refrigerator for up to two days. Just be sure to wrap it tightly to prevent it from drying out. When you’re ready to use it, let it come to room temperature before rolling out.
What’s the best way to cook tortillas?
Stovetop cooking is preferred for tortillas. A cast-iron skillet works wonders to achieve that perfect char and flavor. Simply heat the skillet over medium-high heat, and cook each tortilla for about 30 seconds on each side until you see bubbles forming. Avoid using oil; dry cooking brings out the best taste.
How can I prevent my tortillas from becoming hard or chewy?
There are a couple of things to keep in mind. Avoid overworking your dough; mixing just until combined will create a tender texture. Also, make sure not to cook your tortillas for too long. A quick cook on high heat keeps them soft and pliable.
What are some creative ways to use homemade tortillas?
The versatility of tortillas is fantastic! Use them for classic wraps, quesadillas, or enchiladas. They also make great bases for pizzas or can be transformed into chips for dips. Get creative and think beyond traditional uses-they’re perfect for breakfast burritos or even sweet dessert wraps!
By keeping these tips in mind and experimenting with your homemade tortillas, you’ll soon become a tortilla-making pro! Enjoy the process, and don’t hesitate to try different flavors or techniques to make it your own.
FAQ
Q: What are the benefits of using butter in flour tortillas?
A: Using butter in flour tortillas enhances flavor and creates a tender texture. The fat content in butter helps to moisten the dough and makes the tortillas easier to roll out. This results in wraps that are not only delicious but also flexible and soft, perfect for holding fillings.
Q: How do I make my tortillas more pliable?
A: To make tortillas more pliable, ensure that you rest the dough for at least 30 minutes before rolling. Adding a bit of butter or vegetable oil to the dough can also keep the tortillas moist. Lastly, cooking them on a hot surface for just the right time prevents them from drying out.
Q: Can I use whole wheat flour instead of all-purpose flour for tortillas?
A: Yes, you can substitute whole wheat flour for all-purpose flour, but it may yield a denser tortilla. To improve texture, consider mixing half whole wheat and half all-purpose flour. Adding extra butter can help maintain tenderness.
Q: How do I properly store homemade butter flour tortillas?
A: Store homemade tortillas in an airtight container or wrap them in aluminum foil to keep them fresh. For longer storage, place them in the freezer. When ready to use, reheat on a skillet or microwave to restore softness.
Q: How can I spice up my tortillas?
A: Infuse your tortilla dough with ingredients like garlic powder or fresh herbs to elevate the flavor. Additionally, consider adding spices like cumin or paprika for a unique twist. Experimentation can lead to exciting variations!
Q: What is the best way to reheat leftover tortillas?
A: The best way to reheat leftover tortillas is on a dry skillet over medium heat for about 30 seconds on each side. This method revives their flavor and softness without making them chewy. You can also wrap them in a damp paper towel and microwave them in short bursts.
Q: How do I know when my tortillas are cooked properly?
A: Tortillas are properly cooked when they have light brown spots on both sides and feel soft yet slightly firm. They should also puff up slightly when cooking. Avoid overcooking to keep them from becoming too crispy or dry.
Q: Can I make tortillas ahead of time?
A: Yes, you can make tortillas ahead of time. Prepare the dough and store it in the fridge for up to 2 days. You can also cook the tortillas and freeze them, separated by parchment paper, for up to 3 months. Just reheat before serving!
The Conclusion
Now that you’ve mastered our Butter Flour Tortilla Recipe, you’re on your way to creating tender, restaurant-style wraps at home! These tortillas are easy to make and require no special equipment, just a rolling pin and some simple ingredients. You’ll love how versatile they are-perfect for wraps, tacos, or even experimenting with your own gourmet fillings.
Don’t stop here! Explore our collection of related recipes for homemade salsa and easy fillings to take your tortilla creations to the next level. And if you enjoyed this recipe, subscribe to our newsletter for more delicious updates and culinary inspiration sent straight to your inbox.
Remember, making food at home can be both fun and rewarding! Share your tortilla creations in the comments, and don’t hesitate to ask any questions. Your kitchen adventure is just beginning-let’s keep experimenting and enjoying the flavors of homemade cooking together!
Get our latest guides, news, and insights highlighted in your Google Search & AI Overviews.










