
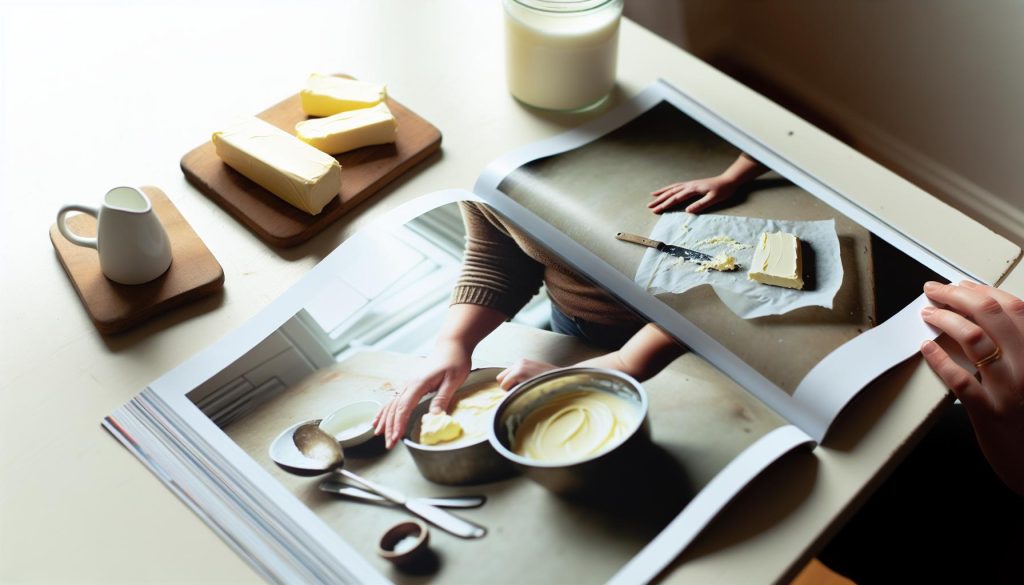
Did you know that making your own butter at home can transform your meals and baking into something truly special? Whether you’re slathering it on warm bread or using it to elevate your favorite recipes, homemade butter is a game changer. This “Butter Recipe for Homemade Creamy Gold in Minutes” is designed for everyone, from kitchen newbies to seasoned cooks. In just a few simple steps and with minimal ingredients, you can create a delicious, creamy butter that adds richness to your dishes and makes any occasion feel gourmet. Plus, there’s something incredibly satisfying about crafting your own butter that store-bought options simply can’t replicate. So, roll up your sleeves and get ready to impress your taste buds as we dive into this delightful culinary adventure!
Homemade Butter: A Simple Guide to Creamy Perfection
Making homemade butter is a delightful kitchen adventure that transforms simple cream into a rich, creamy spread in just minutes. The beauty of crafting your own butter lies not only in the fantastic flavor, which far surpasses anything you’ll find at the store, but also in the unparalleled sense of accomplishment that comes from turning a humble ingredient into something truly special. Whether you’re a seasoned home cook or new to the kitchen, this easy process invites creativity and experimentation, setting the stage for kitchen magic.
To begin your butter-making journey, all you need is heavy cream-ideally fresh and of good quality. The process is as straightforward as it gets: pour the cream into a mixing bowl or food processor, and whip it until the butter separates from the buttermilk. This typically takes about 5 to 10 minutes, but the exact time can vary based on your equipment. If you’re using a stand mixer, keep an eye on it, as the transformation happens quickly. Once the buttermilk has separated, strain it off, and you’ll be left with golden butter ready for flavoring or spreading.
H3: Essential Steps to Homemade Butter
- Choose Your Cream: Start with at least one pint of heavy cream for a satisfying yield.
- Whip It Good: Using a mixer or food processor, whip the cream until it thickens, then curves into peaks, and finally, butter clumps form, separating from the buttermilk (you can save the buttermilk for pancakes or other recipes!).
- Rinse and Dry: Rinse the butter under cold water to remove any remaining buttermilk, which can cause the butter to spoil faster. Pat it dry with a clean towel.
- Season: This is where the fun begins! Add a pinch of salt for flavor or experiment with herbs, spices, or even honey for sweetness.
H3: Flavor Variations
Don’t hesitate to personalize your butter! Consider these delicious flavor ideas:
- Garlic Herb Butter: Mix in roasted garlic and fresh herbs.
- Lemon Zest Butter: Combine grated lemon zest for a fresh, tangy twist.
- Maple Cinnamon Butter: Stir in maple syrup and cinnamon for a sweet treat.
Creating your own butter is not just about enjoying fantastic taste; it’s also an excellent way to engage with friends and family in the kitchen. Have your kids help with the whipping process or combine flavors for a fun twist on ordinary spreads. With just a few simple ingredients and steps, you’ll discover that making homemade butter is an easy, rewarding project that enhances your meals and brings a personal touch to every dish you serve. Enjoy your creamy gold!
Essential Ingredients for Perfect Butter
Creating your own butter at home is not just rewarding but also a delightful way to control the ingredients that go into your food. The star of the show is, of course, the cream. High-quality heavy cream is essential for producing rich, creamy butter with a wonderful texture and flavor. Aim for organic or pasteurized cream without additives for the best results. This kind of cream typically has a fat content of about 36% or more, which is key for achieving that dreamy, spreadable consistency.
To ensure your butter-making experience is a success, having the right tools and a bit of patience is crucial. While a stand mixer or food processor is great for this task, you can also use a hand mixer if you prefer a more hands-on approach. Just remember that it might take a bit longer. Whipping the cream transforms it from a liquid to a bubbly mass before it separates into butter and buttermilk-a fascinating time in the kitchen when science meets culinary art!
Additionally, consider the temperature of your butter-making environment. If the cream is too cold, it may take longer to achieve the buttery goodness you’re looking for. Making butter is a bit of an endurance test, but keeping your cream at room temperature before starting can help speed up the magic. The entire process should only take between 5 to 10 minutes of mixing time, depending on your equipment.
You’ll also want to think about how to enhance your butter once it’s made. While salt is a classic addition, herbs, spices, or sweeteners can take your homemade butter to the next level. Experimenting with flavored butters is an excellent way to add depth to your dishes and personal flair to your meals. Whether you keep it simple with just salt or decide to whip up something adventurous like honey-cinnamon butter, the options are endless!
In summary, with just heavy cream and a little bit of time, you can create your very own butter that not only elevates your cooking but also enhances your culinary knowledge. So gather that cream, roll up your sleeves, and dive into the world of homemade butter. You’re sure to love the creamy gold you create!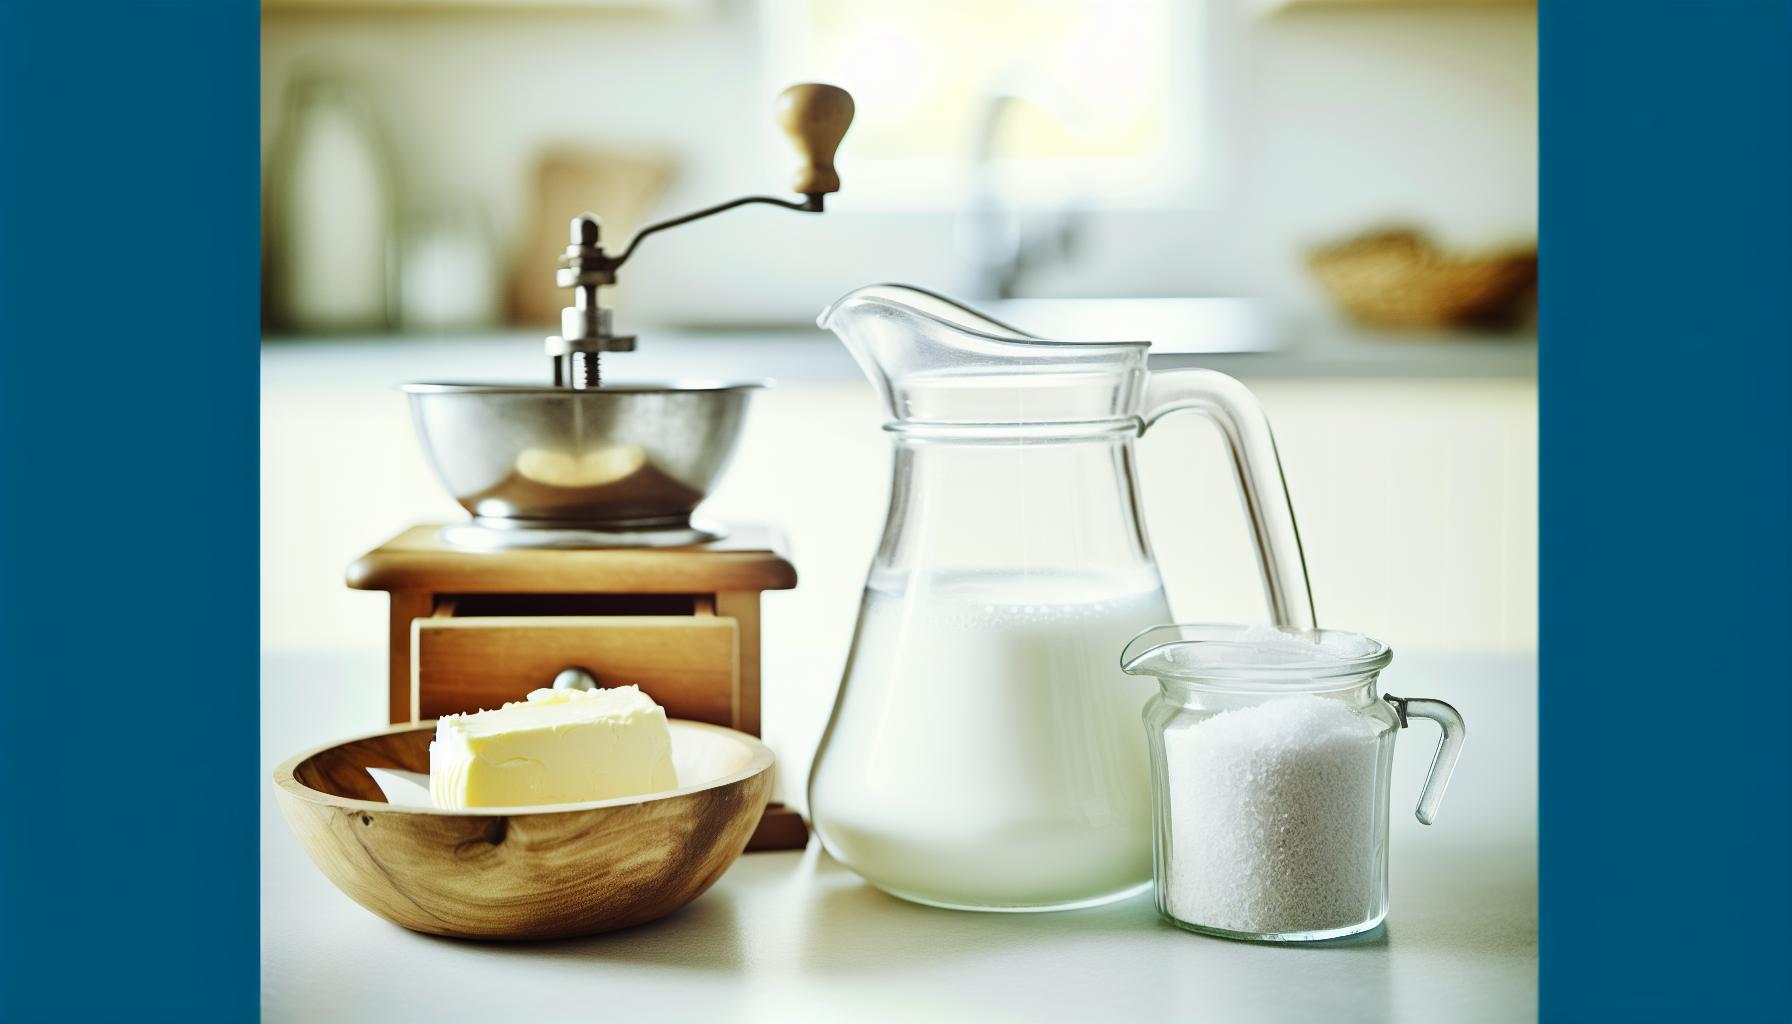
Step-by-Step: Making Butter in Minutes
Making your own butter at home is not just an enjoyable kitchen project; it’s a surprisingly quick endeavor that anyone can master. In just about 5 to 10 minutes, you’ll transform a simple ingredient-heavy cream-into rich, creamy butter. Here’s how to do it!
Gather Your Ingredients
All you need for this delightful process is heavy cream-preferably with a fat content of at least 36%. This will give you the best texture and flavor. While some people like to use organic cream, the key is to choose a high-quality cream without additives. You might also want a pinch of salt for flavor, but that’s completely optional.
Equipment You’ll Need
You don’t need fancy equipment to make butter! Here are some useful tools:
- A stand mixer, food processor, or hand mixer (any of these will work!)
- A large bowl to catch the buttermilk
- A spatula or wooden spoon for scraping down the sides
- A fine mesh sieve or cheesecloth (if you want to strain out the buttermilk)
Making the Butter
- Pour the Cream: Start by pouring your heavy cream into the bowl of your mixer or food processor. If you’re using a hand mixer, a large mixing bowl will suffice.
- Whip It Up: Begin mixing on medium-high speed. You’ll first create whipped cream-this can take about 3 to 5 minutes. The goal is to continue mixing beyond this stage, so don’t stop too early!
- Watch for Separation: After several minutes, you’ll notice the cream thickening. Continue mixing until it starts to separate, forming clumps of butter while buttermilk collects in the bowl. This process can take about 5 to 10 minutes in total. Don’t rush it; patience is key!
- Strain and Rinse: Once you see the butter separating, strain out the buttermilk using the sieve or cheesecloth. You can save the buttermilk for recipes like pancakes or biscuits! Rinse the butter under cold water to remove any remaining buttermilk-it helps it last longer in the fridge.
Enjoy Your Homemade Butter
At this point, you have beautiful, fresh butter! Feel free to mix in salt or herbs for flavor. Store it in an airtight container in the refrigerator, and enjoy it on your next loaf of bread or in your favorite recipes. Making butter is an easy and rewarding way to enhance your cooking, and the best part? You can feel good about knowing every ingredient in your creamy creation!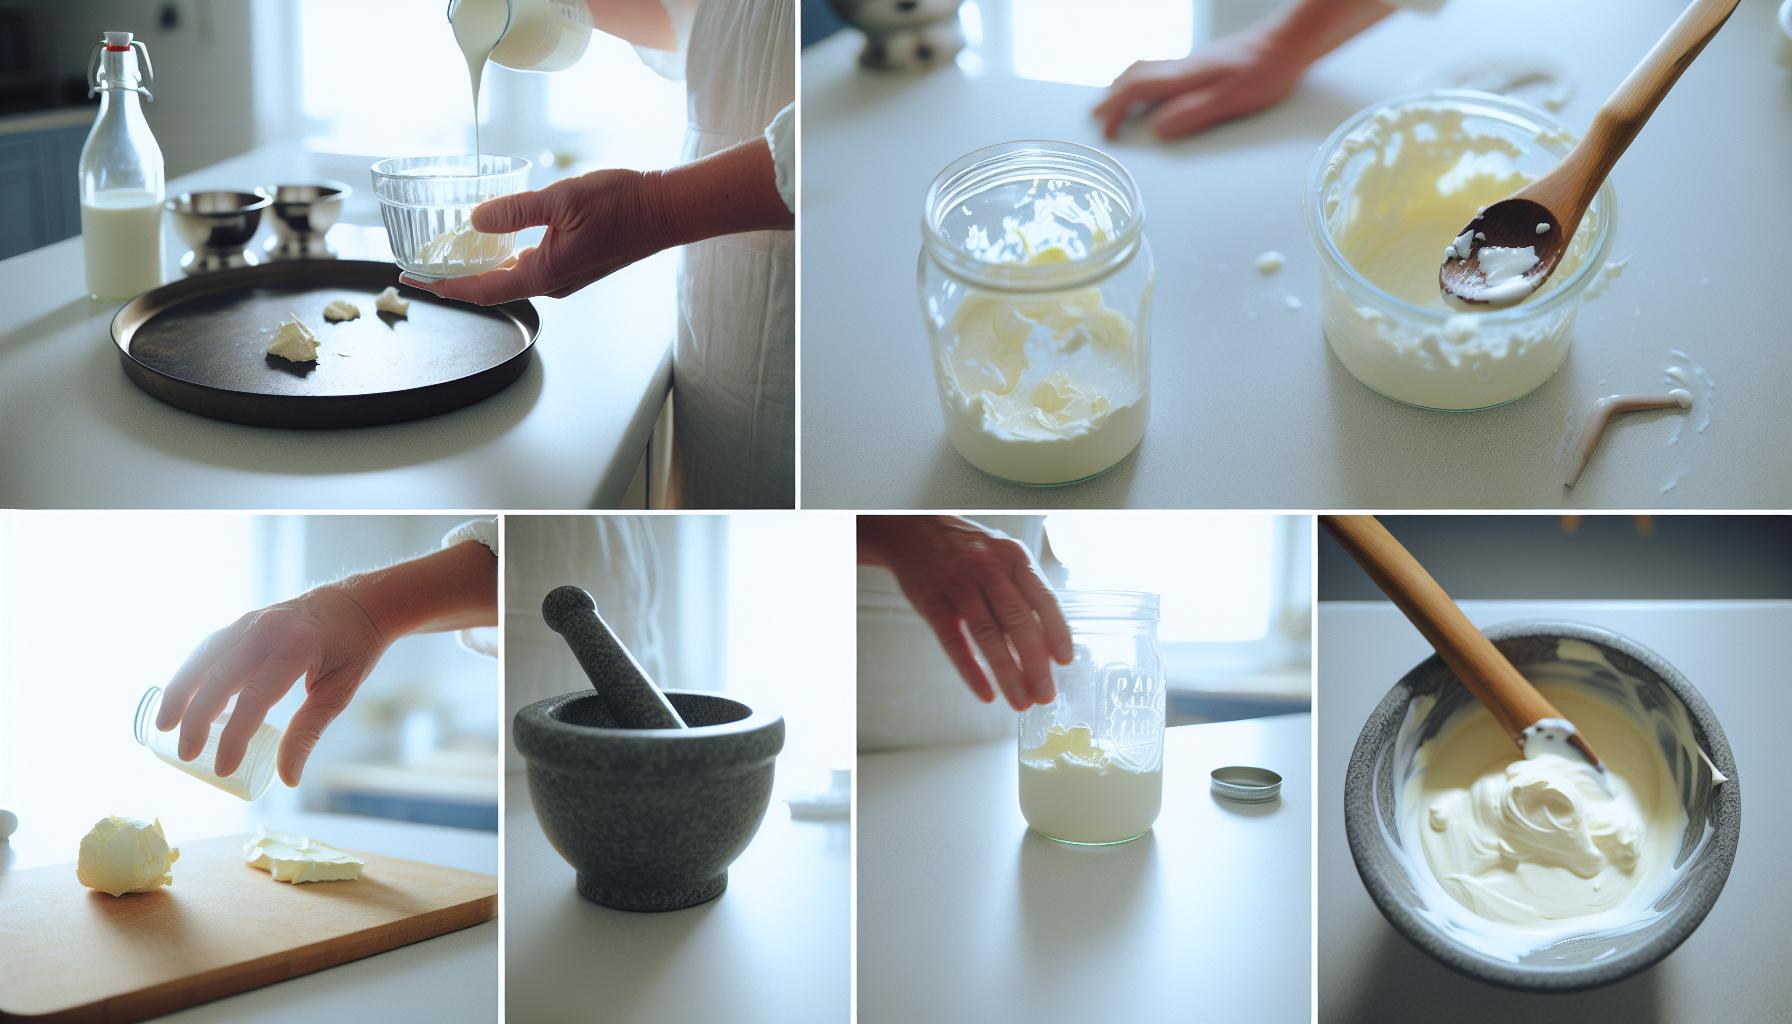
Delicious Flavor Variations for Homemade Butter
Adding unique flavors to your homemade butter can elevate your culinary creations to new heights. With just a few simple ingredients, you can turn plain butter into a gourmet delight that enhances everything from toast to grilled vegetables. Plus, the process is quick and easy, making it perfect for those who love to experiment in the kitchen.
To start, consider adding herbs and spices. Fresh herbs like chives, rosemary, or thyme provide a burst of flavor that pairs wonderfully with vegetables and meats. Simply chop your choice of herbs finely and mix them into your butter after you’ve rinsed it. For a touch of spice, try adding a pinch of garlic powder or smoked paprika-these can add a savory depth that’s perfect for spreading over warm bread or melting atop corn on the cob.
Fruity variations are another delightful option. Mix in finely grated lemon zest or a few drops of orange extract for a refreshing twist that’s fantastic with fish or when incorporated into baked goods. If you’re in the mood for something sweeter, combine softened butter with a drizzle of honey or a sprinkle of cinnamon-ideal for topping pancakes or waffles.
For those looking to impress, consider crafting compound butters that use a blend of flavors. A popular combination is maple and bourbon, ideal for adding a gourmet touch to grilled steaks or mashed potatoes. Just whip in a tablespoon of maple syrup and a splash of bourbon into your butter for a rich, sweet concoction. The key is to experiment-don’t hesitate to mix and match flavors until you find your perfect blend!
Remember, the key to beautifully flavored butters is balance. Start with small amounts of your chosen add-ins, taste, and adjust as necessary. Once you’re happy with your creations, store them in decorative jars or molds in the fridge, ready to impress family and friends at your next meal. Homemade flavored butters not only make cooking more enjoyable but also bring a personal touch to your kitchen, turning everyday dishes into something special.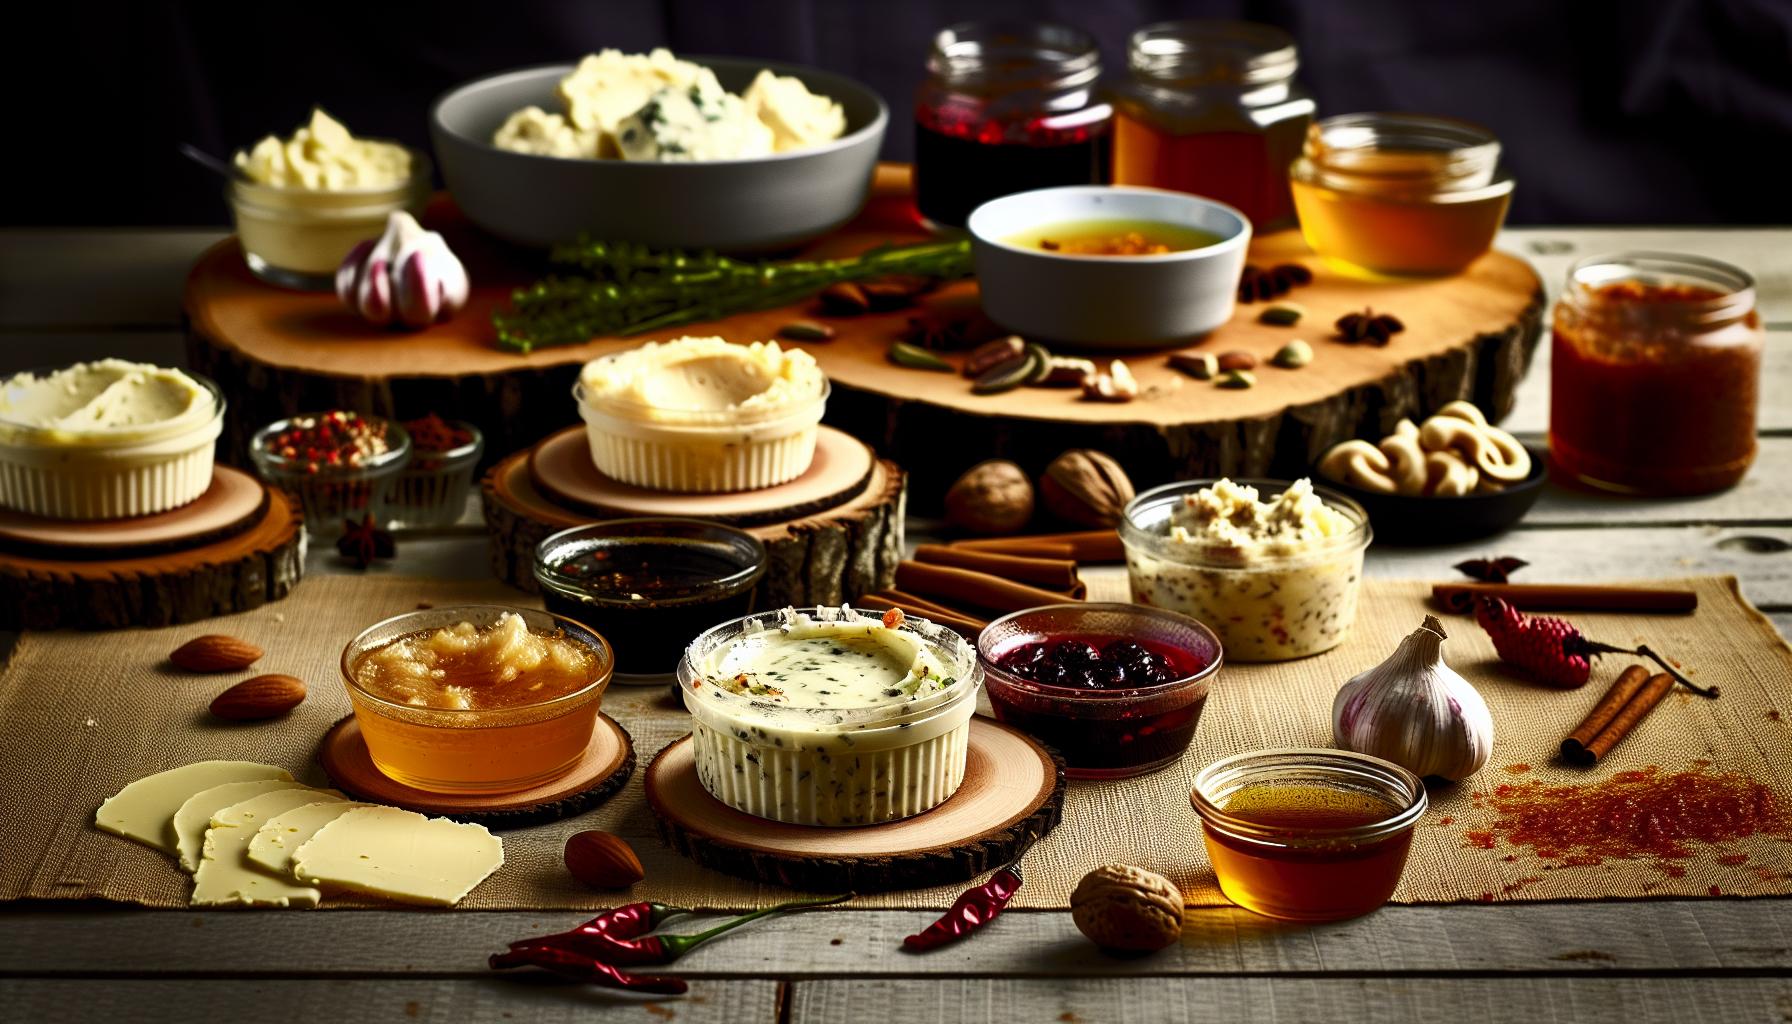
Troubleshooting Common Butter-Making Mistakes
Making homemade butter is a delightful kitchen adventure, but sometimes even the most enthusiastic home cooks encounter a few bumps along the way. Understanding common mistakes can help ensure your creamy gold comes out perfect each time. Here are tips to troubleshoot issues you might face when whipping up your fresh batch of butter.
One common mistake is not using the right temperature for your cream. Cold heavy cream can take longer to whip and may not separate properly. Aim for cream that’s slightly chilled-not ice-cold, but cool enough to yield the right consistency. If you’re short on time, just let it sit out for about 10-15 minutes before starting!
Another issue many encounter is over-whipping or under-whipping the cream. If you whip it too long, you’ll find yourself with butter and buttermilk, making the process seem messy instead of magical. Aim for about 10 minutes of whipping-stay vigilant! As you see the cream transition from whipped cream to butter, you’ll notice it beginning to separate. This is when you know to stop. Always check to see if the butter has formed and the buttermilk is separating.
Also, don’t overlook the rinsing step after the butter forms. Rinsing your butter under cold water is crucial to removing excess buttermilk, which can cause your butter to spoil faster. With the water running, gently knead the butter to help wash away anything left behind.
Lastly, if your butter turns out too salty or bland, remember that seasoning is always adjustable. After you’ve made your butter, taste it and add more salt or other flavorings as needed. Starting with small additions lets you control the flavor profile, allowing your creativity to shine through in your homemade butter.
Should you find your butter grainy, simply continue to knead it a bit longer; sometimes, just a few moments more can make a big difference. Emphasizing patience throughout the butter-making process will help you enjoy the experience, turning out a product that’s not only delicious but a point of pride in your culinary repertoire. Happy butter-making!
How to Use Your Homemade Butter Creatively
There’s something truly magical about homemade butter-it’s not just a spread; it’s an ingredient that can transform your cooking and baking into an entirely new experience. Once you’ve successfully whipped up your batch of creamy gold, the next delightful step is to explore the many ways it can elevate your meals.
Layering Flavor on Your Dishes
One of the simplest ways to use your homemade butter creatively is by enhancing your favorite dishes. Herb-infused butter is a standout option. Just take a few tablespoons of your fresh butter and mix in chopped fresh herbs like parsley, chives, or thyme. This flavorful concoction can elevate grilled meats and veggies, or even be dolloped on top of a baked potato for a mouthwatering twist.
Another fantastic idea is to create garlic butter. Add minced garlic and a pinch of salt to your butter, and you’ve got the perfect companion for breadsticks, pasta, or steamed vegetables. For a sweet treat, combine your homemade butter with cinnamon and sugar. This mixture can spread joy on morning toast or fluffy pancakes, making breakfast feel like a special occasion.
Baking with Butter
When it comes to baking, your homemade butter can work wonders. Use it in any recipe that calls for butter to add a rich flavor that store-bought versions simply can’t match. Think about making cookies-using your homemade butter will infuse them with a freshness that’s hard to resist. Try substituting it in classic recipes like chocolate chip cookies or even in pie crusts for an extra flaky texture.
You can also experiment with compound butters by adding unique flavors directly into the mixture. Consider trying orange zest and a touch of honey for a fresh, citrusy spread perfect for scones or muffins. The combination possibilities are endless, and you can even roll it up in parchment paper and chill it to create elegant, ready-to-slice butter rounds that will impress your guests.
Gift Idea with a Personal Touch
Homemade butter can also make for a thoughtful gift. Why not whip up a few different flavor variations-like lemon-herb, spice-infused, or decadent chocolate-package them in pretty jars, and share with friends and family? Pair them with homemade bread or crackers, and you’ve got a delightful present that showcases your culinary creativity and love.
Summary of Unique Uses
- Herb Butter: Perfect for meats and vegetables.
- Garlic Butter: Ideal for bread and dishes like pasta.
- Sweet Butter: Ideal for breakfast treats.
- Cooking and Baking: Use in cookies, pies, and more.
- Gift Ideas: Create a variety of flavored butters to share.
Embrace the joy of experimenting with your homemade butter. Whether for everyday meals or special occasions, this creamy gold is your gateway to creativity in the kitchen. Happy cooking!
Storing and Preserving Your Creamy Gold
Storing your homemade butter properly is essential to maintain its creamy texture and delightful flavor. After all your hard work whipping up that batch of golden goodness, you want it to last as long as possible. The secret lies in how you package and store it.
First, consider the best container for your butter. Glass jars with tight-fitting lids or airtight plastic containers are ideal. If you’ve made flavored butters, labeling them with their ingredients can help you keep track of which is which. For easy access, you can also portion out your butter into smaller sticks wrapped in parchment paper or wax paper, which allows you to take out exactly what you need without contaminating the rest.
Next, the refrigerator is the best short-term storage solution. Homemade butter can last about one to two weeks in the fridge. Just keep it covered to prevent it from absorbing other odors. For longer shelf life, you might want to explore freezing options. Butter freezes beautifully and can last up to six months in your freezer. Simply wrap it tightly in plastic wrap, then place it in a freezer bag or container to prevent freezer burn. When you’re ready to use it, transfer it to the refrigerator the night before to let it thaw slowly.
Thawing Tips
When thawing frozen butter, avoid using the microwave, as it may create hot spots that could partially melt the butter. Instead, place it in the fridge to defrost overnight, or leave it at room temperature for a few hours. If you’re in a pinch, cut it into small pieces; they will thaw much faster this way.
Using Your Butters
Don’t forget the nutritional benefits of homemade butter! It’s free from preservatives and additives, allowing you to indulge in its rich flavor guilt-free. Spread it on warm bread, melt it over veggies, or use it in baking for an added depth of flavor. The possibilities are endless!
With these simple storage techniques, your homemade butter can remain a delicious, essential element in your kitchen for months. Enjoy experimenting with flavors and recipes, knowing that your creamy gold is ready whenever you need it!
Nutritional Benefits of Homemade Butter
Homemade butter is not just a delicious kitchen staple; it also boasts several nutritional benefits that make it worth your while to whip up a batch at home. One of the primary advantages of homemade butter is its purity. Unlike many store-bought varieties, which can contain additives and preservatives, the butter you make at home is simply cream, perhaps with a pinch of salt. This allows you to enjoy its rich, creamy goodness without worrying about hidden ingredients.
Moreover, homemade butter is an excellent source of fat-soluble vitamins. It’s rich in vitamins A, E, and K, which play crucial roles in maintaining good health. Vitamin A supports eye health and immune function, while Vitamin K is essential for proper blood clotting and bone health. The healthy fats found in butter can also aid in the absorption of these vital nutrients, making homemade butter a nourishing addition to your meals.
To put it simply, the fats in homemade butter can help improve the overall balance of your diet. Unlike unhealthy trans fats that are often found in processed foods, the fats in butter are primarily saturated fats, which have been shown to be beneficial in moderation. These fats can support heart health by raising levels of HDL (good cholesterol) in the blood.
If you’re cooking for kids or simply looking to improve your family’s nutrition, consider swapping out margarine or processed spreads for homemade butter. It’s a straightforward change that can have a positive impact on your eating habits. Spread a pat of your freshly made butter on whole-grain toast, mix it into mashed potatoes, or melt it over vegetables for a delightful way to elevate your dishes while enjoying the health benefits of this creamy gold.
Crafting Gourmet Butter: Tips and Tricks
Crafting your own gourmet butter at home can be a delightful adventure that enhances your culinary repertoire without demanding any advanced skills or equipment. Imagine the satisfaction of transforming simple cream into a rich, flavorful butter that you tailored to your taste. Ready to dive in? Let’s explore some creative tips and tricks to elevate your homemade butter into something truly gourmet!
One of the simplest ways to add a gourmet touch is by incorporating different herbs and spices. Fresh herbs like rosemary, thyme, or chives can create vibrant compound butters that elevate everyday dishes. Just soften your butter after churning, mix in the herbs (finely chopped), and form it into a log. Chill it in the fridge and slice it to top your grilled meats or vegetables. For a unique twist, try adding smoked paprika for a smoky flavor or lemon zest for a citrus burst.
Another approach is to experiment with infusions. Infusing your cream with flavors before churning can create entirely new dimensions in your butter. Heat the cream gently with peppercorns, garlic cloves, or even vanilla beans (for a sweet butter) for about 30 minutes before cooling and whipping. This method allows the flavor to integrate deeply, resulting in a deliciously aromatic spread that will impress anyone at your table.
Don’t forget about sweetness! Adding honey or maple syrup to your butter can be a game changer, especially for breakfast. For a quick delight, blend room-temperature butter with a couple of tablespoons of honey for a sweet alternative that’s perfect on biscuits or pancakes. It’s an easy, decadent treat that will keep your family asking for more.
Finally, consider your presentation. Gourmet butter isn’t just about taste; it’s also about how you serve it. Shaping your butter into decorative molds or rolling it into logs then wrapping them in parchment paper gives off that rustic, artisan vibe. You can even sprinkle coarse sea salt on top for an appealing finish.
By thinking outside the box-whether it’s with flavorings or presentation-you can transform everyday homemade butter into gourmet creations that will wow your family and guests alike. The beauty of making butter at home is the endless possibilities, so let your creativity run wild and have fun with each batch!
Exploring Dairy Alternatives for Butter Lovers
Exploring dairy alternatives can be a fun and flavorful journey for those looking to replace traditional butter with plant-based options. Whether you’re lactose intolerant, following a vegan lifestyle, or simply seeking to reduce your dairy intake, there are numerous substitutes that can deliver creamy goodness without the milk fats.
One of the most popular alternatives is coconut oil. It has a rich, buttery taste and works beautifully in baking and cooking. Coconut oil can be melted and used in recipes just like butter, making it an easy swap in everything from muffins to sautéed vegetables. Use a 1:1 ratio, and enjoy that hint of tropical flavor!
Another fantastic choice is olive oil, which not only adds a lovely depth of flavor but also provides heart-healthy benefits. For spreads or drizzling over bread, consider mixing olive oil with fresh herbs like basil or parsley for a gourmet touch. When using it in baking, reduce the quantity by about 25% compared to butter, as olive oil is more potent.
For those who miss the creamy texture typically provided by butter, avocado is a wonderful alternative. When blended, it becomes smooth and can be used as a spread, or incorporated into recipes like brownies where its mild taste won’t overpower other ingredients. Simply replaces the butter in a recipe with an equal amount of avocado for a delightful twist.
Additionally, you can explore nut butters, such as almond or cashew butter, which can add both richness and flavor to your dishes. They work especially well in cookies, pancakes, or even as a spread on toast. Just remember, nut butters will bring their unique flavors, so consider how they might complement the other ingredients.
Finally, vegan butters made from blends of oils, nuts, and other ingredients can mimic the taste and texture of traditional butter closely. They come in various flavors and can be used just like regular butter in any recipe, making them a versatile addition to your kitchen.
Incorporating these alternatives into your cooking is an exciting way to experiment and discover new tastes. With simple swaps like these, you can enjoy all the pleasure of cooking and baking while catering to dietary preferences and restrictions. Whether you’re whipping up a batch of cookies or preparing a creamy pasta sauce, embracing these dairy alternatives opens up a world of culinary creativity!
Engaging Kids in Homemade Butter Fun
Making butter at home is not just a delicious endeavor; it’s also an engaging activity that kids love. Getting children involved in the kitchen not only teaches them valuable skills but also allows them to appreciate where their food comes from. Plus, transforming cream into butter within minutes can feel like magic for little ones!
Start with a simple ingredient list: all you need is heavy cream and a jar with a lid or a mixer. For a fun twist, let the kids personalize their butter by adding flavors like honey, cinnamon, or garlic once it’s made. Explain to them how shaking the jar or mixing the cream helps break down the fat molecules to create butter. This hands-on experience is perfect for sparking curiosity about science in cooking!
Fun Ways to Engage Your Kids
- Shake It Up: If you’re using a jar, invite the kids to take turns shaking it. They’ll love the physical activity, and it also lets them see how the cream changes shape.
- Creative Flavoring: After making the butter, set up a toppings bar with various seasonings like herbs, spices, or sweeteners. Allow the kids to experiment and create their own signature butters.
- Butter Art: Using molds or cookie cutters, let kids shape their butter into fun designs. They can even use food coloring to make it festive for holidays!
- Storytime: While you work, share stories about how butter is made in different countries and cultures, making it educational as well as fun.
Every step in the process reveals a bit of kitchen science, from understanding emulsions to the role of fat in cooking. When they see the transformation of cream into a spreadable delight, it can foster a lifelong love for cooking. Plus, all the hands-on fun of jumping into a recipe gives kids not only a sense of achievement but also an opportunity for bonding over a shared culinary experience-one that translates into tasting the fruits of their labor. Homemade butter is a flavorful reward for all involved!
Delighting Your Guests: Homemade Butter Gift Ideas
There’s something incredibly special about gifting homemade butter. Not only is it a delightful treat that shows effort and thoughtfulness, but it also brings a personal touch that store-bought options simply can’t match. Homemade butter can easily be transformed into a charming gift by adding unique flavors or beautiful presentations that will impress your friends and family.
Start by making flavored butters such as herb-infused, sweet honey butter, or zesty citrus butter. To create these, simply mix softened butter with your chosen ingredients-like fresh herbs, honey, or citrus zest-and blend until smooth. Once you have your butter ready, consider the packaging. Use small glass jars or decorative containers with tight-fitting lids to keep the butter fresh. Label each jar clearly, perhaps using a chalkboard label or a simple tag detailing the flavor and date made. This not only looks appealing but also makes it easy for your guests to identify their butter options.
To enhance the gifting experience, pair your homemade butter with complementary items. For instance, include a loaf of fresh bread or biscuits, perfect for spreading. You could even add a small cutting board for an added touch. Here are some ideas to consider:
Creative Presentation Ideas
- Mix and Match: Create a gift set featuring a variety of flavored butters, providing a range of options for your recipient to enjoy.
- Butter Samplers: Make small batches, package them in mini jars, and present them as a sampling flight, similar to wine tastings!
- Seasonal Themes: Tailor your flavors to the seasons-think pumpkin spice butter in the fall or refreshing lemon dill butter for summer.
Not only will you delight your guests with a unique gift, but they will also appreciate the luxurious touch of homemade butter. Whether it’s for a holiday, a housewarming, or just because, this personalized gift idea makes any occasion feel a little more special, turning a simple culinary creation into a heartwarming gesture.
FAQ
Q: How can I make homemade butter quickly?
A: To make homemade butter in minutes, simply pour heavy cream into a stand mixer and beat it on high until it thickens and separates from the buttermilk. This process usually takes about 5-10 minutes. For detailed steps, refer to the “Step-by-Step: Making Butter in Minutes” section of our article.
Q: What ingredients do I need for creamy homemade butter?
A: You need just two main ingredients: heavy cream and a pinch of salt for flavor. Optionally, you can add herbs or spices for a delicious twist. Check the “Essential Ingredients for Perfect Butter” section to explore variations.
Q: Why does my homemade butter taste grainy?
A: Grainy homemade butter can occur if the cream was overwhipped, causing the fat molecules to clump excessively. To prevent this, monitor the whipping process closely. For troubleshooting advice, see “Troubleshooting Common Butter-Making Mistakes” in our article.
Q: Can I use a food processor to make butter?
A: Yes, you can use a food processor to make butter by following the same process as with a mixer. Just pulse the cream until it separates and forms butter. This method is highlighted in the “Step-by-Step: Making Butter in Minutes” section for convenience.
Q: How can I flavor my homemade butter?
A: You can flavor your homemade butter by adding ingredients like fresh herbs, garlic, or honey. Blend these into the cream before whipping or mix them in after your butter has formed. Explore “Delicious Flavor Variations for Homemade Butter” for more ideas.
Q: How long will homemade butter last in the fridge?
A: Homemade butter can be stored in the refrigerator for 1-2 weeks. For longer storage, consider freezing it. For proper storage tips, please refer to the “Storing and Preserving Your Creamy Gold” section.
Q: What can I use my homemade butter for?
A: You can use homemade butter for baking, cooking, or as a spread. It’s perfect on toast, in recipes, or on vegetables. Discover fun serving ideas in “How to Use Your Homemade Butter Creatively.”
Q: Can I make butter from non-dairy alternatives?
A: Yes, you can make spreads using non-dairy alternatives like coconut cream or nut butters. For insights and alternatives, check the “Exploring Dairy Alternatives for Butter Lovers” section of our article.
Closing Remarks
Thank you for joining me in creating this delightful creamy butter in just minutes! Remember, experimenting in the kitchen can lead to your very own gourmet creations, so don’t hesitate to tweak the recipe to match your taste. If you found this butter recipe useful, you might also enjoy our detailed guide on homemade jams or the secrets of perfecting your baking skills-both essential companions to your new buttery delights!
Now that you’ve mastered the art of homemade creamy gold, why not try making it a staple in your meals? Share your experiences in the comments below, and tag us in your culinary creations on social media-we’d love to see how you use your buttery masterpiece! For more tasty recipes and kitchen tips, sign up for our newsletter to keep the inspiration flowing. Happy cooking, and remember: every great recipe begins with a little experimentation!
Get our latest guides, news, and insights highlighted in your Google Search & AI Overviews.










