
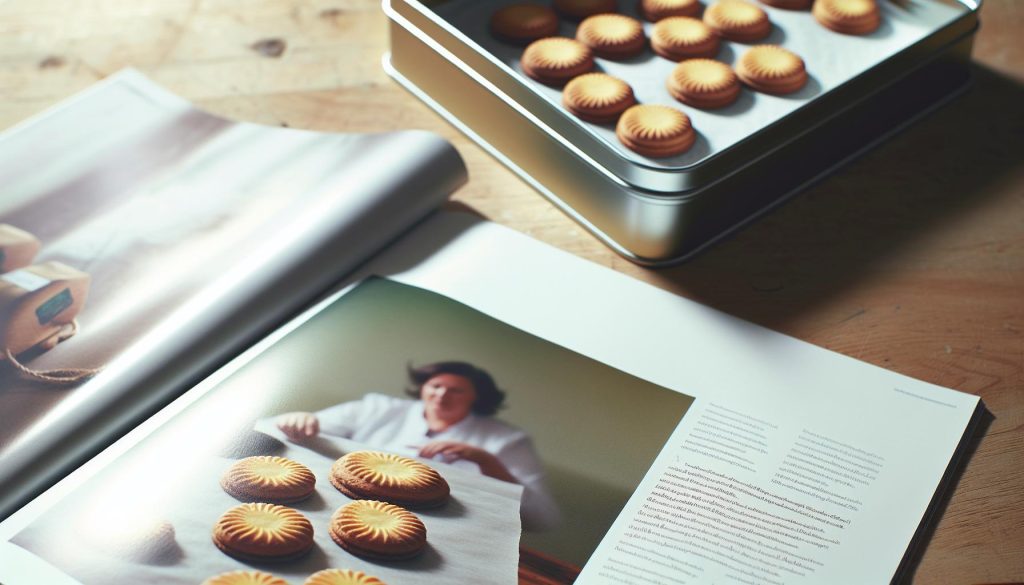
There’s something magical about a tin of freshly baked Danish butter cookies. These buttery, melt-in-your-mouth treats not only evoke memories of cozy holidays but also elevate any gathering with their delightful taste and beautiful presentation. If you’ve ever struggled to replicate that bakery-perfect cookie at home, you’re in for a treat! This recipe simplifies the process, ensuring you create cookies that rival those in classic blue tins. You’ll find that crafting these cookies is not only achievable but also a rewarding way to bring the warmth of homemade baking into your kitchen. So grab your mixing bowl and let’s dive into this delicious journey together-your loved ones will thank you!
Choosing the Right Ingredients for Danish Butter Cookies
When it comes to crafting the perfect Danish Butter Cookies, choosing high-quality ingredients can make all the difference. The rich, buttery flavor that these cookies are known for comes primarily from butter, which should be of the highest quality you can find. Look for unsalted butter that is fresh and at room temperature; this allows for easy creaming with sugar, creating a light and fluffy texture that melts in your mouth.
In addition to butter, the sugars you select are crucial. A blend of granulated sugar and powdered sugar often yields the best results. While granulated sugar contributes to the cookie’s structure and crunch, powdered sugar lends a delicate softness and enhances the melt-in-your-mouth quality. Don’t forget to include a pinch of salt; it elevates the sweetness and balances the flavors beautifully.
Vanilla extract is another essential ingredient that brings warmth and depth to your cookies. Opt for pure vanilla rather than imitation for a more authentic flavor. If you’re feeling adventurous, consider adding a splash of almond extract, which complements the buttery profile perfectly. Lastly, always use all-purpose flour as it provides the right balance of strength and tenderness. Each component plays a vital role in achieving that delightful, buttery texture synonymous with Danish Butter Cookies.
Remember, the best baking starts with the finest ingredients, and these cookies are no exception. So gather your ingredients thoughtfully and get ready to create a treat that brings joy to every bite!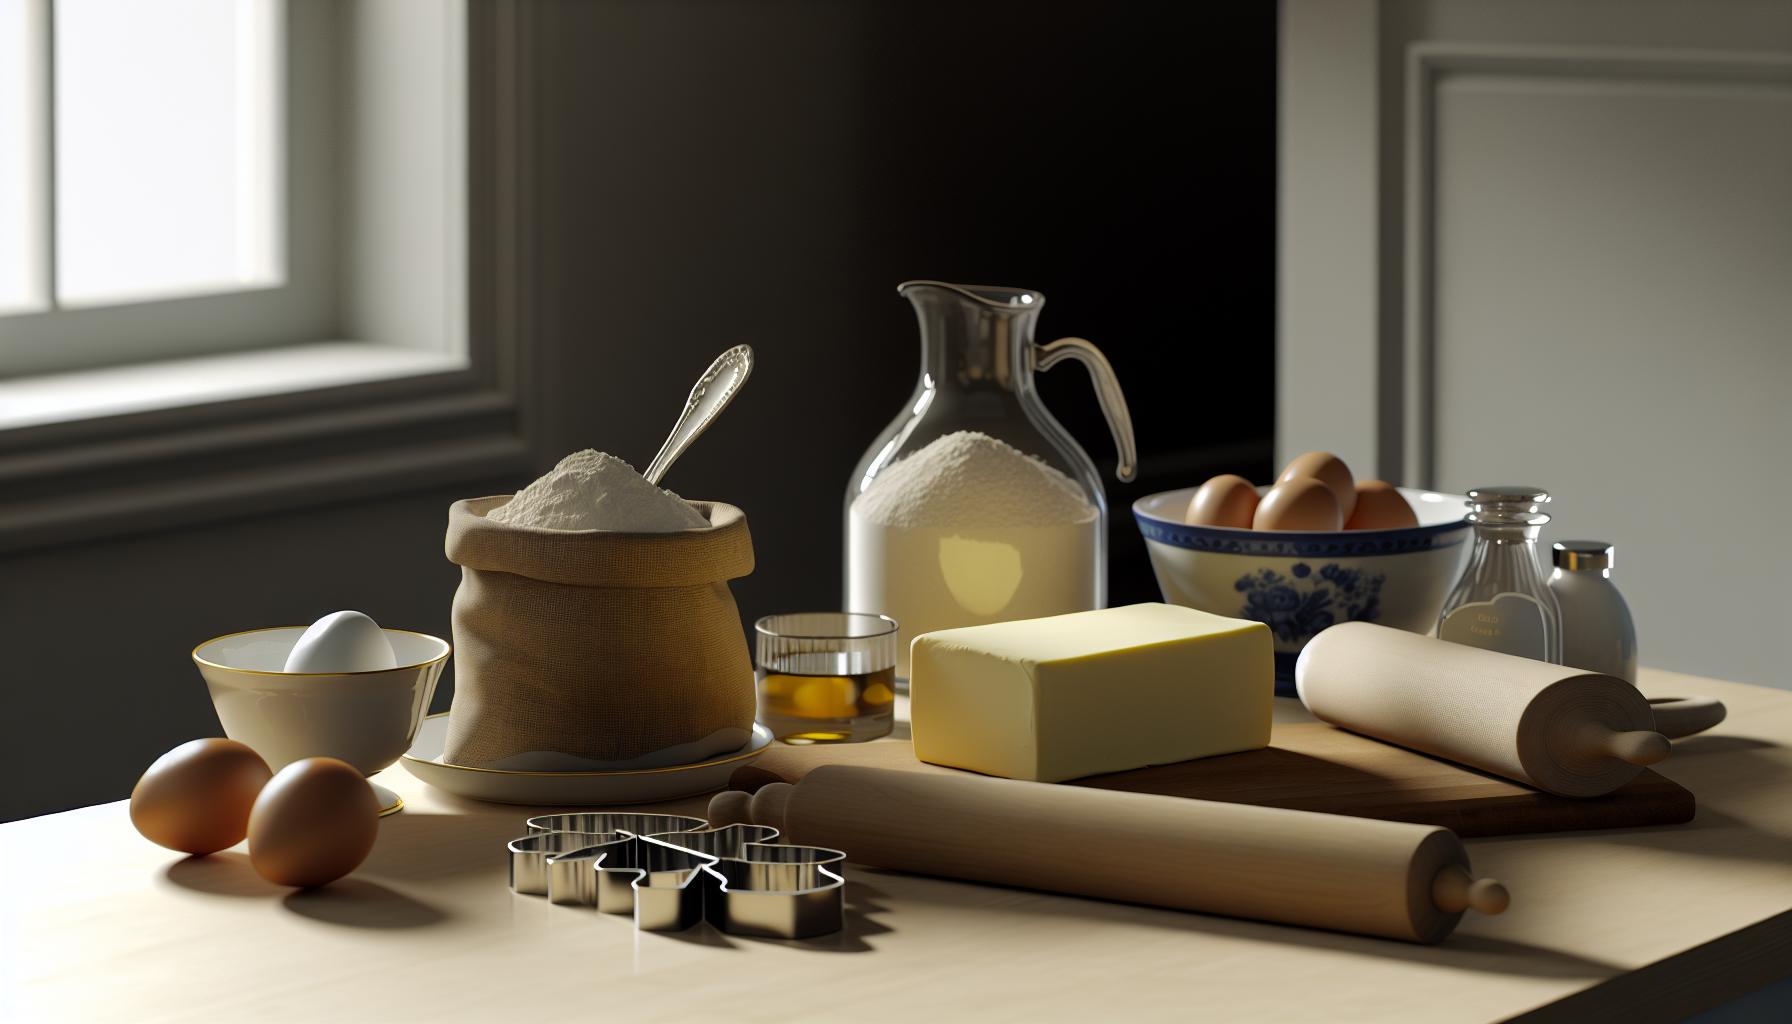
Essential Baking Tools for Perfect Cookies
The right tools can make all the difference when whipping up a batch of Danish Butter Cookies. Don’t worry; you don’t need a professional bakery setup to achieve those delightful cookies that melt in your mouth. Let’s explore the essential baking tools that will help you create cookie perfection in your own kitchen, whether you’re a novice or an experienced baker.
To start, a good mixer is crucial. Whether you opt for a stand or hand mixer, this tool will vastly simplify the process of creaming your butter and sugar, ensuring a fluffy base for your dough. If a mixer isn’t available, you can still achieve great results using a sturdy whisk and a good amount of elbow grease-just be prepared to get a workout! Pair this with a large mixing bowl that gives you enough room to mix your ingredients without the risk of spillage.
Next, a rubber spatula is your best friend. It’s perfect for scraping down the sides of the bowl and incorporating every last bit of dough into your mix. It also helps ensure that your ingredients blend evenly. With a spatula, you can gently fold in any additional ingredients, like chocolate chips or nuts, without overmixing, which is key to maintaining a tender cookie texture.
Having a sifter on hand is also essential for ensuring your dry ingredients are aerated and free of lumps. This aspect of baking can significantly affect the outcome, especially when working with flour. If you don’t have a sifter, a fine-mesh strainer can do the trick just as well!
Finally, remember the importance of a baking sheet lined with parchment paper or a silicone baking mat. This not only prevents the cookies from sticking but also helps them bake evenly. If you’re feeling adventurous, use a piping bag to make various shapes and sizes of cookies, which can really elevate the presentation.
With these tools at your disposal, you’re well on your way to crafting bakery-perfect Danish Butter Cookies that will impress your friends and family. Remember, baking is as much about creativity as it is about precision, so feel free to experiment and find what works best for you! Happy baking!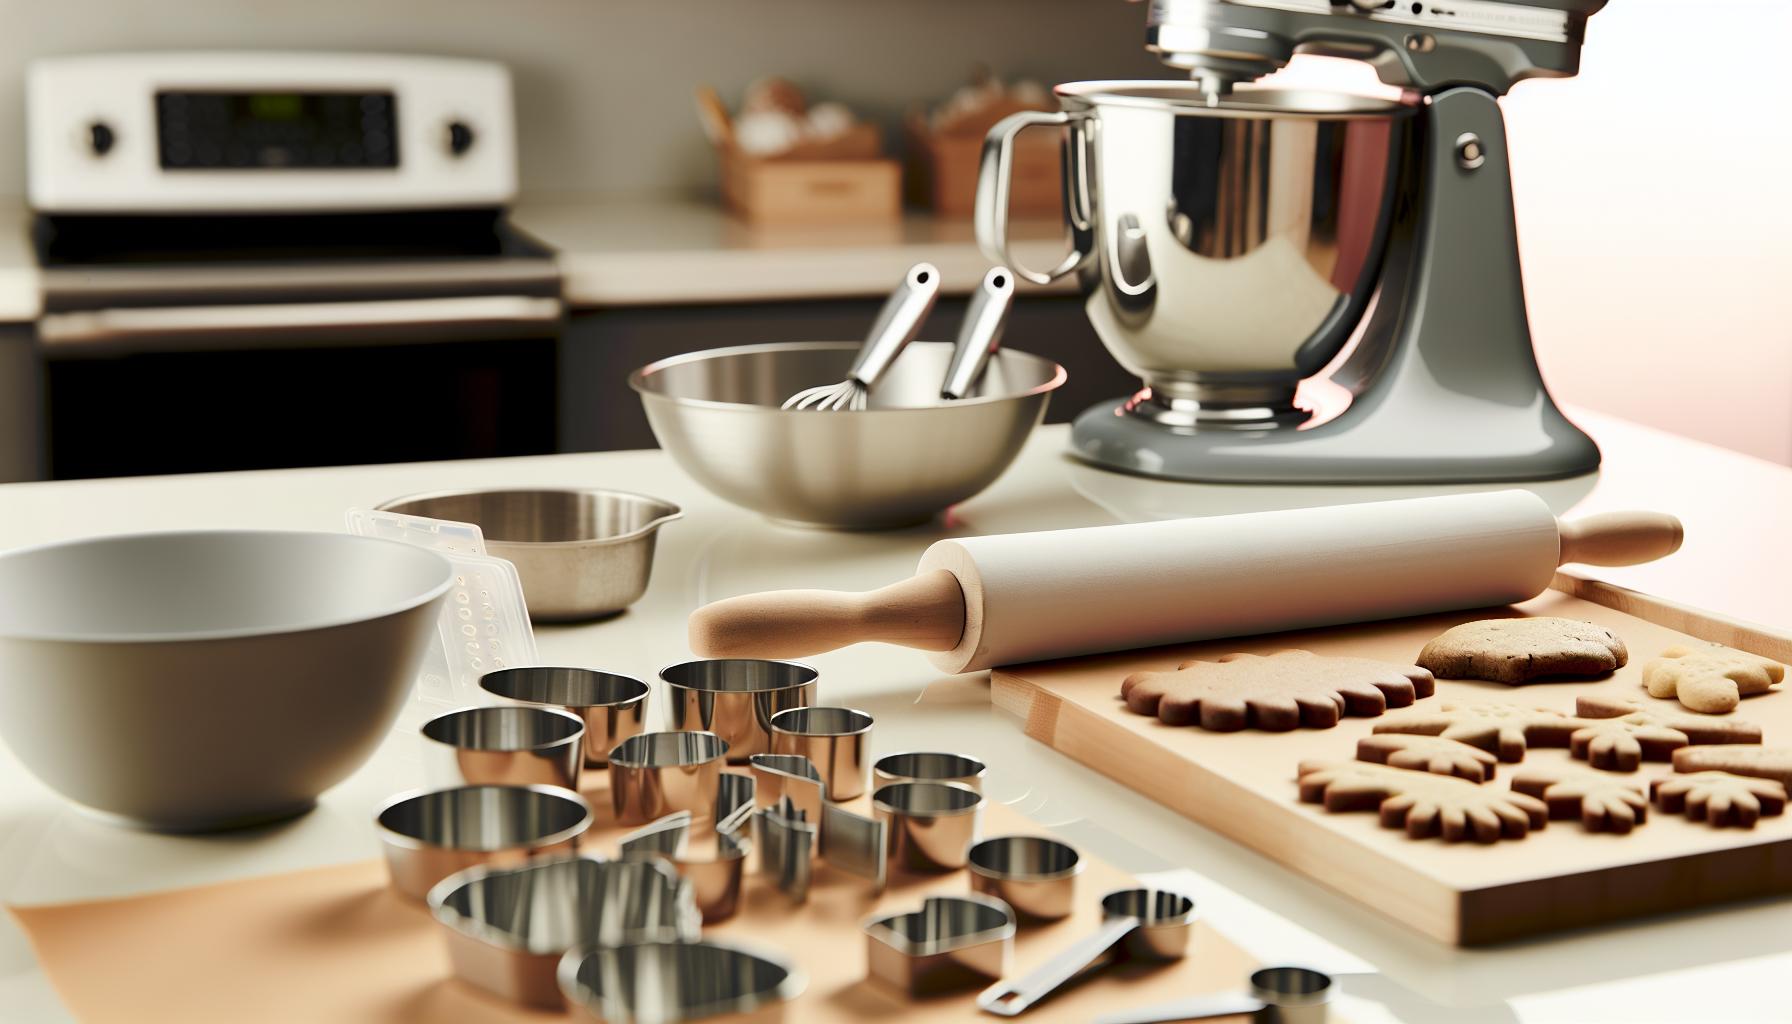
Step-by-Step Guide to Making Danish Butter Cookies
Making Danish Butter Cookies is not only a delightful baking experience but also yields treats that seem to melt in your mouth. These cookies are rich, buttery, and perfect for sharing with friends and family, or just enjoying with your afternoon tea. Let’s dive into the straightforward steps to creating these beloved treats.
Start by gathering your ingredients, including butter, sugar, flour, an egg, and a dash of vanilla extract. It’s crucial to use high-quality butter because it directly influences the flavor and texture of your cookies. Aim for room temperature butter, which makes creaming it with sugar easier and results in a smoother dough.
Step-by-Step Instructions
- Cream the Butter and Sugar: In a mixing bowl, combine 1 cup of softened butter and ½ cup of granulated sugar. Using a stand or hand mixer, beat them together until the mixture is light and fluffy. This process typically takes about 2-3 minutes. If you’re mixing by hand, be prepared for a bit of an arm workout, but don’t shy away from using a whisk if that’s your only option!
- Add Egg and Vanilla: Once your mixture is fluffy, add 1 large room-temperature egg and 1 tablespoon of vanilla extract. Blend until fully incorporated, ensuring the egg is mixed well without overbeating, as this can incorporate too much air into the dough.
- Incorporate Dry Ingredients: Gently sift together 2 cups of all-purpose flour and a pinch of salt. Gradually add this to your butter-sugar mixture, mixing just until combined. Avoid overmixing, as this can lead to tougher cookies.
- Shape and Chill: Now comes the fun part! Use a piping bag fitted with a star nozzle to pipe the dough onto a baking sheet lined with parchment paper or silicone mats. For a classic look, you can also use a cookie scoop to form uniform balls. Once shaped, chill the cookies in the refrigerator for 20-30 minutes to firm up the dough, which helps maintain their shape while baking.
- Bake: Preheat your oven to 350°F (175°C). Bake the chilled cookies for about 12-15 minutes or until the edges are lightly golden. Keep an eye on them; they can quickly go from perfect to overbaked!
- Cool and Enjoy: Once out of the oven, allow the cookies to cool on the baking sheet for a few minutes before transferring them to a wire rack. This waiting time helps them firm up. Once cooled, enjoy your cookies as is, or sprinkle a bit of sugar on top for extra sweetness.
Baking Danish Butter Cookies is a straightforward and rewarding process that requires no professional equipment. Enjoy experimenting with different shapes and variations to make each batch unique. Remember, the key is to keep it fun and creative in your kitchen! Happy baking!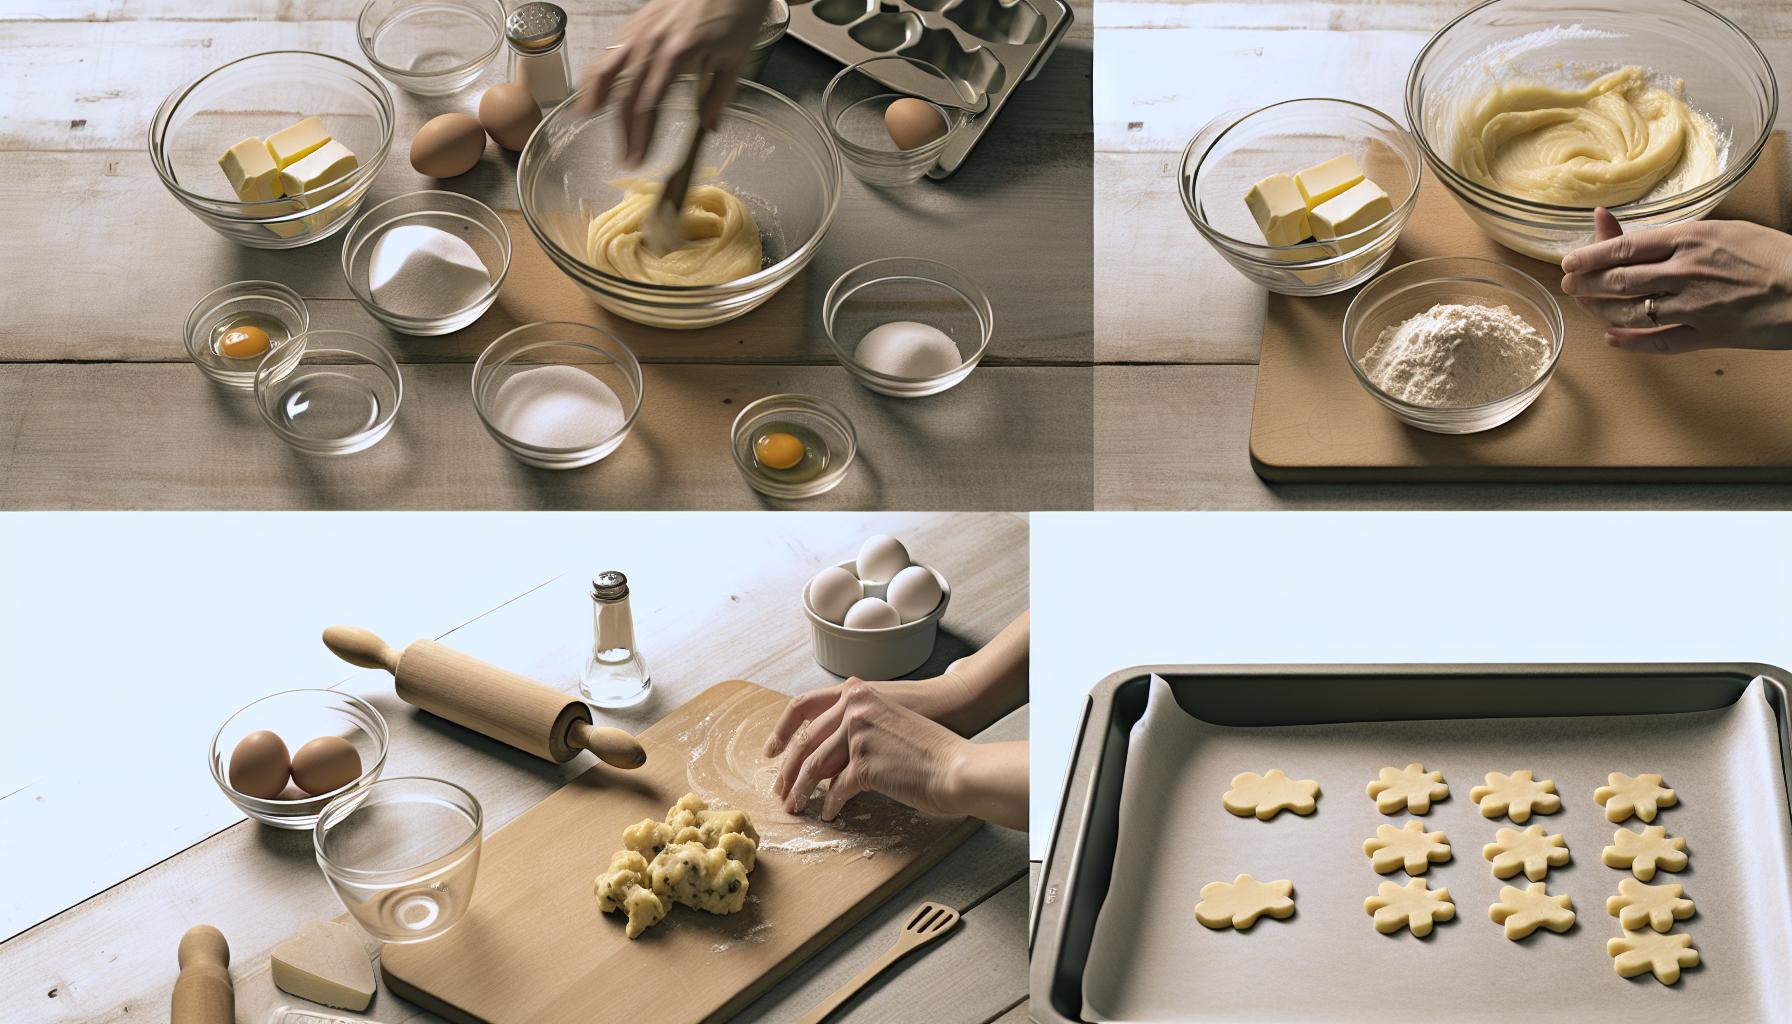
Secrets to Achieving the Perfect Texture and Flavor
Perfecting the texture and flavor of Danish butter cookies is all about balancing a few key elements and paying attention to the process. One essential factor is the quality of ingredients. Always choose high-fat butter, as it imparts a rich flavor and contributes to the cookies’ crumbly texture. If you find yourself near specialty stores, look for European-style butter, which typically contains higher butterfat for an even more luxurious taste.
In the mixing phase, the way you cream the butter and sugar matters significantly. Aim for a light and airy consistency-this process should take around 2-3 minutes with a mixer. The creaming helps incorporate air into the dough, creating that delightful melt-in-your-mouth experience. When adding in your egg and vanilla, be careful not to overmix, or you risk making the cookies dense instead of delightfully soft.
Next, consider the chilling step. After piping or shaping your cookies, chilling them for 20-30 minutes gives the dough time to rest. This not only firms up the cookies, preventing them from spreading too much during baking, but it also enhances their flavor. As the cookies chill, the ingredients meld together more profoundly, leading to a richer taste.
Lastly, monitor the baking time closely to achieve that true bakers’ gold: perfectly set edges with a soft center. Pull them out of the oven when the edges are just starting to turn golden, as carryover heat will continue to cook them slightly after removal. By mastering these steps, you’ll unlock the secrets to crafting Danish butter cookies that are not just tasty but also have that sought-after bakery-quality texture and flavor.
Creative Flavor Variations for Your Cookies
Danish butter cookies are a delightful canvas for creativity, inviting you to experiment with unique flavors that can elevate your traditional recipe into something extraordinary. The base of these cookies is simple yet versatile, allowing you to incorporate a variety of ingredients to match your preferences or the season. Consider starting with your classic butter cookie dough, then let your imagination take over.
One popular variation is to infuse zesty citrus flavors into your cookies. Adding the zest of lemons, limes, or oranges can bring a refreshing brightness that pairs beautifully with the rich buttery notes. A simple ratio is to add one tablespoon of zest for every batch of dough, adjusting to taste. For an even more decadent treat, consider adding a drizzle of citrus glaze once the cookies are baked and cooled.
Another fantastic option involves using spices and extracts to create a warm, comforting flavor profile. Try incorporating ground cinnamon, nutmeg, or ginger into your dough. A teaspoon of cinnamon can transform your cookies into a cozy treat perfect for fall or winter gatherings. Alternatively, using vanilla bean paste instead of regular vanilla extract adds a deeper, more sophisticated flavor that can make a simple cookie feel gourmet.
For chocolate lovers, cocoa powder or mini chocolate chips can be mixed into the dough for a rich, indulgent twist. If you prefer to keep the buttery flavor while still indulging in chocolate, simply replace a couple of tablespoons of flour with unsweetened cocoa powder, or fold in chocolate chips before baking. You can even create marbled cookies by swirling chocolate dough with regular dough for a stunning visual effect.
Lastly, consider enhancing your cookies with nuts and dried fruits for added texture and flavor. Chopped pecans, walnuts, or slivered almonds can add a delightful crunch, while dried cranberries or apricots introduce a chewy sweetness. Just a handful mixed into your dough can make a significant difference, creating a cookie that’s not only beautiful but also satisfying.
Experimenting with flavors opens up a world of delicious possibilities for your Danish butter cookies. Whether you’re looking to craft a seasonal treat or simply want to try something new, these variations will help you create cookies that are not just bakery-perfect, but also uniquely your own. Enjoy the process, and remember that the best part of baking is sharing your creations with loved ones!
Decorating and Presenting Your Danish Butter Cookies
When it comes to making Danish butter cookies, the finishing touches can transform your delicious treats into an eye-catching display worthy of any bakery. With a few simple yet creative ideas, you can elevate the presentation of your cookies, making them not only a delight to taste but also a feast for the eyes.
One of the easiest ways to enhance the look of your cookies is through glazing or icing. A light glaze made from powdered sugar and milk can add a lovely sheen and a bit of sweetness. Just mix the two until you reach your desired consistency and drizzle over cooled cookies. For added flair, you might sprinkle toppings like colored sugar, finely chopped nuts, or even edible glitter right before the glaze sets. This gives your cookies a festive touch, perfect for the holiday season or special occasions.
Another decorating technique is to use melted chocolate. You can dip half of each cookie in chocolate or create a swirl effect by drizzling chocolate on top. Dark, milk, or white chocolate can complement the buttery flavor beautifully. If you want to get playful, consider mixing in a few drops of food coloring to achieve vibrant hues that make your cookies pop. For a gourmet finish, lightly sprinkle sea salt or crushed freeze-dried fruits on top of the chocolate before it hardens.
For a more sophisticated presentation, consider stacking your cookies in neat piles and securing them with decorative twine or ribbon. You can also arrange cookies in small boxes lined with parchment paper, making them great gifts. Adding a sprig of rosemary or a slice of citrus to the boxes can create a charming, rustic feel. Use clear or festive cellophane bags to wrap individual cookies and tie them with a colored ribbon for a perfect party favor.
Lastly, don’t underestimate the power of a decorative plate or platter. Choose a beautiful dish that complements your kitchen décor or the theme of your event. Arrange the cookies in an overlapping pattern or in a circular formation to draw the eye. Serving them with a small bowl of fresh fruit or nuts can provide a nice contrast and invite guests to enjoy them with a cup of tea or coffee, creating a truly delightful experience.
With these decorating and presentation techniques, your Danish butter cookies will surely impress family and friends. Let your creativity shine, and don’t hesitate to experiment with flavors and styles that are uniquely yours! Enjoy baking and sharing these sweet treats-there’s nothing quite like the joy of homemade cookies!
Storing and Preserving Your Cookies for Freshness
To keep your Danish butter cookies as fresh and delicious as the moment they were baked, it’s essential to store them properly. Though these treats are incredibly tempting and often don’t last long, a few simple strategies can help maintain their wonderful texture and flavor.
First, consider the container you choose for storage. An airtight container is your best friend in preserving cookies. Metal tins are ideal, especially if you’re making a larger batch. They not only keep air out but also help retain the cookies’ softness. If you’re using plastic containers, make sure they’re lidded tightly and aren’t filled to the brim-allowing some air circulation can prevent sogginess.
When it comes to room temperature storage, your Danish butter cookies will stay fresh for about one week. To maximize this, stack them carefully in your container. It’s best to use layers of parchment paper to separate the cookies, preventing them from sticking together or breaking. If you’re looking to keep them longer, freezing is an excellent option. You can freeze baked cookies for up to three months. Just make sure to cool them completely, then individually wrap each cookie in plastic wrap or place a piece of parchment paper between layers in a freezer-safe container.
If you opt for freezing, be sure to label your containers with the date and type of cookie. This way, you can easily track what you have on hand. When you’re ready to enjoy them again, simply remove the desired amount from the freezer and let them come to room temperature. There’s nothing quite like the taste of homemade cookies, and with these storage tips, you can savor every crumb even days or weeks later. Happy baking!
Troubleshooting Common Baking Problems
Baking Danish butter cookies can be a delightful experience, but sometimes things don’t go quite as planned. Whether you’re facing spreading issues, dough consistency troubles, or flavor concerns, it’s important to know how to troubleshoot these common problems to achieve the perfect cookie every time.
One of the most frequent issues is cookies spreading too much on the baking sheet. This often occurs if the butter is too soft or if the dough hasn’t been chilled long enough before baking. To maintain the crisp edges and tender center that Danish butter cookies are known for, make sure your butter is just softened, not melted. When making the dough, allow it to rest in the refrigerator for at least 30 minutes before piping. This will help firm it up and prevent excessive spreading in the oven.
If you find yourself struggling with piping the dough, it might be too thick, making it difficult to create that iconic shape. In this case, consider adjusting the moisture content by adding a little milk or water, one teaspoon at a time. Mix well after each addition until the dough reaches your desired piping consistency. Remember, a thicker dough is generally best for piping, so don’t be afraid to experiment a bit.
Another common issue is a lack of flavor in the cookies. To enhance the taste, consider using high-quality butter, as it significantly contributes to the richness of the cookies. Additionally, you can incorporate a splash of vanilla extract or a pinch of salt to elevate the flavor profile further. For those feeling adventurous, try adding citrus zest or spices like cinnamon or cardamom for a unique twist.
Lastly, keep an eye on the baking time. Overbaking can lead to dry cookies, while underbaking might leave them too soft. Aim for a golden color around the edges; this is usually a good indicator that they’re done. If unsure, do a quick taste test-just remember, they’ll continue to firm up as they cool!
With these tips in mind, you’ll be ready to conquer any baking hiccups that come your way, ensuring each batch of Danish butter cookies is as delicious as the last. Enjoy the process, and happy baking!
Baking Tips from the Pros: Get Bakery-Perfect Results
There’s nothing quite like the joy of reaching for a beautifully crafted Danish butter cookie, especially when they come from your own kitchen. Achieving bakery-perfect results at home doesn’t require you to be a master baker; it just takes a few thoughtful tips and the right approach. Here’s how to elevate your cookie game and create those irresistible treats that make everyone think you’ve ordered them from a fancy bakery.
Get the Butter Just Right
The key to the rich flavor and tenderness of Danish butter cookies is all in the butter. Use high-quality unsalted butter for the best results, as it enhances the cookies’ richness. Make sure your butter is softened to room temperature, not melted-this allows for proper incorporation with the sugar, creating a light and airy texture. If your butter is too soft, chill the dough for a bit longer before piping to control spreading during baking.
Chill for Perfection
Chilling your cookie dough is not just a suggestion; it’s essential. After you’ve mixed your ingredients, wrap the dough in plastic wrap and refrigerate it for at least 30 minutes. This not only helps the flavors meld but also firms up the dough, ensuring your cookies hold their shape and have that coveted crisp edge when they come out of the oven.
Don’t Skip the Taste Test
Always sample your dough before baking! A little taste will help you determine if it needs a pinch more salt to balance the sweetness or an extra splash of vanilla for a deeper flavor. Remember, the dough is your most reliable guide to the final product. Plus, it’s one of the best parts of baking-who doesn’t love a spoonful of sweet batter?
Monitor Your Baking Time
Every oven behaves a bit differently, so keep a close eye on your cookies as they bake. Start checking for doneness a couple of minutes before the recommended time. You want the edges to be a lovely golden brown while the centers remain slightly soft; they’ll firm up as they cool. If you find that your cookies aren’t browning as expected, consider rotating your baking sheet halfway through. This simple step can prevent uneven baking and ensure every cookie is as perfect as the last.
Experiment with Decor
Once your cookies are out of the oven and cooling, it’s time to get creative! You can keep them plain for a classic look or dust them with powdered sugar for an elegant finish. For a festive touch, consider dipping some in chocolate or garnishing with sprinkles or chopped nuts. Not only does this add visual appeal, but it can also introduce new flavors and textures that elevate your cookie experience.
By incorporating these pro tips into your baking routine, you’ll create Danish butter cookies that not only taste amazing but look like they belong in a bakery display. Enjoy the process, embrace your creativity, and get ready to share (or keep!) your delicious cookies! Happy baking!
Pairing Suggestions: What to Enjoy with Your Cookies
Danish butter cookies are not only delicious but also incredibly versatile when it comes to pairing them with beverages and other treats. The rich, buttery flavor and crumbly texture of these cookies make them a perfect complement to various drinks and snacks, elevating your enjoyment to the next level. Whether you’re hosting a cozy tea party or simply enjoying a quiet moment at home, consider these delightful pairing suggestions.
Classic Beverage Pairings
When it comes to classic pairings, nothing beats a cup of tea or coffee alongside your Danish butter cookies. The warmth and slight bitterness of these drinks beautifully balance the sweetness of the cookies. Try serving them with:
- Earl Grey Tea: The bergamot flavor in Earl Grey enhances the cookie’s buttery richness.
- Coffee: A medium roast pairs well, providing a nice contrast without overwhelming the cookie’s flavor.
- Herbal Tea: Try chamomile or peppermint for a soothing complement to the cookie’s sweetness.
Making it a Dessert Experience
If you’re in the mood for something sweet, these cookies can shine in a dessert setting too. Crumble a few cookies over vanilla ice cream for an enticing crunch or serve them with a drizzle of chocolate or caramel sauce for an indulgent treat. The combination of temperatures and textures is sure to delight your palate.
Fruit Complementation
Fresh fruit can also enhance your cookie experience. The light acidity of certain fruits helps to cut through the richness of the butter cookies. Pair your cookies with:
- Sliced Strawberries: Their sweetness and slight acidity make a refreshing contrast.
- Raspberries: A handful of fresh raspberries adds a pop of tartness that’s delightful.
- Apple Slices: Crisp apple slices can provide a refreshing crunch alongside the soft, buttery cookies.
By exploring these pairing suggestions, you’re sure to create a delightful experience that celebrates the unique flavors of Danish butter cookies. Enjoy experimenting and finding your favorite combinations, while savoring the joy of homemade baking!
Incorporating Seasonal Flavors into Your Baking
not only enhances the taste of your Danish butter cookies but also makes them more festive and fun to enjoy throughout the year. Think of spices that evoke the warmth of fall or zesty touches that remind you of summer. A simple tweak can transform your classic recipe into something truly special for every season.
One easy way to add seasonal flair is through spices. For autumn, consider mixing in cinnamon, nutmeg, or ginger to your cookie dough. These spices create a warm, cozy aroma that fills your kitchen and pairs perfectly with a cup of hot cider or tea. During the holiday season, a hint of allspice or even a splash of vanilla extract can elevate the cookies to festive treats, making them a hit at any gathering. Experiment with about 1/2 teaspoon of spice per batch to start, adjusting to your taste.
Moving into spring and summer, citrus zest can bring a fresh brightness to your Danish butter cookies. A bit of lemon or orange zest mixed into the dough will not only lift the flavor but also add a lovely color and aroma. Additionally, consider folding in some dried fruits like cranberries, cherries, or apricots for a chewy surprise in each bite. This not only adds flavor but also visual appeal, making your cookies look as good as they taste.
Lastly, don’t shy away from incorporating elements of whimsy. For a fun twist, consider using decorative sugars or colored icing to adorn your cookies based on the season-think pastel colors for Easter or rich reds and greens for the winter holidays. This personal touch not only makes your cookies more festive but also allows for creativity and enjoyment in the decorating process. Celebrate each season with your Danish butter cookies by experimenting with flavors and decorations that resonate with the time of year!
Q&A
Q: What makes Danish Butter Cookies different from other cookies?
A: Danish Butter Cookies are characterized by their rich buttery flavor, crumbly texture, and a unique melt-in-your-mouth quality. Unlike other cookies, they often use a higher butter ratio, which contributes to their distinct taste and texture, making them ideal for gifting in decorative tins.
Q: How do I achieve a perfectly even bake for Danish Butter Cookies?
A: To ensure an even bake, it’s crucial to maintain an accurate oven temperature. Use an oven thermometer to check the heat. Also, bake the cookies on baking sheets lined with parchment paper, placing them in the center of the oven, and rotate the trays halfway through baking for optimal results.
Q: Can I use alternative flours for a gluten-free version of Danish Butter Cookies?
A: Yes, you can substitute all-purpose flour with gluten-free blends like almond flour or a commercial gluten-free flour mix. Adjustments may be needed in the amount of butter to reach the desired consistency, so start with a 1:1 ratio and modify as needed for texture.
Q: How long can I store Danish Butter Cookies and maintain their freshness?
A: Danish Butter Cookies can be stored in an airtight container for up to 2 weeks at room temperature. For longer storage, consider freezing them in a tightly sealed container, where they can last up to 3 months while retaining their delightful flavor and texture.
Q: What decorations can I use to make Danish Butter Cookies visually appealing?
A: You can enhance your cookies with decorative icing, chocolate drizzles, or edible glitter. Using colorful sprinkles before baking can also add a festive touch. For an elegant presentation, consider dusting with powdered sugar after they cool, adding both sweetness and a beautiful finish.
Q: What are the best flavor variations for Danish Butter Cookies?
A: Popular flavor variations include almond, lemon zest, and coconut. You can also add spices like cinnamon or cardamom for a unique twist. Experiment with extracts too-substituting vanilla with other flavors can create exciting new cookie experiences while keeping the base recipe consistent.
Q: How can I prevent Danish Butter Cookies from spreading too much during baking?
A: To prevent spreading, ensure the butter is adequately chilled before mixing. Additionally, chilling the dough for at least 30 minutes prior to baking can help maintain the cookie’s shape. Use a cookie scoop to portion evenly to help create uniform sizes that bake more consistently.
Q: What is the ideal butter temperature for making Danish Butter Cookies?
A: The ideal butter temperature for making Danish Butter Cookies is softened, about 65°F (18°C). It should be creamy and easily spreadable, not melted. This temperature helps achieve a light, airy texture while allowing for proper incorporation with other ingredients.
The Way Forward
Now that you have the perfect Danish Butter Cookies recipe, it’s time to bring the warmth of homemade baking into your kitchen! Remember, these delightful cookies not only impress family and friends but are also a fantastic gift idea, especially when packaged in beautiful tins. If you’re looking for additional tips on enhancing your baking skills, check out our articles on baking essentials and creative cookie variations.
Don’t hesitate to share your baking triumphs in the comments-your experiences could inspire someone else! And for ongoing inspiration, join our newsletter for exclusive recipes and tips delivered right to your inbox. Dive into the joy of baking today; your cookie journey awaits!
Get our latest guides, news, and insights highlighted in your Google Search & AI Overviews.










