
A comprehensive wine making timeline and what to do spans from 6 months for light, crisp fruit and white wines up to 24 months for full-bodied oaked reds. Following a structured winemaking calendar ensures precise timing across primary vigorous fermentation (days 1–10), secondary quiet anaerobic fermentation (weeks 2–6), periodic racking and clarification (months 2–6), and bottle aging to develop bouquet, stabilize tannins, and prevent bottle refermentation.
Complete Wine Making Timeline and What to Do at Every Stage
Whether you are embarking on your very first fruit wine harvest or researching an exact wine making timeline and what to do (often searched colloquially as a winke making timeline and what to do at home), successful fermentation depends on respecting biological milestones rather than rushing the clock. Below is the master chronological blueprint practiced by homestead vintners to guide your vessel through every critical transformation.
| Stage & Phase | Timeframe | Critical Action: What to Do | Specific Gravity Target | Mitigated Pitfall |
|---|---|---|---|---|
| Phase 1: Primary Fermentation | Days 1 to 7 | Pitch rehydrated wine yeast, punch down fruit cap twice daily, aerate must | 1.090 drops to 1.020 | Temperature spikes (>82°F) killing yeast |
| Phase 2: Secondary Fermentation | Days 8 to 30 | Siphon must to glass carboy under sanitized airlock, minimize headspace | 1.020 drops to 0.996 | Air exposure causing vinegar acetification |
| Phase 3: First & Second Racking | Months 1 to 3 | Rack clear wine off gross lees into fresh carboy, add Campden tablet (potassium metabisulfite) | Stable terminal gravity (< 0.998) | Lees autolysis producing sulfur off-odors |
| Phase 4: Clarification & Fining | Months 3 to 6 | Cold-crash or dose with natural bentonite/sparkalloid, degas wine completely | Crystal clarity under backlight | Bottling hazy wine with dissolved CO2 |
| Phase 5: Bottling & Cellar Age | Months 6 to 18+ | Bottle in sterilized glass with natural corks, cellar horizontally at 55°F | Optimal maturation window | Bottle shock (drinking within 30 days) |
Did you know that the journey from grape to glass can take anywhere from a few weeks to several years? Understanding the timeline of wine production not only piques interest but also helps aspiring winemakers set realistic expectations. Whether you’re considering crafting your own homemade wine or just have a curiosity about the process, knowing how long it takes to make wine is essential.
This guide will break down each stage of winemaking, from harvesting the grapes to the final bottling, and address common concerns like aging and fermentation time. Along the way, you’ll discover how environmental factors and personal goals can influence the timeline. Whether you’re a novice or have some experience, uncovering these insights will empower you to embark on your winemaking adventure with confidence. So, let’s dive in and explore the fascinating process that transforms grapes into one of the world’s favorite beverages!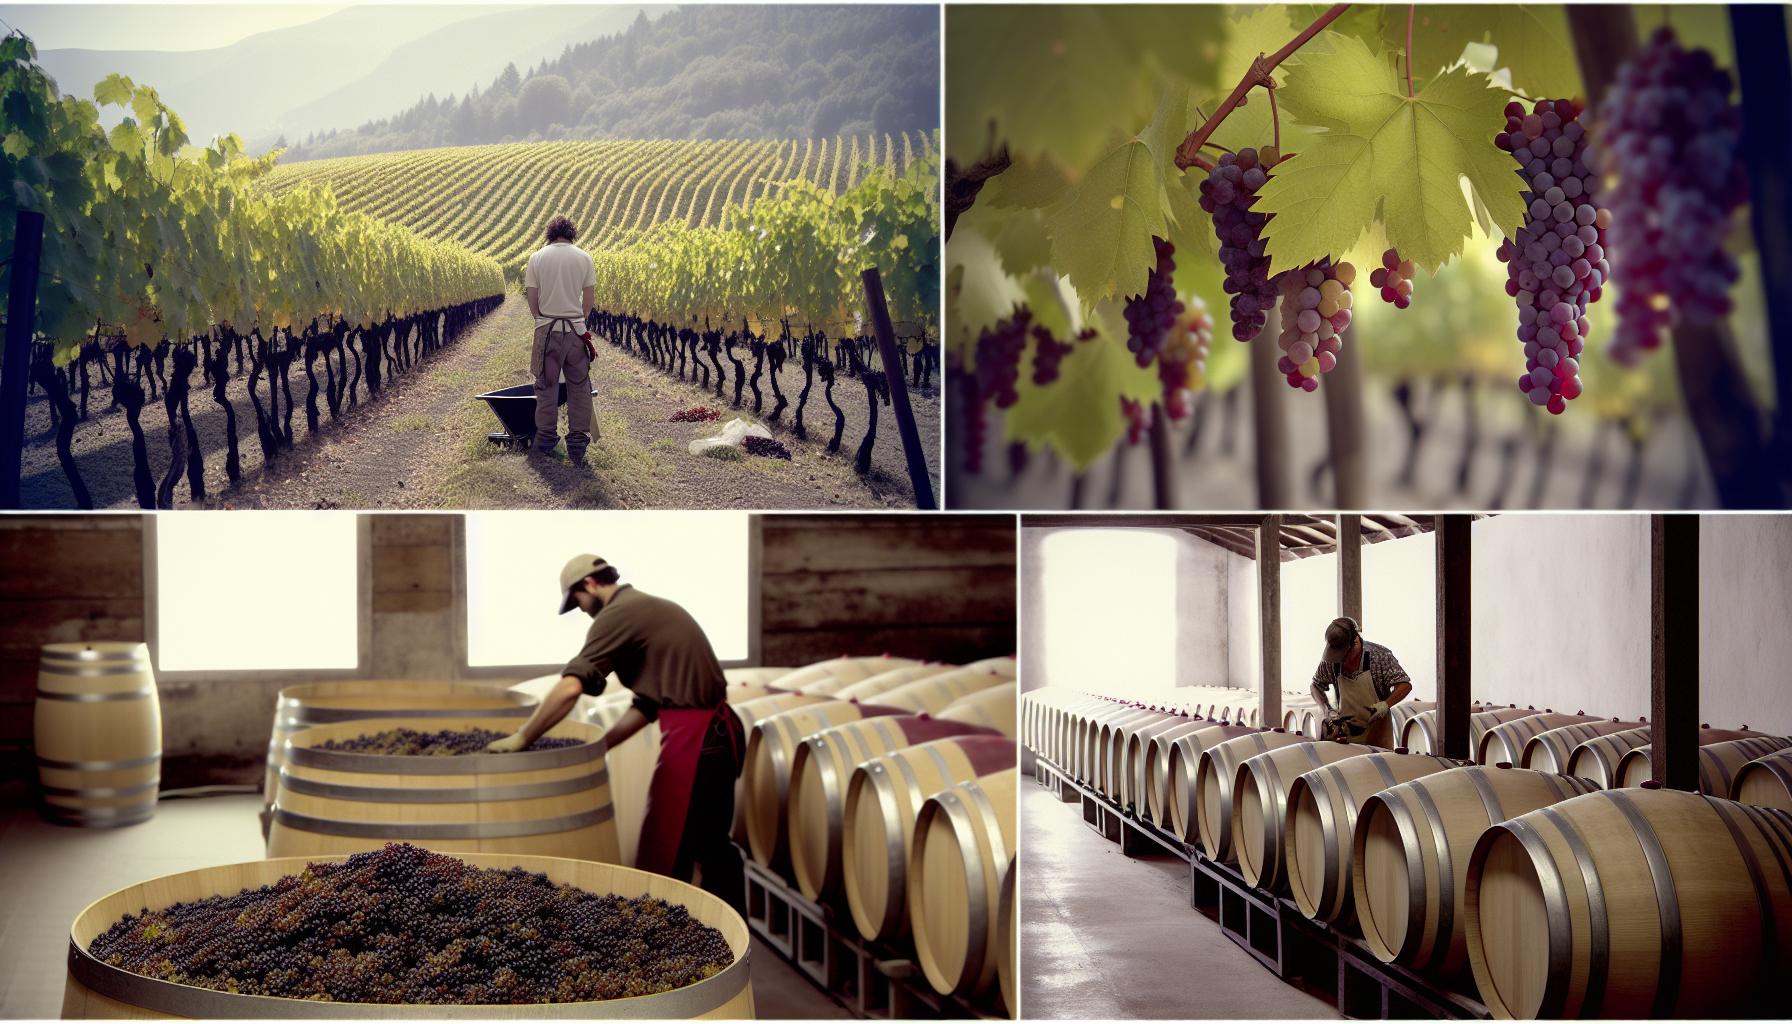
How Winemaking Works: A Simple Overview
Winemaking is as much an art as it is a science, producing delightful liquids that have captured human hearts for centuries. The journey from grape to bottle is intricate, filled with fascinating processes that transform simple fruit into complex wines. At its core, winemaking involves mastering the fermentation of grapes, where billions of tiny microorganisms like yeast play a pivotal role in crafting flavors, aromas, and textures. Whether you’re dreaming of making your own merlot or just curious about what goes into that glass of cabernet at dinner, understanding the basics of winemaking can be both enlightening and inspiring.
The first step in the process begins with the grapes themselves. They must be carefully selected for quality and ripeness, as this will influence the final product. Once harvested, the grapes undergo crushing and pressing, components essential for releasing the juice that starts the fermentation process. This phase is crucial-it sets the stage for the development of the wine’s character. After extraction, the juice is often placed into fermentation vessels where natural or added yeasts will convert sugars into alcohol and carbon dioxide over time. This fermentation stage is what turns that sugary juice into the beloved beverage we all enjoy.
After fermentation, the wine enters a maturation stage, which can vary widely based on the type of wine being produced. Red wines often benefit from aging, allowing them to develop deeper flavors and tannins, while some whites are best served fresh and fruity. This aspect of winemaking can take anywhere from a few months to several years, depending on the desired profile. Once the wine has reached its peak, it’s finally ready for bottling-an exciting moment for any home winemaker or vintner. Each bottling is usually followed by labeling, which not only identifies the wine but also reflects its unique story.
In navigating the winemaking journey, it’s also essential to consider the various factors that can affect the timeline and quality of the final product. For example, temperature control during fermentation, exposure to oxygen during aging, and even the cleanliness of your equipment can make or break your wine. Mistakes are common, but learning from them is part of the process. Remember, good winemaking is as much about patience and observation as it is about technique and equipment. So whether you’re planning your first batch or looking to refine your skills, embrace the journey and enjoy the delicious results of your hard work!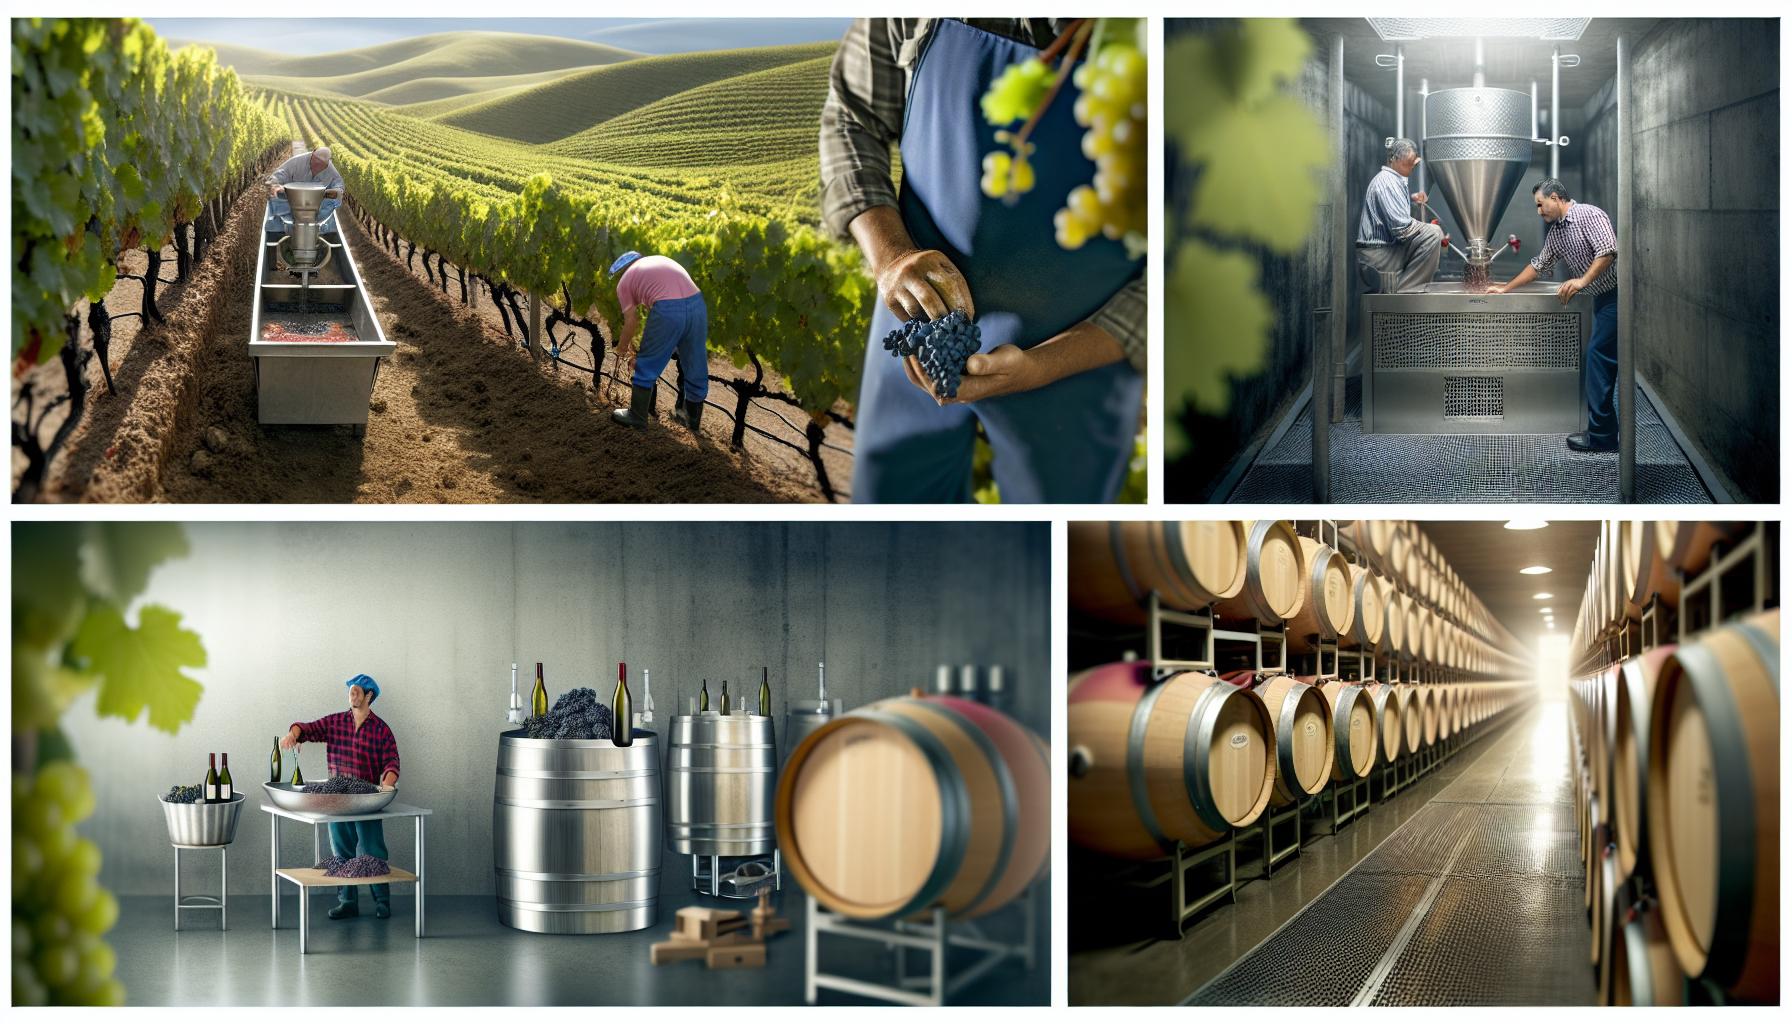
Key Stages in the Winemaking Process
Crafting wine is a captivating journey that begins long before you pour your first glass. Understanding the helps demystify this art and allows aspiring winemakers to embrace their creativity. Each step has its own timeline and requirements, contributing to the overall character of the wine-much like the ingredients in your favorite recipe!
Harvesting the Grapes
The first crucial step is harvesting the grapes, typically taking place in late summer to early fall when the fruit is at its peak ripeness. Timing matters! The quality of the grapes will directly impact the final taste. For home winemakers, this could mean sourcing local grapes or perhaps growing your own. Harvesting can be labor-intensive, so be prepared for an afternoon of work-and maybe some musical company!
C crushing and Pressing
Once harvested, grapes are crushed to release their juices and then pressed to separate the juice from the skins, seeds, and stems. This usually takes a few hours. At home, you can use simple equipment-a clean bucket and a potato masher will do in a pinch! This stage is vital as it sets the foundation for the flavor profile. Keep your equipment clean to avoid unwanted contaminants!
Fermentation
Fermentation is truly the heart of the winemaking process. Yeast (natural or added) converts the sugars in the grape juice into alcohol and carbon dioxide over several days to weeks. Maintaining the right temperature is crucial; you want to aim for around 70°F to 75°F (21°C to 24°C) for red wines and cooler for whites. This step can take anywhere from 1 to 3 weeks. Don’t worry if it gets a bit bubbly or foamy-this means the yeast is working its magic!
Aging the Wine
After fermentation, the wine is transferred to aging containers, such as oak barrels or stainless-steel tanks. This stage can last from a couple of months to several years depending on the desired complexity and flavor characteristics. The shorter aging time can yield fresher, fruitier wines, while longer aging develops richer, smoother profiles. Consider trying small batches with varying aging times to discover your preferred taste!
Bottling and Labeling
Once your wine has aged beautifully, it’s time to bottle! This phase is not just about sealing the wine in glass; it’s also about labeling. You can design your own labels that reflect the personality of your creation. Always use clean bottles and proper corking techniques to ensure your wine stays fresh for future enjoyment. This process may take a day or two-including cleaning bottles and setting up your bottling station.
Each of these stages is vital in shaping the character of your wine, and while they involve a bit of patience and care, remember: creating wine is as much about enjoying the process as it is about the final product. Don’t rush; each step is a chance to learn and grow your skills in the delightful art of winemaking. So roll up your sleeves, enjoy the journey, and celebrate your homemade masterpiece!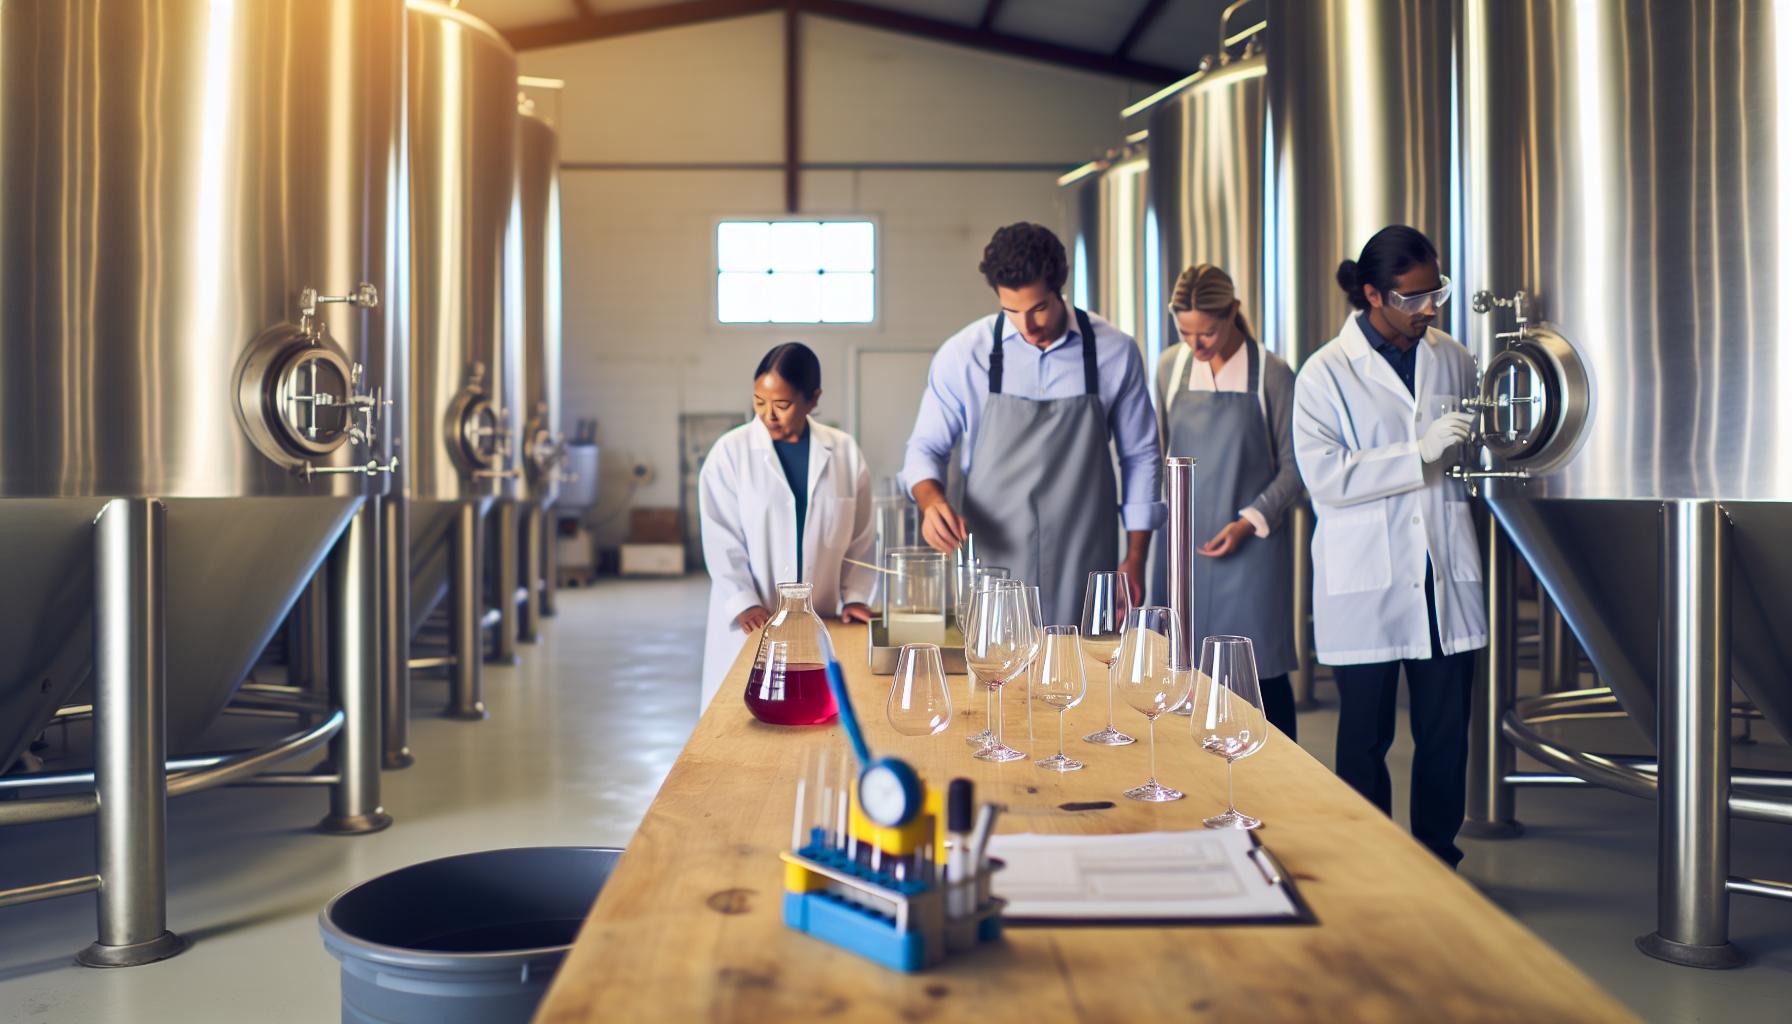
Fermentation: The Heart of Wine Production
Fermentation is where the magic truly happens in winemaking, transforming grape juice into delightful wine. Imagine a bubbly cauldron of juice filled with yeast, working tirelessly to convert sugars into alcohol and carbon dioxide. This process can take anywhere from one to three weeks, depending on a few key factors. Don’t worry if your mixture appears lively with bubbles and foams-that’s a good sign that your yeast is hard at work!
To achieve the best results during fermentation, maintaining the right temperature is crucial. Aim for around 70°F to 75°F (21°C to 24°C) for red wines, while white wines may prefer slightly cooler temperatures. If your environment is too hot or too cold, it can affect the yeast’s performance and, ultimately, the quality of your wine. It’s helpful to monitor the fermentation closely, as every batch is unique and may require slight adjustments to ensure optimum health for your yeast.
When those first few days of fermentation are complete, you may notice a change in the aroma and color of the juice. As the yeast continues to do its job, you’ll smell that wonderful fermenting scent-a mix of sweetness and hints of the grape variety you’re using. This is an excellent moment to take a taste (just a small sip!). You’ll start to feel the transformation happening; the sweetness will begin to fade as the yeast consumes the sugars. By the end of fermentation, if you taste the wine, it should have a more balanced flavor profile, with less sweetness and the beginnings of the complexity you can expect in your finished product.
One practical tip: be sure to keep your fermentation equipment clean. Adequate sanitation prevents unwanted bacteria from spoiling your precious creation. Use clean containers, and if you’re using equipment like airlocks, make sure they’re also sanitized. A little care during fermentation will go a long way toward achieving a fantastic final product, so embrace the process! Enjoy the bubbling magic happening in your kitchen and look forward to the next stages of your winemaking journey.
Timeframes for Crushing and Pressing Grapes
Crushing and pressing grapes may seem like a straightforward task, but it’s a critical step that greatly influences the quality and characteristics of the final wine. This phase occurs immediately after harvest and is usually completed within a few hours to a day, depending on your approach and the amount of grapes you’re working with. Throughout this process, you’re not just extracting juice; you’re also setting the stage for the wine’s flavor profile and texture.
When it comes to crushing, the key is to break the skins open without damaging the seeds. You can use a simple hand-crusher or even your feet for a more traditional approach-just make sure everything is clean! This initial crushing releases the must, the mixture of juice, skins, and seeds. After this, pressing typically follows soon after. If you’re pressing with a manual or hydraulic press, aim to extract most of the juice while leaving behind unwanted solids. This step could take anywhere from 30 minutes to a couple of hours depending on the amount of fruit and your equipment.
It’s worth bearing in mind that some winemakers choose to do a two-step process: a gentle first press to extract free-run juice and a more forceful second press to collect additional juice, albeit with more tannins and less desirable flavors. If you’re using a small home setup, focus on getting everything clean and set up so that your crushing and pressing flows smoothly. Don’t fret if your timeline isn’t perfect; flexibility is part of the winemaking adventure. Just remember, the more care you take during these initial steps, the better your wine will turn out down the line. Enjoy the process-it’s where the spirit of your wine begins!
Aging Wine: Understanding the Timeline
Aging wine is a fascinating phase where the raw potential of your wine transforms into a polished and complex beverage. This stage varies widely depending on the type of wine you are making, the grape variety, and the desired characteristics you want to achieve. Generally, aging can take anywhere from a few months to several years, and understanding this timeline is crucial to accessing the potential beauty of your homemade wine.
Most young white wines can mature in as little as six months in stainless steel or neutral barrels, whereas reds often benefit from longer aging, typically around one to three years. However, some premium varieties, like Cabernet Sauvignon or Barolo, may require five years or more in oak or bottle to develop their full complexity. During aging, various chemical reactions take place. The wine can gain aromas and flavors, soften harsh tannins, and develop that enticing character that makes it truly special.
Factors Influencing Aging
Several factors influence how long you should age your wine:
- Type of Wine: Different grapes and wine styles dictate aging potential. For example, high-acid whites like Riesling may not require much aging, whereas full-bodied reds benefit significantly.
- Storage Conditions: Consistent temperature, humidity, and light exposure are vital. Ideally, wine should age in a cool, dark place, ideally around 55°F (13°C).
- Container Type: Aging in oak barrels will impart flavors and tannins to the wine, which can also influence the aging timeline compared to aging in glass bottles.
The aging process may seem daunting, but it’s a beautiful journey to experiment with taste. Regularly sample your wine as it ages to understand how its flavor evolves over time. It’s not just about waiting; it’s about tasting and learning. Having patience during this phase prepares you for the rewarding experience of uncorking a bottle of your own aged wine, perfect for savoring or sharing with friends. Enjoy the process, and remember: each bottle you age carries the unique imprint of your creativity!
Bottling and Labeling: What to Expect
Imagine the moment when your homemade wine, after months of meticulous care, is ready to be bottled. It’s an exciting culmination of your winemaking journey! Bottling is not just about transferring the wine to a bottle; it’s a crucial step that affects its final taste and quality. Here’s how to navigate this important phase with ease and confidence.
Start by ensuring that your workspace is clean and sanitized. Sterilization is key; this prevents unwanted bacteria from tainting your carefully crafted wine. You’ll need clean bottles, corks, and perhaps a few basic tools like a funnel and a corker. If you’ve taken care of your wine throughout the fermentation and aging process, bottling should be straightforward. Pour the wine gently into each bottle, leaving a little space at the top to allow for any expansion. This is often referred to as “headspace,” and it’s essential for the integrity of the wine.
Once filled, it’s time to seal those bottles! Wedge a cork securely into each bottle. If you’re using a corker, it will make your job much easier. But, if you don’t have one, just ensure the cork is snugly in place. After bottling, it’s a great idea to give your bottles a gentle wipe to remove any spills or drips.
Labeling your bottles adds a personal touch and helps you keep track of your creations. Consider including the name of the wine, the grape variety, the vintage year, and perhaps a little note about your tasting experience or any specific flavors you aimed for. You can design simple labels at home or get creative with fancy ones; it’s all part of the fun!
As you complete the bottling process, anticipate the next stage: aging in the bottle. This time can vary depending on the type of wine you’ve made, but patience is key here. Just like in cooking, where the flavors meld over time, your wine will continue to develop its character. So, take a moment to admire your handiwork-the bottles lined up, filled with your unique creations. There’s nothing quite like the satisfaction of seeing (and eventually tasting) the fruits of your labor!
Factors Affecting Winemaking Time
The journey of winemaking is a beautiful blend of art and science, with various factors influencing how long it takes to transform grapes into a delicious bottle of wine. Understanding these factors can help you plan your winemaking adventure more effectively and ensure that you’re ready to savor your creation at just the right moment.
One major factor is the type of grape used. Different grape varieties exhibit varying fermentation times due to their sugar content and skin thickness. For instance, a robust Cabernet Sauvignon might take longer to ferment compared to a lighter Pinot Noir. The time it takes to crush and press the grapes also comes into play; this will depend on whether you’re using whole clusters or destemmed grapes.
The conditions in which you’re fermenting also matter significantly. Temperature and the presence of nutrients can affect yeast activity, which directly influences fermentation duration. Warmer temperatures generally speed up fermentation, while cooler conditions can prolong it. Additionally, sanitation practices are crucial-ensuring your equipment is clean minimizes the risk of unwanted bacteria that can spoil your wine and require longer fermentation times.
Lastly, don’t underestimate the importance of aging. After fermentation, your wine typically needs time to mature in barrels or bottles. This age is essential for the development of flavors and aromas. Red wines often benefit from a longer aging period than whites, with some requiring years to reach their peak. This timeline can be a delicate balance between patience and readiness, as each wine will reveal its personality over time.
By keeping these factors in mind, you’ll be better equipped to navigate the winemaking process with confidence and creativity. Embrace the journey, experiment with different methods, and enjoy the anticipation that comes with waiting for your homemade wine to reach that perfect moment to shine!
Common Mistakes to Avoid in Wine Making
The journey of making wine is filled with opportunities to learn, and knowing where common pitfalls lie can make a huge difference in the quality of your final product. One of the biggest mistakes many aspiring winemakers make is rushing through the fermentation process. Fermentation is where the magic happens and trying to expedite it can lead to off-flavors or incomplete fermentation. Always give your wine the necessary time to ferment fully; patience is key here. Take the time to monitor your fermentation closely, focusing on temperature and specific gravity, to ensure everything is progressing smoothly.
Another frequent misstep is neglecting sanitation. It’s tempting to skip cleaning steps when you’re eager to start, but even the smallest contamination can spoil weeks-or even months-of hard work. Be diligent with sanitizing your equipment, bottles, and workspace. A simple solution of bleach and water, followed by thorough rinsing, can go a long way in preventing unwanted microbial growth. Remember, a clean winemaking environment should be non-negotiable.
Overlooking the aging process can also be detrimental. While some wine types are ready to drink sooner, many reds and even some whites benefit from aging, which allows complex flavors to develop. Don’t rush to bottle or consume your wine; instead, let it mature for the right duration as per the grape variety and your desired taste profile. You can always sneak a taste along the way to monitor its evolution!
Lastly, a common error is not recording details of each step. Keeping a log of what you did, from the types of grapes used to fermentation times and tasting notes, will help you replicate what’s worked or adjust for future batches. With each batch, you’re honing your craft, and reflective notes will become your guidebook for future winemaking adventures.
Embrace these tips as part of your winemaking toolkit, and you’ll increase your chances of producing a delightful bottle every time! Remember, making wine is a labor of love, and every little thing you do adds to the flavor of your journey.
Tips for Speeding Up the Winemaking Process
To speed up the winemaking process while still aiming for a delicious result, there are several effective strategies you can adopt. First and foremost, consider the temperature at which you ferment your wine. Warm temperatures can accelerate fermentation-just be cautious not to go too high, as this can create off-flavors. Ideally, aim for a range that encourages yeast activity without compromising the subtlety of your wine’s flavor. You might find that fermenting in the warmer end of the yeast’s preferred temperature range speeds things up significantly.
Another tip is to ensure your grapes are as ripe as possible. The better the quality of your fruit, the easier it is for the fermentation process to produce the desired flavors and aromas. You might opt to crush your grapes quickly after picking to minimize exposure to air, which can invite spoilage. If you’re using dried fruit, remember that soaking them in warm water can help to jumpstart the fermentation process.
Don’t underestimate the power of nutrients! Using yeast nutrient can make a significant difference, providing your yeast with the necessary minerals and vitamins to thrive and speed through fermentation. This can be particularly beneficial if you’re working with fruit that might be low in nutrients.
Finally, regularly monitoring and managing your fermentation conditions means you can catch any issues early. Take hydrometer readings to track specific gravity, which helps you determine the fermentation stage and anticipate how much longer it may take. This attention can help you make informed adjustments in real-time, preventing prolonged fermentation times. Being proactive in your winemaking approach creates a rewarding and successful experience with every batch you produce!
Exploring Different Wine Types and Their Timelines
In the world of winemaking, the type of wine you’re crafting significantly influences the timeline from grape to glass. Each variety has unique characteristics that dictate not only the winemaking process but also the aging potential. For instance, red wines typically require longer fermentation and aging periods compared to white wines, due to the presence of tannins and pigments extracted from the grape skins during maceration.
Understanding Wine Type Timelines
Here’s a quick overview of common wine types and their typical production timelines:
| Wine Type | Fermentation Time | Aging Time | Total Time |
|---|---|---|---|
| White Wine | 1 to 2 weeks | 1 to 6 months | 2 to 8 months |
| Red Wine | 1 to 3 weeks | 6 months to several years | 7 months to several years |
| Rosé Wine | 1 to 2 weeks | 1 to 3 months | 2 to 5 months |
| Sparkling Wine | 1 to 2 weeks | 9 months to several years | 10 months to several years |
Starting with white wines, these are generally fermented at cooler temperatures to preserve their fresh and fruity characteristics. The entire process, from fermentation to bottling, might take anywhere from two to eight months. Red wines, on the other hand, go through a more complex process. After fermentation, they undergo extended aging in barrels or bottles to soften the tannins and develop rich flavors, often taking several months to several years to reach optimal quality.
Rosé wines are a delightful middle ground, offering the crisp refreshment of whites while still exhibiting some of the depth associated with reds. They usually complete the winemaking journey in about two to five months. For those venturing into sparkling wines, anticipate a longer commitment. The traditional method of secondary fermentation in the bottle can extend the aging process from about ten months to several years, culminating in a complex flavor profile and effervescence.
Embracing the varied timelines based on the type of wine you select not only helps set expectations but also enhances your winemaking experience. Whether you’re making a quick white to enjoy with dinner or crafting a bold red to cellar for special occasions, understanding these nuances allows you to approach your wine with confidence and creativity. Remember, every wine is a journey, and each bottle reflects the time and care you invest along the way!
The Science Behind Wine Quality and Time
The journey of winemaking is as much a science as it is an art, with time playing a crucial role in developing the quality and character of the wine. When you think about it, each bottle of wine is the result of countless reactions and transformations. These processes, influenced by various factors, dictate how your wine evolves in complexity and flavor with time.
During fermentation, for instance, the sugars in the grape juice are converted into alcohol. This is not a quick process; it can take anywhere from a week to several weeks, depending on the wine type and the desired outcome. After fermentation, aging is where the magic truly happens. During this stage, wine interacts with oxygen, and its flavors and aromas are refined. For red wines, this period is extended, allowing tannins to soften and the fruitiness to mature. Some reds might even rest in oak barrels, where they gain additional layers of flavor. On the other hand, white wines, often fermented in stainless steel to maintain freshness, undergo shorter aging periods.
Time also affects the chemistry of wine, leading to changes that can significantly enhance its quality. During aging, various compounds in the wine form and break down. For example, esters and phenolic compounds play essential roles in aroma and taste development. This complexity is why many wines improve with age, developing characteristics that simply can’t be rushed. It’s fascinating to see how a young, bright wine can evolve into a mature, nuanced one over just a few months to several years, revealing hidden potentials with each passing season.
When making wine at home, understanding the science behind these timelines can guide your decisions. For those just starting, don’t feel pressured to rush the process. Give your wine the time it needs to develop its complexity. After all, the patience you invest in fermentation and aging will ultimately reward you with a richer, more fulfilling wine that reflects your dedication and craft. Each step you take-from the selection of your grapes to the final bottling-adds to the story of your wine, making it uniquely yours. So pop that cork and celebrate the journey; your bottle is a labor of love!
Understanding Vintage: What Does It Mean?
Understanding vintage is an essential aspect of wine appreciation that many newcomers may overlook. A wine’s vintage refers to the year in which the grapes were harvested. This seemingly simple piece of information carries a wealth of meaning, affecting everything from flavor profile to aging potential. Weather conditions, soil quality, and vineyard practices vary significantly from year to year, culminating in distinct expressions of wine that define each vintage.
In more challenging seasons, a vineyard may produce less fruit, or the grapes may not reach the desired ripeness, affecting the overall quality. Conversely, a vintage that benefits from ideal growing conditions-ample sunlight, moderate rainfall, and favorable temperatures-often results in a wine of exceptional quality. For example, a fantastic vintage like 2015 in many regions, such as Bordeaux and Napa Valley, is celebrated for producing wines with depth and complexity. Enthusiasts often seek out these wines for cellaring, anticipating how they might evolve and mature over the years.
When diving into winemaking, it’s crucial to remember that your choice of grapes and harvest year can significantly influence your final product. If you’re just starting, consider experimenting with wines from a particularly good vintage in your region-this can provide insight into how environmental factors shape flavors. Additionally, keeping a journal of your own harvest conditions and outcomes can be a rewarding way to understand the nuances of vintage in your winemaking journey.
Embrace the diversity of vintages by tasting wines from different years side by side. This practice not only heightens your appreciation for each wine’s unique character; it also offers a delightful way to experience the interplay of time, place, and winemaking style. Each bottle tells a story, encapsulating the essence of that particular year, and opens the door to an exciting world of flavors just waiting to be discovered!
Frequently Asked Questions
Q: What is the total time needed from grape harvest to bottling wine?
A: The entire process from grape harvest to bottling typically takes 6 months to several years. This includes stages like fermentation (1-4 weeks), aging (several months to years), and bottling preparations. The exact time depends on the type of wine and desired flavor profile.
Q: How long does fermentation take in wine production?
A: Fermentation generally lasts 1 to 4 weeks, depending on the yeast and grape variety used. White wines may ferment quickly, while red wines often require more time to extract flavors and colors from the skins.
Q: Why does aging wine take so long?
A: Aging wine allows it to develop complex flavors and aromas over time. This process can last from several months to decades, with each type of wine having optimal aging durations that enhance its quality and character.
Q: What factors influence the time it takes to make wine?
A: Several factors impact winemaking time, including grape variety, fermentation temperature, desired complexity, and aging methods. Environmental conditions and specific winemaking techniques also play a critical role.
Q: How can I speed up the winemaking process?
A: To expedite winemaking, focus on controlling temperature and using specialized yeasts. Maintaining sanitary conditions and utilizing techniques like micro-oxygenation can help reduce fermentation and aging times.
Q: When is the best time to harvest grapes for winemaking?
A: Grapes are ideally harvested in the late summer to early fall when they reach optimal ripeness, determined by sugar level, acidity, and flavor. The exact timing depends on the grape variety and regional climate.
Q: What is the difference between aging wine in oak versus stainless steel?
A: Aging wine in oak barrels imparts flavors such as vanilla and spice, along with tannins, creating a richer profile. In contrast, stainless steel preserves the wine’s natural flavors and acidity, resulting in a fresher taste, often preferred for white wines.
Q: How does the wine vintage affect its aging process?
A: The vintage, or year of grape harvest, significantly affects aging potential. A good vintage typically offers better quality grapes, which can age longer and more successfully compared to weaker years. Terroir also plays a crucial role.
In Conclusion
Now that you understand the timeline for winemaking, it’s your turn to get creative! Whether you’re thinking of starting your own batch or simply want to appreciate the process, remember that every bottle has a story. Don’t let the timeline intimidate you; with just a bit of patience and the right ingredients, you can enjoy the satisfaction of crafting your own wine. If you’re looking for ideas on different types of wine or specific techniques, check out our guide on “Essential Winemaking Techniques” and “The Best Grapes for Home Winemaking.”
Ready to dive deeper? Join our community by signing up for our newsletter, where we share expert tips, exclusive recipes, and upcoming events. And don’t forget to share your winemaking journey with us-we’d love to hear your story, so feel free to leave a comment below! Your adventure starts now; embrace the process and let your creativity flow! Cheers to your winemaking success!
Get our latest guides, news, and insights highlighted in your Google Search & AI Overviews.










