
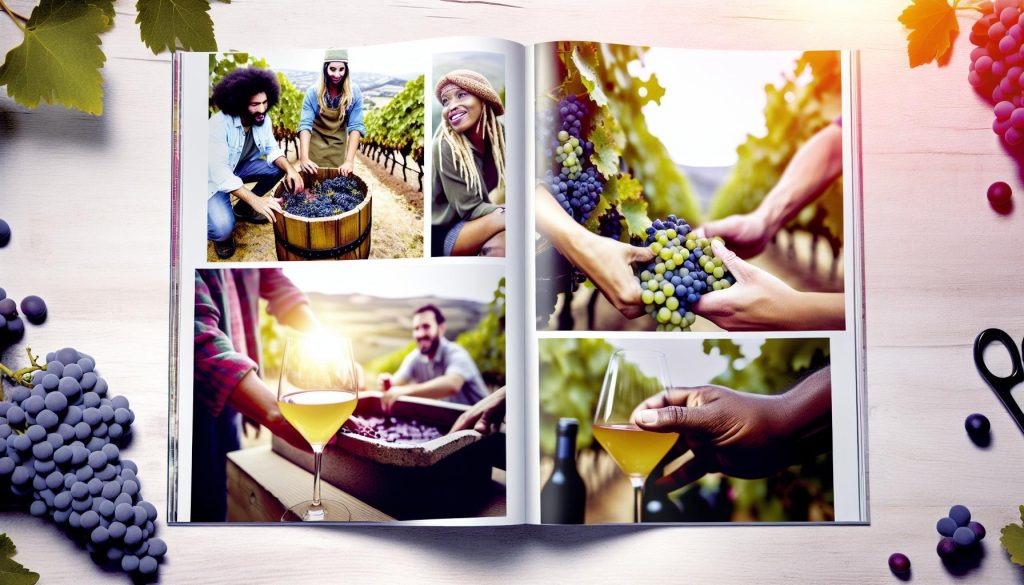
Making homemade wine might seem daunting, but it’s as accessible as whipping up a batch of cookies! With just a few simple ingredients and a bit of patience, you can transform ripe, juicy grapes into a delightful vintage that you can proudly share with friends. Whether you want to impress at a dinner party or enjoy a quiet evening at home, mastering the art of winemaking connects you to a time-honored tradition that’s both creative and enjoyable. Plus, there’s something uniquely satisfying about sipping a glass of wine that you crafted with your own hands. Ready to embark on this delicious journey? In just five straightforward steps, you’ll learn how to take your homemade wine from grapes to glass, with techniques that accommodate every level of experience. Let’s get started and fill your home with the aromas of your personalized wine adventure!
Understanding Wine Making: A Simple Overview
Crafting homemade wine can be a rewarding adventure, allowing you to transform simple ingredients into a delightful drink you’ll cherish and share. At its core, winemaking is the art of fermentation, where sugar in fruit converts into alcohol through the magical work of yeast. This process might seem complex, but by breaking it down into manageable steps, you can enjoy delicious results without needing a winemaking lab.
The journey begins with selecting your base ingredient-grapes are traditional, but virtually any fruit can be used, offering a wide range of flavors and profiles. Understanding the basic components is essential: you’ll need fruit, sugar, water, and yeast. Each of these elements plays a crucial role; for example, sugar not only adds sweetness but also fuels fermentation, determining the final alcohol content.
Once your ingredients are set, it’s time to embrace the fermentation process, where the real magic happens. This stage involves crushing the fruit to release its juices and then introducing the yeast. It’s fascinating to watch as the mixture bubbles and transforms over days or weeks, leading to a gradual development of flavors. No fancy equipment required-many successful homebrewers start with basic kitchen tools.
In the final steps, once fermentation is complete, siphoning and bottling your wine will help remove any sediment and clarify the drink. If you’re eager to learn even more, keep an open mind about experimenting with flavors. Herbs, spices, and even different fruits can create unique bottles that reflect your personal taste. Each bottle you open tells your story, making sharing your homemade wine a memorable experience for you and your guests. Cheers to your winemaking journey!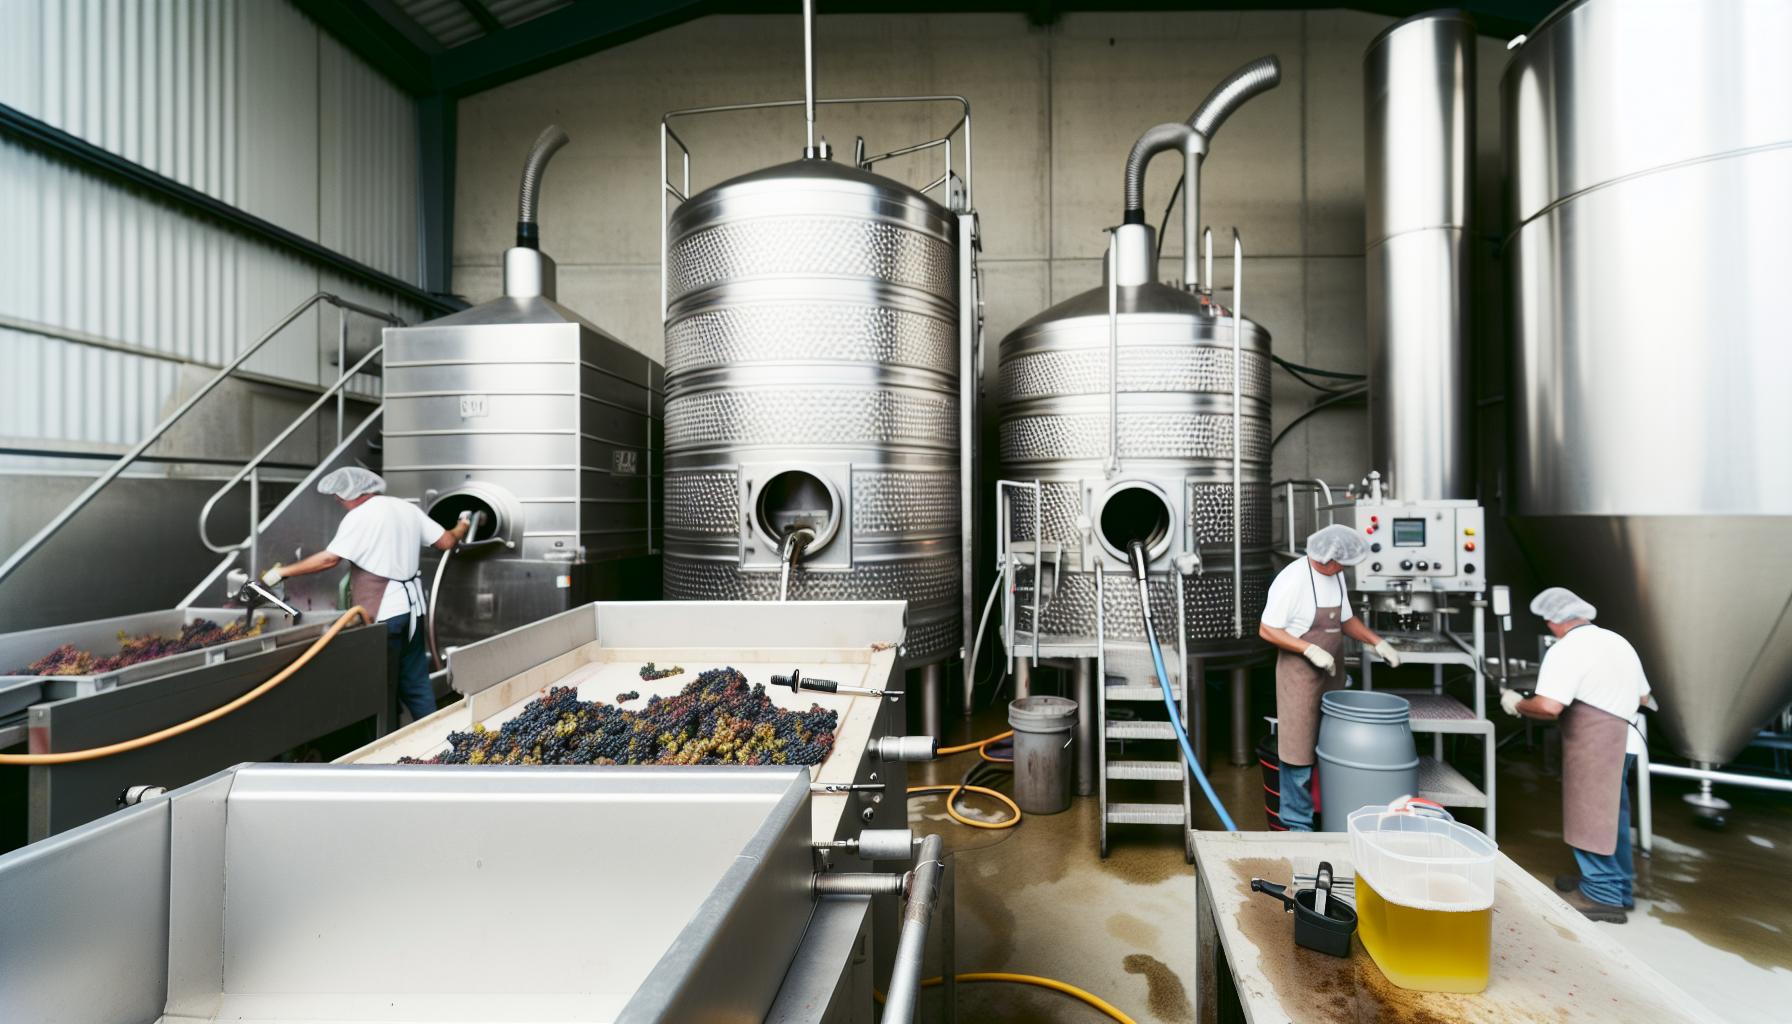
Choosing the Right Grapes for Your Homemade Wine
Choosing the right grapes is a pivotal step in creating your homemade wine, as they not only define the flavor profile but also the quality and character of your final product. If you’re just starting your winemaking journey, consider that different grape varieties can tremendously affect the tastes and aromas of your wine. While classic varieties like Cabernet Sauvignon, Merlot, and Chardonnay are popular, don’t hesitate to explore local or lesser-known grapes that might thrive in your region.
When selecting grapes, think about the following factors:
Know Your Region
The first step in choosing the right grapes is understanding your local climate and soil type. Some grapes flourish in hot, sunny areas, while others prefer cooler temperatures. For example, Riesling grapes thrive in cooler climates, producing wines that are aromatic and crisp, whereas Zinfandel grapes prefer warmer conditions and yield bold, fruity wines.
Consider Your Palate
Think about the flavors you enjoy. Do you like bold and tannic wines, or do you prefer something light and refreshing? This reflection can guide your grape selection. A robust Syrah or a fruity Grenache might appeal to those who enjoy a full-bodied experience, while a Pinot Grigio might be a better match for fans of crisp, clean wines.
Quality Over Quantity
It’s crucial to source grapes that are both high in quality and ripe. Ideally, you want to find them from a local vineyard or farmers’ market, where you can ensure that they’ve been harvested at their peak. If you opt for buying grapes in bulk, don’t shy away from asking questions about their origin and ripeness.
Experimenting Boldly
As you gain confidence in winemaking, consider experimenting with different grape combinations or even different fruits entirely. You might mix traditional wine grapes like Merlot with something unique like blackberries or strawberries to create a blended fruit wine. The process can be immensely rewarding and the tasting opportunities endless!
Equipped with these considerations, you can choose grapes that not only suit your taste but also enable you to craft a wine that reflects your personal flavor preferences and winemaking style. Remember, the journey is as much about learning and enjoying the process as it is about the final glass. Cheers to your grape-picking adventure!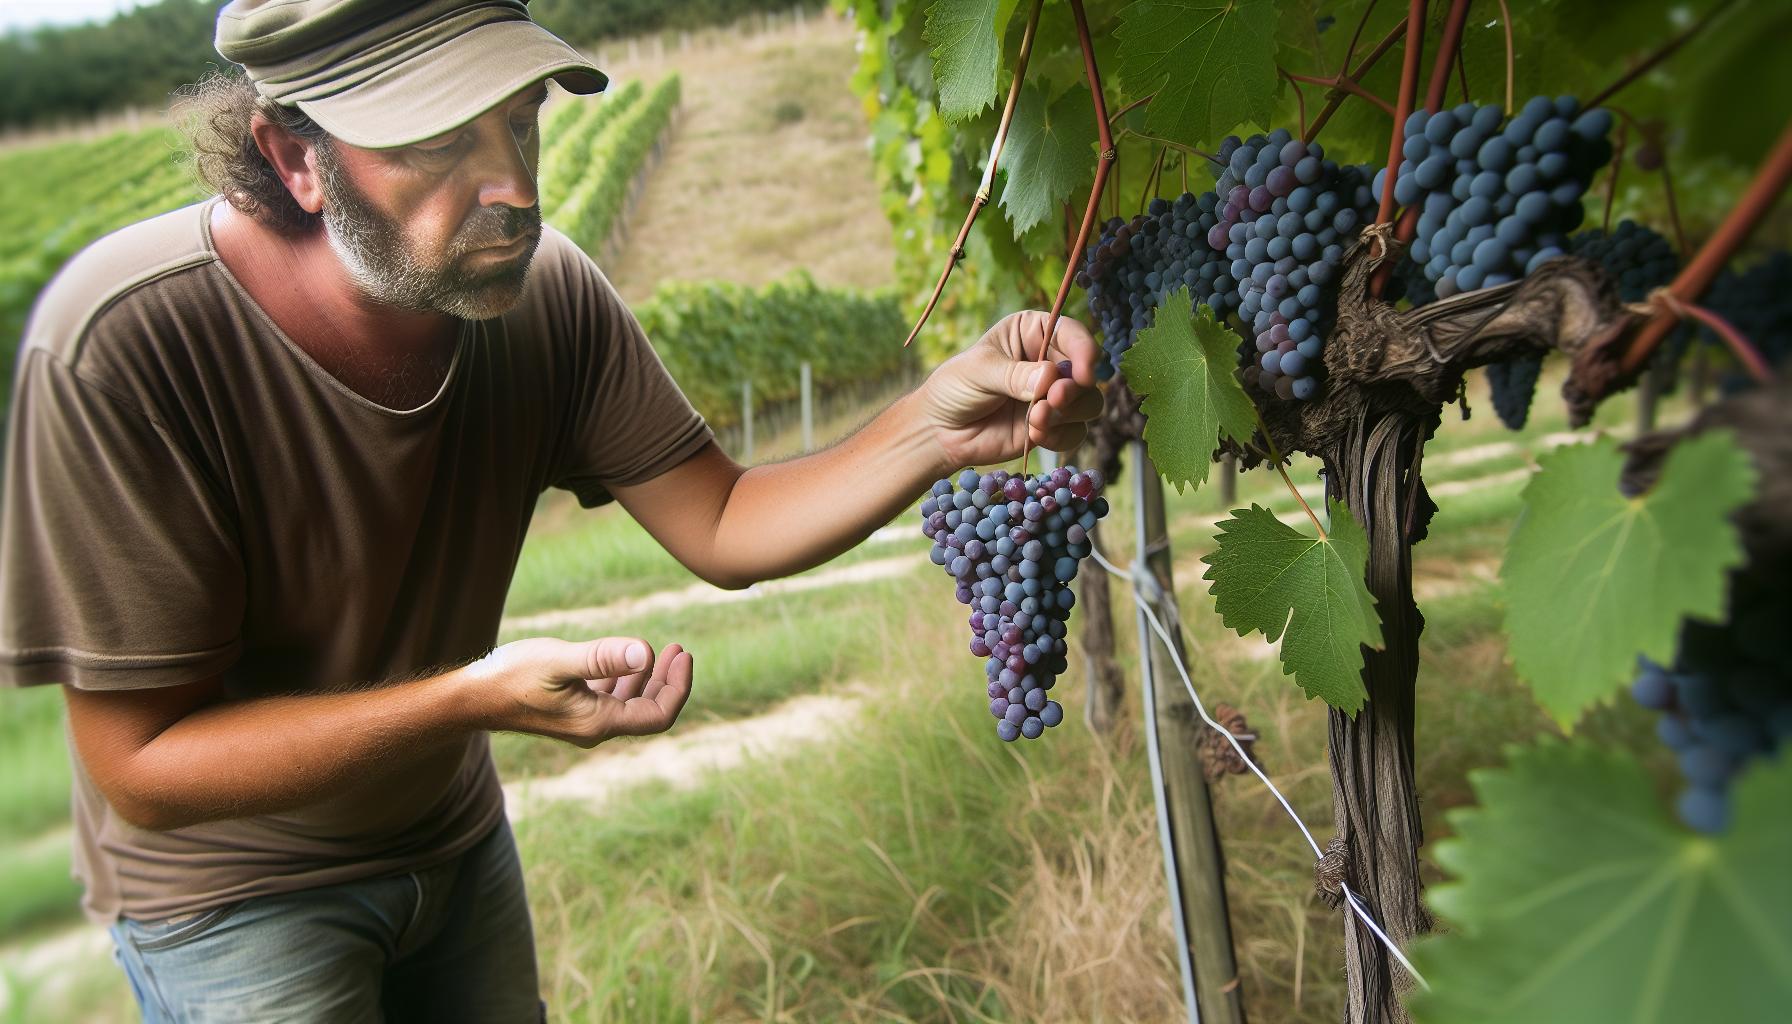
Essential Equipment for Crafting Wine at Home
Crafting wine at home may seem like a daunting task, but with the right equipment, it becomes an enjoyable and rewarding experience that can be managed by anyone. Whether you’re a first-timer or looking to refine your technique, a few essential tools will make your winemaking journey smoother and help unleash your inner vintner.
To get started, you’ll need some basic items. Primary fermentation vessels are crucial; you can use a food-grade plastic bucket or a glass carboy-both are widely available and easy to handle. Make sure to include an airlock to prevent contaminants from entering while allowing gases to escape during fermentation. Additionally, invest in a hydrometer to measure sugar levels; this tool will help you track your fermentation process effectively.
Sanitation is Key
One of the most important aspects of winemaking is cleanliness. Sanitizers such as Star San (a popular choice among home brewers) will keep your equipment free from unwanted bacteria. Always sanitize everything that comes in contact with your wine, including bottles, corks, and any utensils. This step is vital, as it ensures your wine develops the desired flavors without interference from spoilage organisms.
Essential Mixing Tools
You’ll want some tools for the actual winemaking process, too. A grape crush or a simple potato masher works well for extracting juice from your grapes. While a specialized wine press can be beneficial, it’s not necessary for beginners. After fermentation, use a siphon to transfer your wine into bottles without disturbing the sediment at the bottom of your fermentation vessel. For bottling, consider a bottle filler for efficient transfer.
Storage and Aging
Finally, your homemade wine will need a place to age. Sturdy glass bottles with corks are the best choice, but always ensure they are sterile when filling. Store your bottles horizontally in a dark, cool place to maintain the right environment for aging. You might want to invest in a wine rack for organization, making it easy to keep track of your creations as they mature.
With these essentials in hand and a bit of enthusiasm, you’re ready to dive into the world of winemaking. Each step of the process can be a fun experiment, and the best part? You get to enjoy the fruits of your labor. Cheers to your new venture into homemade wine!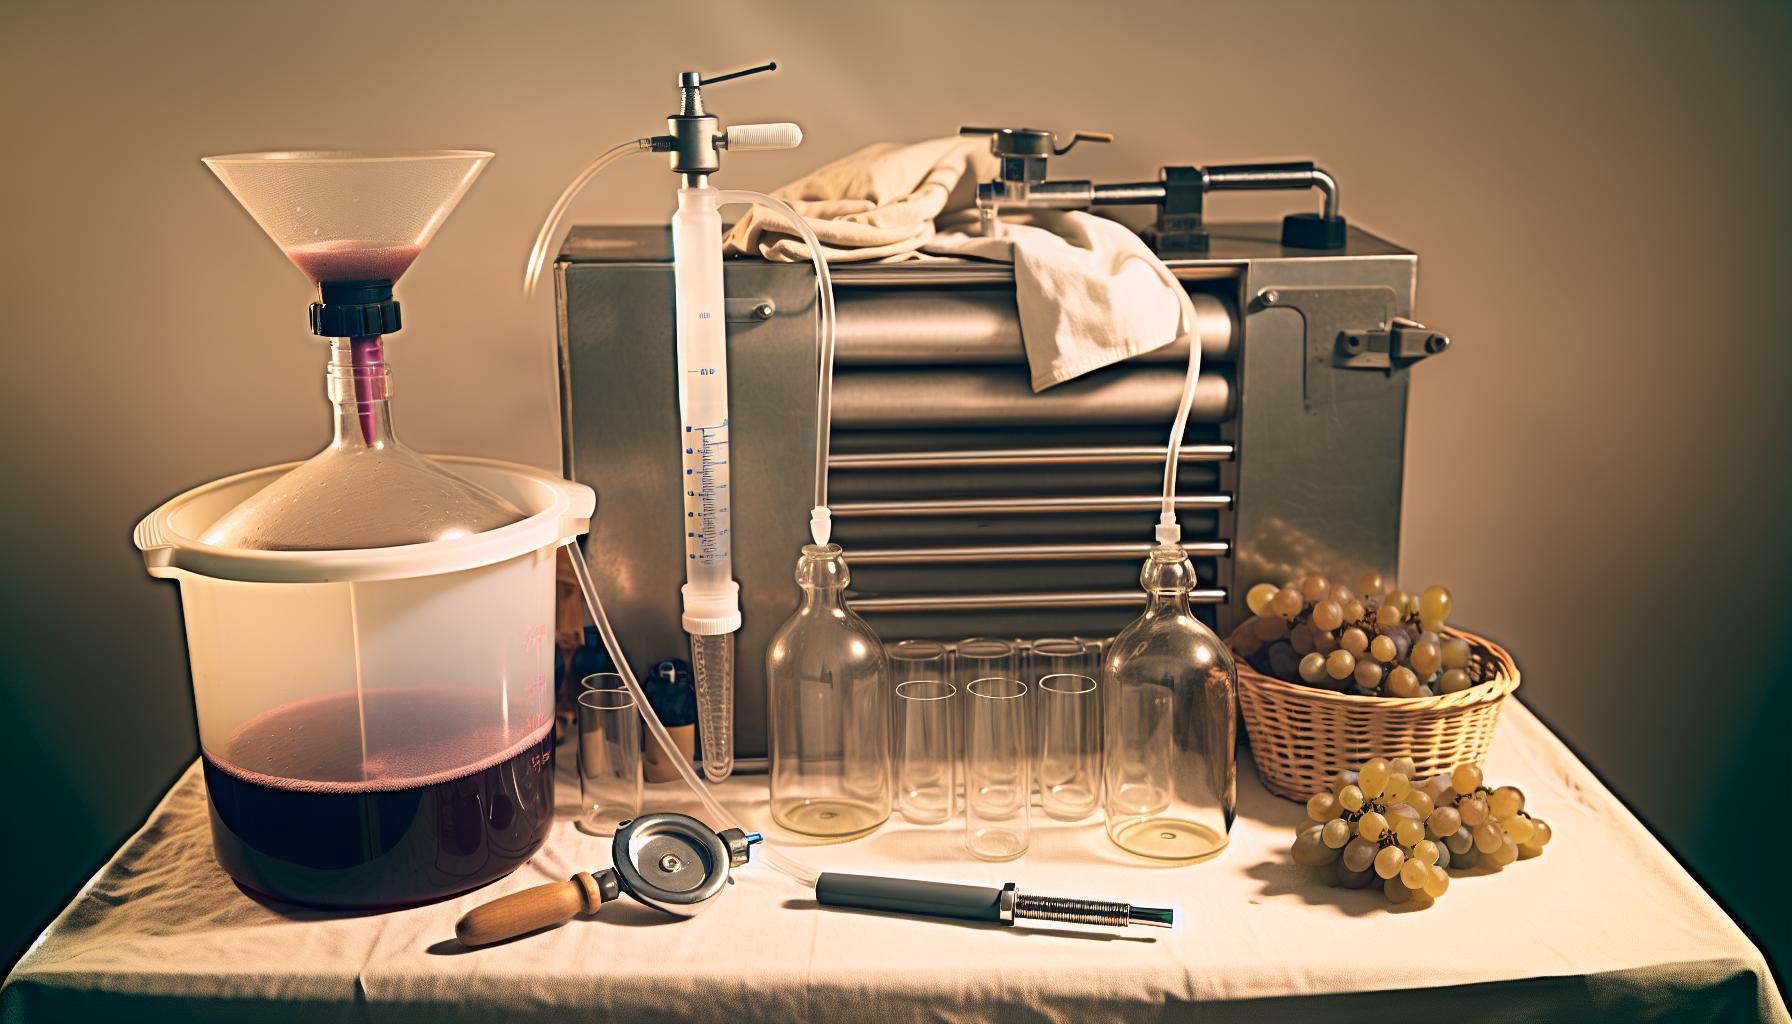
The 5 Steps to Making Your Own Wine
Making your own wine at home is a delightful journey that combines science, art, and a little bit of magic. With just five simple steps, you can transform fresh grapes or other fruits into a delicious concoction that reflects your unique tastes. Let’s dive right into the process, ensuring you have fun and feel empowered along the way!
Start by gathering your primary ingredients. Choose your fruit wisely; while grapes are traditional, berries, peaches, and even apples can yield fantastic results. The general ratio is about 20 pounds of fruit for a standard 5-gallon batch. Once you have your fruit, it’s time for preparation. Wash your fruit thoroughly, and then crush it gently to extract the juices while releasing the natural sugars that are essential for fermentation. A potato masher can do the trick here, or you can get inventive with a clean foot stomp-just make sure everything is sanitized!
Next up is the fermentation process. Transfer your crushed fruit and juice into a food-grade fermentation vessel. It’s crucial to add the right amount of sugar and yeast at this stage. Sugar feeds the yeast, which in turn produces alcohol and carbon dioxide. A good rule of thumb is to start with a cup of sugar for every gallon of juice, adjusting as per your taste preferences. Seal your vessel with an airlock to keep contaminants out while allowing gases to escape. Store it in a warm, dark place for about one to two weeks. During this time, you’ll notice bubbling as fermentation takes place, which is a good sign!
Once fermentation slows down, it’s time to rack your wine. This means siphoning it into another clean vessel to separate the wine from the sediment that has settled at the bottom. It’s a vital step to achieving a clear, crisp flavor in your final product. Some winemakers choose to add additional flavorings, like oak chips or spices, at this point. Let your wine rest for about a month, allowing it to marry its flavors and clear up.
Finally, after all that patience, it’s the moment you’ve been waiting for: bottling! Sterilize your bottles and corks, then carefully fill each bottle, leaving a little space at the top. Seal your bottles with corks or caps and store them in a dark, cool place. Ideally, allow your wine to age for a few months to a year, depending on the type of wine you’re making.
Each step in this process offers an opportunity for experimentation and personalization. Feel free to adjust sugar levels, try different fruit combinations, or barrel-age your batches for complexity. Home winemaking is not just about the final product; it’s about enjoying the process, learning, and creating something that’s uniquely yours. Cheers to your new winemaking adventure!
Fermentation Tips for Delicious Wine
To create delicious homemade wine, understanding the fermentation phase is essential-this is where the magic truly happens! During fermentation, yeast consumes the sugars from your fruit, converting them into alcohol and carbon dioxide. The quality and character of your wine hinge significantly on how you manage this crucial step.
First, ensure your fermentation vessel is clean and sanitized. Even a tiny amount of unwanted bacteria can spoil your batch. Once your crushed fruit is in the vessel with the added sugar and yeast, seal it up! Use an airlock to keep unwanted contaminants out while allowing the fermentation gases to escape. Temperature is key! Aim for a warm, dark environment, ideally between 70°F and 85°F (21°C to 29°C). This range promotes active fermentation without overwhelming the yeast. Too cool, and fermentation could stall; too hot, and you risk cooking your yeast.
Keep an eye on your fermentation progress. For the first week, you should see bubbling from the airlock-a reassuring indication that the yeast is doing its job. Once bubbling slows down, usually after one to two weeks, it’s time to consider racking your wine. This involves siphoning the liquid into a new vessel, leaving behind yeast sediment at the bottom. This step not only clarifies your wine but also helps enhance its flavor profile. If you’re feeling adventurous, consider adding oak chips or spices at this stage to impart unique flavors.
Remember, wine fermentation is both an art and a science. Feel free to experiment with sugar levels or introduce different strains of yeast suited to your taste preferences. The beauty of home winemaking is that each batch can reflect your personal touch. Just ensure you document your process, so you can replicate (or adjust) what you love. Embrace the journey, and your patience will surely reward you with a delightful, home-crafted wine!
Troubleshooting Common Winemaking Problems
Every aspiring winemaker encounters challenges along the way, but knowing how to address common issues can make all the difference. If your homemade wine doesn’t turn out as expected, don’t fret! With a little troubleshooting, you can refine your craft and ensure each bottle is a delightful experience.
Common Problems and Solutions
Here are a few common issues that might arise during the winemaking process and how you can tackle them effectively:
- Unpleasant Off-Odors: If your wine has a smell reminiscent of rotten eggs or burnt matches, it may indicate hydrogen sulfide production. Try gently aerating your wine by racking it into a new vessel-this exposes the wine to oxygen and can help mitigate the smell. If the odor persists, consider adding a small amount of copper sulfate, which can bond with the sulfides and remove the off-odor.
- Excessive Foaming: This could signify a vigorous fermentation or large quantities of residual sugar. Ensure that your fermentation vessel has enough headspace to accommodate the foam. If it becomes unmanageable, you might need to siphon off some wine and reduce the amount of fermentable sugars.
- Flat or Lifeless Wine: A wine that lacks flavor may be the result of insufficient fermentation or poor-quality fruit. If you notice this issue, consider reintroducing some fresh fruit or adjusting sugar levels during fermentation to enhance flavor complexity. Testing the acidity can also improve balance; adding a bit of citric acid or tartaric acid may revive the wine’s character.
- Cloudy Wine: If your wine appears cloudy after fermentation, it could be due to leftover yeast sediment or protein haze. Allow your wine to settle for a bit more time, or use fining agents such as bentonite to clear it up. Racking the wine again can also help clarify it by separating it from the sediment.
Preventive Measures
Prevention is key! To minimize problems before they start, focus on maintaining clean and sanitized equipment, as this greatly reduces the risk of contamination. Additionally, pay close attention to fermentation temperatures-temperature swings can lead to taste and aroma issues. A consistent, moderate temperature helps keep fermentation stable and your wine tasting great.
Tuning into your instincts as you experiment with homemade wine can also pay off. Keeping meticulous notes on each batch will guide you in replicating successes or learning from missteps. Remember, even seasoned winemakers encounter challenges-embracing these moments as part of the journey will only enhance your skills and lead to increasingly delightful concoctions in future batches. So, keep your chin up and your glasses raised!
Flavor Variations: Experimenting with Your Wine
Experimenting with flavor variations in your homemade wine can transform the winemaking process from merely following a recipe to an exciting culinary adventure. Who doesn’t love a little creative flair when it comes to crafting their own bottle? From adjusting the sweetness to incorporating unique ingredients, the options are almost limitless. Remember, making wine is as much about personal expression as it is about tradition.
To start, consider experimenting with different grape varieties. Each type of grape has its own unique flavor profile, and blending different grapes can lead to delightful surprises. For instance, mixing Cabernet Sauvignon with small amounts of Merlot can create a richer and fruitier profile that balances the tannins. You can even explore fruit wines by incorporating berries, apples, or plums into your wine base. These fruits can add refreshing sweetness and vibrant flavors that shift the final product significantly.
Another avenue to explore is the use of spices and herbs. Just like in cooking, a pinch of something special can elevate your wine to new heights. Adding a few cinnamon sticks or a couple of cardamom pods during fermentation can impart warm, complex notes. If you’re feeling adventurous, try adding a little fresh rosemary or lavender for a floral twist. Just be cautious with amounts; start small, as it’s easier to add more than to take out.
Lastly, don’t underestimate the influence of fermentation techniques. Adjusting the fermentation temperature can bring out different flavors and aromas in your wine. Warmer fermentation can enhance fruity characteristics, while cooler temperatures often yield a cleaner, crisper wine. Remember to keep detailed notes of your experiments so that you can replicate the successes-or learn from the missteps-in your future batches.
Above all, enjoy the journey! Winemaking is a learning experience filled with experimentation and personal preferences. Each batch can become a canvas for your creativity, yielding not just a drink, but a story. So, grab your fruits, spices, and an open mind, and let the flavor exploration begin!
Aging and Bottling: Perfecting Your Product
The transformation of your homemade wine from a young, fruity concoction into a well-rounded, mature beverage is nothing short of magical. Aging and bottling are crucial steps in this journey, allowing the flavors to develop and mellow, ultimately enhancing your creation’s overall complexity. Here’s how to make sure your wine reaches its full potential.
After fermentation, it’s essential to give your wine some time to breathe and evolve. This is where aging comes into play. Wine can be aged in a variety of containers, with oak barrels or glass carboys being popular choices. Oak barrels add unique flavors-think vanilla, spice, and toast-while glass helps preserve the wine’s purity, allowing the natural fruit characteristics to shine. If you’re using oak, you don’t need to invest in a full barrel; smaller oak chips or cubes can provide a similar effect. Aim for anywhere from a few months to over a year, depending on the type of wine you’re creating. For example, bold red wines typically benefit from longer aging, whereas fresh whites and rosés are generally best enjoyed young and vibrant.
Once you feel your wine has aged to perfection, it’s time to bottle it up. Bottling is straightforward but requires attention to sanitation to prevent spoilage. Start with clean, sanitized bottles and corks. You’ll also need a siphon or a racking cane to transfer the wine without introducing oxygen, which can lead to oxidation and spoilage. Bottle your wine, leaving about an inch of space at the top, and then cork each bottle securely. Consider labeling your bottles with the date and type of wine; this helps you track your creations over time.
After bottling, patience is key. While some wines are ready to drink right away, others may benefit from additional time in the bottle, allowing their flavors to evolve further. Store your bottles upright initially for a few days to let the corks absorb moisture and then store them on their sides in a cool, dark place. This positioning keeps the cork moist and prevents air exposure. Always remember: good things come to those who wait, especially in winemaking!
Aging and bottling your homemade wine isn’t just about the process; it’s a celebration of your creativity and hard work. Enjoy the anticipation as you watch your wine mature, and don’t forget to taste your creation along the way for quality control. Embrace the learning curve, and remember that every bottle tells the story of your unique winemaking adventure. Cheers to crafting something truly special!
Tasting Your Wine: How to Appreciate Your Creation
When it comes to tasting your homemade wine, the experience is as rewarding as the process of making it. It’s not just about sipping; it’s about engaging all your senses to truly appreciate the fruits of your labor. Start by pouring your wine into a glass that allows for proper aeration-typically a wine glass with a wider bowl works best. This larger surface area helps release the wine’s aromas, enhancing your tasting experience. Hold the glass by the stem to avoid warming the wine with your hand.
As you observe the wine, take a moment to appreciate its color. Tilt the glass slightly and look against a white background. A deep ruby for a red or a vibrant straw for a white can tell you a lot about its age and style. Next, it’s time to swirl your wine gently in the glass. This action introduces oxygen, releasing the aromatic compounds. Take a deep sniff and identify the scents; each wine tells a story through its bouquet. You might detect fruity, floral, or even earthy notes, which can provide hints about the grapes and the winemaking process.
Once you’ve examined the appearance and aromatic qualities, take a small sip. Allow the wine to coat your palate fully before swallowing. Notice the balance of flavors-are the acids, sugars, and tannins harmonious, or does one dominate? You might be surprised by the complexity of your homemade creation. To fine-tune your tasting skills, keep a notebook nearby. Jot down your impressions; noting what you enjoyed and any aspects you might want to adjust in future batches can be incredibly helpful.
Lastly, share your wine with friends and family. Tasting becomes even more enjoyable in good company, and discussing the flavors can enhance your appreciation further. Encourage your guests to express their thoughts and comparisons, creating a delightful conversation around your craft. Always remember, winemaking is as much about personal expression as it is about technique-celebrate your unique creation!
Sharing and Enjoying Your Homemade Wine
There’s a delightful magic that unfolds when you gather with friends and family to share the fruits of your winemaking labors. Each bottle of homemade wine carries not only the flavors you’ve crafted, but also the stories of its creation. Whether it’s a fruity white made from your backyard grapes or a bold red perfected during winter nights, sharing your wine can transform a simple gathering into a cherished experience.
As you prepare to enjoy your wine, consider setting the scene to elevate the tasting experience. Choose a cozy spot, perhaps under twinkling lights or in a warm kitchen. Provide a selection of glassware-different shapes enhance the appreciation of various wines. You can even dedicate a few moments to a playful tasting game, guiding your guests to identify unique notes in the wine’s aroma or flavor. This can spark conversations and create a wonderful atmosphere of sharing and discovery.
Offering food pairings alongside your wine can significantly enhance the tasting experience. Think about complementary flavors-light cheeses and fruits with whites or rich meats with reds. You can even prepare a small charcuterie board that reflects the wine’s character. For example, serve a raspberry jam with a bright Pinot Noir or artisanal bread with a smooth Chardonnay. This not only showcases your wine but also invites others into the joy of homemade combinations.
Remember, the goal is to create a warm environment where everyone feels included and part of the experience. Encourage your guests to share their thoughts on the wine, and don’t hesitate to discuss your own journey of making it. Each sip can lead to stories, laughter, and connections, making your homemade wine a centerpiece of memory-making. So, toast to creativity and enjoy every moment-you’ve earned it!
Sustainable Winemaking Practices for Eco-Friendly Enthusiasts
Embracing sustainable practices in your winemaking journey not only benefits the environment but can also enrich the flavors of your finished product. By choosing eco-friendly methods, you nurture your vineyard and contribute to the overall health of the ecosystem. Here are some simple yet effective tips for integrating sustainability into your homemade wine crafting.
- Choose Organic Grapes: If possible, select organic grapes free from synthetic pesticides and fertilizers. This not only promotes healthier vines but also results in a cleaner taste in your wine. Consider sourcing grapes from local organic farms or growing your own.
- Utilize Compost: Repurposing kitchen scraps as compost can enrich your soil naturally. Composting helps foster healthy vines and increases the biodiversity of your growing area. A diverse ecosystem promotes stronger plants that can resist pests and disease without the need for harmful chemicals.
- Practice Water Conservation: Efficiently managing water usage is crucial. Implement techniques such as drip irrigation or collecting rainwater to minimize waste. These methods not only conserve water but also ensure your vines receive just the right amount without overwatering.
- Embrace Cover Cropping: Growing cover crops in between your rows helps maintain soil health and prevent erosion. They improve soil structure and can even provide habitat for beneficial insects, reducing the need for pest control.
By adopting these practices, you’re not just making wine; you’re cultivating a healthier planet. Start small, maybe with a single sustainable practice, and see how it positively impacts your winemaking experience. As you explore these eco-friendly methods, you’ll find they often lead to a richer, more flavorful product, enhancing the enjoyment of your homemade creations. Cheers to blending sustainability with creativity in every bottle!
Creative Pairings: What to Serve with Your Wine
When you pour a glass of your homemade wine, it’s the perfect opportunity to explore creative pairings that elevate your culinary experiences. The right food not only complements the wine but also enhances its flavors, making each sip and bite be a delightful marriage of tastes. Whether you’re hosting friends or enjoying a quiet evening at home, these pairing ideas will inspire you to get adventurous in your kitchen.
Start with the basics: light wines such as whites or rosés pair beautifully with fresh salads, seafood, or chicken dishes. Think about a crisp Sauvignon Blanc with a zesty lemon-dressed arugula salad topped with grilled shrimp. For a more robust option, a hearty Chardonnay can stand up to rich, creamy pasta dishes or roasted vegetables drizzled with balsamic glaze.
Red wines, with their depth and complexity, pair wonderfully with meats and bold flavors. A full-bodied Cabernet Sauvignon is fantastic with a char-grilled steak or a savory mushroom risotto. Try serving it alongside a dark chocolate dessert for a touch of decadence. On the other hand, lighter red wines like Pinot Noir can enhance the taste of roasted chicken or duck, especially if you incorporate sweet fruits like figs or cherries into the dish.
Not to be overlooked, sparkling wines bring a festive touch and can complement a range of foods. From salty snacks like popcorn and potato chips to rich brunch favorites like eggs benedict, their acidity and effervescence cut through fats beautifully. Feel free to experiment with sweet sparkling wines as well; they can balance the richness of desserts like cheesecake or fruity tarts.
Lastly, don’t forget to let your creativity loose! Pair wines with dishes that inspire you, experiment with flavors that excite your palate, and remember that there are no hard and fast rules. Taste as you go, and enjoy the thrill of discovering what makes your wine and food shine together! Cheers to your culinary adventures and the delightful pairings that will follow.
Frequently Asked Questions
Q: What are the best types of grapes for homemade wine?
A: The best types of grapes for homemade wine include Cabernet Sauvignon, Chardonnay, and Merlot. These varieties offer a range of flavors and aromas that are ideal for winemaking. Experiment with local grapes that suit your climate for unique flavor profiles. Learn more about choosing grapes here.
Q: How long does it take to make homemade wine?
A: Making homemade wine typically takes about 4 to 8 weeks from fermentation to bottling. However, aging the wine for several months post-bottling can greatly enhance its flavor. Be patient for optimal results!
Q: What equipment do I need to make wine at home?
A: Essential equipment includes a fermentation bucket, carboy, airlock, and bottles. A hydrometer is useful for measuring sugar levels. You don’t need professional gear to get started; basic home brewing kits are sufficient!
Q: Can I use store-bought grape juice to make wine?
A: Yes, you can use store-bought grape juice. Ensure it’s 100% juice without preservatives, as these can inhibit fermentation. This method can simplify the winemaking process for beginners.
Q: How do I troubleshoot fermentation issues in homemade wine?
A: If fermentation is slow or stuck, check temperature and sugar levels. Add more yeast or nutrients if necessary. Ensure that your fermentation vessel is clean to prevent contamination. Get detailed fermentation tips here.
Q: Why is aging important in winemaking?
A: Aging allows flavors to develop and harmonize, improving complexity and smoothness. During this time, undesirable compounds can dissipate, resulting in a more refined taste. Most wines benefit from a few months to a year of aging.
Q: What can I do with leftover grape skins after winemaking?
A: Leftover grape skins can be used to make grape skin tea or infused in vinegar for a unique flavor. They can also be composted to enrich your garden soil. Get creative and use all parts of your grapes!
Q: How do I store homemade wine properly?
A: Store homemade wine upright for young wines and on its side for aged wines to keep the cork moist. Keep them in a cool, dark place at a consistent temperature (ideally 55°F). Proper storage enhances longevity and quality.
Final Thoughts
Congratulations on embarking on your winemaking adventure! You’ve learned that creating homemade wine from grapes isn’t just a process-it’s a joyful journey that anyone can master, regardless of skill level. Now that you have the basics down in “How to Make Homemade Wine: From Grapes to Glass in 5 Steps,” it’s time to put your newfound knowledge into action. Don’t wait-gather your ingredients and start your first batch today!
For additional tips on perfecting your winemaking technique, check out our articles on topping up your wine to avoid oxidation and the essential steps for racking your finished product without hassle. Have questions or want to share your experience? We’d love to hear from you in the comments! Remember, the art of winemaking is about experimentation and creativity. So go ahead, explore those unique variations and find your signature flavor!
Ready for more? Sign up for our newsletter to receive exclusive recipes and tips delivered straight to your inbox. Cheers to your winemaking success, and we can’t wait to see what you create next!
Get our latest guides, news, and insights highlighted in your Google Search & AI Overviews.










