

Have you ever wandered the aisles of an Asian market, marveling at the array of condiments and flavors, only to feel overwhelmed by choices? One pantry staple that elevates dressings, marinades, and rice dishes alike is rice wine vinegar. Making your own is not only simpler than you might think, but it also allows you to customize flavors to suit your taste. In this guide, I’ll walk you through the process of transforming simple ingredients into a tangy, flavorful vinegar. Whether you’re a kitchen novice or a seasoned cook, crafting homemade rice wine vinegar will enrich your culinary adventures and add a personal touch to your meals. Plus, it’s a fantastic way to impress your friends at your next dinner gathering! Let’s dive into the art and joy of creating this essential Asian condiment right in your home kitchen.
Choosing the Right Rice for Wine Vinegar
When embarking on the delightful journey of making your own rice wine vinegar, choosing the right rice is crucial to achieving the perfect balance of flavor and acidity. In essence, the type of rice you select can significantly influence the quality of your vinegar, making it essential to understand your options.
For traditional rice wine vinegar, short-grain or medium-grain rice is often preferred. These varieties, such as sushi rice or Arborio, have higher starch content, which aids in fermentation and enhances the flavor profile. This starchy rice yields a slightly sweeter wine that transforms into a rich vinegar. If you prefer something a bit lighter, long-grain rice can be a suitable alternative, although it might produce a thinner, less complex flavor.
It’s also worth noting that the quality of rice must be paramount. Opt for organic or high-quality rice whenever possible, as impurities can interfere with the fermentation process. Additionally, avoid using pre-cooked or instant rice, as these types won’t ferment properly and may lead to inconsistent results. Consider keeping your options open by experimenting with different rice types-you might just stumble upon a unique flavor that you adore!
To summarize, selecting the right rice for wine vinegar involves focusing on the grain type (preferably short or medium grain), ensuring high quality, and being open to experimentation. This foundational choice sets the stage for your homemade vinegar, leading to a deliciously satisfying end product that’s sure to elevate your culinary creations.
Essential Ingredients for Homemade Rice Wine Vinegar
Creating your own rice wine vinegar at home is not only a rewarding endeavor but also an exciting way to enhance your culinary skills. The essential ingredients involved in this process are relatively simple, yet they can substantially impact the flavor and quality of your final product.
To start, the most critical ingredient is, of course, rice. As mentioned previously, short-grain or medium-grain rice like sushi rice or Arborio is highly recommended due to its higher starch content, which fosters better fermentation. Next, you will need water to cook the rice. Make sure it’s clean and safe for consumption. After cooking, you will be adding yeast, which is essential for the fermentation process. You can use a specific fermentation starter like sake yeast or wine yeast to kickstart the transformation from cooked rice to rice wine.
Another key ingredient is sugar. This can be natural sugar found in the rice itself or additional sugars to ensure ample fermentation. Additionally, some recipes may call for a bit of distilled white vinegar to introduce acetic acid bacteria, hastening the vinegar production process. Lastly, don’t overlook the importance of a clean, breathable container for fermentation. A glass jar or ceramic crock works well, and covering it with a cloth allows air to flow while keeping out bugs and dust.
Quick Reference Ingredients
| Ingredient | Amount |
|---|---|
| Rice (short/medium grain) | 2 cups |
| Water | 4 cups |
| Yeast (sake or wine) | 1 teaspoon |
| Sugar | 1/4 cup (optional) |
| Distilled white vinegar | 1/2 cup (optional) |
With these ingredients ready, you are well on your way to making your own rice wine vinegar. The beauty of this process lies in the flexibility and potential for creativity-feel free to experiment with different types of rice or add other flavor elements like herbs or spices during fermentation. This simple yet effective formula can lead to delicious results that enhance various dishes, bringing a touch of homemade goodness to your kitchen creations.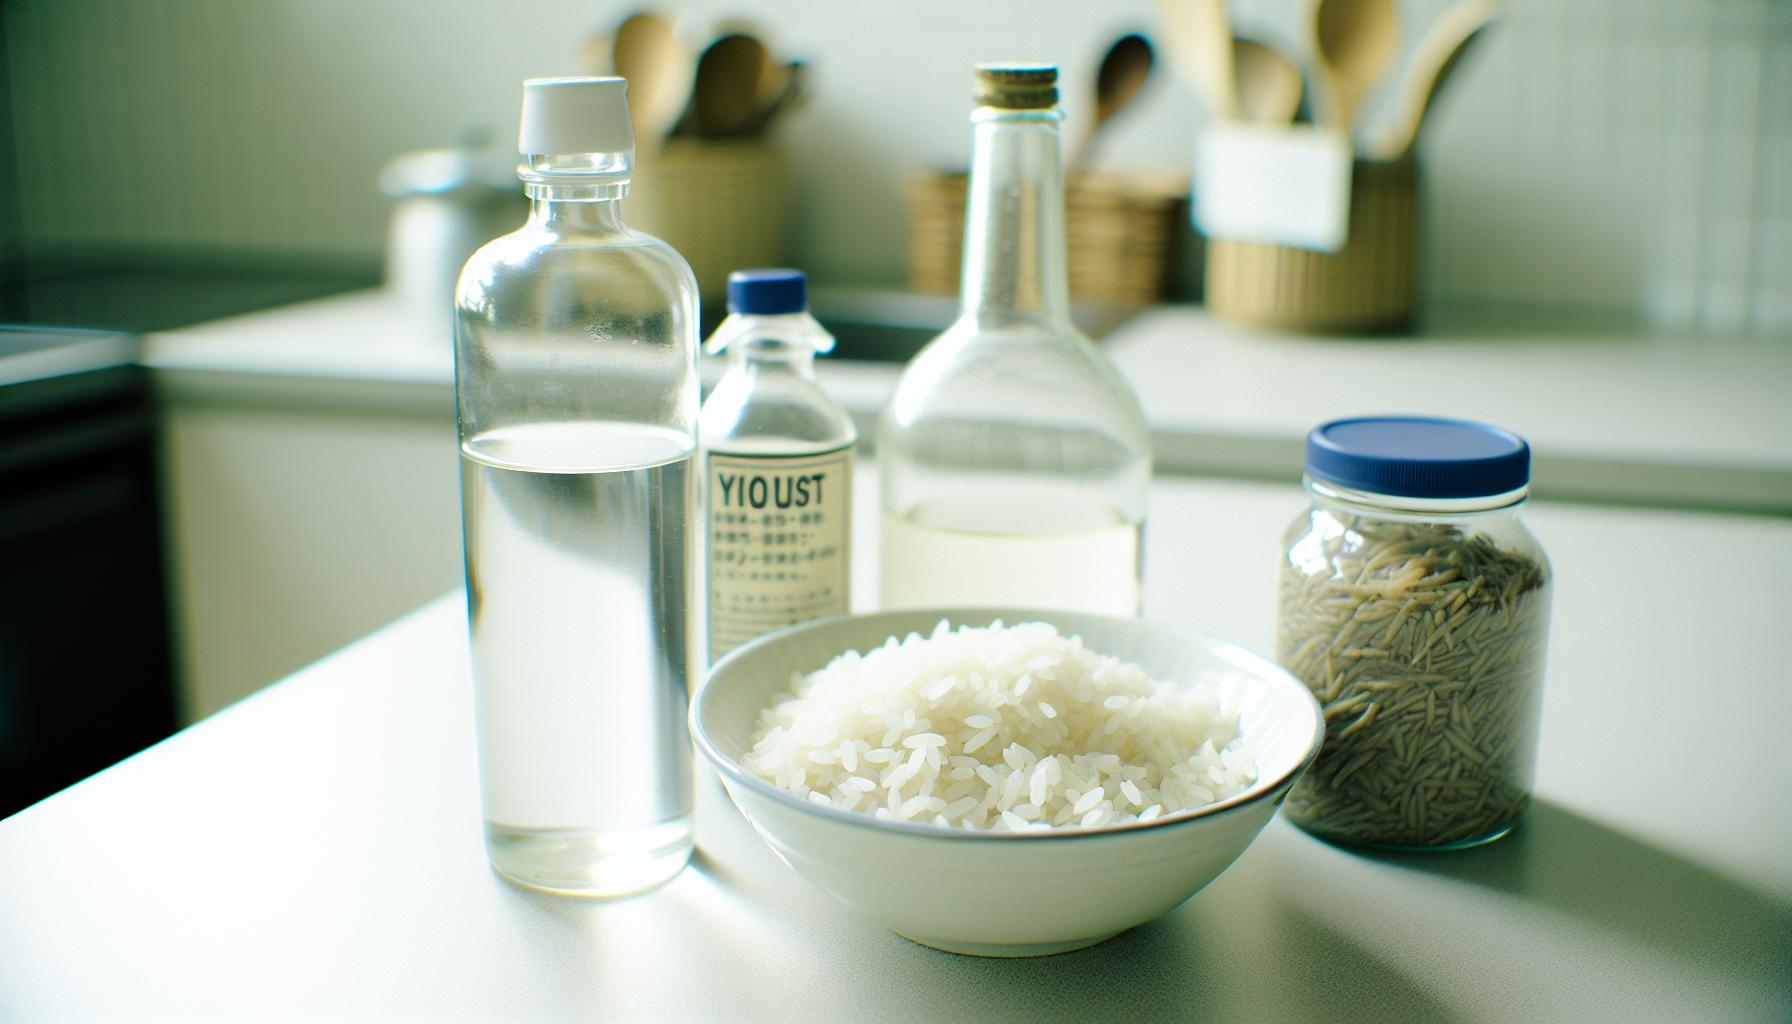
Step-by-Step Guide to Making Rice Wine
To embark on the delightful journey of making rice wine, you’ll find it’s an enriching experience that calls for patience and a touch of creativity. The process can seem a bit daunting at first, but with the right steps and ingredients, you’ll discover that crafting your very own rice wine is both achievable and rewarding. Plus, the payoff-enjoying the fruits of your labor in homemade rice wine vinegar-makes it all the more worthwhile!
Start by gathering your ingredients: 2 cups of short or medium-grain rice, 4 cups of clean water, 1 teaspoon of sake or wine yeast, and optional additions like 1/4 cup of sugar and 1/2 cup of distilled white vinegar. The rice is the star ingredient, so ensure it’s high quality; sushi rice works great due to its ideal starch content, promoting fermentation.
Begin by thoroughly rinsing the rice under cold water until the water runs clear. This removes excess starch, which can interfere with fermentation. After rinsing, combine the rice and water in a pot, bring it to a boil, and then simmer for about 20 minutes until the rice is tender and the water is absorbed. Allow the cooked rice to cool to room temperature.
Once cooled, transfer the rice to a clean, breathable container such as a glass jar or ceramic crock. If you’re using sugar, sprinkle it over the rice. Next, sprinkle the yeast evenly across the top (no need to stir), and if desired, mix in the distilled vinegar to jumpstart the fermentation process. Cover the container with a cloth to allow air circulation while protecting it from dust and insects.
Set your fermentation vessel in a warm spot, ideally around 75°F to 85°F (24°C to 29°C), for about 1-2 weeks. During this time, you’ll see the mixture bubble and produce a pleasant aroma-this is your yeast at work turning rice into wine! After a week, taste it; if it’s sweet with an alcoholic taste, it’s ready to move on to the next stage.
Once fermented, strain the liquid from the rice using a fine mesh strainer or cloth, collecting it in another clean container. This liquid is your homemade rice wine! You can then allow this wine to ferment further into vinegar by adding more yeast and a bit of vinegar, covering it again with the cloth. After 3 to 4 weeks of vinegar fermentation, taste for flavor; you can stop here or let it go longer for a more robust taste.
With your rice wine complete, you have the flexibility to experiment with various flavors by adding herbs or spices during fermentation or once you start making vinegar. Remember, the key is to enjoy the process, learn from it, and have fun with flavor combinations as you craft your unique homemade delicacy!
Fermentation Process: Unlocking Flavor and Aroma
The fermentation process of rice wine is like magic unfolding before your eyes, transforming humble grains into a delightful liquid that carries rich flavors and aromas. During this phase, yeast plays a starring role, converting the sugars in the rice into alcohol and carbon dioxide, which not only helps develop the wine’s character but also sets the stage for the subsequent conversion into vinegar.
Commencing fermentation is as simple as placing your prepared rice into a clean, breathable container. Covering it with a cloth allows airborne yeasts and bacteria to mingle without exposing the mixture to dust. The ideal temperature range for fermentation is around 75°F to 85°F (24°C to 29°C). Here, the rice wine begins to come alive; you’ll notice bubbling throughout the mixture as the yeasts feast on the sugars, releasing carbon dioxide as a byproduct. This effervescent dance continues for about one to two weeks, and it’s crucial to check on it regularly. If at any point it begins to smell off or turns an unusual color, it may be a sign of unwanted bacteria, so it’s best to discard it and start anew.
During this critical time of fermentation, patience is key. You can stir the mixture gently if you desire, but it’s not necessary. After about a week, the first signs of readiness appear when the liquid tastes sweet with a hint of alcohol-this means the wine fermentation is progressing nicely! When the time feels right, strain the mixture to separate the liquid from the solids; this nectar will become the rice wine you’ve worked hard to create.
Next comes the alchemical transformation into vinegar. To initiate this process, simply mix your wine with a bit more yeast and a splash of vinegar. Cover it again, allowing it to ferment for an additional three to four weeks. As it develops, the vinegar will gain complexity, offering a tangy depth that elevates all your culinary creations. Taste frequently to find your ideal balance-whether you prefer a sharper vinegar or a more rounded flavor, your experimentation during this phase is what makes your homemade rice wine vinegar truly unique. Embrace the process, enjoy the journey, and celebrate your new pantry staple!
Troubleshooting Common Rice Wine Issues
If your rice wine isn’t turning out quite right, don’t worry! Troubleshooting is part of the fun in any homemade project. Here are some common issues you might encounter while making rice wine and vinegar, along with practical solutions to keep your fermentation on track.
My Rice Wine Smells Off
A foul smell typically indicates contamination by unwanted bacteria. Make sure your fermentation containers are impeccably clean before you start. If your wine smells bad, it’s best to discard it and start fresh. To prevent this in the future, always use sterilized equipment and monitor the fermentation closely. A mild, sweet aroma is what you’re aiming for; if it develops any sour or rotten undertones, it’s a clear sign something has gone wrong.
My Rice Wine Won’t Ferment
If your rice wine is stagnant, it could be due to temperature issues or insufficient yeast. Ensure your fermentation area is within the ideal temperature range of 75°F to 85°F (24°C to 29°C). You might also need to boost the yeast-try adding a small amount of active yeast to the mixture if it stalls for more than a few days. A consistent environment will encourage those yeasts to do their thing!
Cloudiness in the Wine
Sometimes, a cloudy liquid is perfectly normal and may settle out over time. However, excessive cloudiness or sediment can indicate overactive yeast or unwanted bacterial growth. If the cloudiness persists throughout fermentation, consider straining the wine again or allowing it to settle in the refrigerator for a day or two before bottling.
My Wine is Not Sweet Enough
If you find that your rice wine is lacking the desired sweetness, it might need a little tweaking. During the initial fermentation, taste your liquid every few days. If it’s too dry for your liking, you can add a touch of sugar or honey at the beginning of the fermentation process or let it ferment for a shorter time to retain more residual sugars.
By keeping these tips in mind and approaching each issue with a calm and curious attitude, you’ll not only improve your technique, but you’ll also enjoy the learning process of making rice wine and vinegar at home. Remember, every small batch is a chance to experiment and discover your unique flavor profile, so don’t be afraid to get creative!
Creative Uses for Your Homemade Rice Wine Vinegar
Homemade rice wine vinegar isn’t just a pantry staple; it’s a secret power-up for a variety of dishes, bringing a burst of flavor that store-bought versions can’t match. Whether you’re dressing a salad, marinating meats, or experimenting in the kitchen, this versatile ingredient can elevate your cooking to new heights. Let’s dive into some creative ways to use your homemade rice wine vinegar that will inspire delicious meals and tantalize your taste buds!
One fantastic way to incorporate your rice wine vinegar is in salad dressings. Simply mix it with olive oil, a hint of soy sauce, and a touch of honey for a simple yet delicious vinaigrette that pairs beautifully with greens, roasted vegetables, or even as a drizzle over grilled chicken. The tanginess of the vinegar balances nicely with the sweetness, creating a harmonious dressing that’s both zesty and refreshing.
In marinades, rice wine vinegar shines as well. It acts as a tenderizer for meats, helping to break down proteins while imparting a unique flavor. A quick marinade could consist of rice wine vinegar, garlic, ginger, and sesame oil, making for an Asian-inspired dish that works wonderfully with chicken, pork, or tofu. Just allow the protein to soak in the marinade for 30 minutes to an hour, and you’re set for a flavorful cook-off!
Another delightful use is in pickling vegetables. The acidity of rice wine vinegar makes it ideal for quick pickles. Slice your favorite vegetables-think cucumbers, carrots, or radishes-and soak them in a mix of rice wine vinegar, water, sugar, and salt. After an hour, you’ll have a crunchy, zesty side that can brighten up any meal. These pickles are fantastic in sandwiches, on charcuterie boards, or as a snack on their own.
Finally, consider using rice wine vinegar in sauces and glazes. It can help add depth to a stir-fry sauce or balance out the sweetness of a teriyaki glaze. Just remember, a little goes a long way! Start with a small amount and taste as you go to find the perfect balance for your dish.
Embracing homemade rice wine vinegar opens up a world of culinary creativity. Each dish becomes an opportunity to experiment, customize, and enjoy the process of cooking. So go ahead, get creative, and let your culinary imagination run wild!
Storing Your Rice Wine Vinegar Properly
Storing your homemade rice wine vinegar properly is key to maintaining its fresh, vibrant flavor. Similar to how you would care for other vinegars, the principles of storage will ensure your creation lasts longer and stays delicious. Here’s how to keep your vinegar in tip-top shape, so you can enjoy it in various culinary adventures.
First, choose the right container. A clean, airtight glass bottle is ideal, as it won’t leach any unwanted flavors into your vinegar. During the bottling process, ensure that the container is thoroughly sanitized to prevent any contamination. If you have leftover wine vinegar, pour it back into the original vinegar jar or transfer it to a clean, dry glass bottle with a tight seal.
Next, consider your storage environment. Store your rice wine vinegar in a cool, dark place, away from direct sunlight and heat sources. A pantry or kitchen cupboard often works well. While it doesn’t require refrigeration, if you live in a hot climate, you may want to keep it in the fridge to maintain its freshness for an extended period. This won’t harm the vinegar and can help preserve its flavor longer.
Additionally, always check for signs of spoilage before use. Homemade vinegar can develop sediment or a slight cloudiness over time, which is perfectly normal and usually doesn’t indicate spoilage. However, if you notice an off smell, strange color, or any mold, it’s best to err on the side of caution and discard it.
Lastly, keep track of when you made your vinegar. While homemade rice wine vinegar can last for several months to even a year, its flavor may diminish over time. Using it regularly means you can enjoy its freshness while experimenting in the kitchen, so don’t let it sit around for too long. With these storage tips, your homemade rice wine vinegar will be ready to enhance your dishes whenever inspiration strikes!
Exploring Variations: Flavored Rice Wine Vinegar
Flavored rice wine vinegar elevates your culinary creations with vibrant new tastes. You don’t have to stick to plain rice wine vinegar; by infusing it with various aromatics and herbs, you can create something uniquely yours that adds depth to salads, marinades, and even sauces. The beauty of homemade flavored vinegars is the ability to customize them to suit your palate and recipe needs. Here are some fantastic ideas to inspire your experimentation in the kitchen.
To make flavored rice wine vinegar, start with your base vinegar and the flavorings you want to incorporate. Here are a few popular combinations:
- Garlic and Ginger: Slice fresh garlic and ginger, then add them to your vinegar. This combination adds a warm, spicy note ideal for Asian-inspired dishes.
- Citrus Zest: Combine the zest of lemons, limes, or oranges for a bright, zesty vinegar that goes great in dressings or drizzled over grilled vegetables.
- Herbs: Adding herbs like basil, rosemary, or thyme can create fragrant oil-infused vinegars. Just place the fresh herbs into a clean jar, cover with your vinegar, and let it steep.
- Chili Peppers: For those who love heat, adding fresh or dried chili peppers can give your vinegar a spicy kick. Start with a little and adjust to taste.
Once you’ve decided on your flavor infusions, the process is straightforward. Combine your chosen ingredients with rice wine vinegar in a clean, sealed jar and let the mixture steep in a cool, dark place for about one to two weeks. Taste it every few days to check on the flavor development. When it reaches the desired intensity, strain out the solids and transfer the flavored vinegar to a new bottle for storage. Don’t forget to label it with the flavor and the date!
Flavored rice wine vinegars can be used in a myriad of ways in the kitchen. Use them in salad dressings, as a drizzling oil over cooked fish or sautéed greens, or even as a marinade for meats and tofu. The key is to get creative-experiment with different flavor profiles and combinations to find what pairs best with your favorite dishes. By making these flavored vinegars at home, you not only save money but also control the ingredients, ensuring every drop is packed with flavor and free from preservatives. Enjoy your culinary adventure!
The Health Benefits of Rice Wine Vinegar
The versatility of rice wine vinegar extends beyond its culinary uses; it also offers several health benefits that make it a valuable addition to your kitchen. Rich in acetic acid, this tangy vinegar has been linked to various health advantages, including improved digestion and weight management. Many people find that incorporating rice wine vinegar into their diets can help regulate blood sugar levels, making it a considerate choice for those monitoring their glucose intake.
Adding rice wine vinegar to your meals can enhance nutrient absorption, particularly of minerals like calcium and magnesium. This is especially beneficial when enjoying leafy greens or vegetables rich in these nutrients. Plus, the probiotics formed during fermentation contribute to gut health, potentially alleviating issues like bloating and discomfort. Using it in salad dressings or marinades not only brightens flavors but also boosts the nutritional profile of your dishes.
Another noteworthy benefit is its potential for weight management. Some studies suggest that acetic acid may help increase feelings of fullness, thus reducing overall calorie intake. For those looking to maintain or lose weight, a splash of rice wine vinegar in a glass of water before meals might be an effortless addition to your routine.
Finally, rice wine vinegar can be a great natural remedy for skin irritations or acne. Its antibacterial properties can help combat skin issues when diluted and applied topically. As with any homemade product, it’s essential to ensure proper use and conduct a patch test first to avoid irritation.
Incorporating rice wine vinegar into your daily meals can be a simple and tasty way to support your overall well-being while exploring new culinary horizons. Whether drizzled over salads, mixed into marinades, or used in dipping sauces, this pantry staple is both delicious and nutritious.
Rice Wine Vinegar vs. Other Vinegars: A Comparison
The flavor profile of rice wine vinegar is uniquely delightful, setting it apart from other common vinegars in your pantry. This vinegar, known for its mild sweetness and light acidity, can transform dishes in ways that other varieties often can’t match. While you might reach for apple cider or balsamic vinegars for certain recipes, rice wine vinegar shines in Asian cuisine and enhances dressings, marinades, and dipping sauces with its soft, aromatic essence.
Flavor Comparisons
Rice wine vinegar is generally less sharp than white or red wine vinegar, making it a more versatile option for those who prefer subtle flavor accents. Its sweetness can add a pleasant complexity to dishes without overwhelming them, which is perfect for salads or stir-fries. In contrast, apple cider vinegar has a more pronounced tang and fruity profile, which works well in robust salads and pickling. Balsamic vinegar, with its rich, syrupy sweetness, is superb for glazes and European-style salads but might overpower lighter dishes where rice wine vinegar would shine.
Usage in Recipes
When considering which vinegar to use in your cooking, think about the flavor impact you want to make. For sushi rice seasoning, rice wine vinegar is ideal due to its ability to enhance without overshadowing the rice and other delicate flavors. If you’re making a vinaigrette for greens, you might choose apple cider vinegar for a brighter zing, but consider that rice wine vinegar can provide a beautiful harmony that complements the ingredients. Additionally, when you want to create an umami-rich marinade for meats or tofu, rice wine vinegar can add depth while ensuring the other flavors remain prominent.
Nutritional Aspects
Nutritionally, rice wine vinegar offers some unique benefits. Like its counterparts, it contains acetic acid, which can aid in digestion and help regulate blood sugar levels. However, it’s often regarded as gentler on the stomach, making it a preferred choice for those with sensitivity to harsher vinegars.
Ultimately, using rice wine vinegar in your cooking not only celebrates unique flavors but also supports various health benefits, making it a fabulous addition to any kitchen. Whether you’re experimenting with homemade dressings or trying your hand at Asian-inspired dishes, this delightful vinegar can elevate your cooking in delicious ways.
Frequently Asked Questions About Rice Wine Vinegar
Curious about rice wine vinegar and how it fits into your culinary adventures? You’re not alone! This versatile ingredient has a lot to offer, so let’s dive into some common queries that home cooks often have about using and making rice wine vinegar.
Can I substitute rice wine vinegar with other types of vinegar?
Absolutely! While rice wine vinegar has a unique flavor that’s milder and slightly sweeter than other vinegars, you can substitute it with white wine vinegar or apple cider vinegar in a pinch. However, each has its distinct taste profile, so adjust accordingly. For example, if using apple cider vinegar, consider reducing the quantity slightly since its flavor can be more robust and tangy.
How do I make rice wine vinegar at home?
Making your own rice wine vinegar is a fun and rewarding process! Start with cooked rice as your base, and then introduce a vinegar mother or some unpasteurized vinegar to initiate fermentation. This process can take several weeks, but the outcome is a flavorful vinegar that you can use in a variety of dishes. Remember, patience is key-keep it in a warm, dark place and check on it occasionally.
What are the best uses for homemade rice wine vinegar?
Your homemade rice wine vinegar can shine in countless dishes! Use it to season sushi rice, add a zing to salad dressings, or enhance marinades for meats and tofu. It’s also fantastic for pickling vegetables, giving them a gentle sweetness that balances bold flavors. Don’t be afraid to experiment; its mild profile can harmonize beautifully in many recipes.
Does rice wine vinegar offer health benefits?
Yes! Rice wine vinegar, like other vinegar varieties, contains acetic acid, which can aid digestion and potentially help regulate blood sugar levels. Additionally, it’s often easier on the stomach compared to stronger vinegars, making it a popular choice for those with sensitivity to acidity. Incorporating it into your diet not only enhances flavor but may also contribute to your overall wellness.
With these insights, you’re well-equipped to explore and enjoy the delightful world of rice wine vinegar in your kitchen. Whether you’re perfecting a recipe or venturing into homemade fermentation, this ingredient adds a luscious twist to your culinary creations!
FAQ
Q: How long does it take to make homemade rice wine vinegar?
A: Making homemade rice wine vinegar typically takes 4 to 6 weeks. This includes the fermentation period where the rice wine converts to vinegar. The specific time can vary based on temperature and environmental conditions. For detailed steps, see the Fermentation Process section.
Q: Can I use brown rice to make rice wine vinegar?
A: Yes, brown rice can be used to make rice wine vinegar. It often results in a richer flavor compared to white rice. For the best results, ensure you follow the proper fermentation steps outlined in the Choosing the Right Rice section.
Q: What equipment do I need to make rice wine vinegar at home?
A: To make rice wine vinegar, you’ll need basic equipment such as a large jar or fermentation vessel, cheesecloth, and a rubber band. This setup allows for proper air circulation during fermentation. Find more details in the Essential Ingredients section.
Q: What is the ideal temperature for fermenting rice wine vinegar?
A: The ideal fermentation temperature for rice wine vinegar is between 60°F and 80°F (15°C to 27°C). Keeping the environment stable within this range helps facilitate effective fermentation. More tips can be found in the Fermentation Process section.
Q: Can I speed up the fermentation process of rice wine vinegar?
A: While fermentation cannot be rushed significantly, you can increase warmth in the environment slightly to encourage faster conversion. However, proceed carefully to avoid spoilage. Additional fermentation tips are in the Troubleshooting Common Rice Wine Issues section.
Q: How can I tell if my homemade rice wine vinegar is ready?
A: Your homemade rice wine vinegar is ready when it has a tangy, sharp flavor and a slight acidity. Taste it after about 4 weeks, and if it meets your preference, it’s likely ready to use. Refer to the Fermentation Process section for more details.
Q: How should I store homemade rice wine vinegar?
A: Store your homemade rice wine vinegar in a cool, dark place in a sealed bottle. Proper storage will prolong its shelf life. For best practices, check the Storing Your Rice Wine Vinegar Properly section.
Q: What can I use rice wine vinegar for besides cooking?
A: Besides cooking, rice wine vinegar can be used for pickling, as a salad dressing, or for marinades. Its mild flavor makes it versatile for various culinary applications. Explore creative uses in the Creative Uses for Your Homemade Rice Wine Vinegar section.
Insights and Conclusions
And there you have it! Making rice wine vinegar at home is not only simple but also a rewarding process that adds a personal touch to your Asian pantry essentials. Now that you’ve mastered this recipe, why not explore other homemade staples? Check out our guides on How to Make Your Own Soy Sauce and Perfecting Homemade Sriracha Sauce to elevate your culinary game even further.
Don’t forget to share your experiences in the comments below or consider subscribing to our newsletter for more delicious recipes and tips. If you run into any challenges or have questions about fermentation, feel free to reach out-we’re here to help! Remember, your kitchen is a place for experimentation and creativity, so dive in and enjoy the process. Happy cooking!
Get our latest guides, news, and insights highlighted in your Google Search & AI Overviews.










