

Have you ever sipped a glass of wine and wondered about the magic behind it? Making wine at home isn’t just a fun experiment; it’s a rewarding journey that can transform simple ingredients into a delightful beverage tailored to your taste. In this guide, we’ll demystify the winemaking process, making it approachable for everyone-from the curious beginner to the budding connoisseur. We’ll cover essential tips, key ingredients, and easy techniques that require no fancy equipment. It’s all about embracing creativity and enjoying the experience of fermentation. So, grab your fruit, and let’s get started on this exciting path to homemade wine! Your taste buds will thank you.
Choosing the Right Wine Ingredients for Beginners
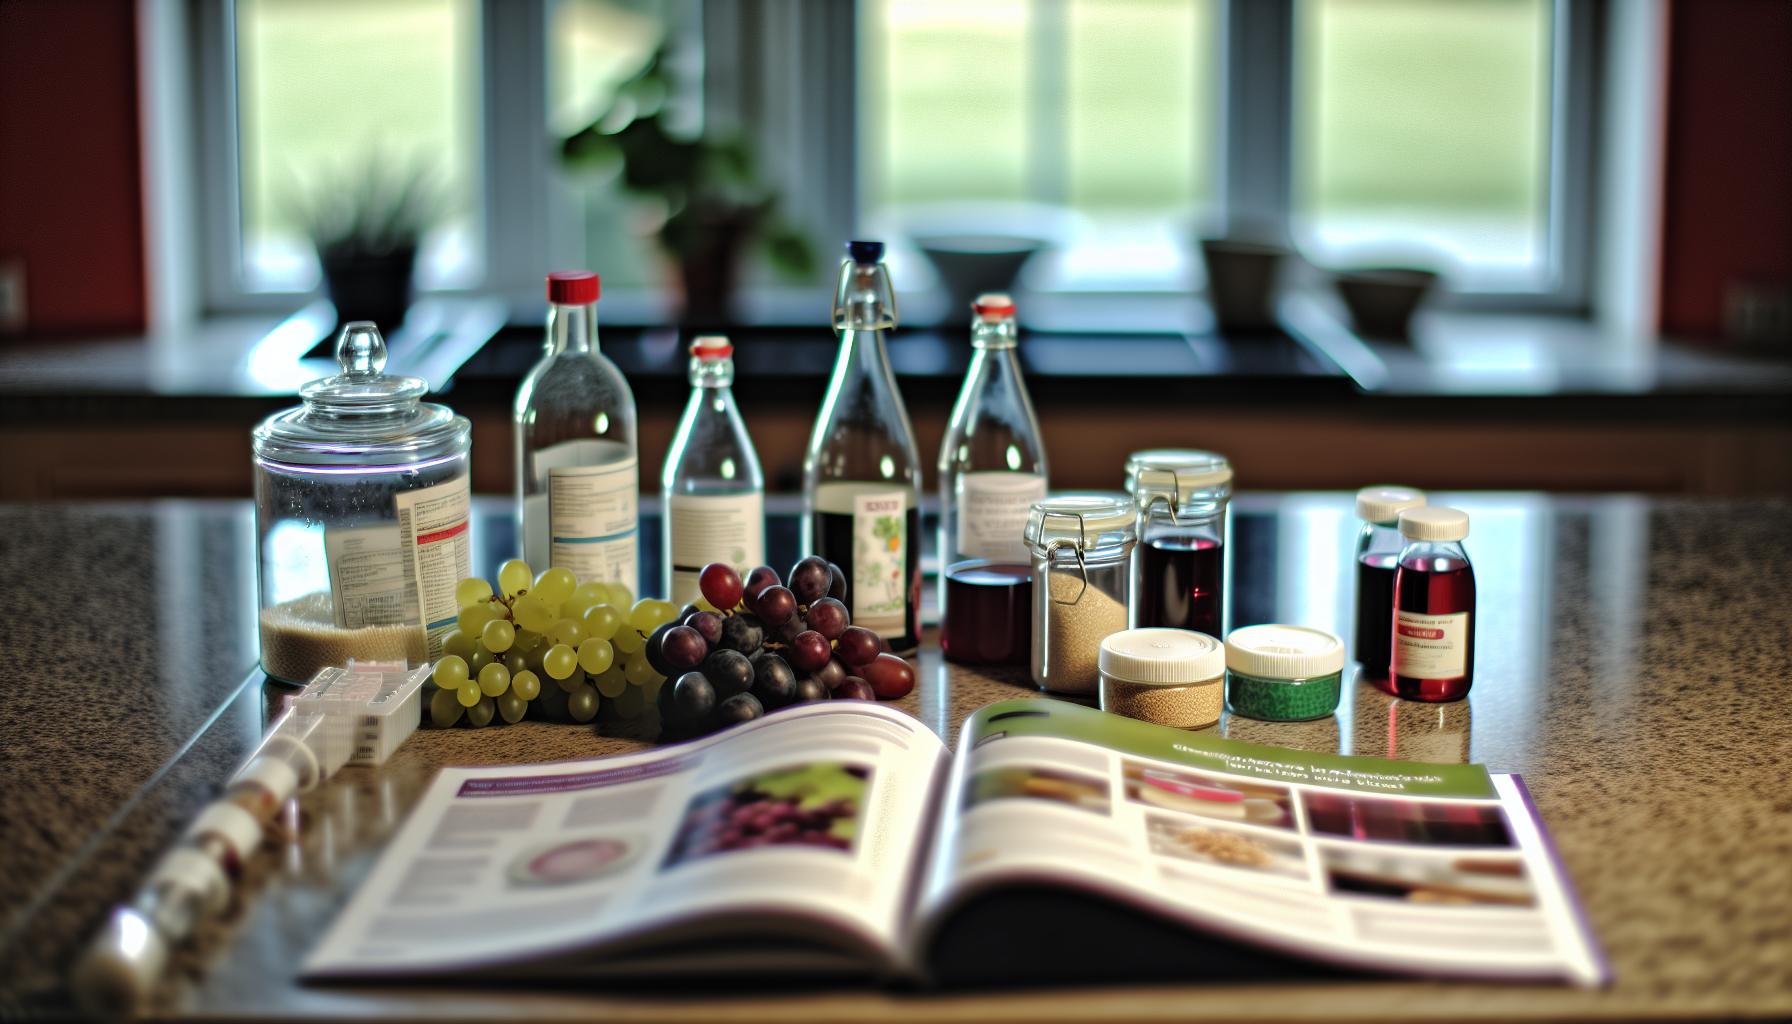
Choosing the right ingredients for your first winemaking adventure can feel a bit overwhelming, but it doesn’t have to be! The beauty of homemade wine lies in its accessibility and the ability to customize based on personal taste and the ingredients readily available to you. Start with fresh, high-quality fruit, as this is at the heart of your flavor profile. Grapes are the classic choice, but don’t shy away from experimenting with other fruits like apples, berries, or even flowers. Each fruit brings its own unique characteristics, allowing for a world of flavors to explore.
When picking your fruit, consider the seasonality for the best flavors and prices. For example, late summer and early fall are prime times for grape harvesting, while berries are typically abundant in mid-summer. Washing and preparing your fruit is critical-ensuring everything is clean helps avoid unwanted bacteria that can spoil your batch. Aim for at least 10 pounds of fruit for a gallon of wine, yielding about five bottles, which is a manageable starting quantity for beginners.
In addition to your fruit, you’ll need a few core ingredients to aid fermentation. Sugar is often necessary to boost the fermentation process, as most fruits don’t contain enough natural sugars to produce a balanced wine. Keep in mind that the sweetness of your final product can be adjusted during the fermentation process. As for yeast, a high-quality wine yeast is essential as it dictates the flavor and potency of your wine-think of it as the magic ingredient that transforms your juice into a delightful beverage!
Lastly, don’t forget about water and any additional flavorings you might want to experiment with. Water is important for diluting overly sweet fruits, while additions like spices or herbs can give your wine a unique twist that reflects your personal style. By choosing high-quality, fresh ingredients and being mindful of your proportions, you’ll be well on your way to crafting a delicious homemade wine that celebrates your creativity and hard work. Remember, winemaking is as much about the process as it is about the product-enjoy each step!
Essential Equipment for Home Winemaking
To embark on your winemaking adventure, having the right equipment is essential. Luckily, starting with the basics doesn’t require a hefty investment or a full-fledged winery setup. You can get great results with just a handful of simple tools that make the process efficient and enjoyable. Think of these items as your trusty companions in the kitchen, helping you craft delicious wines at home.
First and foremost, you’ll need fermentation vessels. These are critical for the fermentation process, where yeast turns your fruit juice into wine. A glass carboy or a food-grade plastic fermenter works well. Aim for a size of at least five gallons to make a good batch of wine. Don’t forget a good airlock to keep the fermentation clean by preventing contaminants while allowing gases to escape.
Next on the list are the crushing and pressing tools. A fruit crusher or a simple potato masher can help you break down your fruit, releasing those flavorful juices essential for fermentation. If you’re making a significant batch, investing in a small wine press might be a wise choice, as it helps extract more juice and enhances flavor.
When it comes to monitoring the fermentation, a hydrometer is invaluable. This little tool measures the specific gravity of your wine, helping you track the fermentation progress and even calculate alcohol content later. Combine this with a thermometer to ensure the temperature of your fermentation is in the ideal range, typically between 65°F and 75°F for most wines.
Lastly, you’ll need some essential bottling tools. A wine bottle filler can help streamline the process, along with corks, corkers, and labels for a professional touch. Having these items ready will not only make bottling easier but also adds a delightful layer of presentation to your homemade creations.
Creating wine at home is not just about following instructions; it’s a journey of discovery. Remember, simplicity is key, and enjoy the tactile experience of crafting something uniquely yours. By gathering these essential tools, you’ll be well on your way to becoming a confident home winemaker, ready to experiment and, most importantly, have fun in the process.
Step-by-Step Guide to Fermentation
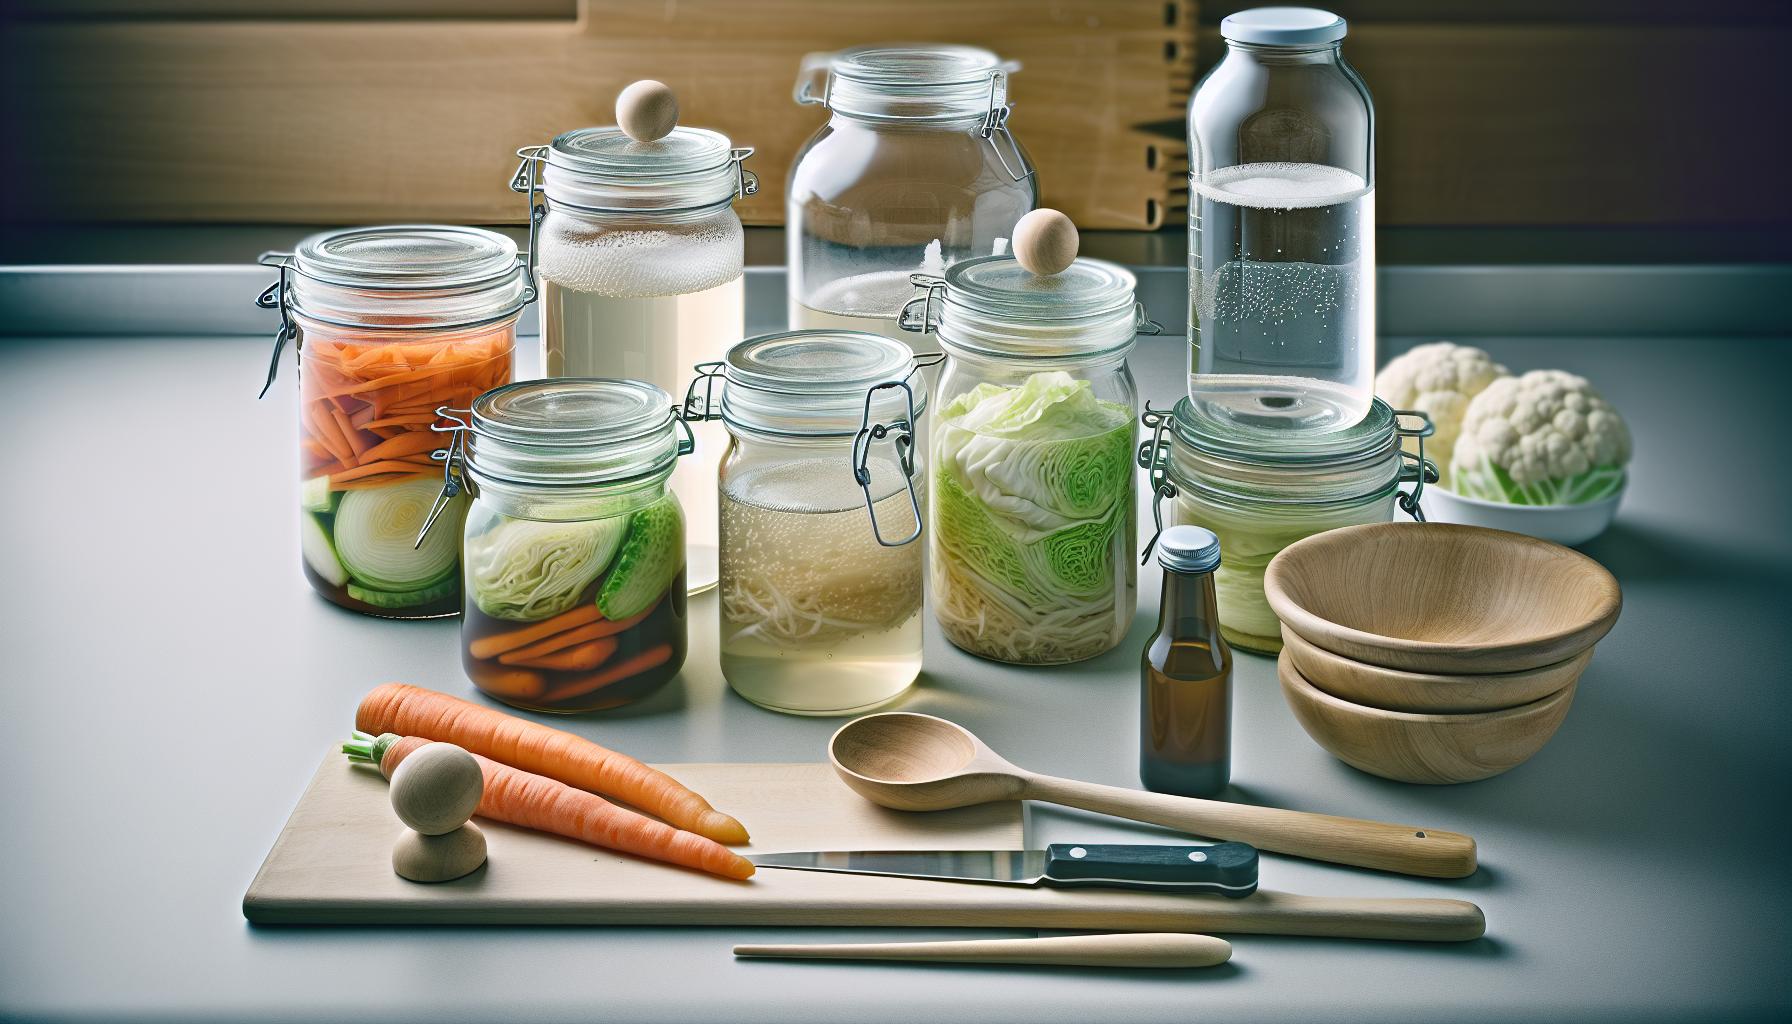
Fermentation is the magical process that transforms sweet fruit juice into rich, flavorful wine. It’s the heart of winemaking, and while it might seem intimidating, with a step-by-step approach, you’ll find it’s accessible and rewarding. Imagine the delightful aromas wafting from your fermenting vessel; it’s a true testament to your creativity and patience!
To get started, gather your prepared fruit juice, which can come from grapes, apples, or any of your favorite fruits. The sugar content of your juice is crucial since it directly affects the alcohol level in your wine. For example, grape juice generally has the right balance of sugars, perfect for fermentation. You’ll also want to ensure all your equipment is sanitized to prevent any unwanted bacteria or wild yeasts from interfering with your wine. This includes your fermentation vessel, airlocks, and any tools you’ll use.
Once your juice is ready, it’s time to introduce the yeast. You can use commercial wine yeast, which is reliable and tailored for winemaking, or experiment with wild yeast if you’re feeling adventurous. Add your yeast to the juice, and gently stir. After this, seal your fermentation vessel with an airlock. This is essential as it allows carbon dioxide to escape while keeping unwanted contaminants out. Over the next few days, you’ll notice bubbling and foaming, which means fermentation is in full swing!
Throughout fermentation, typically lasting one to three weeks depending on the juice and yeast, monitor the process. Use a hydrometer to measure the specific gravity; this will help you track how much sugar has converted to alcohol. If you notice your bubbles slowing, it may be time to rack your wine into a clean vessel, leaving sediment behind. Patience is key-allow the fermentation to finish completely for the best flavor. Once it stops bubbling, it’s time to prepare for the next stages of winemaking, like bottling and aging. Enjoy the fruits of your labor-literally!
How to Monitor and Maintain Fermentation
Monitoring and maintaining fermentation is vital to producing a high-quality wine. It’s like being a mindful gardener, observing and nurturing your fermenting juice to ensure it flourishes into something wonderful. During this magical transformation, it’s essential to remain engaged and attentive as the yeast works diligently to convert sugars into alcohol.
Start by checking the temperature of your fermentation space. Yeast thrives within certain temperature ranges, typically between 65°F and 75°F (18°C to 24°C). If your environment is too warm, it can lead to off-flavors or even kill the yeast, while cold temperatures can slow fermentation, leaving it stuck. If necessary, find ways to maintain a stable temperature-consider using a small heater in the winter or keeping your fermentation vessel away from direct sunlight during warmer months.
Next, it’s important to monitor the fermentation’s progress using a hydrometer. This handy tool measures the specific gravity of your wine, which indicates how much sugar has been converted into alcohol. Take regular readings, ideally every few days, to track the changes. At the beginning, you’ll see rapid bubbling in your airlock, which is a good sign that fermentation is active. As the bubbles slow down, take this as a cue that you might need to rack (transfer) your wine to help it clear and settle, while leaving behind sediment.
Stay vigilant for signs of trouble, such as strange smells or unexpected bubbles. If your wine develops a strong vinegar smell, it might be at risk of spoilage from unwanted bacteria. To avoid this, ensure all equipment is sanitized and monitor the airlock for leaks. If fermentation seems to stall, try gently swirling the vessel to re-suspend the yeast, which may help reignite the process. Understanding these elements will enable you to guide your wine from grape to glass successfully, making the journey enjoyable and rewarding. Each step you take is a stride towards mastering the art of winemaking, bringing you closer to that first delightful sip of your own homemade creation.
Common Mistakes to Avoid During Winemaking
Making your own wine can be a thrilling adventure, yet beginners often overlook some crucial steps that can affect the final product. Understanding these common pitfalls is essential for a successful fermentation experience. Here are key mistakes to watch out for to ensure your homemade wine is as delightful as you envision.
One major misstep is neglecting sanitation. Everything that comes into contact with your wine needs to be squeaky clean. Bacteria and wild yeasts thrive in a dirty environment, which can spoil your batch. Always sanitize equipment, bottles, and even your hands before starting the winemaking process. You wouldn’t bake a cake in a dirty kitchen, right? It’s the same principle here. A simple solution of water and bleach or a commercial sanitizer can keep unwanted contaminants at bay.
Another common error is failing to monitor fermentation closely. It’s easy to assume that once fermentation starts, you can just leave it alone. However, keeping an eye on the bubbling activity in your airlock and checking the specific gravity with a hydrometer can give you insights into how the fermentation is progressing. If the bubbles stop too soon, it could indicate a stuck fermentation, which means the yeast isn’t converting sugars properly. In such cases, gently swirling the fermenter can help revitalize the yeast. Regular checks will help you catch any issues early and adjust accordingly.
Over-racking-transferring your wine from one vessel to another-is another frequent mistake that can lead to oxidation or loss of character in your wine. While it’s essential to rack off the sediment, doing this too often can expose your wine to oxygen, leading to off-flavors. Try to limit racking to only essential times, such as when the fermentation is complete, or the wine has cleared sufficiently.
Finally, keep an eye on temperature control. Wine yeast prefers a stable temperature, usually between 65°F and 75°F (18°C to 24°C). If the temperature fluctuates too much or gets too hot, you might end up with stressed yeast, resulting in off-flavors or fermentation halting altogether. If you’re in a chilly area, consider placing your fermenter in a heated area or using a fermentation heater. This proactive approach helps you avoid unwanted surprises as your wine develops.
By being mindful of these common mistakes, you’re setting yourself up for a winemaking experience that’s as enjoyable as sipping the fruits of your labor. Remember, winemaking is an art that rewards patience and attention to detail. Happy brewing!
Flavoring Your Wine: Simple Additions and Techniques
Experimenting with flavors in your homemade wine can be one of the most rewarding parts of the winemaking journey. Whether you’re incorporating fruits, herbs, or spices, adding unique elements can elevate your wine from good to extraordinary. The beauty of home winemaking lies in its flexibility, allowing you to tailor your beverage to suit your tastes and preferences.
To get started with flavoring your wine, think about the foundation of your base wine. If you’re making a white wine, consider light and fresh additions like citrus peels, tropical fruits, or floral notes. For red wines, deeper flavors like berries, plums, or even spices like cinnamon and clove can create a rich palate. You can add these ingredients during fermentation or secondary fermentation, depending on when you want the flavors to infuse. Here are some simple techniques to enhance your winemaking experience:
Simple Flavoring Techniques
- Fruits: Fresh, frozen, or dried fruits can all be excellent additions. Simply chop or mash the fruit and add it to the primary fermentation bucket. Some popular options include berries for reds, peaches for whites, or citrus for a refreshing twist.
- Herbs and Spices: Adding herbs like basil, mint, or even rosemary can introduce aromatic complexities. To experiment, try steeping them in your must for several days, then taste-test until you reach your desired flavor.
- Oak Chips: If you fancy a more oaky wine, consider soaking oak chips in a bit of vodka beforehand to sanitize them and then adding them to your fermenter. This method adds depth and a toasty flavor profile.
- Honey or Sugar: A touch of honey or additional sugar can sweeten your wine and enhance flavor. Add during fermentation for a smoother integration or adjust in the bottling stage for a more pronounced sweetness.
As you dive into the world of flavoring, it’s essential to keep notes on your experiments. This practice not only helps track what works but also makes it easier to replicate or tweak recipes in future batches. The goal is to create a balance of flavors that complement each other without overwhelming the wine’s natural characteristics. Remember, less can be more-start with small amounts and adjust as needed.
Lastly, allow your creativity to shine! Flavoring wine isn’t about following strict rules; it’s about enjoying the process and discovering what suits your palate. So, pop that cork, taste your creations, and relish in the journey of transforming fruits and spices into a delightful glass of homemade wine!
Understanding Alcohol Levels and Sweetness
Understanding the balance between alcohol levels and sweetness in your homemade wine is key to creating a drink that delights your palate. Essentially, the alcohol content of wine is determined by the amount of sugar present in your fermentation process. When yeast ferments sugar, it produces alcohol and carbon dioxide, making your choice of sugar important. Typically, most table wines have an alcohol level ranging from 8% to 15%, achievable by controlling how much sugar you start with.
To measure alcohol levels, you can use a tool called a hydrometer, which measures the specific gravity of your must (the mixture of juice, sugar, and other ingredients). By comparing the specific gravity before fermentation (when your sugars are high) and after fermentation (when sugars are converted to alcohol), you can estimate the final alcohol content of your wine. For example, a change from a specific gravity of 1.090 to 1.000 could indicate about 12% alcohol by volume.
Finding the Right Sweetness
Sweetness in wine is typically categorized as dry, semi-dry, sweet, or dessert, and it’s determined by the residual sugar left after fermentation. If some sugar is left unfermented, it will produce a sweeter taste. Here’s how to achieve your desired level of sweetness:
- Ferment to Dry: If you prefer a dry wine, let the fermentation process complete fully, ensuring all sugar is converted to alcohol.
- Back-Sweetening: If you want a sweeter profile after fermentation, you can add sugar, honey, or a non-fermentable sweetener like Stevia before bottling. Always be sure to test the flavor as you go!
Keep in mind, sweetness and acidity work together to create balance in your wine. If you go for a sweeter wine, adding a touch of acid (like citric acid or lemon juice) can enhance the overall flavor and prevent cloying sweetness. Remember, personal preference plays a crucial role in these choices, so feel free to adjust based on your taste. Experimenting with different alcohol and sweetness levels not only hones your winemaking skills but also helps uncover what you personally enjoy most in a glass!
Bottling Your Wine: Tips for Success
Bottling your homemade wine is one of the most rewarding parts of the winemaking process. It’s that moment of transformation when all your hard work and patience come together, ready for you to enjoy and share. As you approach this final step, keeping a few tips in mind can help ensure your wine is stored properly, retains its quality, and emerges as a delightful invention for your taste buds.
Start by gathering all the necessary supplies. You’ll need clean, sterilized bottles-preferably made of glass, as plastic can allow unwanted oxygen to seep in. Wine bottles hold about 750ml each, and most recipes yield about six bottles, but this can vary. Use a bottle filler or a siphon to minimize sediment disturbance as you transfer the wine, and remember to leave about an inch of space from the top, known as headspace. This gap is crucial for preventing overflow and oxidation.
Once your bottles are filled, securely cap or cork each one. If using corks, ensure they are moist to prevent them from breaking during insertion. You might find it helpful to invest in a corker, which makes the process easier and more uniform. After capping, it’s essential to label each bottle with the type of wine and the bottling date. This step not only helps with organization but also adds a personal touch that makes sharing your creation even more special.
Lastly, store your bottles upright for a few days, allowing the corks to expand and create a tight seal. After that, move them to a cool, dark place, ideally lying on their sides. This position keeps the cork moist and maintains a good seal. Regularly check your wine for any signs of spoilage and enjoy the anticipation as you wait for flavors to develop. Remember, patience is key; giving your wine time to rest can elevate its flavors and make for an even more enjoyable experience when you finally pop the cork!
Aging and Storing Your Homemade Wine
The journey of winemaking doesn’t end with bottling; in fact, aging your homemade wine is crucial for developing its flavor profile and enhancing its overall quality. Like a fine cheese or a well-aged steak, wine matures over time, making patience a key ingredient in your winemaking adventure. As you allow your wine to rest, it transforms, smoothing out harsh edges and integrating the flavors you’ve carefully crafted.
Start by choosing the right storage conditions. Wine thrives in a cool, dark place, away from vibrations and direct sunlight. A basement or a dedicated wine fridge works wonders. Aim for a temperature around 55°F (13°C) with a humidity level between 60% to 70%. This environment helps prevent cork drying and keeps your wine in perfect condition. Store your bottles lying down to ensure that the cork remains moist, creating a tight seal that protects against oxidation.
While waiting, it’s essential to keep an eye on the aging process. Different types of wine have varying aging potentials-reds often benefit from longer aging compared to whites. As your wine matures, check for changes in aroma and flavor. You might find notes of fruit becoming more pronounced or newly developed complexities emerging. But remember, not every wine improves indefinitely. It’s helpful to label your bottles with the bottling date and suggested drinking window for easy reference.
Finally, don’t hesitate to experiment! Home winemaking offers the perfect canvas for creativity. Have you tried adding herbs or spices during aging? Consider crafting small batches and being adventurous with flavors. This is your chance to explore flavors that resonate with you, turning your culinary curiosities into delightful bottles of wine that you can proudly share with family and friends. So, enjoy this part of the winemaking process; it not only enhances your final product but also deepens your appreciation for the art of wine creation.
Experimenting with Fruit Wines: Beyond Grapes
Experimenting with fruit wines can be one of the most thrilling aspects of home winemaking. While grapes have long been the star of the show, a world of flavors awaits you just beyond the vine. Any fruit that has natural sugars can be turned into wine, so why not try your hand at crafting something novel? From luscious berries to tropical delights, the possibilities are endless!
To get started, select your fruit. Popular choices for beginners include strawberries, blueberries, apples, and peaches. Each fruit brings its own distinct character, so think about what flavor profiles excite your palate. For a simple recipe, consider using about 5-7 pounds of fresh fruit for every gallon of wine you plan to make. For example, if you’re opting for a blueberry wine, start with those fresh or frozen berries, ensuring they are ripe and fragrant. You’ll also need sugar (around 2-3 pounds, depending on your desired sweetness), water, and yeast to get that fermentation bubbling away.
Once you’ve gathered your ingredients, it’s time to prepare them! Mash the fruit to release its juices, mixing in the sugar until it dissolves completely. Then, combine the fruit mixture with water in a fermentation bucket. After that, sprinkle the yeast on top. This step is essential as the yeast transforms sugars into alcohol and carbon dioxide through fermentation. Give it a gentle stir to combine everything well. Cover your bucket with a clean cloth or airlock, allowing the mixture to breathe while keeping unwanted contaminants at bay.
Monitoring your fermentation is key to a successful fruit wine. You’ll want to check in regularly, noticing bubbles and frothing as nature takes its course. This active phase can last anywhere from a week to several weeks, depending on your fruit and temperature. Taste your blend occasionally. This is a fun and educational part of the process! Understanding how flavors develop will provide you with valuable insights into your winemaking journey.
Another exciting avenue in fruit wine experimentation involves blending different fruits or adding spices and herbs. Try combining cherries and raspberries for a delightful tart profile, or throw in a dash of cinnamon for a warm twist. Each batch can tell a unique story, imbued with your creativity and preferences.
In conclusion, delving into fruit wines not only expands your winemaking repertoire but also opens up a world of sensory enjoyment. The process is accessible – brace yourself for delightful aromas and vibrant flavors that reflect the fruits of your labor. Let’s celebrate this adventure of creativity and discovery as you pour your heart into every bottle!
Celebrating Your Success: Hosting a Wine Tasting
There’s something truly magical about sharing your homemade wine with friends and family. Hosting a wine tasting not only allows you to showcase your hard work but also creates a warm and inviting atmosphere for delightful conversations and new experiences. It’s a chance to celebrate your journey into winemaking, making everyone feel included in your new passion.
Start by gathering a selection of your wines, making sure to include a variety of flavors and styles. If you’ve experimented with different fruits or added special flavorings, highlight these by creating a simple tasting menu. You can list each wine’s main flavor notes, the fruits used, and any unique aspects of the fermentation process. This adds a personal touch and invites your guests to explore the complexity of your creations.
When it comes to setting the scene, think cozy and welcoming. Arrange your tasting area with comfortable seating, snacks, and water for palate cleansing. Consider offering complementary food pairings that enhance the wine experience-cheeses that complement fruity wines or chocolates for dessert-style options. Use simple glassware; it doesn’t need to be fancy, as the focus should be on the wine itself. If you have any interesting wine-related decor, like homemade labels or fermentation equipment, display those to spark conversations and share stories.
While guiding your guests through the tasting, encourage them to share their thoughts on each wine. Ask open-ended questions like, “What flavors are you tasting?” or “How would you describe this wine to someone else?” This not only engages everyone but also opens up discussions about the winemaking process and your inspirations. Remember, the point of this gathering is to celebrate your efforts and the joy of sharing your passions with others, so keep the mood light and fun.
In the end, the essence of hosting a wine tasting is about connection and celebration. It’s your opportunity to craft lasting memories, enjoy the fruits of your labor, and inspire others to perhaps embark on their own winemaking adventures. Cheers to your success!
Sharing Your Wine Journey: Joining Local Communities
There’s a vibrant world waiting for you when you connect with local wine communities. Whether you’re just starting on your winemaking journey or have a few batches under your belt, engaging with others who share your passion can enhance your experience immensely. Not only does it provide you with valuable insights and tips, but it also opens doors to new friendships and collaborative opportunities that can inspire your creativity.
Joining a local wine community can take many forms. Look for nearby winemaking clubs or groups that convene regularly. These can often be found through local agricultural extensions, community colleges, or even social media platforms. Many organizations host events where members share their homemade wines, discuss techniques, and swap recipes. Such gatherings are fantastic opportunities to taste different styles and learn about the stories and processes behind each bottle. Plus, you might even find your next favorite ingredient or technique through discussion with like-minded enthusiasts.
Consider participating in local wine festivals or farmers’ markets. These events allow you to showcase your wines and get feedback directly from consumers. Not only will you gain valuable experience in promoting your creations, but you may also meet experienced winemakers who can offer mentorship or practical advice. Plus, sharing your wines with the public can deepen your understanding of the flavors and aromas that resonate best with others.
Don’t overlook the power of online communities, too. Websites and forums dedicated to winemaking, like Winemaking Talk, provide a wealth of information, from troubleshooting common fermentation issues to experimenting with flavor infusions. These platforms are perfect for asking specific questions and receiving feedback from seasoned bakers and novices alike, giving you a continuous source of support and inspiration.
Ultimately, engaging with local wine communities enriches your winemaking journey. You’ll gain practical skills, make lasting connections, and celebrate your successes alongside fellow wine lovers. Remember, every conversation and every shared bottle is a step on your path to becoming a more confident and creative winemaker.
Frequently asked questions
Q: What is the easiest way to start making wine at home?
A: The easiest way to start making wine at home is to use a kit that includes all necessary ingredients and equipment. Follow the *step-by-step instructions* provided, which typically cover fermentation and bottling. This removes guesswork and makes the process accessible for beginners.
Q: How long does it take to make wine from start to finish?
A: Making wine can take anywhere from *4 weeks to several months*, depending on the type and style. Most primary fermentation lasts about 1-2 weeks, while the remaining time can involve bottling and aging for optimal flavors. *Patience is key* to a good result!
Q: Can you make wine without yeast?
A: While it’s possible to ferment fruits using natural wild yeast, it’s not recommended for beginners. Using commercially available yeast ensures a successful fermentation process and consistent results. *Opt for a specific wine yeast* for best outcomes in flavor and alcohol content.
Q: What fruits can I use to make homemade wine?
A: You can make wine with a wide variety of fruits including *grapes, blueberries, apples, and even peaches*. Each fruit offers a unique flavor profile, enhancing your winemaking experience. For specific recipes, refer to sections in your wine guide about experimenting with fruit wines.
Q: How can I tell if my wine fermentation is complete?
A: To check if fermentation is complete, monitor the specific gravity using a hydrometer. If the gravity remains stable over a few days, fermentation is likely finished. Additionally, *bubbling in your airlock should slow significantly* or stop.
Q: Is it necessary to age homemade wine?
A: Aging homemade wine is not strictly necessary, but it greatly enhances flavor and complexity. Simple white wines may be enjoyed shortly after bottling, while *red wines can benefit from months or years of aging*. Experiment to find what you enjoy most!
Q: How do I troubleshoot common problems in winemaking?
A: Common problems like stuck fermentation or off-flavors can often be resolved through careful monitoring and adjustments. Keep your fermentation area free from temperature fluctuations and contaminants. For more advice, refer to the *common mistakes section* in the guide.
Q: What should I do if my wine turns out too sweet?
A: If your wine is too sweet, try blending it with a drier wine or adding a bit of acidity, such as citric acid. This can help balance the flavors. In the *flavoring section*, you’ll find techniques for adjusting sweetness and enhancing taste further.
Key Takeaways
You’ve now tackled the basics of winemaking with confidence! Remember, the joy comes from experimenting and crafting your own unique flavors, so don’t hesitate to tweak the recipes and make them your own. If you’re eager to deepen your winemaking skills, explore our in-depth guide on fermentation tips and troubleshooting common issues [[1]](https://jafton.com/insights/user-engagement-key-metrics-and-optimization-techniques) for that next step.
Ready for more? Sign up for our newsletter for exclusive tips and recipes, making your kitchen adventures even more exciting. Plus, share your winemaking journey with us in the comments below-we can’t wait to hear your stories! Keep exploring and enjoy creating your perfect wine; remember, every bottle tells a story. Cheers to your homemade creations!
Get our latest guides, news, and insights highlighted in your Google Search & AI Overviews.










