

Did you know that winemaking dates back thousands of years, steeped in tradition and rich with artisanal techniques? Making wine the old-fashioned way is not just about creating a beverage; it’s a journey into history and a celebration of craftsmanship. In this guide, you’ll discover timeless methods that allow you to produce exquisite wines right from your home kitchen, regardless of your experience level.
Imagine the satisfaction of transforming simple grapes into a delightful vintage, unlocking flavors that tell stories of the land from which they came. Whether you’re looking to impress at your next gathering or simply enjoy the process, embracing these vintage techniques can deepen your connection to the craft of winemaking. So, roll up your sleeves, gather your ingredients, and let’s embark on this exciting adventure together. Your homemade wine awaits!
The History of Winemaking: A Journey Through Time
Winemaking is thought to date back over 8,000 years, with some of the earliest evidence found in ancient Georgia, where archaeologists discovered traces of grape cultivation and fermentation. This fascinating history reveals how deeply ingrained winemaking practices are in human culture and evolution. In those early days, grapes were fermented in simple clay containers, a technique that laid the groundwork for all modern winemaking. As societies evolved, so did their winemaking methods, incorporating elements of religion, trade, and regional innovations.
The ancient Egyptians revered wine, using it for religious ceremonies and as offerings to the gods. They developed advanced techniques for preserving wine, such as storing it in amphorae sealed with resin or wax. Similarly, the Greeks contributed to the art of winemaking, emphasizing varietal distinctions that are crucial to today’s wine classifications. By the time the Romans expanded their empire, they brought grapevines to various regions across Europe, effectively disseminating winemaking knowledge and practices that continue to influence the craft today.
As we look to the past, it’s important to appreciate the traditional methods that shaped today’s winemaking landscape. Early vintners relied heavily on the environment, taking cues from nature to inform their processes. Seasonal changes dictated harvesting times, and local terroirs influenced grape characteristics. These intricacies taught them to embrace natural elements, leading to the art of blending and experimentation that defines vintage winemaking.
Incorporating old-fashioned techniques into modern winemaking can be a fascinating journey. From hand-picking grapes at dawn to using wild yeasts for fermentation, these traditional approaches not only honor history but also enhance the complexity and taste of homemade vintages. With a little patience and practice, everyone can explore this rich heritage in their own kitchens, making their winemaking journey truly personal.
Essential Tools for Old-Fashioned Winemaking
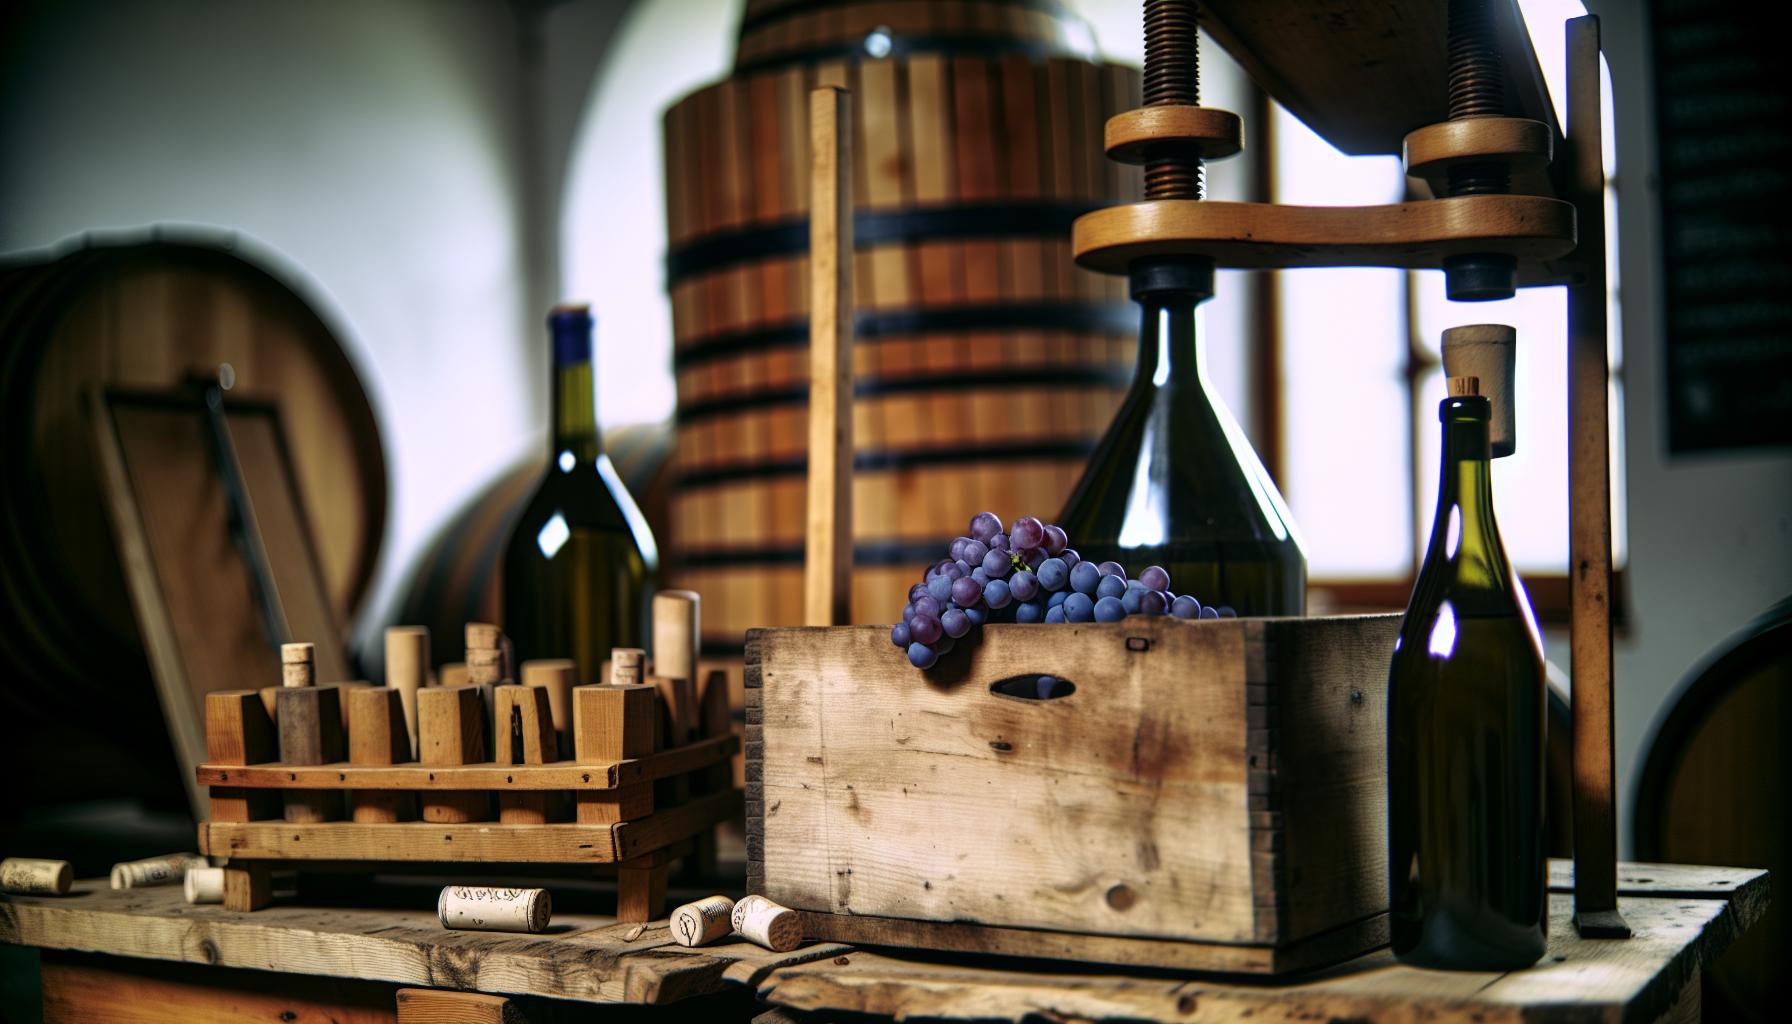
When embarking on the delightful journey of old-fashioned winemaking, having the right tools at your disposal makes all the difference-as it did for vintners in times gone by. You don’t need a wine laboratory or a degree in enology to get started; often, a trusty set of tools from your kitchen will suffice to create your very own delightful vintage.
First off, consider the essentials you’ll need to get the ball rolling. A fermentation vessel is critical; a glass carboy or food-grade plastic bucket works well. These containers allow for the fermentation process while protecting the wine from unwanted contamination. A fine mesh strainer will come in handy for separating grape solids during pressing. If you’re keeping it traditional, a manual grape crusher or a simple wooden mallet can make a charming alternative, letting you crush the grapes by hand and experience the process just like the ancients did.
Don’t forget about sanitation: a good sanitizing solution is non-negotiable to maintain cleanliness and prevent spoilage. Next, you’ll want a siphoning device, commonly known as a racking cane, to transfer wine between containers while leaving sediment behind. For those who prefer a hands-on approach, a hydrometer can help you measure the specific gravity during fermentation to understand the alcohol content of your brew.
Your old-world adventure wouldn’t be complete without some basic bottling tools. Wine bottles-cleaned and sanitized-are necessary for the final product. While traditional corking devices are wonderful, if you’re aiming for simplicity, screw-caps or swing-top bottles also do the trick. Finally, a labeling kit can add a personal touch, allowing you to celebrate your creation and share it with friends and family.
With these tools, you’ll be well-equipped to take on the task of making wine the old-fashioned way. Remember, the joy is not only in the final product but in the process itself, so have fun experimenting and infusing your own creativity into every bottle!
Choosing the Right Grapes for Vintage Wine
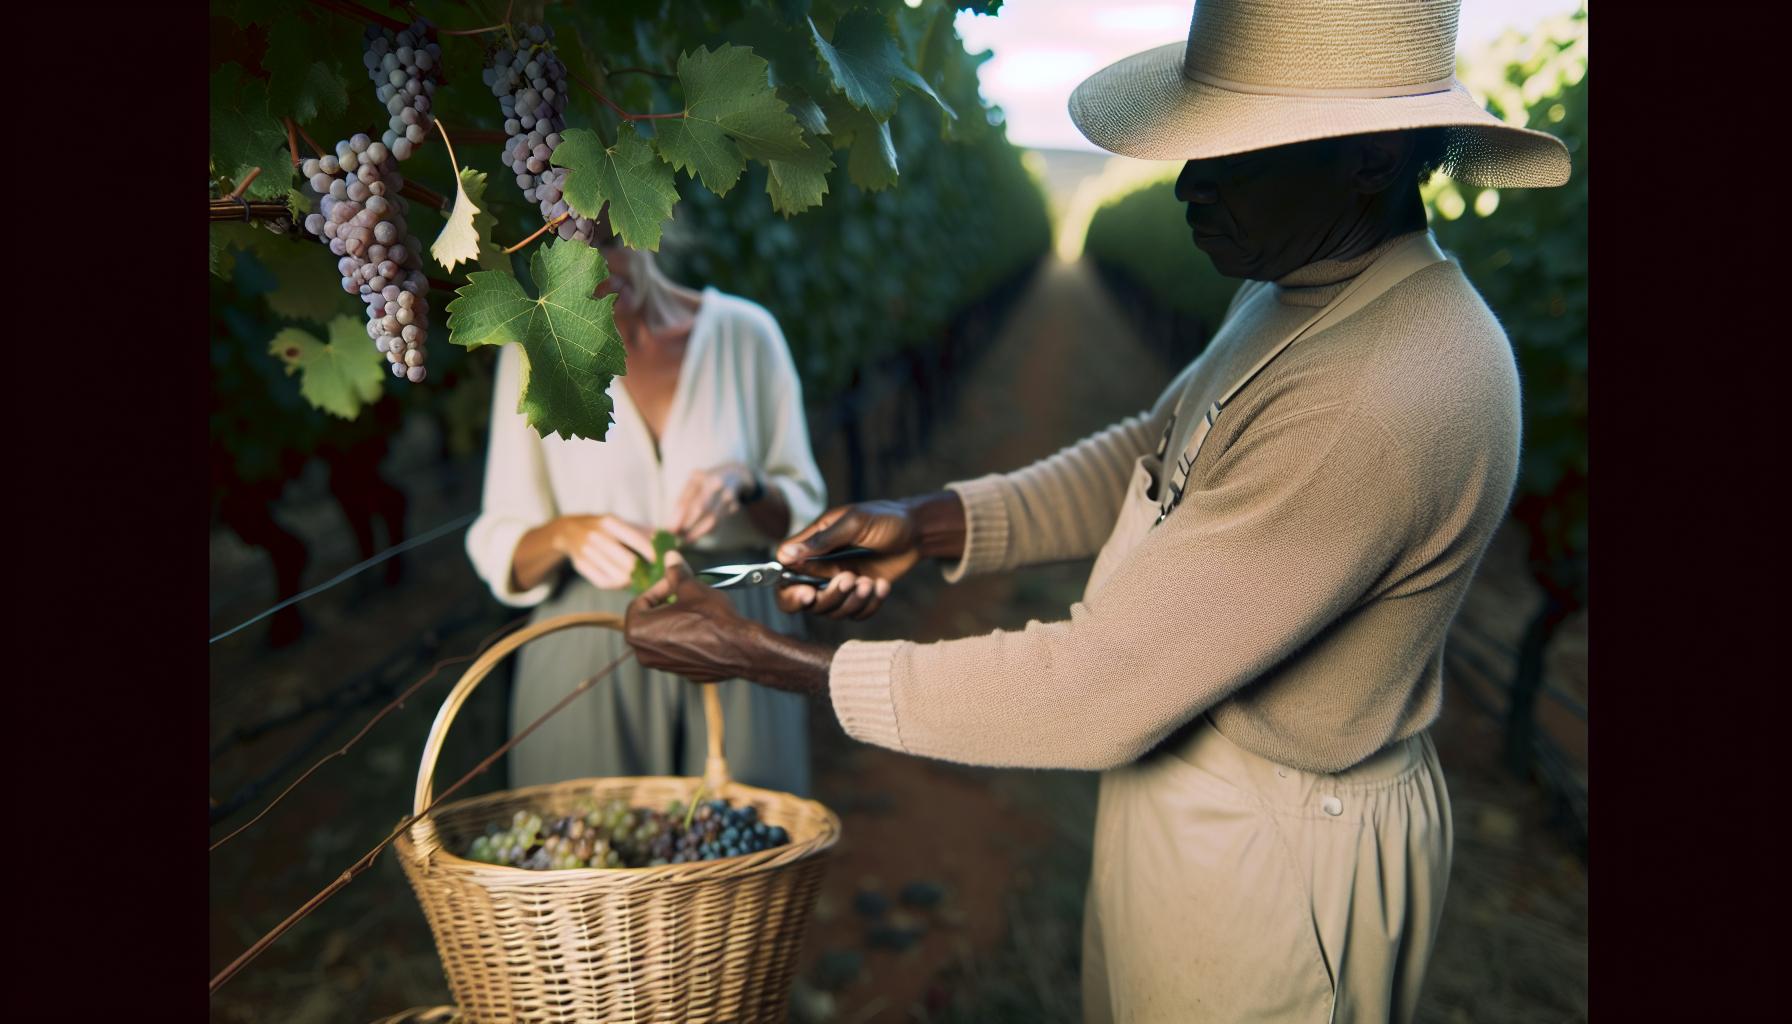
When it comes to making vintage wine, the type of grapes you choose plays a pivotal role in the character and flavor of your final product. Old-fashioned winemaking values the heritage and quality of the grapes, which means that great care should be taken in the selection process. Whether you’re growing your own fruit or sourcing it from local farmers, understanding what makes grapes suitable for winemaking will set you on the path to creating something truly special.
Be sure to opt for grapes that are known for their winemaking potential. Varieties such as Cabernet Sauvignon, Chardonnay, and Merlot have long been celebrated for their ability to produce distinctive and well-balanced wines. However, don’t shy away from exploring local or less common varietals. For example, grapes like Zinfandel or Tempranillo can yield exciting results and provide a unique twist to your vintage.
Here are some tips for choosing the right grapes:
- Ripeness: Look for fully ripened grapes. They should be sweet to the taste, indicating that the sugars have developed for fermentation.
- Health: Inspect the grapes for signs of rot or disease. Damaged or spoiled grapes can spoil the entire batch.
- Acidity: Acidity is crucial for balance. Tasting a few grapes can give you a sense of their acidity, which will impact the wine’s flavor and structure.
- Location: If you’re sourcing grapes, try to find local vineyards that align with your vision. Grapes grown in your region will often offer flavors and qualities unique to your terroir.
Once you’ve selected your grapes, remember that the process doesn’t end there. The next steps, from crushing to fermentation, will shape your wine’s personality. Celebrate the unique characteristics of your chosen grapes and experiment with different techniques to enhance their flavors. The beauty of homemade winemaking lies not only in the end result but also in your journey as a creator. Enjoy the exploration, and let your kitchen become a canvas for vintage techniques and creative expressions!
Step-by-Step Guide to Crushing and Fermenting Grapes

To begin transforming your harvested grapes into delightful wine, nothing quite matches the charm of using vintage techniques for crushing and fermenting. This process is vital, as it lays the foundation for the flavors and textures that will develop in your finished product. Whether you’re making wine for the first time or honing your craft, the following step-by-step guide will help you navigate this essential phase with confidence and joy.
Start by gathering your essential supplies. You’ll need fresh, quality grapes, a clean workspace, fermentation vessel (like a glass carboy or food-grade bucket), and some rudimentary tools like a crushing device or even your own two hands! The beauty of home winemaking is that you don’t need fancy equipment to get started. You simply need to embrace the process with enthusiasm.
Crushing the Grapes
The first step is to crush your grapes, which releases the juice and begins the fermentation process. You can use a grape crusher if you have access to one, but many home winemakers opt for good old-fashioned foot crushing. Think of this as a fun, tactile experience! Just ensure that your feet (and everything else) are clean. If you prefer a more sanitary method, use a potato masher or a rolling pin instead. Here’s how to do it:
- Wash the Grapes: Rinse your grapes thoroughly to remove any dirt or pesticides.
- Destem and Sort: Remove any stems and inspect for moldy or overly damaged grapes.
- Crushing Time: Crush the grapes until most of the juice is released. A light hand is all you need-stop when the grapes are bruised but not pureed.
Once you have your grape juice, it’s time to transfer everything into your fermentation vessel, including the skins and seeds, which will contribute to the wine’s flavor and tannin structure.
Fermentation
Fermentation is where the magic really happens. This is when the sugars in the grape juice are transformed into alcohol, thanks to the work of yeast. If you’re feeling adventurous, you can let nature take its course by allowing wild yeast from the skins to kickstart the fermentation. However, using a reliable wine yeast can provide more consistent results. Here’s what to do next:
- Add Yeast: If you’re using cultured yeast, sprinkle it over the surface of the grape juice. Wild fermentation typically begins without any additional yeast.
- Seal the Vessel: Cover your fermentation vessel with a clean cloth or a fermentation lock to allow gases to escape while keeping out unwanted contaminants.
- Temperature and Monitoring: Place your fermentation vessel in a cool, dark place. Monitor the temperature to keep it steady, ideally between 70-75°F (21-24°C).
You’ll notice bubbles forming as fermentation begins, which typically lasts from a few days to a couple of weeks. As fermentation progresses, it’s time to give your mixture a gentle stir every few days to encourage even yeast activity and to integrate the grape skins.
By the time fermentation is complete, your patience will pay off with a vibrant must that promises a unique vintage. Remember, creating wine at home is all about exploration and finding joy in the process. As you crush and ferment, celebrate the serendipity of each batch-you never know what delightful surprises await with every new creation!
The Art of Natural Yeast: Embracing Wild Fermentation
Harnessing the power of natural yeast in winemaking can feel like inviting a delightful guest into your home kitchen, one that brings depth and character to your creation. This process, often known as wild fermentation, connects you to the ancient traditions of winemakers who relied solely on the yeast present in their environment, celebrating spontaneity and the unique terroir of their grapes. By embracing this approach, you not only unlock a range of intriguing flavors but also learn to trust the natural processes around you.
Getting started with wild fermentation requires just a few simple steps and a little patience. First, select fresh, high-quality grapes; their skins are home to a variety of beneficial yeasts. When you crush and prepare your grapes, aim to include as much of the skin as possible, as this will introduce those wild yeasts into your must. Here’s a handy checklist to guide you through this process:
- Good Grapes Are Key: Ensure that your grapes are organic and free from pesticides to promote healthy fermentation.
- Minimize Processing: The more you handle the grapes, the more you risk killing off those wild yeasts. Keep it gentle!
- Monitor the Environment: Fermentation prefers a stable, cool environment (around 65-75°F or 18-24°C). Try to maintain consistent temperatures by placing your fermentation vessel in a dark corner of your kitchen or basement.
Once you’ve crushed your grapes and transferred them to the fermentation vessel, simply cover it with a clean cloth to allow it to breathe while keeping out any unwanted particles. The fermentation process will start naturally, usually within a few days, as wild yeast initiates the conversion of sugars to alcohol. During this period, be sure to check in on your batch. You might notice bubbling and a delightful aroma beginning to emanate from your vessel-an exciting sign that transformation is underway!
Throughout this journey, engaging with the natural yeast means celebrating unpredictability. Each batch will vary, influenced by the specific strains of yeast that take hold and the environmental conditions at play. If you feel adventurous, you can put your personal touch on the process by introducing small amounts of fruits or spices. For example, a handful of chopped figs or a dash of cinnamon can infuse your wine with additional flavor and complexity.
Letting nature do its work may seem daunting, but it’s also incredibly rewarding. As your wine ferments, you’ll not only create something unique but also foster a profound connection with the art of winemaking-one that honors tradition, patience, and the wonderful unpredictability of nature. This approach not only empowers you to experiment and learn but also captures the spirit of vintage winemaking in every bottle you produce. Enjoy the process, savor your creations, and let your home become a vibrant hub of flavors!
Aging Wine: Traditional Techniques and Best Practices
Aging wine is where the magic really happens, allowing flavors to develop and mature into a harmonious blend. This phase is not just a waiting game; it’s an essential part of winemaking that involves nurturing the wine through careful practices, evoking delicate nuances that reflect both the grape and the winemaker’s intentions. Traditionally, aging can take place in different environments, each contributing its unique character to the wine.
One of the most iconic methods of aging wine is in oak barrels. This technique has been used for centuries and offers a variety of flavors-think vanilla, spice, and toast. The choice of oak-American, French, or Eastern European-along with the level of charring or toasting will dramatically influence the taste. For instance, younger wines can spend about 6 to 12 months in barrel for a gentle touch of oak, while premium varietals can benefit from years of aging. Consider using different barrel sizes: smaller barrels enhance the wine’s flavor quicker due to a greater wood-to-wine surface area.
Beyond barrels, stainless steel tanks provide a clean and neutral environment for aging, which is ideal for white wines or those that aim to showcase the grape’s pure characteristics without oak interference. Here, the aging process allows for a slow development of flavors, making them crisp and refreshing. If you’re feeling experimental, try aging wine in concrete eggs or clay amphorae-these materials can enhance mouthfeel and add layers of complexity due to their unique thermal properties.
To ensure a successful aging process, it’s vital to control your environment. Wine should be stored in a cool, dark place with a steady temperature, ideally between 55°F and 65°F (13°C to 18°C), avoiding drastic fluctuations. Humidity is also important; aim for around 70% to prevent corks from drying out. Regularly tasting your wine during this period is crucial; it allows you to understand how it evolves and helps you determine the perfect moment for bottling. Each bottle becomes a canvas for creativity, where you can tweak variables like temperature, vessel, and time to craft your ideal vintage.
Remember, aging wine is both an art and a science. By experimenting with various techniques, you can discover what resonates with your palate and brings your homemade wine to life. Enjoy the process, and let each bottle tell its own unique story!
Bottling and Storing Homemade Wine
When it comes to bottling homemade wine, it’s the moment that transforms your carefully crafted beverage into something truly special and shareable. This is your chance to seal in all those flavors you’ve nurtured through the fermentation and aging processes. However, bottling isn’t just a straightforward task; it requires some attention to detail to ensure your wine retains its quality and doesn’t spoil.
Preparing for the bottling process involves gathering a few essential supplies. You’ll need clean, sanitized bottles-preferably dark glass to protect the wine from light, which can degrade its quality. Invest in some corks or a wine bottle capper if using screw tops, and make sure you have a good funnel for easy pouring. Don’t forget about a siphoning device, such as a auto-siphon, which helps transfer the wine gently, minimizing oxidation and preserving flavor.
Before you start, take a moment to check the clarity of your wine. If it’s cloudy, consider filtering it through a fine sieve or cheesecloth to achieve a clearer final product. When you’re ready to fill the bottles, angle them slightly and insert the funnel to guide the flow. Aim to leave about an inch of space at the top of each bottle to allow for expansion. Sealing is crucial: make sure the corks are pushed in firmly and are slightly damp to create a proper seal, or screw the caps on until snug.
Storing your bottled wine requires similar attention. Choose a cool, dark place with a stable temperature-between 55°F and 65°F is ideal. For long-term storage, laying the bottles on their sides can keep the corks moist and prevent them from drying out. If you have a wine fridge or cellar, that’s perfect for maintaining consistent conditions. If you’re just starting out, a closet away from heat sources can work just as well.
As you bottle your wine, remember this is an expression of your creativity and hard work. Each bottle tells the story of your winemaking journey. Feel free to experiment with labeling your creations-selecting fun names or adding personal touches that bring even more joy when sharing your wine with family and friends. Enjoy the process, relish in the anticipation of tasting your own vintage, and celebrate the exciting world of homemade wine!
Flavor Enhancements: Herbs, Spices, and Unique Ingredients
Crafting your own wine is a delightful journey, and by adding herbs, spices, and unique ingredients, you can elevate your vintage to a whole new level. Flavors can transform a basic wine into an extraordinary experience that tells a story of its own. Think of it like seasoning a dish; the right accent can enhance the main ingredient-in this case, your grapes.
One popular way to introduce exciting flavors is by incorporating herbs. Basil, rosemary, and thyme can add depth to white wines, offering floral and herbaceous notes that complement the natural fruitiness. For reds, consider using spices like cloves, cinnamon, or even a hint of black pepper. These can add warmth and complexity, enhancing the wine’s existing characteristics rather than overwhelming them. Experimenting is key! Start with small amounts, tasting as you go, to find the perfect balance.
Another unique twist is to infuse your wine with fruits or other flavorings during fermentation. You can add slices of oranges or apples, or even berries, to complement your primary ingredients. For a more adventurous approach, consider blending in elements like dried flowers or even a spoonful of honey for a touch of sweetness. These additions can not only modify the taste but also affect the aroma profile, making each sip a delightful surprise.
When you’re ready to add these enhancements, timing is crucial. Most ingredients will be introduced during the fermentation phase, but be mindful of how long they remain in the mix. Too long and the flavors could dominate; too short and you might miss out on their potential. It’s a balancing act that rewards those who embrace the process. As with any culinary venture, don’t hesitate to document your changes and results. You’ll learn what works best, not just for your palate, but for the style of wine you wish to create.
Enjoy the process and let your creativity flow; winemaking should be fun and personal. Each batch is a reflection of your taste and an opportunity to innovate. So gather your herbs, spices, and imaginative ideas, and watch as your homemade creation transforms into a masterpiece worthy of sharing!
Common Challenges in Vintage Winemaking and Solutions
Embarking on the journey of vintage winemaking is both exhilarating and daunting. With such a rich tapestry of tradition and technique, you might encounter a few bumps along the way. From fermentation mishaps to unpredictable flavor profiles, understanding the common challenges can help you navigate these hurdles with confidence. Here’s a closer look at some typical issues you might face and proven solutions to keep your winemaking adventure on track.
Fermentation Fluctuations
One of the most critical stages of winemaking is fermentation, where the magic of transformation occurs. Yet, it can also be a source of frustration. If your fermentation is sluggish or fails to start, it could stem from several factors: the temperature might be too cold, or the yeast may not be viable. Make sure to keep your fermentation space between 70°F and 75°F (21°C to 24°C). If you suspect your yeast is dead, try rehydrating a new batch of yeast in warm water before adding it to your must.
On the flip side, if fermentation is too vigorous, it can lead to undesirable off-flavors. If you notice bubbling abnormally high or rapid, consider gently stirring the must to release some CO2 and slow the process. Patience is essential here; good wine takes time, so resist the urge to rush!
Oxidation and Spoilage
Another common concern is oxidation, which can spoil your wine before the aging process even begins. Exposure to air can lead to undesirable flavors and aromas. To prevent this, always store your wine in a cool, dark place with minimal temperature fluctuations. Use airlocks on your fermentation vessels to keep oxygen at bay, and consider adding sulfites to your wine to protect it from spoilage.
If you notice a vinegar smell or taste during any stage, it’s a red flag that unwanted bacteria could be at work. While you might be able to salvage the batch with careful racking and sulfite additions, it’s crucial to maintain hygiene throughout the process. Clean your equipment thoroughly and sanitize with appropriate solutions.
Balancing Flavors
A challenge many new vintners face is achieving a balanced flavor profile. It’s easy to overdo the additions of herbs, spices, or even sugars. Start with small amounts during initial trials and taste frequently. For example, if you’re experimenting with oak, try adding chips and tasting after a couple of weeks. It’s easier to add more than to take away!
Consider also the natural characteristics of your grapes; some varietals will dominate over others, so familiarize yourself with the grape type you’re working with. Documenting your adjustments helps refine your process, granting you insight into flavor dynamics for future batches.
Storing and Bottling Challenges
The final stages of winemaking, bottling and storage, can lead to their own set of challenges. Make sure your bottles are clean and properly sanitized before use to avoid contamination. When bottling, maintain a steady hand and fill bottles to the appropriate level to minimize air exposure.
Once bottled, store your wine upright for a couple of days to let any sediment settle, then lay it down on its side in a dark, temperature-controlled environment. Using a wine fridge can help maintain optimal conditions if you’re unsure about your home’s climate.
Embracing these challenges as part of the creative process can lead to impressive results. Each potential mishap serves as a lesson, adding depth to your winemaking skills. So, don your apron, gather your ingredients, and let your passion for creating good wine guide you through every challenge!
Taste Testing Your Vintage: Tips for Enjoying Your Creation
When it’s finally time to taste your homemade vintage, excitement fills the air, and it’s the moment to savor the fruits of your labor. Taste testing isn’t just about finding out if your wine is good; it’s a whole sensory experience! Engaging all your senses enhances the enjoyment of wine and helps you appreciate the nuances of flavors you’ve crafted. Gather some friends or family to make it a celebratory occasion, and dive into the delightful details of your creation.
Start by setting the scene. Pour your wine into clean, clear glasses to fully appreciate its color and clarity. Take a moment to observe the hue; different grapes yield distinctive shades. Hold the glass against a white background for the best view. Next, swirl the wine gently to aerate it-this not only releases aromatic compounds but also prepares your palate for the experience ahead. Then, lean in and inhale deeply. What do you smell? Is there a fruity aroma, woodiness from aging, or perhaps hints of herbs or spices? This olfactory journey is just as crucial as the taste.
As you take your first sip, let the wine roll over your palate. Notice the initial flavors that hit you and how they evolve. Is it fruity and vibrant, or does it have a drier finish? Consider the texture-does it feel smooth, crisp, or perhaps velvety? If you’ve added unique ingredients like herbs or spices, try to identify those as well. It’s helpful to jot down your impressions. Did it meet your expectations? Were there any surprises? This reflection not only enhances your tasting experience but can also guide you in fine-tuning future batches.
Finally, pair your wine with food! A well-chosen food pairing can elevate the tasting experience to another level. Think about the flavors in your wine; lighter, fruity wines shine with seafood or light salads, while richer, full-bodied reds may pair wonderfully with grilled meats or hearty casseroles. Experiment and enjoy this exploration of taste-after all, the best part of winemaking is sharing your creation with others and discovering the dazzling world of flavors that your homemade wine can offer. Cheers to your newfound adventure in vintage winemaking!
Sustainable Practices in Traditional Winemaking
Sustainable winemaking is not just a trend; it’s a commitment to both quality and the planet. Incorporating eco-friendly practices in traditional winemaking can enhance the flavor of your vintage while reducing your environmental footprint. Whether you’re a seasoned winemaker or just starting out, adopting sustainable methods can make your winemaking journey even more rewarding.
One of the most accessible ways to practice sustainability is through organic grape growing. Using organic farming methods means avoiding synthetic pesticides and fertilizers, which can lead to healthier grapes and a more vibrant end product. Instead, consider employing natural fertilizers, such as compost or cover crops, which enrich the soil and promote biodiversity. Many home winemakers find success by planting a variety of plants alongside their grapevines. This not only deters pests but also encourages beneficial insects that contribute to a balanced ecosystem.
Another key component of sustainable winemaking is water conservation. Reducing water usage in both the vineyard and the winemaking process is crucial. You can implement strategies like drip irrigation for your vines, which delivers water directly to the roots, minimizing evaporation and runoff. In the winery, consider reusing water for cleaning or even using rainwater collection systems. Every drop saved is a step towards a more sustainable operation.
Energy efficiency also plays a significant role. Opt for energy-efficient appliances for crushing, fermenting, and bottling your wines. Additionally, utilizing renewable energy sources, such as solar panels, can considerably lower your carbon footprint. Not only are these practices great for the environment, but they can also reduce operational costs over time-a win-win for both your wallet and Mother Earth!
Lastly, think about how you package your final product. Selecting sustainable packaging options, like lightweight glass bottles or even biodegradable materials, can minimize waste. You might also consider creating a wine refill program for local customers, encouraging them to bring their own containers for refills, which helps cut down on single-use packaging.
By integrating these sustainable practices into your winemaking process, you not only enhance the quality of your wine but also contribute positively to the environment. As you experiment and find what works best for you, remember that every small change can lead to significant results in creating a vintage you can be proud of for both its flavor and its impact. Cheers to a greener future in winemaking!
Exploring Variations: Creative Twists on Classic Recipes
Winemaking is as much about creativity as it is about technique. If you’re looking to infuse your homemade vintage with personality, exploring variations on classic recipes can be a delightful adventure. Whether you’re inspired by your favorite fruit or a unique culinary tradition, there are countless ways to introduce exciting flavors and unexpected twists to your grape-based creation.
Start by considering fruit blends. While traditional wines use grapes alone, you might experiment by adding complementary fruits. For example, pears or apples can lend a crispness to your white wine, or blackberries may enhance the depth of a red. Just chop your chosen fruit and add it to the fermentation process-the sugars will ferment alongside the grape juice, resulting in a refreshingly unique flavor profile.
Another way to elevate your winemaking is by incorporating herbs and spices. Think about what flavors you enjoy in culinary dishes. A few sprigs of rosemary can create a wonderfully aromatic white wine, while a dash of cinnamon might add a cozy warmth to a red. When adding these ingredients, keep it simple. Start with small amounts, ferment, and taste-adjusting as necessary until the balance suits your palate.
Don’t shy away from experimenting with sweetness either. Traditional winemaking often focuses on dry finishes, but you can customize your recipe easily. Use honey for a floral sweetness or consider adding dried fruits like raisins or figs. Just dissolve your sweetener in a bit of warm water and add it to your must before fermentation. This not only enhances the flavor but also gives the wine a rich, welcoming character.
Finally, consider the aging process as another canvas for creativity. While oak barrels are classic, trying wine in glass jars or even stainless steel containers can produce different results. Using chipped wood or oak spirals can mimic that barrel aging effect without needing expensive equipment. Plus, consider aging with vanilla beans or toasted nuts for added complexity. Over time, your wine will take on these new dimensions, providing a flavor journey that reflects your unique taste.
With each twist, you’re not just making wine-you’re crafting an experience. Each batch is an opportunity to learn, explore, and enjoy the process of creation. So gather your ingredients, roll up your sleeves, and let your imagination run wild in your winemaking journey!
FAQ
Q: What are the key differences between modern and vintage winemaking techniques?
A: The key differences lie in the use of technology and additives. Vintage winemaking emphasizes traditional methods, such as wild fermentation and natural aging, whereas modern techniques often utilize scientific advancements for consistency and efficiency. Embracing vintage methods can yield unique flavors and characteristics in the final product.
Q: How do you select the best time of year for vintage grape harvest?
A: The best time to harvest grapes for vintage winemaking is typically late summer to early fall when the grapes reach optimal ripeness. Check for sugar content, acidity, and overall flavor by sampling the grapes. Aim for a balance that reflects your preferred wine style.
Q: Why is wild fermentation important in vintage winemaking?
A: Wild fermentation uses naturally occurring yeast, contributing to the wine’s unique flavor profile and complexity. This method reflects the terroir and can enhance the wine’s character. It often results in a more authentic and artisanal product compared to commercial yeasts.
Q: What common challenges do beginner vintage winemakers face?
A: Beginners often struggle with temperature control during fermentation, sanitation, and understanding the aging process. Establish a clean workspace, monitor fermentation temperatures, and taste frequently to adjust your methods. Learning from these challenges is part of the winemaking journey.
Q: How can I enhance flavors in homemade vintage wine?
A: Enhancing flavors can be accomplished by adding herbs, spices, or unique ingredients during the fermentation or aging process. Consider using oak chips for depth or botanical infusions for complexity. Experimentation can lead to delightful flavor discoveries.
Q: When should I bottle my vintage wine for the best results?
A: Bottling should occur once fermentation is complete and the wine has clarified. This typically takes several weeks to months. Monitor its taste and development to ensure optimal flavor before bottling. Patience is key in vintage winemaking.
Q: What tools are essential for old-fashioned winemaking?
A: Essential tools include a grape crusher, fermentation vessel, airlocks, and siphoning equipment. Basic glass bottles and corks are also necessary for storage. Utilizing these traditional tools correctly will help you achieve authentic vintage wine results.
Q: How does aging in barrels affect vintage wine?
A: Aging in barrels can impart unique flavors such as vanilla and spice while also allowing for oxygen exchange, which softens tannins. This process enhances the wine’s complexity and depth. Aim for a balance between the fruit flavors and barrel influence.
In Summary
Congratulations on taking the leap into vintage winemaking! Remember, creating your own wine at home not only lets you savor unique flavors but also connects you to the rich tapestry of traditional techniques. If you loved this guide, explore our articles on essential winemaking tools and pairing wine with food to elevate your newfound skills even further.
Don’t miss out on the chance to dive deeper into the art of winemaking-join our newsletter for exclusive tips and recipes! And if you have any questions or ideas to share, drop a comment below; we’d love to hear from you. Your adventure in crafting old-fashioned wine starts now-let your creativity flow and enjoy every step of this satisfying process. Cheers to your homemade creations!
Get our latest guides, news, and insights highlighted in your Google Search & AI Overviews.










