

Every great wine begins with the essential ingredient: yeast. Did you know that cultivating your own wine yeast can enhance the flavors and complexity of your homemade wine? By harnessing wild yeast unique to your environment, you can create a fermentation process that’s truly authentic and personal. Whether you’re a seasoned winemaker or just starting on this journey, making your own yeast is not only satisfying but also opens doors to endless creative possibilities in winemaking. In this guide, I’ll walk you through the simple steps to cultivate wine yeast at home. You’ll discover the ingredients, techniques, and tips you need to transform your winemaking experience. Let’s dive into the art of fermentation and bring your wine dreams to life!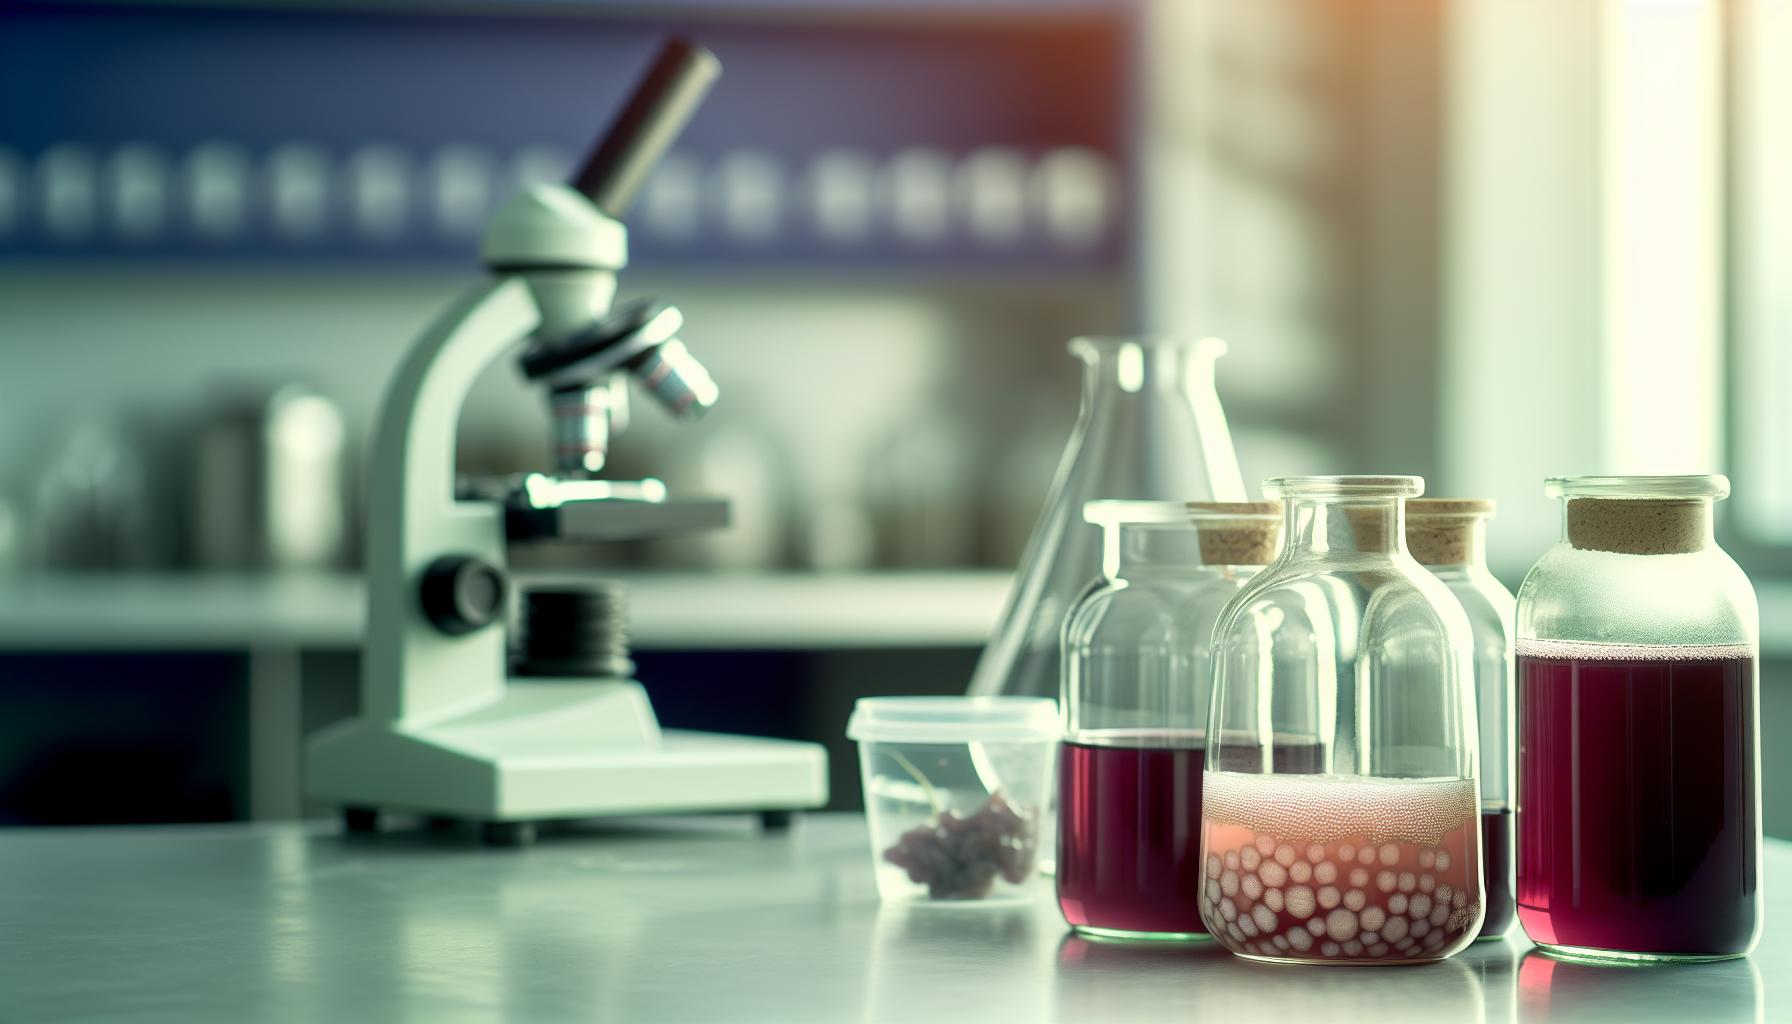
Understanding Wine Yeast and Its Importance
To many, wine yeast may seem like just another ingredient in winemaking, but it’s truly the magic behind that delicious sip in your glass. Understanding this microscopic powerhouse is essential to mastering the art of fermentation. At its core, wine yeast is responsible for converting sugars in the grape juice into alcohol and carbon dioxide through the fermentation process, which not only creates the alcohol content but also influences the wine’s flavor and aroma profiles. Without yeast, the winemaking process would grind to a halt; it’s the catalyst that transforms simple grape juice into the complex drinks we love.
When you decide to cultivate wine yeast, you’re opening the door to a world of creativity and control over your brewing process. Wine yeast isn’t merely a one-size-fits-all ingredient; different strains can impart unique characteristics to your wine. For instance, some yeasts thrive in cooler temperatures while others prefer warmth. Understanding these preferences is crucial for achieving the desired finish in your wine. Additionally, the choice of yeast can lead to different flavor outcomes-from fruity and floral notes to spicy or earthy undertones-making it vital to choose the right yeast strain for the profile you’re aiming to create.
The process of making your own wine yeast might seem daunting, but it’s more approachable than you might think. Many home winemakers have found success with simple kits or even by harvesting wild yeast from their surroundings. This adventurous spirit in winemaking has rekindled the appreciation for local terroir, as it allows the fermentation to reflect the unique environment in which the grapes were grown. Whether you opt for cultivated strains or embrace the wild yeast available in your garden, understanding how to nurture and use these microorganisms can elevate your winemaking experience.
In summary, wine yeast is not just an ingredient; it’s a fundamental element that influences every aspect of the winemaking journey. From fermentation to flavor development, the choices you make with yeast will resonate throughout the entire process, making it a cornerstone of your homemade wines. So, roll up your sleeves and get ready to explore the thrilling world of wine yeast-your palate will thank you!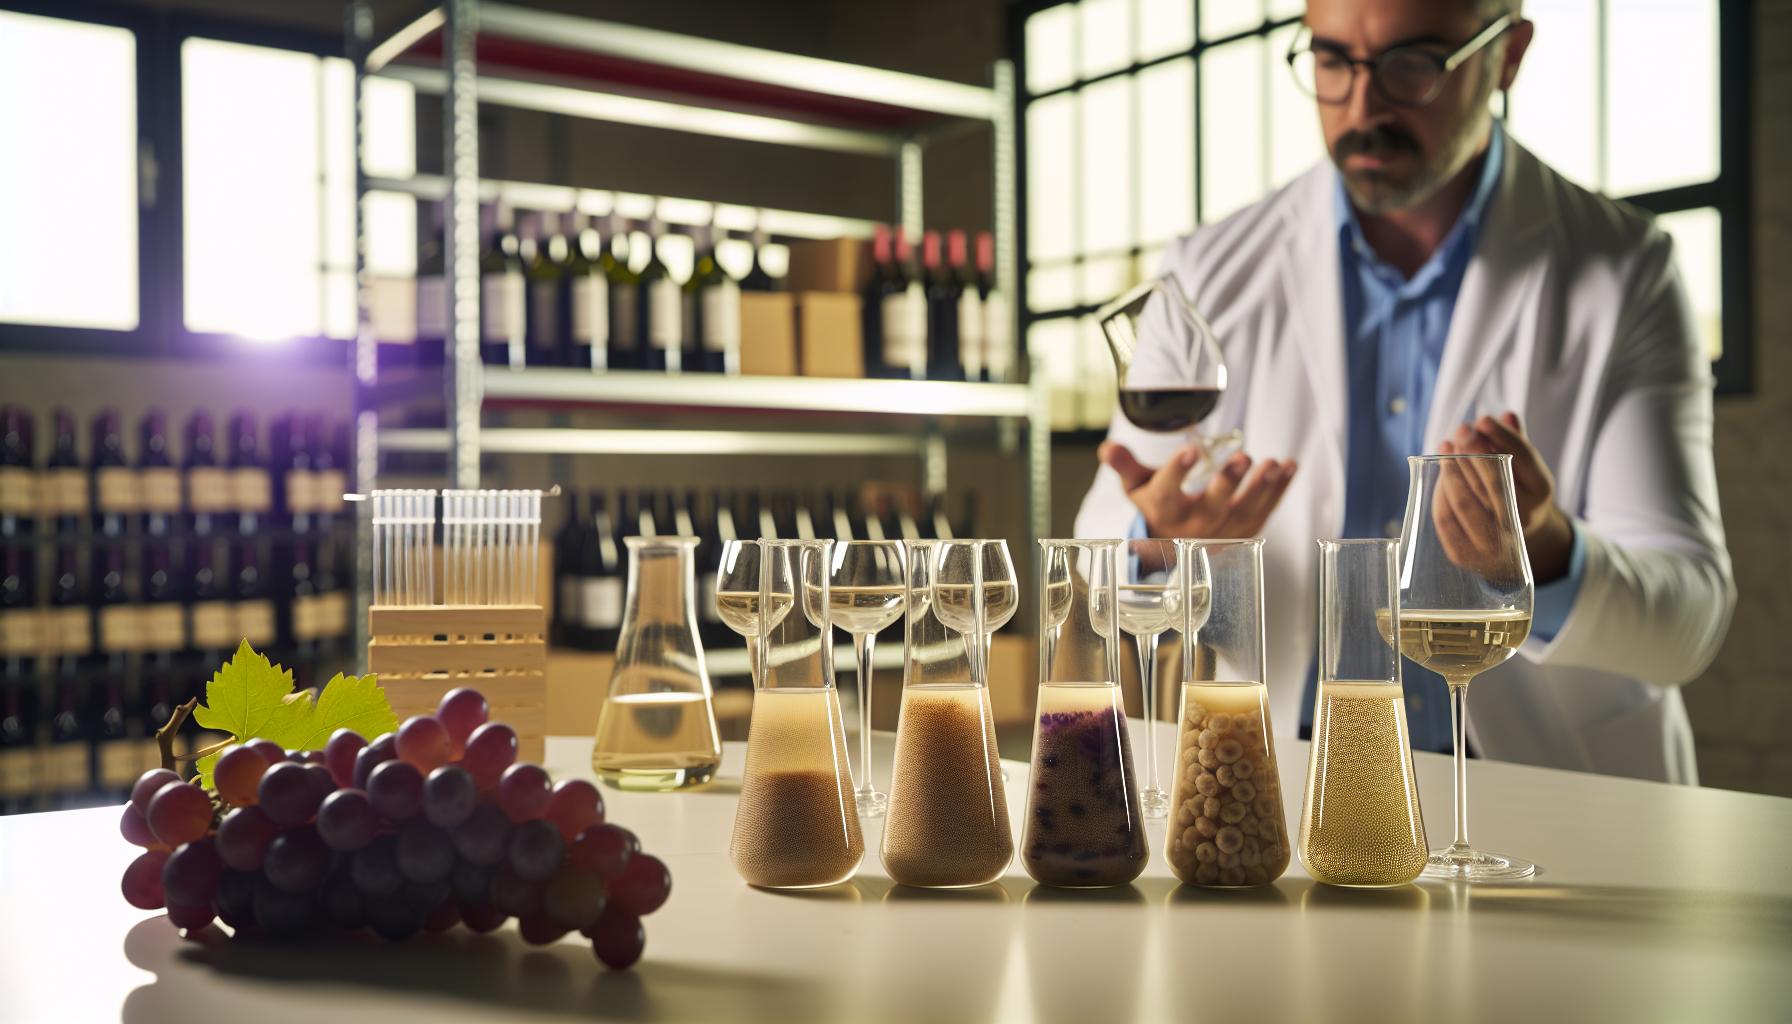
Essential Ingredients for Cultivating Wine Yeast
Cultivating your own wine yeast can feel like stepping into a magical realm of winemaking, and it’s more straightforward than you might think! Before diving into the process, you’ll need a few essential ingredients to ensure that your yeast culture thrives and produces delicious results.
First and foremost, grape juice or must serves as the primary medium for your yeast. This is where the magic happens-yeast feeds on the sugars in the juice, so choosing a high-quality juice or must is crucial. If you’re feeling adventurous, consider pressing your own grapes; not only does it enhance flavor, but it also introduces natural wild yeasts, adding complexity to your fermentation.
Another critical component is sugar. While grape juice is rich in natural sugars, supplementing it with a bit of additional sugar can help kickstart fermentation, especially if you’re working with a low-sugar juice. Simple sugars like table sugar or even honey can be effective here. Just remember, moderation is key-too much sugar can lead to overly sweet wine.
You’ll also want to have some water on hand, as maintaining the right moisture level is vital for yeast health. If you’re using dried yeast, hydration is particularly important-be sure to let it rest in water for a short while before adding it to your juice to reactivate the cells.
Lastly, consider adding nutrients for your yeast. Commercial yeast nutrient blends are readily available and can help support yeast health, particularly during the initial stages of fermentation. Yeast thrives best when it has a balanced diet, so nutrients such as nitrogen may prevent sluggish fermentation and off-flavors.
Getting familiar with these ingredients transforms the task of cultivating wine yeast from a daunting one into an exciting exploration of flavor and creativity. As you pull together these essentials, remember that the heart of winemaking lies in experimentation. Embrace the journey, and soon you’ll be sipping a glass of your own homemade wine!
Step-by-Step Guide: Making Your Own Wine Yeast
Creating your own wine yeast opens up a world of flavors and aromas in your winemaking, allowing you to tailor your creations to your personal taste. The process is approachable and fun, making it a delightful project for home enthusiasts. Here’s a straightforward guide to help you cultivate your own yeast from scratch.
Start with gathering a few essential ingredients: fresh grapes or grape juice, sugar, water, and a dash of nutrients. If you’re using fresh grapes, crush them lightly to release their juices-this not only activates the sugars but also releases wild yeast from the skins, which is perfect for fermentation. If you’re using grape juice, make sure it’s of high quality, and consider adding additional sugar if the juice isn’t sweet enough; this will fuel the yeast as it ferments.
Next, you’ll want to prepare your yeast culture. Mix your crushed grapes or juice with a cup of water and a tablespoon of sugar in a clean container. Stir gently to dissolve the sugar, and this mixture will act as a starter for your yeast. Cover the container loosely with a clean cloth or paper towel-this allows the wild yeasts in the air to enter while keeping out contaminants.
Now, let your mixture sit in a warm, dark place for about 3 to 5 days. Check it daily; you should see bubbles forming, which is a good sign that fermentation is happening. After a few days, you’ll notice a layer of foam on the surface. This foam indicates that yeast is actively working, and you can now strain the liquid through a fine mesh or cheesecloth to separate the solids.
To ensure your yeast remains vigorous, transfer the liquid back into a clean jar, adding a teaspoon of sugar and a bit more water. Seal it with a lid (but not tightly!) to allow gases to escape. Repeat this feeding process every couple of days, adding sugar and water, until your yeast is bubbling vigorously.
Once your yeast is robust, it’s ready to be used in your winemaking. Just remember to keep some of your culture aside for future batches; it can be stored in the refrigerator for a longer shelf life, ensuring that you have your very own homemade yeast ready for your next wine adventure! Embrace this creative process-you’ll be amazed at the complex flavors homemade wine yeast can bring to your bottle.
The Science of Fermentation in Winemaking
The transformation of grape juice into wine is a dance of science and nature, primarily driven by fermentation. This remarkable process occurs when yeast consumes the sugars present in the juice, emitting alcohol and carbon dioxide as byproducts. Understanding this biological marvel can help you cultivate your own wine yeast effectively, enhancing the authenticity and flavor of your homemade brews.
Fermentation begins when you introduce your homemade yeast culture to the grape juice. The yeast cells are tiny, living organisms that thrive on sugar. As they feast, they undergo anaerobic respiration-a process that happens in the absence of oxygen-resulting in the production of alcohol. This initial stage can take anywhere from a few days to a week, depending on variables such as temperature and the yeast strain used. Keeping the mixture warm (ideally around 70°F or 21°C) can speed things up, helping your wine achieve its desired alcohol content more readily.
H3: The Role of Wild Yeasts vs. Cultured Yeasts
In winemaking, you have the option to use wild yeasts that naturally occur on grape skins or cultured yeasts that you can cultivate at home. Wild yeasts can bring unique and complex flavor profiles to your wine, but they are unpredictable. Cultured yeasts, on the other hand, offer reliability and consistency, which is crucial, especially for beginners who want to control their winemaking experience.
H3: Key Factors Influencing Fermentation
Several factors contribute to the success of your fermentation process:
- Temperature: Yeast thrives in certain temperature ranges. Too cold, and fermentation can stall; too hot, and yeast may die. Maintaining a stable, warm temperature is vital.
- Oxygen: While yeast needs oxygen initially to grow, too much during the fermentation phase can lead to off-flavors. Cover your vessel loosely to balance oxygen access.
- Nutrient availability: Yeast also needs nutrients to flourish. Adding a small amount of yeast nutrient can help kickstart and sustain the fermentation process.
Once fermentation is complete, typically indicated by a decrease in bubbling and a change in viscosity, your homemade wine will need careful handling to clarify and develop its flavors. Decanting, racking, and possibly aging will help refine the offering you’ve created. By mastering these elements, you’ll not only foster a successful fermentation but create a unique wine that reflects your personal taste and the artistry of your hand. Enjoy the journey; each batch is an opportunity for exploration and creativity in your winemaking adventure!
Choosing the Right Grapes for Your Wine
is not just about picking a variety; it’s about setting the stage for a delightful journey of flavor and aroma. Did you know that different grape varieties can yield vastly different tasting wines? For instance, using a bold Cabernet Sauvignon can lead to a rich, tannic wine, while a gentle Pinot Noir may produce a lighter, more nuanced flavor. Understanding what these grapes bring to the table is crucial.
When selecting grapes, start by considering the climate of your growing area. Grapes thrive best when they have the right amount of sunshine and temperature. For warmer regions, think about robust varieties like Syrah or Zinfandel, which can handle higher heat. In cooler climates, you might want to explore grapes like Chardonnay or Riesling that flourish in those conditions. Here’s a quick guide to help you decide:
- Cabernet Sauvignon: Best in warmer climates, produces bold and full-bodied wines.
- Merlot: Adaptable, often found in both warm and cool climates, yielding softer, fruitier wines.
- Pinot Noir: Thrives in cooler areas, resulting in elegant and fruity wines.
- Sauvignon Blanc: Great for cooler climates, offering zesty and aromatic profiles.
- Riesling: Versatile; can be dry or sweet, doing well in moderate temperatures.
Next, think about what taste profiles appeal to you or those you plan to share your wine with. Do you enjoy deeper, earthy flavors, or are you more inclined towards bright, fruity notes? This can guide your choice as much as climate considerations. Don’t hesitate to experiment with lesser-known varieties like Viognier or Tempranillo, which can bring unique characteristics and charm to your homemade wine.
Lastly, consider the health and maturity of the grapes. Well-nourished vines will produce the best fruit, so sourcing grapes from reputable growers or producers is essential. When you’re ready, the process of crushing and fermenting those grapes with your homemade yeast culture will transform them into a beautiful wine. And remember, winemaking is all about exploration-so enjoy the process and have fun experimenting with different varieties!
Troubleshooting Common Wine Yeast Issues
When diving into the world of winemaking, especially when making your own yeast, encountering issues is almost a given. Understanding some common yeast-related problems can save you both time and frustration. One of the first signs something may be off is a lack of fermentation activity. If your wine isn’t bubbling away as expected, it could be a sign that the yeast is not viable. This can happen due to poor storage conditions, like excessive heat or cold, or using ingredients that lack sufficient nutrients. Always ensure your dried yeast is fresh and stored in a cool, dark place until you’re ready to use it.
If your fermentation gets off to a rocky start but later looks promising, keep an eye out for unexpected off-flavors. These can arise from wild yeast contamination or the byproducts of stressed yeast. For example, if you notice an unusual vinegar smell, it could indicate acetic acid bacteria have joined the party. To mitigate these risks, maintain a clean workspace, sanitize your utensils, and avoid exposing your must to air until fermentation is well underway.
An unexpected but surprisingly common issue is stuck fermentation, where the yeast seems to take a break before completing the process. This can happen for several reasons but often ties back to temperature fluctuations or lack of nutrients. If you find yourself in this situation, check your thermometer. Yeast thrives in a specific temperature range, and if it dips too low or climbs too high, they may become sluggish. You can try gently warming the batch or adding fermentation nutrients to give your yeast the boost it needs.
Lastly, always remember that patience and observation are key. Winemaking is a dance with nature, and sometimes it takes a little time for everything to fall into place. If you encounter challenges, don’t hesitate to seek advice from local winemaking communities or forums-they’re often filled with friendly aficionados eager to share their tips and experiences. Celebrate the small victories and keep experimenting! Happy winemaking!
Advanced Techniques for Yeast Cultivation
Cultivating your own wine yeast is like opening a treasure chest of flavors and possibilities in winemaking. With the right techniques, you can not only enhance the quality of your wine but also add a unique touch that reflects your personal style. Here are some advanced methods that can elevate your yeast-cultivation game.
One effective technique is propagating your yeast culture. Start by taking a small amount of healthy yeast from a previous batch, ideally from a wine that you enjoyed. Dissolve a little sugar in warm water-as yeast loves a sugary environment to grow-and add your yeast to this mixture. Allow it to sit until you see bubbles forming, indicating that it’s active. Then, instead of using this culture directly, you can build it up gradually by adding more sugar and water over a few days. This process boosts the yeast’s health and vitality, setting a strong foundation for your wine batch.
Experimenting with Yeast Nutrients
Another key aspect of successful yeast cultivation is the use of yeast nutrients. Just like plants need fertilizers, yeast requires nutrition to thrive. Commercial yeast nutrients typically contain important minerals like nitrogen, zinc, and phosphorous. You can create a simple nutrient mix at home by using ingredients such as yeast excreta (from previous fermentations), fruit juice, or even a pinch of Epsom salt dissolved in water. This homegrown nutrient boost can help your yeast work faster and more effectively, ensuring a healthier fermentation process.
Mimicking Natural Conditions
To stimulate yeast growth, consider creating an environment that mimics nature. You can achieve this by using temperature control-keeping your yeast cultures at a steady, warm temperature (around 70°F to 75°F) encourages vigorous activity. If you notice your fermentation is sluggish, experiment by gently warming the mixture. Additionally, you can integrate various wild yeasts from fruits or grapes in your area for unique flavor profiles. Just remember to sanitize everything to prevent unwanted bacteria from ruining your efforts.
By combining these advanced techniques with your basic knowledge of yeast cultivation, you can significantly improve your winemaking experience. Whether you’re looking to create bold reds or crisp whites, developing a thriving yeast culture opens up a world of complexity and flavor in your home wines. Embrace your creativity, keep experimenting, and soon you’ll be pouring glasses of your uniquely crafted wine. Happy winemaking!
Unlocking Flavor Profiles with Different Yeast Strains
Choosing the right yeast strain can be a game-changer when crafting your homemade wine. Different yeast strains contribute distinct flavor profiles and aromas, influencing everything from the sweetness to the body of the final product. It’s like having a spice rack of options at your fingertips-each strain performs uniquely and enhances different characteristics in your wine.
When selecting yeast strains, think about the flavors you want to emphasize in your wine. For example, Saccharomyces cerevisiae is the most common yeast used in winemaking and is known for producing clean, predictable results. If you’re aiming for a crisp white wine, consider strains such as EC-1118 for its ability to produce light, fruity profiles or K1-V1116, which enhances floral aromas and complexity. On the other hand, if you’re venturing into rich reds, Brettanomyces can introduce funky, earthy notes that some wine enthusiasts cherish, but proceed with caution as it can easily take over the flavor.
You can also explore using wild yeasts found in your environment. These can offer unique flavors and aromas that cultivated yeasts might not provide. For instance, harvesting wild yeast from grape skins in your vineyard can lead to a uniquely personal touch in your wine. Just remember that wild yeasts can vary widely in behavior; they may produce unpredictable fermentation results. That said, the reward can be a truly one-of-a-kind wine that tells the story of your locale and the conditions it was made in.
These flavor profiles can significantly shape the overall experience of your wine. When experimenting, don’t hesitate to blend different strains to create depth and complexity. For example, mixing a common white wine yeast with a wild yeast can yield exciting new tastes. Just as with cooking, the key is to taste as you go. With each fermentation, you’ll gain insights into how each strain interacts with your base ingredients-grapes, sugar, and any additional flavoring agents. Embrace the opportunity to experiment; winemaking is as much about creativity as it is about tradition. Happy experimenting!
How to Store and Maintain Your Yeast Culture
To keep your yeast culture thriving, it’s key to provide the proper environment and care. Storing and maintaining yeast effectively not only ensures high fermentation success rates but also allows you to experiment with different strains over time. Let’s dive into the best practices for nurturing your yeast culture, making your winemaking journey seamless and enjoyable.
First, consider the right storage conditions. Yeast should ideally be kept in a cool, dark place-think your kitchen pantry or a dedicated wine fridge. Once you’ve cultivated your yeast, it’s important to keep it refrigerated. This slows down yeast metabolism and extends its lifespan. A temperature between 32°F and 40°F (0°C to 4°C) is optimal. Always store your yeast in an airtight container to prevent contamination from other microbes in the environment. Mason jars work beautifully; just sterilize them beforehand to keep everything pristine.
Next, maintaining your yeast requires some attention to detail. After you’ve harvested your yeast, it’s best to “feed” it periodically to keep it active. This can be done by adding a small amount of sugar and a splash of water to the culture, allowing it to reactivate. Plan to do this every 1-3 weeks, depending on how actively you intend to use your yeast. If you’re not planning to use your yeast for a while, consider freezing it. To do this, mix your yeast with a protective solution like glycerol or sugar syrup and pour it into small vials. Freeze these in a way that they won’t clump together, and remember to label them clearly.
Finally, always be vigilant for signs of decline in your yeast culture. An off smell or significant change in appearance can indicate that your yeast has gone bad. In this case, it’s safer to start a fresh culture rather than risk a compromised fermentation. By paying attention to these simple yet effective storage and maintenance tips, you’ll not only enhance the quality of your wine but also build a deeper connection with your home winemaking process. So roll up your sleeves, get creative, and enjoy the rewarding journey of crafting your homemade wine!
Tips for Transitioning to Authentic Fermentation
When venturing into the world of homemade wine, one of the most exciting transitions you can make is from using commercial yeast to cultivating your own, authentic fermentations. This journey opens a wholly new dimension of flavors and aromas that are unique to your personal style. To ensure your success, let’s explore some practical tips that will guide you through this rewarding shift.
First, embrace the concept of wild fermentation. This method relies on the natural yeast present on grape skins and in your environment. Start by selecting high-quality, organically grown grapes, as they usually have a robust population of natural yeast. When you crush the grapes, make sure to leave the skins intact for a day or two to allow those wild yeasts to multiply and populate your must. Remember that this process can be unpredictable, but that’s part of the charm! Keep an eye on the fermentation and be prepared for a variety of unexpected flavors that reflect your local terroir.
Maintaining a sterile environment is crucial when transitioning to authentic fermentation. Clean all your equipment thoroughly to avoid contamination, and consider using organic sulfites sparingly to promote a favorable fermentation environment without stifling those wild yeasts. It’s a balancing act; you want to encourage the wild life to thrive while protecting against any unwanted microbial growth. Regularly check the health of your fermentation by monitoring the aroma and the bubbling activity. If you notice off smells or no activity, you may need to reassess your approach or introduce a cultured yeast that complements wild yeasts.
Another tip is to keep a close relationship with your yeast culture. Whether you’re nurturing wild yeasts or using a cultivated strain, regular “feeding” with small amounts of sugar or wort can keep your fermenters active and happy. Don’t shy away from experimentation: try different grape varieties, vary your sugar levels, or adjust temperature controls to create unique flavor profiles. Document your processes in a fermentation journal so you can track changes and refine your methods over time.
Lastly, patience is key. Authentic fermentation can take longer than commercial yeast approaches, often requiring weeks to months for the fermentation process to complete. This slower pace allows for deeper flavor development and complexity. Trust the process and celebrate the little victories along the way-like that first bubble in the airlock or the delightful aroma wafting from your fermentation vessel. This journey is not just about making wine; it’s about crafting an experience that reflects your creativity and passion for winemaking. Enjoy every moment as you take this leap into the glorious and unpredictable world of authentic fermentation!
Exploring the Benefits of Homemade Wine Yeast
Crafting your own wine yeast at home not only brings a satisfying layer of personal involvement to winemaking, but it can also elevate the unique characteristics of your wine. Unlike commercial strains, which can be quite uniform, homemade yeast cultivations allow you to harness the local environment’s distinct microbial flora. This leads to wines that narrate their own stories, mirroring the terroir where the grapes were grown.
One of the most compelling advantages of homemade wine yeast is the ability to customize flavors. Traditional commercial yeasts offer a range of flavors, but relying on your own cultivation opens the door to experimentation. For instance, if you live in a region with wild yeast strains known for producing fruity or floral notes, you can deliberately select grapes that complement these traits. By blending these characteristics through your yeast choices, you’ll create wines that are not only delicious but also deeply personal.
Moreover, using homemade yeast can enhance the fermentation process. Wild yeasts tend to ferment more slowly, allowing more complex flavors to develop over time. This slower fermentation can result in a fuller-bodied wine with greater depth and nuance. It provides an option to embrace the charm of unpredictability-each batch might turn out slightly different, keeping the process exciting and allowing you to refine your techniques and recipes as you go along.
In terms of practicality, cultivating your own yeast can also be cost-effective. Purchasing specialized yeast strains can add up, especially for small-scale winemakers or hobbyists. By growing your own, you cut down on recurring costs and build a personal stock of cultures, which can be cultivated over and over again. This not only helps your wallet but also builds confidence in your winemaking skills.
Lastly, embracing the world of homemade wine yeast fosters a greater connection to your craft. Every step, from sourcing locally grown grapes to nurturing and managing your own yeast culture, transforms the winemaking process into a genuine labor of love. It’s a beautiful way to engage with nature and celebrate the intricate art of winemaking, helping you connect both with the ingredients and the environment around you.
Creative Variations: Experimenting with Flavors
The beauty of making your own wine yeast lies in the endless opportunities for flavor experimentation. By using locally sourced yeast and playing with different grape varieties, you can create personalized wines that truly reflect your tastes and surroundings. This experimental journey can lead to surprising flavor profiles that you might not achieve with commercial yeasts. Imagine a batch of red wine subtly infused with wild berry notes from the local yeast strains or a crisp white with unexpected floral undertones.
When experimenting with flavors, start by considering the characteristics of the yeast strains you’re cultivating. Each strain brings its own unique set of flavor compounds. Here are some ideas to help you unleash your creativity:
- Mix and Match Grapes: Blend different grape varieties to discover new flavors. For example, combining a fruit-forward Merlot with a more acidic Cabernet Sauvignon can create a balance of sweetness and tartness.
- Infuse Herbs or Spices: Consider adding herbs like rosemary or spices such as cinnamon to your fermentation. These additions can enhance the complexity of your wine, adding a unique twist that surprises the palate.
- Experiment with Oak: Aging your wine in oak barrels can impart rich flavors such as vanilla, caramel, or even toasted nuts. Try using various types of oak to see how the characteristics change the profile of your wine.
- Create Custom Yeast Blends: By cultivating and mixing different yeast strains together, you can harness the unique qualities of each to create a customized fermentation that yields astonishingly layered wines.
In addition to these techniques, paying attention to the fermentation temperature can notably impact flavor development. Cooler fermentations tend to preserve fruity esters, while warmer temperatures may enhance spicier notes. Keep notes on each batch and the methods you utilize; this habit will aid you in refining your process and replicating your favorite flavors in future winemaking adventures.
So, gather your grapes and experiment with abandon! The world of homemade wine yeast is as much about pleasure and exploration as it is about crafting a great bottle of wine. Whether you’re a complete beginner or an experienced winemaker, embracing the art of flavor experimentation will not only elevate your winemaking but also enrich your tasting experience. Enjoy the journey of creating something uniquely yours-relish every moment, including those happy accidents that could lead to your next favorite vintage!
FAQ
markdown
Q: What are the best environments for cultivating wine yeast?
A: The ideal environment for cultivating wine yeast is a warm, dark place with temperatures between 68°F and 75°F (20°C - 24°C). This temperature range promotes active fermentation and yeast growth. Ensure you have good ventilation to prevent the buildup of carbon dioxide and other gases.

Q: How long does it take to cultivate wine yeast from scratch?
A: Cultivating wine yeast can take anywhere from 5 to 14 days, depending on factors like temperature, the ingredients used, and the initial yeast strain. Monitor the yeast for signs of activity, such as bubbling or foaming, which indicates a healthy fermentation process.

Q: Can I use wild yeast for wine fermentation? How?
A: Yes, you can use wild yeast for fermentation by allowing grape skins or local flora to inoculate your must. Simply crush grapes or gather wild yeast from your environment. Ensure there are no unwanted contaminants by using clean equipment and monitoring fermentation closely.

Q: What nutrients are essential for healthy wine yeast cultivation?
A: Essential nutrients for healthy wine yeast include nitrogen, phosphorus, and potassium. You can also add yeast energizer to boost the fermentation process. These nutrients support yeast health, helping prevent sluggish fermentation or stuck yeast problems.

Q: How can I tell if my wine yeast is active?
A: Signs of active wine yeast include visible bubbling, foam formation on the surface, and a fruity fragrance. Additionally, you may observe sediment forming at the bottom of your fermentation vessel. If your mixture is still static after several days, it may indicate an issue with yeast health.

Q: What types of sugar are best for cultivating wine yeast?
A: The best sugars for cultivating wine yeast are simple sugars like glucose and fructose. These sugars are easily fermentable and provide quick energy for yeast. Using raw sugar or honey can enhance flavor profiles, making them great additions to your homemade yeast cultures.

Q: How do I maintain my wine yeast culture once cultivated?
A: To maintain your wine yeast culture, store it in a cool, dark place and regularly feed it with fresh sugar and nutrients. Ensure proper sanitation to avoid contamination. Ideally, use your yeast culture within a few weeks to preserve its potency and flavor profile.

Q: What problems might I encounter while cultivating wine yeast?
A: Common problems include stuck fermentation, off-flavors, or slow yeast growth. These issues often stem from inadequate nutrients, low temperatures, or poor sanitation. Monitoring conditions and using appropriate nutrients can help mitigate these problems during the fermentation process.
Future Outlook
Now that you’ve learned how to make wine yeast for authentic fermentation, it’s time to put your newfound skills into action! Remember, cultivating your own yeast can lead to unique flavors and a truly personal touch in your winemaking process. Don’t hesitate to get started today-fresh yeast for your next batch is just a quick preparation away!
If you’re eager to dive deeper, check out our guides on “Choosing the Right Grapes for Home Winemaking” and “Essential Tools for Successful Fermentation” to further enhance your brewing journey. Have questions or tips to share? We’d love to hear from you in the comments below! And don’t forget to subscribe to our newsletter for the latest winemaking tips and delicious recipes. Your fermentation adventure is just beginning-let’s make it a memorable one together!
Get our latest guides, news, and insights highlighted in your Google Search & AI Overviews.










