
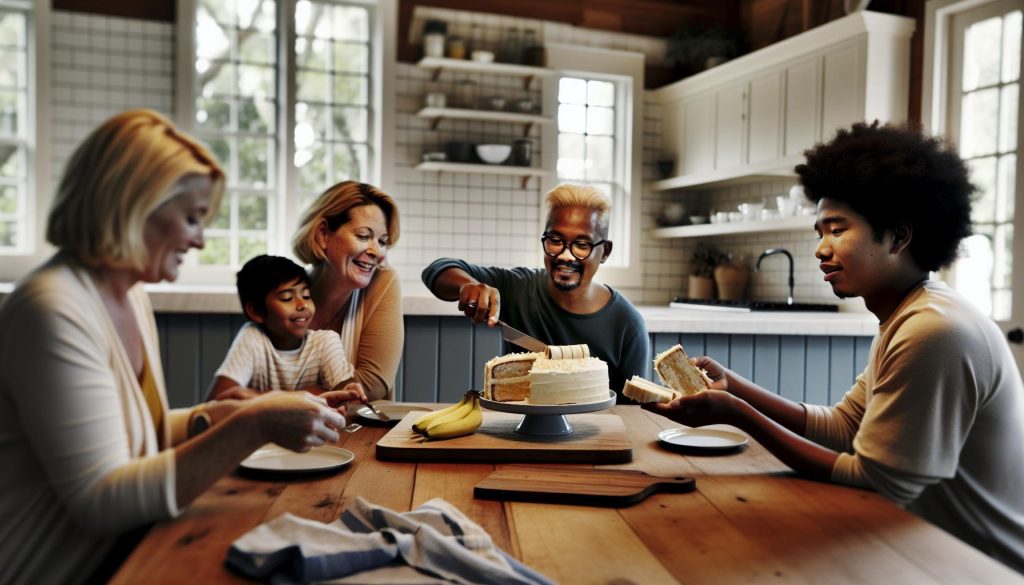
If you love the flavors of a classic banana split but dread the thought of turning on the oven, you’re in for a treat! This No Bake Banana Split Cake offers all the deliciousness of your favorite sundae in a simple, layered dessert that requires zero baking. Perfect for warm days or busy weeks, this recipe combines creamy layers of cream cheese, fresh bananas, and sweet pineapple-making it a crowd-pleaser at any gathering. Plus, it’s flexible enough for you to experiment and add your own twist. So, roll up your sleeves and get ready to impress your friends and family with an easy, no-fuss dessert that lets you focus on what really matters: enjoying time together! Let’s dive into the recipe that makes every occasion feel a little sweeter.
No Bake Banana Split Cake: An Easy Overview
Indulging in a No Bake Banana Split Cake is like embracing all the decadence of a classic banana split sundae, but without ever turning on the oven! This simple yet delightful dessert is perfect for warm days or any occasion when you want a sweet treat without the heat of baking. Imagine layers of creamy goodness, fresh fruit, and the satisfying crunch of a graham cracker crust coming together in a delightful, no-fuss manner. That’s the magic of a no bake cake-it’s a crowd-pleaser that you can whip up quickly and enjoy soon after, making it an ideal choice for potlucks or last-minute gatherings.
The beauty of a No Bake Banana Split Cake lies in its straightforward assembly, which is perfect for both beginner cooks and seasoned bakers. You’ll start with a buttery graham cracker crust that serves as the foundation, providing a crunchy contrast to the lush layers above. The filling typically includes sweetened cream cheese, whipped topping, and ripe bananas, along with the fruity flavors of pineapple and the classic cherry on top. With no need for baking, this cake can be prepared in under an hour, and the hardest part is waiting for it to chill in the fridge to let the flavors meld.
Whether you’re crafting this cake for a special event or simply to satisfy a sweet craving, the no bake approach ensures a stress-free experience. Just grab your favorite ingredients, put your creativity to work, and you’ll have a tantalizing treat that’s sure to impress friends and family alike.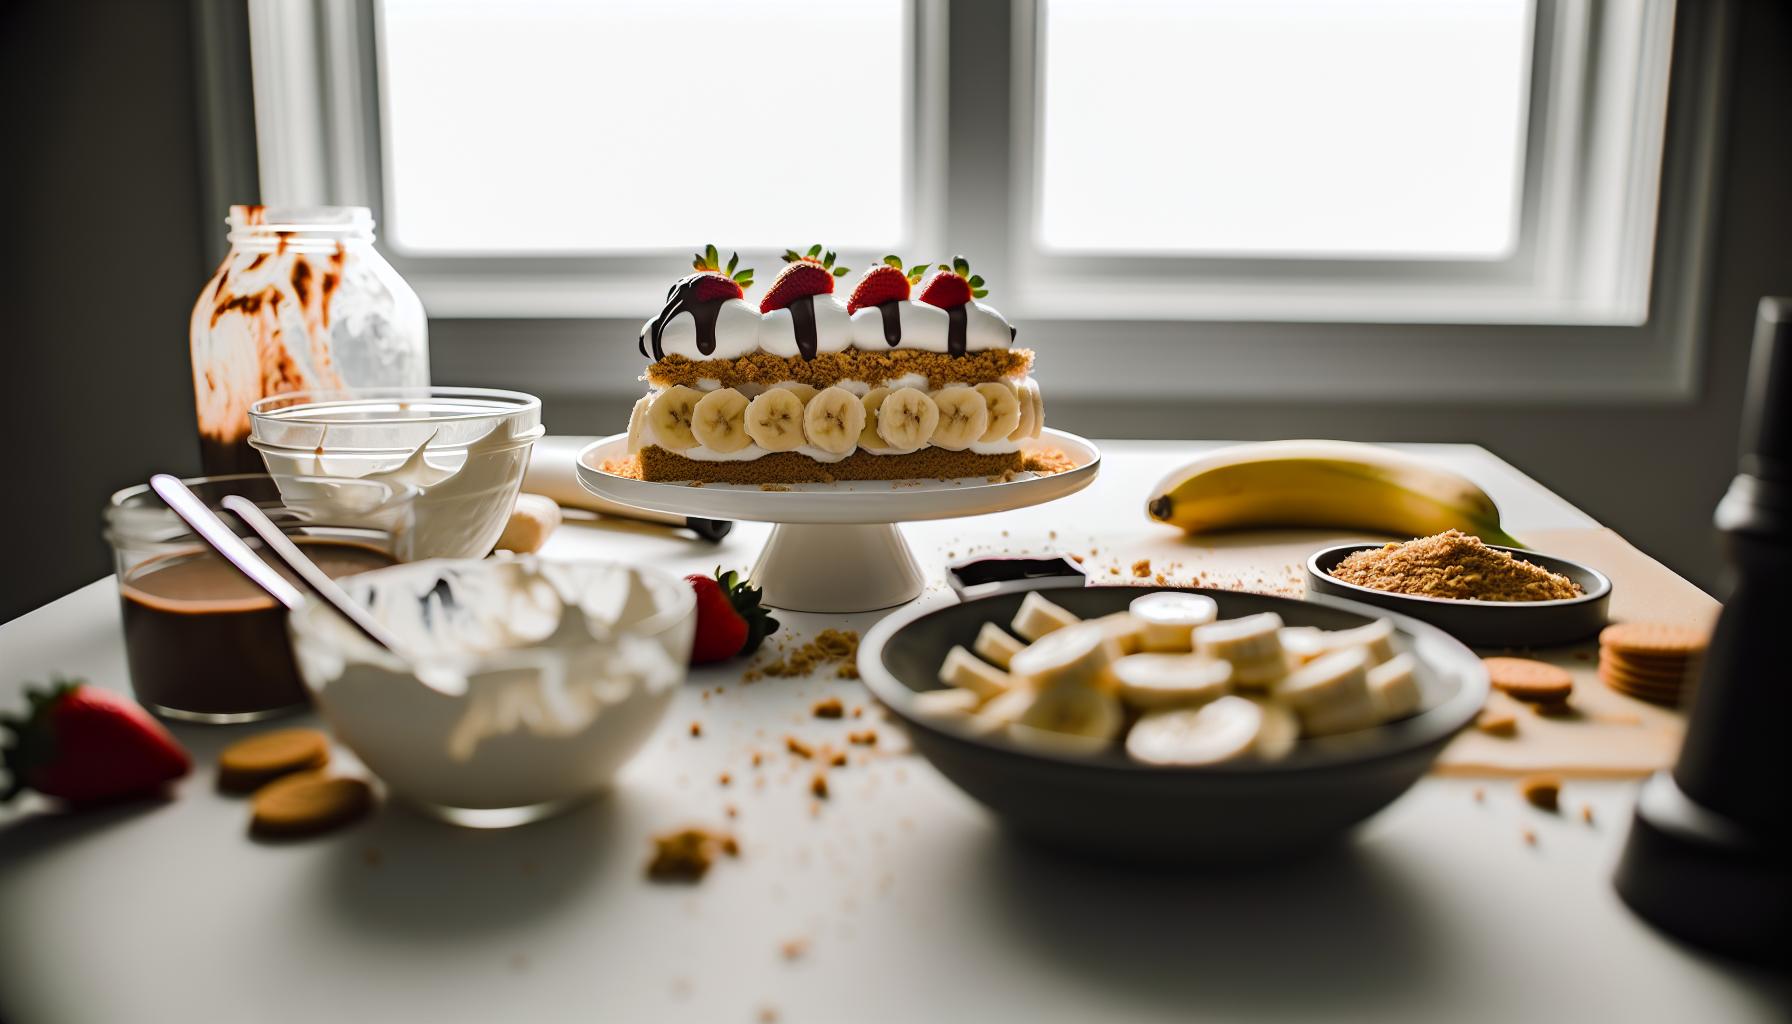
Essential Ingredients for Your Banana Split Cake
To create a show-stopping No Bake Banana Split Cake, it’s essential to gather some simple yet delicious ingredients that will bring that nostalgic sundae flavor right to your dessert table. You don’t need a lot of fancy equipment or difficult-to-find items; just some staple ingredients that you might already have in your kitchen!
Start with the base: a graham cracker crust. You can either make your own by crushing the crackers and mixing them with melted butter, or buy a pre-made crust to save time. This crunchy layer provides the perfect contrast to the soft, creamy filling. For the filling, you’ll need cream cheese and whipped topping (like Cool Whip) to create that rich, fluffy texture. Make sure your cream cheese is softened, so it mixes easily.
Don’t forget the fruity elements! You’ll want ripe bananas for sweetness and softness, and crushed pineapple (drained well) to add a bit of tropical flair. These fruits not only taste great but also keep your cake moist. Finally, top it all off with maraschino cherries for that classic banana split touch.
Beyond these basics, consider adding a few fun extras like chocolate syrup or chopped nuts for garnish to elevate the presentation and taste. You can also experiment with different flavors of pudding mix-like vanilla or banana-to swap out for the traditional layers. There’s flexibility and room for creativity, making this dessert as manageable or as special as you wish!
So rally those ingredients, and get ready to assemble a delightful treat that’s perfect for any occasion.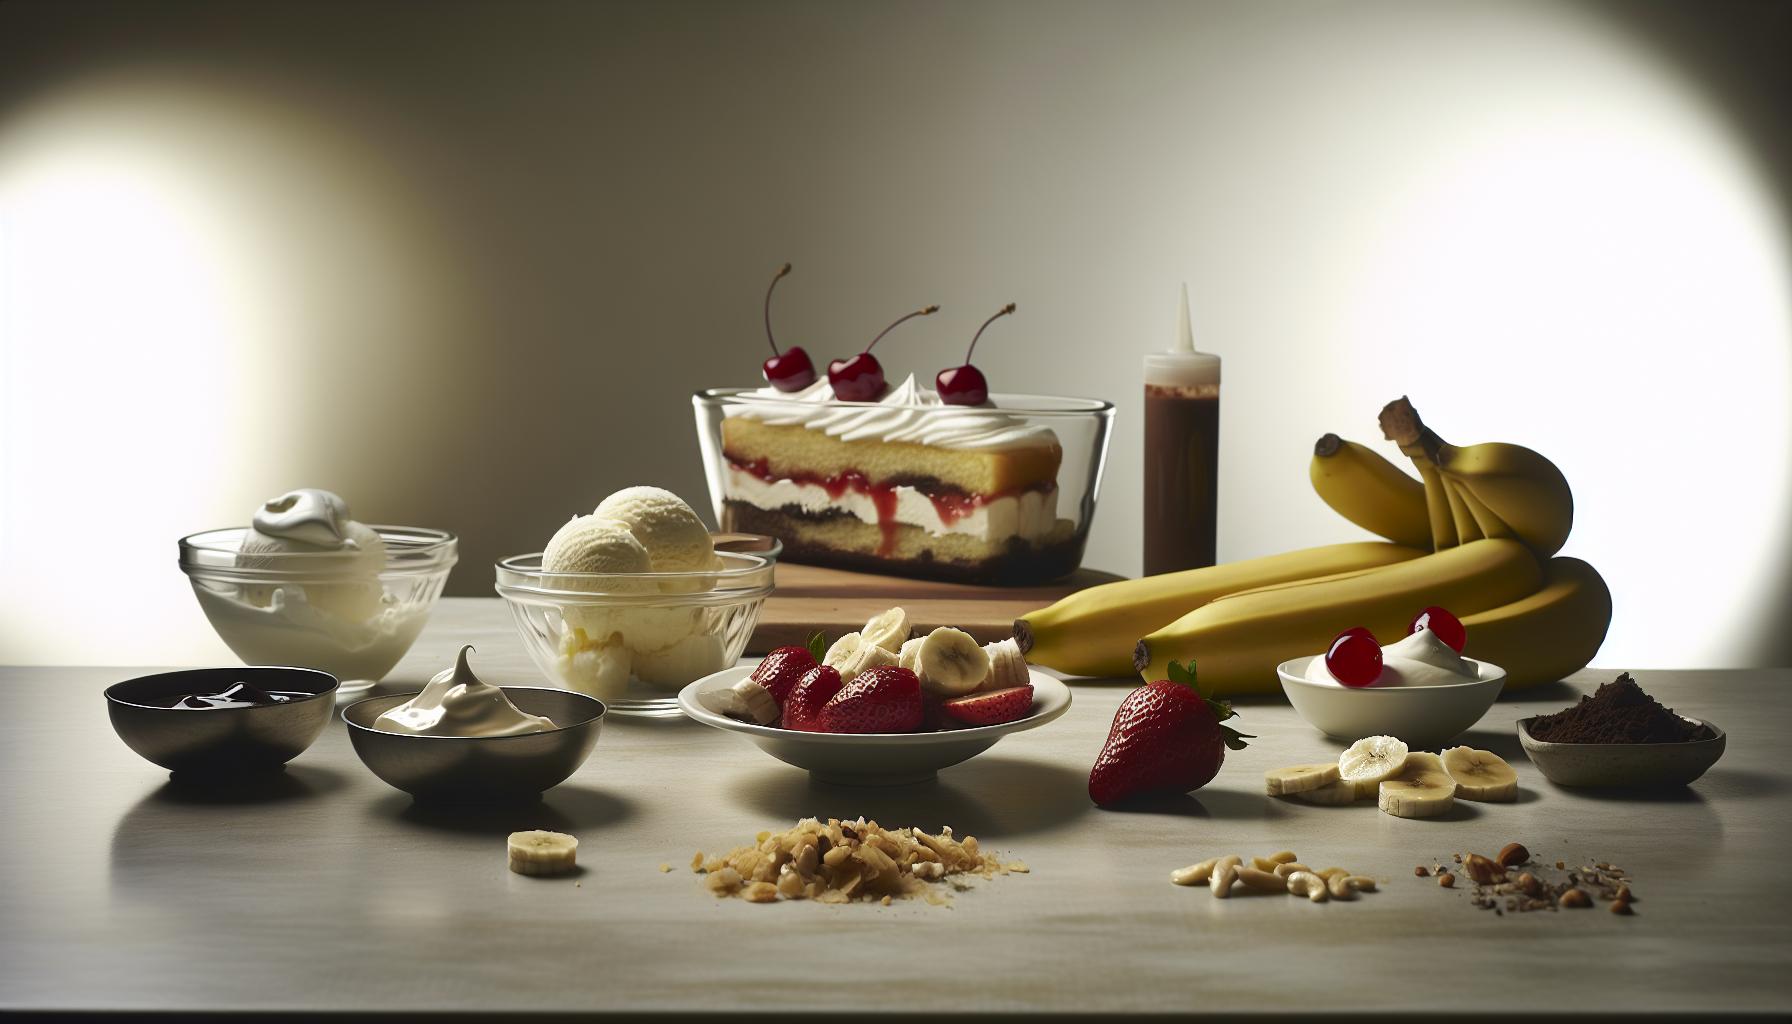
Step-by-Step Instructions for a No Bake Wonder
To create your No Bake Banana Split Cake, follow these straightforward steps that bring together simplicity and scrumptiousness. This delightful dessert will have you assembling layers of creamy goodness, fruit, and that nostalgic sundae flavor, all without ever turning on the oven.
Gather Your Tools and Ingredients
Start with a handful of essential tools: a mixing bowl, a spatula, and a 9×13 inch baking dish. These will make your assembly easy and efficient. Ready your ingredients: graham cracker crumbs, butter, cream cheese, whipped topping, ripe bananas, crushed pineapple, and chocolate syrup.
Create the Graham Cracker Crust
- In a mixing bowl, combine 2 cups of graham cracker crumbs with 1/2 cup of melted butter. Stir until the crumbs are well coated and resemble wet sand.
- Press this mixture firmly into the bottom of your baking dish to form an even layer. Use the bottom of a measuring cup or your fingers to compact it down nicely.
Prepare the Cream Cheese Layer
- In another bowl, beat 8 ounces of softened cream cheese until it’s smooth and creamy.
- Gradually add in 1 cup of powdered sugar and mix well until it’s combined and fluffy.
- Fold in 2 cups of whipped topping gently until everything is well mixed.
Spread this luscious cream cheese mixture evenly over your graham cracker crust. This layer is where you’ll get that rich, fluffy texture that mimics the creamy delight of traditional banana splits.
Assemble the Fruit Layers
- Next, slice 2-3 ripe bananas and arrange them over the cream cheese layer.
- Spoon 1 can of well-drained crushed pineapple over the bananas. This fruity addition will add both texture and a refreshing flavor.
Finish it Off with a Pudding Layer
- In a bowl, whisk together 1 package of instant vanilla pudding mix with 2 cups of milk. Let it sit for 5 minutes until it thickens.
- Once ready, layer the pudding over the fruit mixture.
Add the Toppings
Complete your creation by topping it with the remaining whipped topping. Drizzle with chocolate syrup and sprinkle with chopped nuts and maraschino cherries for that authentic sundae flair.
Chill and Serve
Cover the dish with plastic wrap and refrigerate for at least 4 hours, or ideally overnight. This chilling time allows the flavors to meld together beautifully.
With these step-by-step instructions, you’re well on your way to impressing family and friends with a delightful No Bake Banana Split Cake that promises all the fun without the fuss of baking! Enjoy the process, and don’t hesitate to put your own twist on it.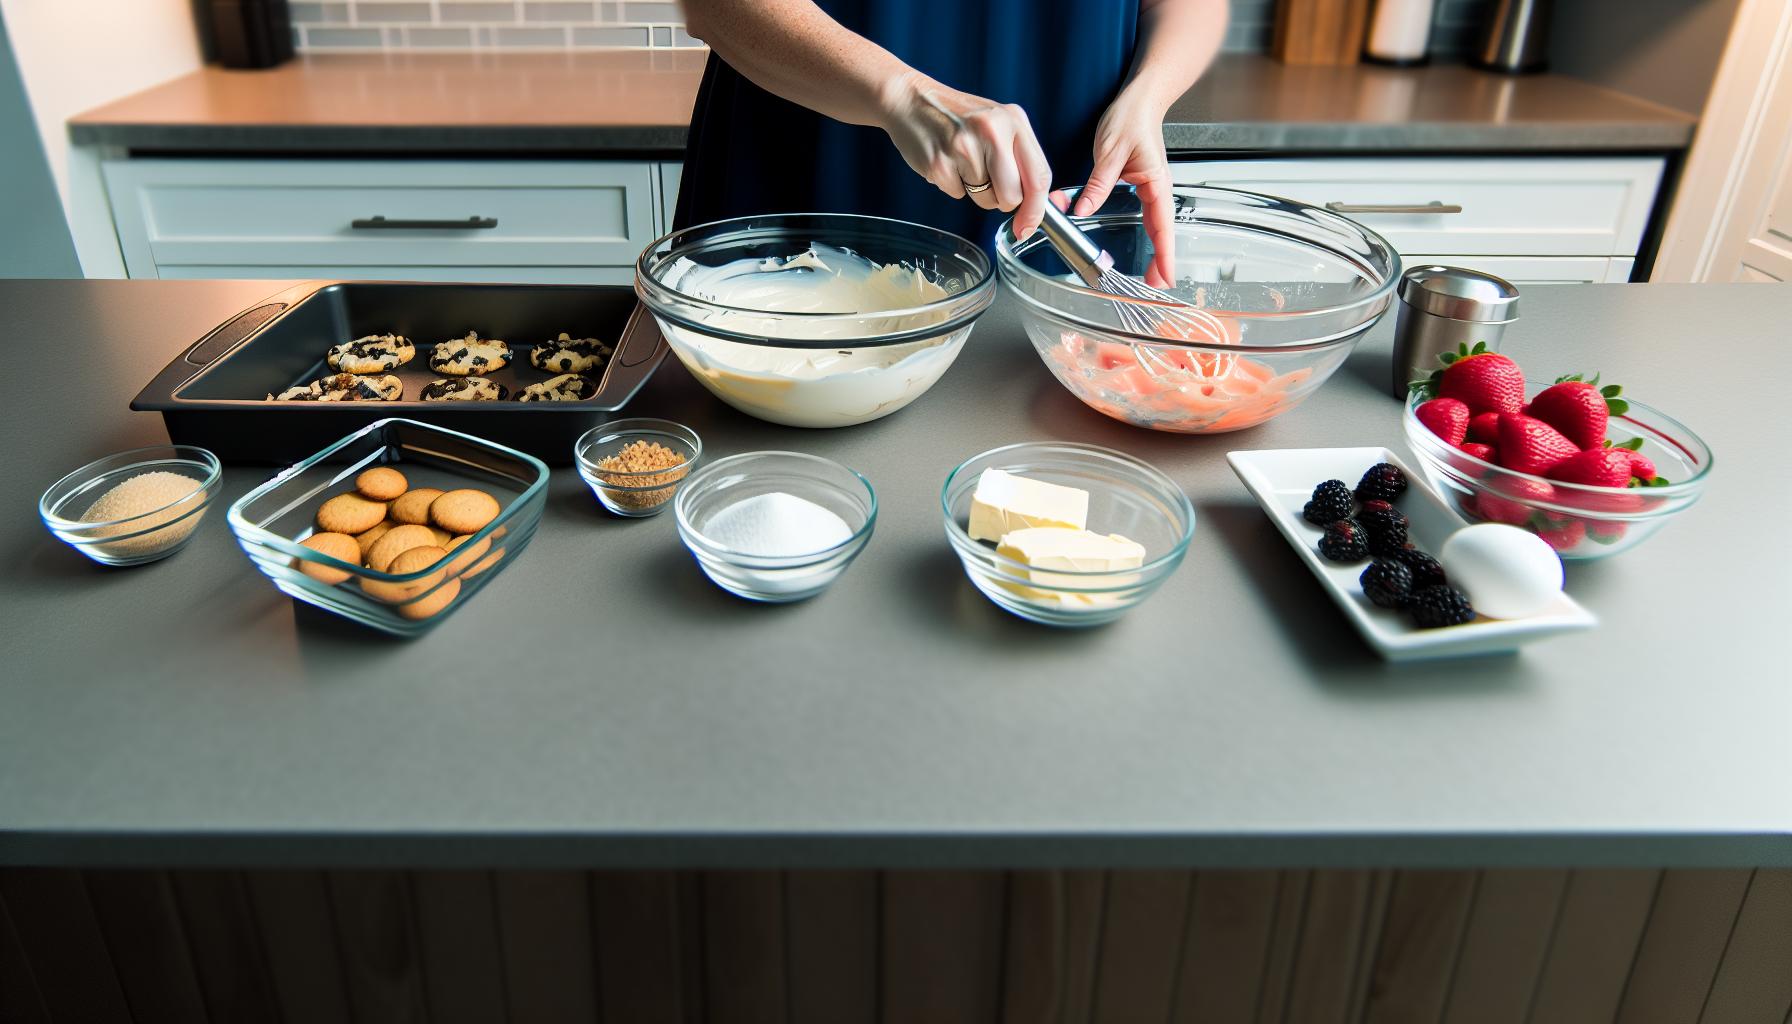
Creative Variations on the Classic Banana Split Cake
No Bake Banana Split Cake is a versatile dessert that invites creativity and allows for plenty of tasty variations. Whether you’re looking to switch up flavors or cater to dietary restrictions, this dessert can be easily customized to match your preferences or seasonal ingredients.
One popular twist is to incorporate different flavored puddings. Instead of the classic vanilla, consider using chocolate or butterscotch pudding for a richer taste. If you’re feeling adventurous, a strawberry pudding can add a fruity kick that pairs wonderfully with the bananas and chocolate sauce. Additionally, you could substitute the graham cracker crust for a chocolate cookie crust or even a gluten-free option using almond flour or gluten-free cookies.
For a gourmet touch, consider layering in some additional fruits. Sliced strawberries, blueberries, or even a layer of caramelized apples can add a unique flavor profile and visual appeal. If you want to enhance the traditional banana split experience, try mixing in some crushed up butterfinger or toffee bits between the layers for a bit of crunch and extra sweetness.
Another fun idea is to experiment with the toppings. In addition to the standard whipped topping and chocolate syrup, consider using a homemade whipped cream infused with vanilla bean or a bit of mint for added freshness. You might also drizzle with homemade caramel sauce or incorporate some toasted coconut flakes for a tropical twist.
The beauty of this dessert lies in its adaptability, making it a reliable go-to for any occasion. Whether you’re preparing for a summer picnic or a cozy family dinner, feel free to let your imagination run wild and create a version of this cake that’s uniquely yours!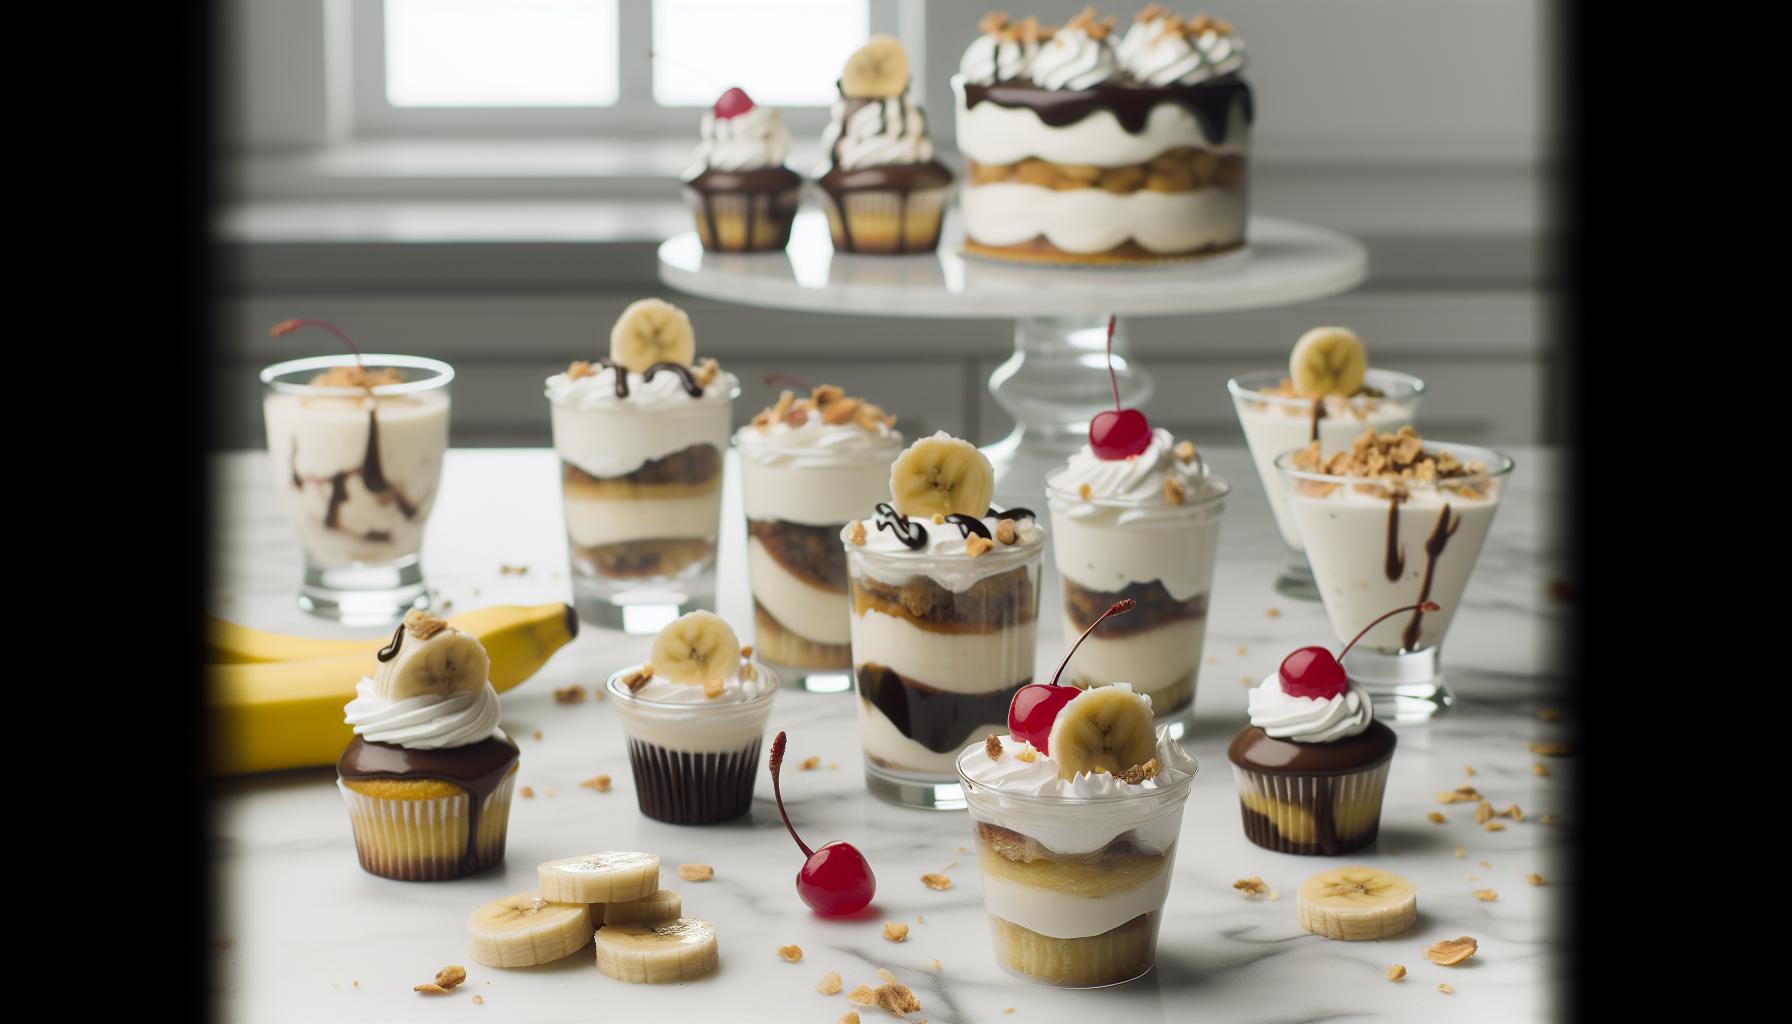
Troubleshooting Tips for Perfect No Bake Cakes
When it comes to making a no-bake banana split cake, a few common pitfalls can keep you from achieving dessert perfection. But don’t worry! With some handy troubleshooting tips, you can handle any hiccups gracefully and enjoy your delightful creation.
Preventing Sogginess
One of the most frequent issues is ending up with a soggy cake. This happens often when there’s too much moisture from fruits like bananas and pineapples. To combat this, try these strategies:
- Drain fruit properly: Be sure to drain canned fruits thoroughly and reserve the juice for later use.
- Use banana juice: Toss sliced bananas in the reserved juice to prevent browning and moisture release.
- Limit additional fruits: While it’s tempting to add lots of fresh fruit, stick to just a few to keep moisture levels in check.
Crust Consistency
Your crust needs to be the right texture, sturdy enough to hold the layers but still crumbly and delicious. If your crust crumbles or falls apart:
- Add more butter: If you find your crust isn’t holding together well, mix in a little extra melted butter to bind the crumbs.
- Press firmly: When forming the crust in your pan, press down firmly to create a solid base.
Layering Secrets
Getting your layers to look beautiful can be tricky. If they start to mix together or look uneven:
- Chill between layers: Chill the cake for 15-30 minutes after adding each layer. This helps set them and keeps layers distinct.
- Use a spatula to smooth layers: After pouring your filling, use an offset spatula to ensure even layers without overflow.
Setting Time
It’s crucial to allow your cake adequate time to set in the refrigerator. If your cake isn’t firm enough:
- Give it more time: Ideally, let it chill for at least 4 hours, but overnight is even better for those layers to really set.
- Use gelatin: If you’re still struggling, consider adding a bit of gelatin to your filling for added firmness.
With these tips in your back pocket, you’ll create a no-bake banana split cake that dazzles your family and friends. Remember, every cook faces challenges; it’s all about learning and enjoying the process. Happy baking!
Storing and Serving Your Banana Split Cake
Storing your no-bake banana split cake properly is key to maintaining its freshness and deliciousness. This dessert is best enjoyed within a few days of assembly, but with the right techniques, you can extend its shelf life while keeping that vibrant flavor and appealing texture intact. Start by covering your cake tightly with plastic wrap or aluminum foil. If you’re worried about sticking, you can place a layer of parchment paper over the top before covering. This prevents any rogue toppings from getting mushy or dry.
For the best taste and texture, store your banana split cake in the refrigerator. It will keep well for about 3 to 5 days. If you plan to enjoy it later, consider leaving off any fresh toppings, like sliced bananas or whipped cream, until you’re ready to serve. This way, your cake stays looking and tasting its best!
When it’s time to serve, you can slice the cake directly from the pan for easy serving. Using a sharp knife dipped in warm water can help achieve clean cuts, preventing the layers from squishing together. For an extra touch, you might sprinkle some crushed nuts or chocolate syrup on top just before serving, to refresh its look and flavor.
If you need to make this treat in advance, you can also freeze it! Simply wrap it tightly in plastic wrap and then in foil or a freezer-safe container. It can be frozen for up to 2 months. To enjoy, thaw it in the refrigerator overnight before serving, and add any fresh toppings just before presenting this delightful dessert to your family and friends.
Remember, no-bake cakes like this banana split treat are all about convenience and fun-what could be better than a simple yet impressive dessert that everyone will love? Enjoy every delicious bite!
Fun Toppings and Serving Ideas for Extra Flavor
There’s nothing quite like the joy of decorating a no-bake banana split cake! This dessert is a blank canvas that allows you to unleash your creativity while adding extra layers of flavor and fun. With a few simple topping ideas, you can transform your cake into a show-stopping centerpiece for any gathering or simply treat yourself at home.
Start with the classics! A drizzle of chocolate or caramel sauce can elevate your cake with a rich, sweet touch. Simply warm up your sauces slightly for an easy pour-over effect. Don’t forget about whipped cream-a generous dollop on top not only adds a light, airy quality but also serves as a great adhesive for other toppings. Then, finish it off with some vibrant maraschino cherries, which not only add a pop of color but are integral to the banana split experience.
For a textured crunch, sprinkle on crushed nuts like walnuts or pecans. They add flavor and a delightful contrast to the creaminess of the cake. To play with different tastes, consider using toasted coconut flakes or even mini chocolate chips for that extra chocolatey goodness. Want to kick things up a notch? Try incorporating fresh fruit slices-such as strawberries or blueberries-for a refreshing burst of flavor that’s also visually appealing.
But don’t stop at just toppings! Think about how you can present your cake in a fun way. Consider serving it in individual cups or jars for a portable treat that’s perfect for parties or picnics. Layering the ingredients in small mason jars can make serving easier and adds a rustic charm to your dessert display.
Incorporate these ideas, and your no-bake banana split cake will become a delightful treat that impresses guests and satisfies your sweet tooth, making each bite a celebration of flavor and creativity!
How to Make It Kid-Friendly: Involve the Little Chefs
Getting kids involved in the kitchen can be a delightful experience, especially when whipping up a fun and easy dessert like a no-bake banana split cake! Not only is this recipe simple and quick, but it also allows little chefs to unleash their creativity while enjoying the sweet rewards of their efforts.
Start by gathering all your ingredients together, which can be a fun scavenger hunt for the kids. The excitement of pulling out the graham crackers, bananas, and toppings helps engage their interest right from the start. Let them crush the graham crackers for the crust; it’s a great way for them to use their energy and get their hands a bit messy. Show them how to mix the cream cheese and pudding to create the creamy filling, encouraging them to stir and observe how the texture changes.
Assembly Time
Once the crust is ready, invite them to help layer the ingredients. You can take turns spreading the cream cheese mixture, placing banana slices, and sprinkling the toppings. This is where their creativity really shines! They can arrange the fruit and nuts however they like, adding an element of personalization to each dessert. To make it even more interactive, have them choose the toppings-like mini chocolate chips or sprinkles-and explain to them why these choices complement the flavors of the cake.
Decorating Fun
Finally, the finishing touches can turn into a mini decorating contest! Hand them piping bags of whipped cream and let them drizzle and dollop to their heart’s content. They can top their creations with a cherry on the peak, and voila! They have a dessert that they can proudly say they made themselves. This collaborative cooking not only fosters a love for cooking but also builds skills like measuring and following directions.
Engaging kids in this way transforms cooking from a chore into a fun and educational activity, creating lasting memories while enjoying a delicious treat. Plus, who doesn’t love a cake that’s designed by them? Involving little chefs in the kitchen is sure to become a cherished family tradition, all while enjoying the sweet rewards of their creative efforts!
Healthier Alternatives: Lighten Up Your Dessert
For those looking to enjoy the deliciousness of a no-bake banana split cake while being mindful of health, there are plenty of ways to lighten up this classic dessert without sacrificing flavor. By making a few simple swaps in ingredients, you can create a dessert that everyone can appreciate-both in taste and in guilt-free indulgence!
One of the easiest adjustments is to substitute traditional cream cheese with a lighter alternative. Opt for a low-fat or Greek yogurt cream cheese, which provides the same creamy texture with fewer calories and added protein. Additionally, you can replace the regular whipped topping with a light or sugar-free version to cut down on sugar content without losing that fluffy topping everyone loves.
When it comes to the crust, consider using whole grain graham crackers or even crushed oats for added fiber. If you’re feeling adventurous, you could also try making a nut-based crust using finely ground almonds or walnuts. This not only gives a nutty flavor but also packs in healthy fats that can help keep you satisfied longer.
Don’t forget about the fruit! While bananas are a star player in this dessert, try adding additional fruits like berries or sliced peaches for extra nutrients and vibrant color. You could also layer in some chopped nuts or seeds for added crunch and omega-3 fatty acids, making your cake a more balanced treat.
Lastly, keep your sweetener in check. If you’re using pudding mix, consider using a sugar-free version or replace part of the sugar with a natural sweetener like honey or agave syrup. By playing around with these alternatives, you not only give your banana split cake a healthy twist but also personalize it to match your family’s preferences.
So, gather your ingredients and enjoy the fun of creating a lighter version of this classic dessert that everyone will love!
Gifting Ideas: Presenting Your No Bake Cake
Sharing your delicious no-bake banana split cake as a gift is not only a thoughtful gesture but also a wonderful way to spread joy. This dessert is colorful and inviting, making it a perfect treat for special occasions or casual get-togethers. Here’s how to present your cake beautifully and ensure it’s a hit with anyone who receives it.
Start with using a sturdy, decorative cake pan that allows you to serve the cake directly, making transportation easy. If you want to elevate the presentation, consider transferring the cake to a cake board or platter that complements the vibrant colors of the dessert. Wrap the cake in clear cellophane or a decorative cake box for a polished finish. Tie it with a vibrant ribbon that matches the theme of the occasion, adding a personal touch to your homemade creation.
When gifting your banana split cake, include a recipe card attached to the packaging. This not only shares the love of baking but also allows the recipient to recreate the treat at home. You might even note any special touches you added, such as using seasonal fruits or a delightful twist on the traditional recipe. This gesture emphasizes the warmth of homemade gifts and allows the recipient to appreciate the effort you put into creating something special.
For those wondering when the best time to gift this cake is, consider any summer gatherings, holiday parties, or even as a sweet surprise on a friend’s birthday. It’s ideal for potlucks where you want to impress while keeping things stress-free, and can easily be made in advance, freeing up your time for celebrating. Your no-bake banana split cake, with its layers of banana, cream, and chocolatey goodness, is bound to be a showstopper and a gift that’s remembered.
Lastly, if you’re delivering your cake, think about adding a small collection of serving spoons or plates to your gift for added convenience. This not only makes it easier for the recipient to serve but also shows that you’ve thought of every detail. A delightful dessert experience begins with an inviting presentation, so let your creativity shine when gifting your no-bake banana split cake!
Pairing Drinks with Your Banana Split Cake
When serving your delightful no-bake banana split cake, the right drink can elevate the experience and complement the cake’s rich and creamy flavors. A well-chosen beverage not only enhances the taste but also adds an extra layer of enjoyment to your dessert spread.
For a classic pairing, consider serving a smooth and creamy milkshake. Vanilla or chocolate milkshakes reflect the dessert’s nostalgic ice cream roots and provide a refreshing contrast to the sweetness of the cake. If you’re feeling adventurous, try a banana milkshake for a double dose of banana goodness that kids and adults alike will adore.
If you’re looking for something a bit more sophisticated, a chilled sparkling water infused with a splash of fruit, like pineapple or a hint of lime, offers a light and refreshing contrast to the dessert. This keeps the palate clean and prepares it for the layers of flavors within your cake. Another lovely option is a fruity iced tea or lemonade, which bring a zesty brightness to the table, balancing out the richness of the cream cheese filling and whipped topping.
For those who enjoy adult beverages, a fruity wine spritzer or a light cocktail, like a banana colada, can make for a festive celebration. The tropical notes will harmonize beautifully with your cake’s flavors, making every bite feel like a tropical getaway. Just remember to maintain a balance; the drink should enhance, not overpower, the dessert’s flavor profile.
Whichever beverage you choose, consider serving it in fun glassware or adding garnishes like fresh fruit or a splash of whipped cream. This not only makes the drink appealing but adds to the celebratory feel of enjoying your homemade banana split cake!
User Reviews and Success Stories: Join the Fun!
There’s something undeniably special about sharing kitchen triumphs with friends and family, and the no-bake banana split cake has quickly become a favorite for many home cooks. One enthusiastic baker shared that this cake turned her ordinary family gathering into a dessert party. “Everyone loved it! The flavors were so familiar yet exciting,” she noted, highlighting how the nostalgic combination of bananas, pineapple, and whipped cream made each bite a delightful memory of summer treats.
Home bakers have raved about how easy it is to assemble this dessert, making it perfect for both novice cooks and seasoned pros. “I made it for my kid’s birthday party,” another user said, “and it was a hit! The kids loved helping to layer the ingredients. It was such a fun activity, and the smiles on their faces were worth it!” This cake not only satisfies sweet cravings but also creates moments of joy and teamwork in the kitchen.
Incorporating variations has added a creative twist for many who have shared their personal adaptations online. From adding crunchy toppings like crushed graham crackers to experimenting with different fruits, the possibilities seem endless. One baker even mentioned substituting the whipped topping with Greek yogurt for a tangy twist that her family adored. These customizations inspired others to share their own interpretations, fostering a community of no-bake cake enthusiasts eager to experiment and share success stories.
Encouragement flows through reviews and comments, as bakers cheer each other on. If you haven’t yet tried this crowd-pleaser, now is the perfect time to dive in and join the fun! The joy of recreating this dessert can lead to deliciously memorable moments in your own kitchen, ensuring every slice served is a celebration of creativity, flavor, and family bonding.
Frequently asked questions
Q: What is a No Bake Banana Split Cake?
A: A No Bake Banana Split Cake is a chilled dessert that mimics a traditional banana split, layered with bananas, whipped cream, and various toppings. It’s an easy, delicious option that doesn’t require baking and is perfect for warm weather or casual gatherings.
Q: How long does it take to make a No Bake Banana Split Cake?
A: Making a No Bake Banana Split Cake typically takes about 30 minutes of preparation time, plus an additional 4-6 hours chilling time in the refrigerator to set properly. It’s a simple dessert that requires minimal effort for rewarding results.
Q: Can I use dairy-free ingredients in my No Bake Banana Split Cake?
A: Yes, you can use dairy-free alternatives! Replace regular cream cheese and whipped topping with non-dairy versions made from coconut or almond milk. This way, you can create a delicious dessert suitable for those with lactose intolerance or dairy allergies.
Q: What are some creative variations for No Bake Banana Split Cake?
A: You can get creative by adding different fruits (like strawberries or peaches), using chocolate or caramel sauces as layers, or incorporating crushed cookies for added crunch. Check out our section on Creative Variations on the Classic Banana Split Cake for more ideas!
Q: How do I store leftovers of No Bake Banana Split Cake?
A: Store leftovers in an airtight container in the refrigerator for up to 3 days. If you anticipate longer storage time, consider freezing individual slices wrapped in plastic wrap, but note that the texture may change slightly upon thawing.
Q: How can I make No Bake Banana Split Cake kid-friendly?
A: Involve kids by allowing them to select their favorite toppings and help with layering the ingredients. You can also use fun shapes and colors to create a visually appealing dessert. Our section on How to Make It Kid-Friendly offers more tips!
Q: What is the best way to serve No Bake Banana Split Cake?
A: Slice the cake into squares and serve chilled, optionally garnished with whipped cream, cherries, or sprinkles. Pair it with scoops of ice cream for an extra indulgent treat. For more serving ideas, explore Fun Toppings and Serving Ideas for Extra Flavor in the article!
Q: Can I prepare No Bake Banana Split Cake in advance?
A: Absolutely! You can prepare the cake a day ahead and let it chill overnight in the refrigerator. This makes it a convenient option for parties or family gatherings. For detailed instructions, refer to the Step-by-Step Instructions for a No Bake Wonder!
Future Outlook
Ready to treat your taste buds with the delightful No Bake Banana Split Cake? This fun and easy recipe lets you whip up a delicious dessert without turning on the oven, making it perfect for warm weather or last-minute gatherings. Don’t worry if you don’t have fancy kitchen tools; just grab your mixing bowls and a spatula! If you loved this recipe, explore our related posts on creative no-bake desserts or tips for perfecting whipped cream-your next kitchen adventure awaits!
Feeling inspired? Share your baking experience in the comments below or snap a picture of your cake and tag us on social media! And don’t forget to sign up for our newsletter for more tasty recipes and kitchen tips directly to your inbox. Let’s keep the fun rolling in your kitchen-here’s to delicious homemade desserts that everyone will love!
Get our latest guides, news, and insights highlighted in your Google Search & AI Overviews.










