

If you’re looking to whip up a delicious dessert without turning on the oven, this No Bake Graham Cracker Crust recipe is your go-to solution! Not only is it incredibly easy to make, but it also delivers a satisfying crunch that pairs perfectly with your favorite fillings. Whether you’re crafting a rich cheesecake or a refreshing berry pie, this crust is a versatile base that will elevate your dessert game without the heat and hassle of baking.
Imagine being able to create a scrumptious treat in a matter of minutes, with just a few simple ingredients. This recipe not only saves you time but also keeps your kitchen cool during those warm summer days. Get ready to enjoy the delightful taste of homemade sweetness that’s both fun and simple to prepare! Dive into this guide and discover how to make a perfectly crumbly graham cracker crust that’s sure to impress family and friends alike.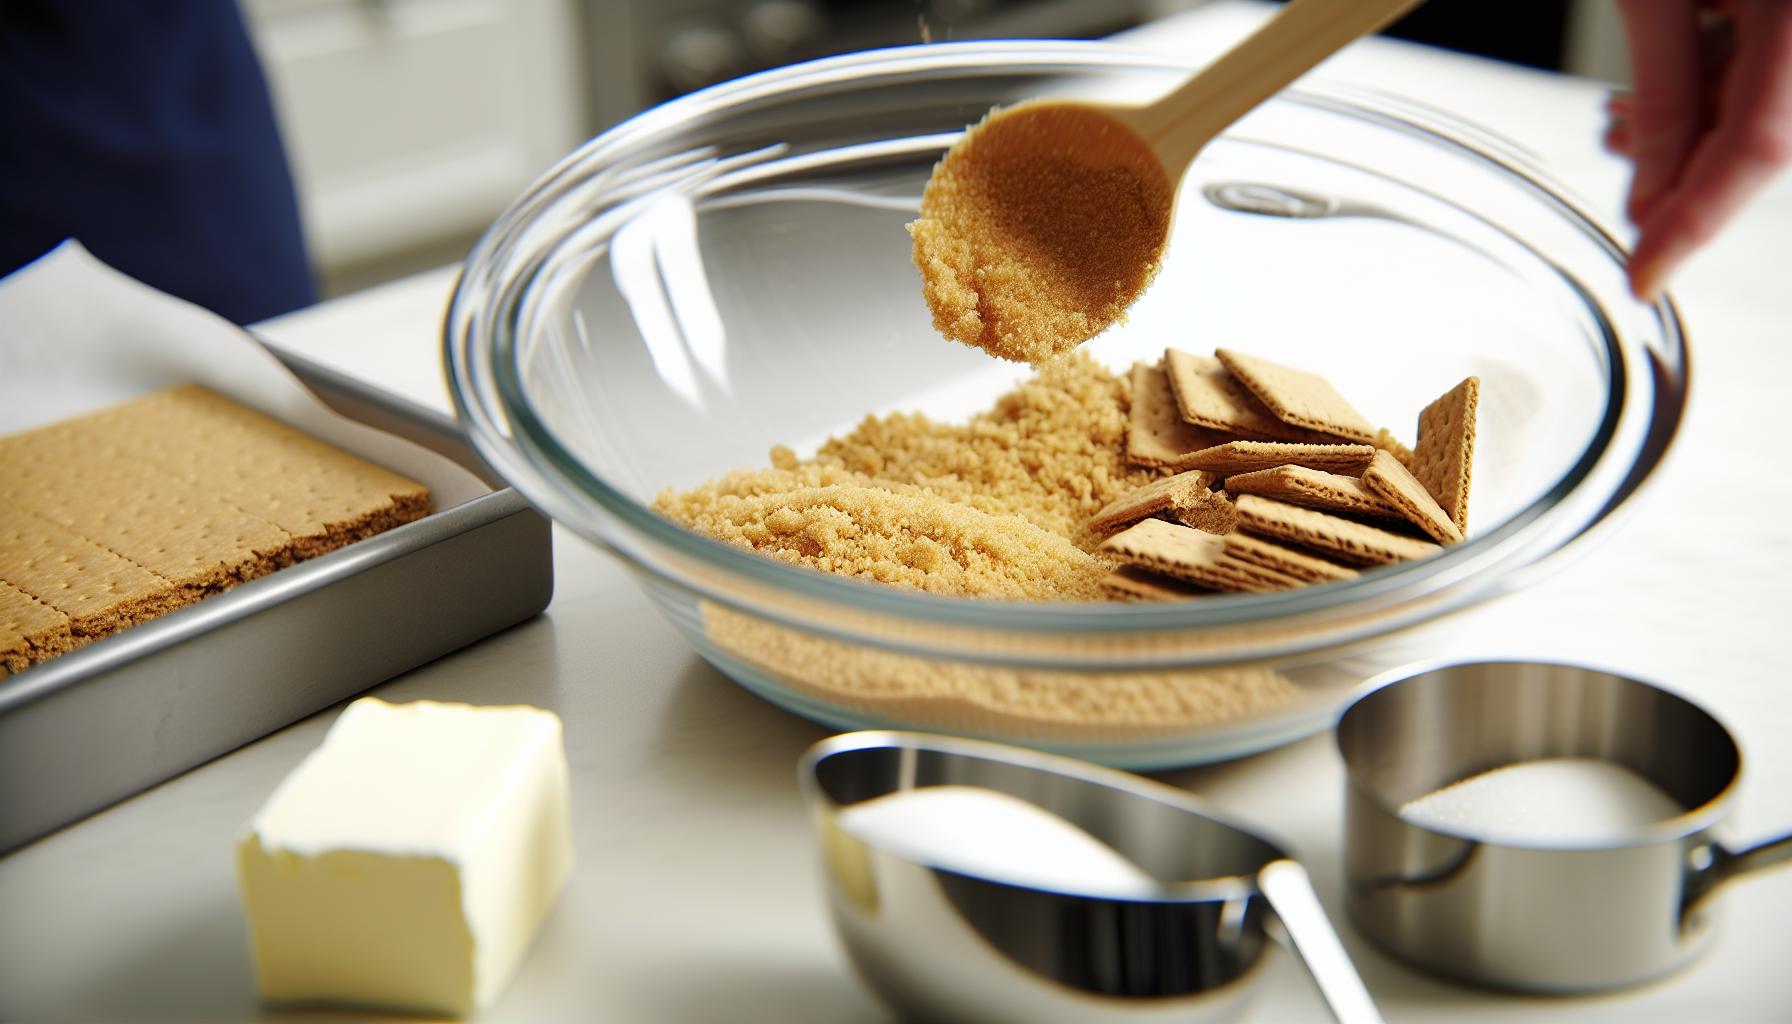
Graham Cracker Crust Basics: What You Need to Know
Creating a delicious no-bake graham cracker crust is a game changer in the kitchen, offering a quick and easy foundation for a variety of desserts without the need for an oven. This crust is not only versatile but also brings a delightful crunch that pairs beautifully with creamy fillings. Made primarily from crushed graham crackers, butter, and sugar, the process is as simple as mixing and pressing-perfect for both novice and experienced bakers.
Start by gathering your ingredients, which typically include about 1 ¾ cups of crushed graham crackers, ¼ cup of granulated sugar, and ½ cup of melted butter. This combination creates a golden base that complements both sweet and savory fillings. The beauty of this crust lies in its ease of preparation: no rolling pins or fancy tools are required, just a bowl and a sturdy spoon or spatula to mix everything together.
Once you have your mixture, pressing it into your chosen pan is crucial for a stable crust. You can use the bottom of a measuring cup or your fingers to ensure the crumbs adhere well and create an even layer. After that, chilling the crust in the refrigerator for at least one hour helps it set firmly, making it easier to slice once your dessert is ready to serve. This delightful crust not only saves time but also opens the door to endless creativity in your dessert-making adventures.
With its simple methodology and fantastic results, the graham cracker crust is a staple that can elevate any no-bake dessert. Whether you’re crafting a classic cheesecake, a rich chocolate mousse, or a fruity tart, knowing the basics of this crust will set you on the path to delicious homemade treats.
The Benefits of No-Bake Desserts for Your Kitchen
Creating no-bake desserts is not just a time-saver; it’s a creative and enjoyable way to bring delightful flavors to your kitchen without the hassle of oven prep. These desserts, including those with a graham cracker crust, offer a multitude of benefits that make them a smart choice, especially during hot weather or for those urgent cravings that crop up at any moment. They require minimal ingredients and prep time, allowing anyone to whip up something special without feeling overwhelmed.
One of the greatest advantages is the vast range of desserts you can explore. Think of rich cheesecakes, creamy mousse, or even refreshing fruit tarts, all set on a deliciously crunchy graham cracker base. The versatility of no-bake desserts means you can easily customize them according to what you have on hand or your personal tastes. If you’re a chocolate lover, adding cocoa powder to your crust can add a deeper flavor, while a hint of cinnamon can spice things up. Plus, you won’t need to wait long to enjoy your creations; simply chill them and they’re ready to serve, perfect for spontaneous gatherings or surprise guests.
Another remarkable factor is the ease of preparation. With just a few simple ingredients-usually graham crackers, sugar, and butter-you’re already on your way to a satisfying treat. No need for elaborate tools or fancy techniques; just a mixing bowl and a spatula will do. This simplicity makes no-bake desserts approachable for everyone, from novice cooks to seasoned bakers looking for a quick fix. Plus, cleanup is a breeze, with fewer dishes to wash after your sweet endeavor.
No-bake desserts also inspire experimentation. You can play with flavors, textures, and fillings without the constraints of baking. For instance, try swapping out traditional graham crackers for chocolate wafers, or incorporate nuts for added crunch. The freedom to innovate in your kitchen not only fuels your creativity but makes every dessert unique to you. This is the heart of homemade cooking-experimenting and enjoying the process while creating something delicious!
Simple Ingredients for a Perfect Graham Cracker Crust
Creating a delicious graham cracker crust is simpler than you might think, and the secret lies in just a few key ingredients that come together to form the perfect crunchy base for your no-bake desserts. You can craft this base with just three essential components: graham crackers, sugar, and butter. The beauty of this combination is its versatility; you can tweak proportions and add flavorings to suit your palate.
Start with graham crackers, which provide that signature sweet and slightly nutty flavor. A standard box of graham crackers usually contains about 14 full sheets, which can be crushed easily by hand or in a food processor. For an extra twist, feel free to experiment with other types of cookies, like digestive biscuits or chocolate wafers, for a different flavor profile.
Next up is sugar, which not only sweetens the crust but also helps bind it together. Granulated sugar is most commonly used, but brown sugar adds a delightful molasses flavor and a deeper hue to your crust. Generally, you’ll want about 1/4 cup of sugar for every 1 1/2 cups of crushed graham crackers. Adjust this to taste based on the sweetness of your filling.
Lastly, butter is crucial for achieving a rich, buttery flavor and for helping the crust hold its shape. Melted butter should be used, with approximately 6 tablespoons for every 1 1/2 cups of crushed crackers. This combination creates a moist, cohesive mixture that’s easy to press into your pan.
To make things even simpler, you can add mix-ins such as spices (like cinnamon or nutmeg) or even a pinch of salt to enhance the flavor. Once you’ve got these ingredients measured out, mix them in a bowl until fully combined. The resulting sandy mixture should hold together when pressed. Now you’re ready to create a crust that serves as the perfect foundation for your favorite no-bake desserts!
Step-by-Step Guide: Making Your No-Bake Crust
Creating a no-bake graham cracker crust is a simple yet rewarding process that allows you to whip up delicious treats without ever turning on the oven. With just a few basic ingredients and some quick steps, you can make a sturdy, flavor-packed base that pairs perfectly with your favorite fillings. Let’s dive into how to make this crust that’s not only tasty but also remarkably easy!
Start by gathering your ingredients. You’ll need about 1 ½ cups of crushed graham crackers, ¼ cup of sugar, and 6 tablespoons of melted butter. To crush the graham crackers, you can use a food processor for a fine texture or place them in a plastic bag and smash them with a rolling pin for a more rustic approach. The key is to ensure that you have an even, sandy consistency, which will help the crust hold together.
In a bowl, combine the crushed graham crackers with the sugar, mixing them until they are evenly distributed. Next, pour in the melted butter and stir the mixture together. You want it to resemble damp sand that holds its shape when pressed. If you want to enhance the flavor, consider adding a pinch of salt or some cinnamon at this stage.
Once your mixture is ready, transfer it to a pie dish or a tart pan. Use your fingers or a flat-bottomed measuring cup to press the mixture firmly into the bottom and up the sides of the pan. Aim for an even thickness, which is essential for a stable crust. After pressing it down, refrigerate the crust for at least 30 minutes to help it set before adding your desired filling. This chilled crust will provide the perfect crunchy texture to complement the creamy, luscious fillings of your no-bake dessert!
By following these straightforward steps, you can create a delightful graham cracker crust that will elevate any no-bake dessert you choose to make. Enjoy the process, and don’t hesitate to experiment with flavors and textures along the way!
Creative Variations: Flavors and Additions to Try
There’s nothing quite like a graham cracker crust to elevate your no-bake desserts, and the beauty of this base is that it lends itself to an array of delicious twists. Adding various flavors and ingredients can create a unique crust that complements your favorite fillings. Here are some creative variations that you can easily integrate into your graham cracker crust recipe.
Flavor Enhancements
Start with the classic combination of graham crackers, sugar, and butter, but consider adding these delightful twists:
- Cocoa Powder: For a chocolatey flair, mix in about 2 tablespoons of cocoa powder with your graham cracker crumbs. This will add a rich taste that pairs beautifully with chocolate-based fillings.
- Cinnamon and Nutmeg: Sprinkle in some ground cinnamon (1/2 teaspoon) and a touch of nutmeg for a warm, comforting flavor. This is particularly wonderful if you’re making a pumpkin or apple dessert.
- Toasted Coconut: Add about 1/2 cup of unsweetened toasted coconut for an exotic crunch. This pairs nicely with tropical fillings, such as pineapple or coconut cream.
Ingredient Additions
You can also experiment with other ingredients for a unique texture and taste:
- Ground Nuts: For additional crunch, substitute 1/4 cup of crushed nuts (almonds, pecans, or walnuts) in place of some graham cracker crumbs. They add flavor and a delightful crunch.
- Spices: Incorporate spices like ground ginger or cardamom to complement your dessert theme. Just a pinch can add depth to cheesecakes or layered pies.
- Brown Sugar: Swap out regular sugar for brown sugar in your crust for a deeper, caramel-like flavor. This works particularly well with creamy fillings.
Creative Combinations
Feel free to get adventurous by mixing and matching these ideas. A graham cookie crust made with honey or maple syrup instead of granulated sugar can create a lovely backdrop for fruit fillings or creamy cheesecakes. Similarly, a crust made with crushed buttery cookies, like shortbread or vanilla wafers, can give a different ambiance while maintaining that satisfying crunch we all love.
Remember, the key to a great graham cracker crust lies in achieving that perfect texture and flavor balance. So go ahead and let your creativity shine! Each variation can take your no-bake dessert to the next level, making it not just a treat but a delightful experience for yourself and your guests.
How to Perfectly Press Your Crust for Stability
Getting the perfect texture and stability in your graham cracker crust is key to ensuring that your no-bake dessert holds its shape when served. One of the most crucial steps in making a delicious and sturdy crust is how you press the mixture into your pan. A well-packed crust won’t crumble when it’s time to cut into those sweet treats, allowing you to serve beautiful slices without the mess.
To start, you’ll need a mixture of crushed graham crackers, sugar, and melted butter. After combining the ingredients in a bowl, it’s time to transfer them to your chosen pan. Use a flat-bottomed tool, like a measuring cup or a dedicated tart tamper, to firmly press the mixture evenly across the bottom and up the sides of the pan. Aim for a thickness of about ¼ inch to achieve just the right amount of crunch and support. Pressing down firmly will help the crust adhere together, but be mindful not to go overboard; you want it packed, not overly compacted, as this can make it tough.
Once your crust is pressed, chill it in the refrigerator for at least 30 minutes. This cooling period allows the butter to solidify, which further helps to bind the crust. If your crust doesn’t hold together well after chilling, consider adding a bit more melted butter to the mixture next time; this can be particularly helpful in keeping everything cohesive.
A common mistake is to underestimate the importance of even pressing. Make sure to cover every inch of the pan to prevent weak spots that might crumble later. If you make your crust in a springform pan or tart pan, take extra care when pressing the mixture into the corners to ensure a seamless distribution. By taking the time to properly press and chill your crust, you’ll achieve a perfect base that complements and enhances your no-bake creations effortlessly. Remember, a solid foundation is essential for all great desserts!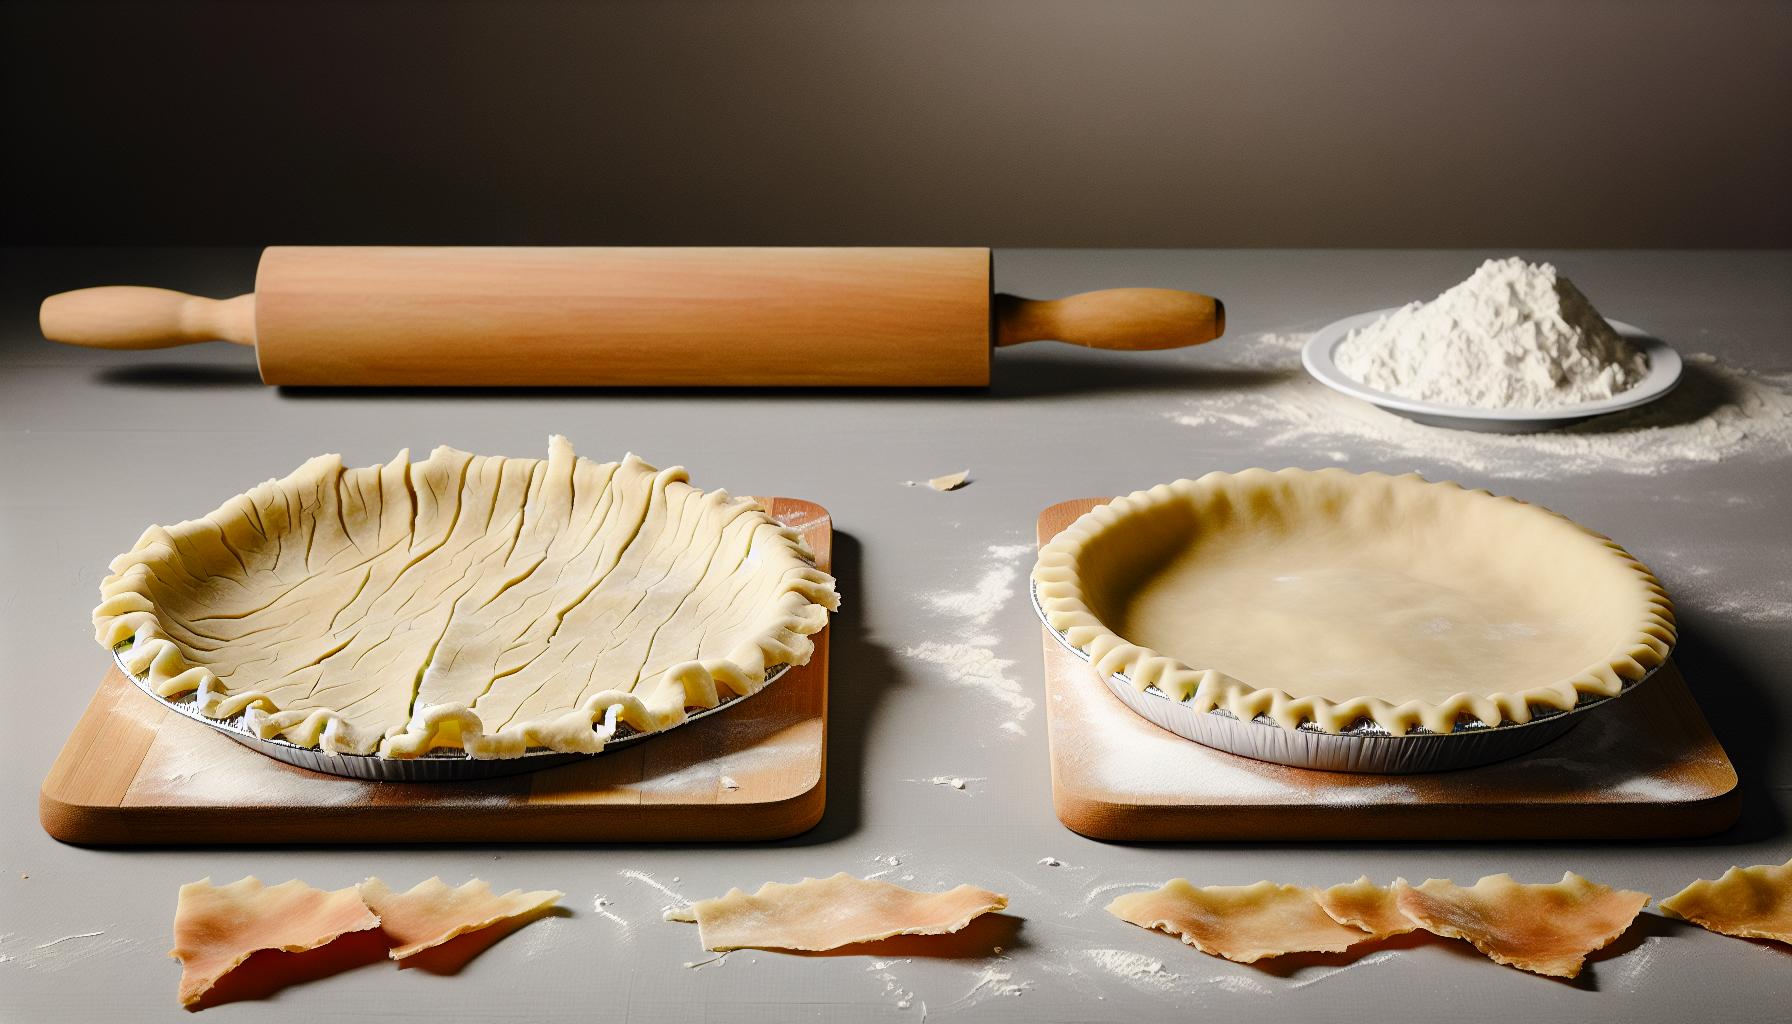
Common Mistakes to Avoid When Making Crusts
When crafting a graham cracker crust, there are several common pitfalls to watch out for that can compromise your crust’s texture and stability. It’s easy to think of this as a simple recipe, but the details matter tremendously. Let’s explore some key mistakes that can be easily avoided, ensuring your crust is the perfect foundation for your no-bake desserts.
One of the most common errors is not crushing the graham crackers finely enough. If the crumbs are too large or uneven, the crust won’t hold together properly. Aim for a fine, even consistency-think sand rather than pebbles. A food processor can make quick work of this, but a rolling pin and a plastic bag work just as well. Simply seal the crackers inside and roll them until they reach your desired texture.
Another mistake is skimping on the butter. The butter acts as the glue that binds the crust, so using too little can lead to a crumbly mess. Make sure your mixture contains enough melted butter to soak into the crumbs and create a cohesive texture. If your crust falls apart after chilling, it’s a sign you might need to increase the butter next time.
Not pressing the crust firmly enough is another frequent oversight. A well-packed crust is essential for stability. Use a flat-bottomed tool to press down firmly across the bottom and up the sides of the pan, ensuring there are no gaps. Too much air left in the crust makes it brittle, causing it to crack when you slice into it. Additionally, chilling the crust is vital. Skipping this step can lead to a crust that’s not set properly-waiting will ensure the butter solidifies and holds everything together.
Finally, be mindful of your pan choice. If you’re using a springform or tart pan, ensure you also pay attention to the corners, ensuring the crust is evenly spread. Taking the time to heed these details will elevate your graham cracker crust, allowing it to shine as the delicious base for your no-bake delights!
Storing Your Graham Cracker Crust for Freshness
Your graham cracker crust creation deserves the best care to maintain its delightful crunch and flavor. Proper storage is essential to ensure your crust remains fresh and ready for those sweet fillings, so let’s dive into how to keep that homemade goodness at its peak.
To store your graham cracker crust effectively, start with cooling it completely if it’s freshly made. This step prevents moisture build-up, which can make your crust soggy. Once cooled, wrap it tightly in plastic wrap or aluminum foil. This not only keeps the crust from absorbing odors from your fridge but also retains its delightful crunch. For best results, place it in an airtight container if you have one; this acts as an additional barrier against air and moisture.
If you want to keep your crust for a longer period, consider freezing it. Just ensure it’s well wrapped to prevent freezer burn. You can freeze your unfilled crust for up to three months. When you’re ready to use it, simply transfer it to the fridge to thaw overnight. Keep in mind that while the crust can maintain its integrity after freezing, it’s best to fill it shortly after thawing to enhance its flavor and texture.
Quick Tips for Storage
- Wrap tightly: Use plastic wrap or foil to prevent air and moisture access.
- Use an airtight container: This offers extra protection during storage.
- Freeze for longer storage: Keep unfilled crusts for up to three months in the freezer.
- Thaw in the fridge: Gradually thaw crusts overnight before filling.
Storing your graham cracker crust properly not only preserves its fresh taste but also gives you the flexibility to whip up a no-bake dessert whenever the craving strikes. With these simple steps, you’ll be able to celebrate your homemade creations with joy, ready to impress your family and friends!
Pairing Your Crust: Best Fillings for No-Bake Desserts
The beauty of a graham cracker crust is not only in its delightful crunch but also in its versatility as a foundation for a variety of delicious no-bake desserts. Pairing your crust with the right filling can elevate your creation from simple to sensational. Whether you’re craving something fruity, creamy, or rich, there’s a perfect match waiting to be discovered.
One popular option is to fill your crust with a rich and creamy cheesecake mixture. A classic no-bake cheesecake filling made with cream cheese, whipped cream, and sugar is easy to prepare and has a luxurious texture that complements the crunchy crust wonderfully. For a fruity twist, mix in some fresh berries or a swirl of fruit puree, which not only adds flavor but also brings a lovely aesthetic to your dessert.
For a lighter and refreshingly sweet option, consider a lemon or key lime filling. The tangy citrus flavors cut through the sweetness of the crust, creating a balanced and zesty treat that’s perfect for warm weather. Simply combine lemon or lime juice with sweetened condensed milk and whipped cream for a quick and easy filling.
Chocolate lovers won’t be disappointed either! A rich chocolate mousse or a simple chocolate pudding filling can transform your graham cracker crust into an indulgent dessert. To enhance the chocolate experience, sprinkle some crushed cookies or chocolate shavings on top before serving for added texture.
Filling Ideas at a Glance
- No-Bake Cheesecake: Cream cheese, whipped cream, and sugar-easy and creamy!
- Citrus Flavors: Lemon or key lime for a tangy refreshing dessert.
- Chocolate Delight: Use chocolate mousse or pudding for a rich treat.
- Fresh Fruits: Incorporate berries or fruit purees for bursts of flavor.
Experimenting with different fillings is not only easy, but it also lets you personalize your dessert to suit any occasion or palate. Don’t hesitate to mix and match flavors or add layers of texture-your creativity is the only limit. With these filling ideas, your no-bake graham cracker crust will undoubtedly become a favorite in your kitchen!
Serving Suggestions: How to Present Your No-Bake Treat
When it comes to presenting your no-bake treats, first impressions count! Your graham cracker crust can be the perfect canvas for creativity and flair. Whether you’re hosting a gathering or enjoying a quiet evening at home, thoughtful presentation enhances the overall experience and makes your desserts even more inviting.
One delightful way to showcase your dessert is by using elegant serving dishes. Consider individual portions in clear cups or jars to highlight the beautiful layers of color and texture in your fillings. For a more rustic look, a simple pie dish or tart pan works wonderfully, especially when garnished with fresh fruit or herbs. Don’t forget about garnishes: a sprinkle of crushed graham crackers, a drizzle of chocolate or caramel sauce, or a dollop of whipped cream can add a pop of texture and flavor that elevates your dessert.
To create a visually stunning display, think beyond just the dessert itself. Serve your no-bake treats on colorful platters or incorporate decorative elements like fresh flowers or herbs around the serving area. For added fun, you could even create a dessert bar where guests can customize their servings with various toppings, such as nuts, sprinkles, or different flavored sauces. This interactive element not only enhances presentation but also engages your guests and makes dessert time feel special.
Presentation Tips
- Use Clear Containers: Show off beautiful layers with individual servings in mason jars or parfait glasses.
- Garnish Creatively: Enhance flavors and visuals with toppings like whipped cream, fresh fruit, or chocolate shavings.
- Vibrant Platters: Present on colorful trays or boards for a beautiful contrast against your desserts.
- Dessert Bar: Set up a DIY station where guests can personalize their treats with various toppings.
Remember, the goal is to make your no-bake treats not just delicious but also a feast for the eyes. With a little effort in presentation, you can turn an ordinary dessert into a memorable experience that celebrates the joy of being homemade!
Celebrating Homemade: Personalizing Your Crust Experience
There’s something special about crafting your own graham cracker crust-it’s an easy way to add a personal touch to your desserts while skipping the heat of the oven. Whether you’re making a rich cheesecake, a tangy no-bake pie, or a luscious mousse, personalizing your crust is a wonderful opportunity to let your creativity shine. The best part? You don’t need to be a professional baker to make it your own!
One of the simplest ways to customize your graham cracker crust is by experimenting with different flavor profiles. While traditional crusts use basic graham crackers, consider using flavored ones, such as cinnamon or chocolate, for a unique twist. For an extra layer of flavor, mix in some ground nuts, like almonds or pecans, or add a pinch of spices like vanilla or espresso powder. You can also play with sweeteners-try brown sugar instead of white for a deeper, caramel-like taste.
When it comes to texture, think beyond just graham crackers. Add crushed cookies, such as Oreos or gingersnaps, into your crust mixture for added crunch and flavor variations. If you’re feeling bold, drizzle in some melted chocolate or incorporate a splash of liqueur, like coffee or orange, to complement your dessert’s filling.
Don’t overlook the way you present your masterpiece! Using different serving dishes can elevate the overall experience. Individual servings in small jars not only look adorable but also allow for portion control. Add a splash of color with fresh fruit on top or a sprinkle of your chosen mix-ins for a delightful visual touch. Remember, this is your creation, so let it reflect your tastes and style. Enjoy the process, and celebrate each delicious bite as a testimony to your homemade culinary adventure!
Faq
Q: What is the best way to crush graham crackers for no-bake crusts?
A: The best way to crush graham crackers is to place them in a zip-top bag and use a rolling pin to break them into fine crumbs. Alternatively, you can pulse them in a food processor for a quick and even consistency. For an extra touch, consider adding some sugar or spices while mixing for added flavor.
Q: Can I make a gluten-free no-bake graham cracker crust?
A: Yes, you can make a gluten-free no-bake graham cracker crust by using gluten-free graham cracker alternatives. Simply follow the same recipe using crushed gluten-free crackers and adjust the amount of sugar if needed. This allows everyone to enjoy a delicious crust without gluten.
Q: How long should I chill a no-bake graham cracker crust before adding fillings?
A: Chill your no-bake graham cracker crust in the refrigerator for at least 30 minutes to 1 hour. This helps the crust set properly and enhances its texture, making it easier to fill and slice later on.
Q: Can I use other cookies instead of graham crackers for a no-bake crust?
A: Absolutely! You can substitute graham crackers with other cookie varieties like Oreos, vanilla wafers, or even chocolate cookies. Just ensure they are finely crushed and adjust the sugar based on the sweetness of the cookies used to maintain the desired flavor.
Q: How do I prevent my no-bake graham cracker crust from becoming soggy?
A: To prevent sogginess, make sure to press the crust firmly into the pan and consider pre-chilling it before adding your filling. Using fillings that are not overly wet or freezing the crust slightly before adding creamy fillings can also help maintain its crunch.
Q: What fillings work best with a no-bake graham cracker crust?
A: The best fillings for a no-bake graham cracker crust include cheesecake mixtures, pudding, or mousse. These options complement the crust’s texture while enhancing the overall dessert flavor. Nut-based or fruit-based fillings can also provide a delightful contrast.
Q: How do I know when my no-bake crust is perfect?
A: Your no-bake graham cracker crust is perfect when it is firm to the touch and holds its shape when you slice into it. The crust should have a slight crunch, and the color should be golden brown. If it feels too soft, it may need more chilling time.
Q: Can I make the crust ahead of time?
A: Yes, you can make your no-bake graham cracker crust ahead of time. Store it in the refrigerator for up to 2 days or freeze it for longer storage. Just ensure it’s covered tightly to maintain freshness and avoid freezer burn.
Closing Remarks
Now that you’ve mastered the art of creating a wonderful no-bake graham cracker crust, imagine all the delicious desserts waiting for you! This easy, no-heat recipe is perfect for any occasion, providing a crunchy base that complements your favorite fillings without the fuss. Ready to experiment? Try adding cocoa powder for a chocolate twist or mix in some finely chopped nuts for extra texture!
Don’t forget to check out our related recipes for no-bake cheesecakes and fruity pie fillings to take your dessert game to the next level. Have questions or tips of your own? We’d love to hear from you in the comments below! If you found this guide helpful, consider signing up for our newsletter for more delicious recipes delivered straight to your inbox. Your journey to effortless, homemade desserts starts here-let’s keep exploring together!
Get our latest guides, news, and insights highlighted in your Google Search & AI Overviews.










