
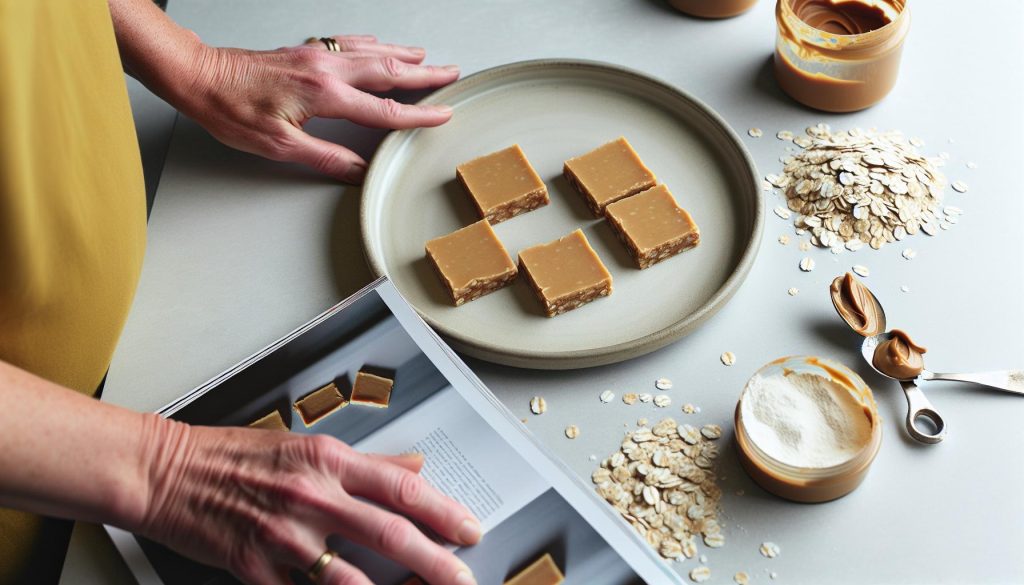
If you’re looking for a delicious way to boost your energy and satisfy your sweet tooth, these Peanut Butter Fingers are the perfect solution! Packed with protein and made without any baking, these no-bake squares are a simple, nutritious treat that everyone will love. Whether you need a quick snack during a busy day or a post-workout pick-me-up, these squares offer a delightful combination of flavors and health benefits. Plus, they’re so easy to whip up-no fancy equipment required! Let’s dive into this simple recipe that not only tastes great but also supports your health goals. You’ll be pleasantly surprised at how satisfying homemade snacks can be!
Peanut Butter Fingers: A Delicious No-Bake Creation
There’s something undeniably satisfying about treating yourself to peanut butter fingers, those delicious no-bake squares that practically melt in your mouth. With their rich and creamy peanut butter layer, perfectly topped with a smooth chocolate finish, these delightful treats are not only a nostalgic throwback to simpler times, but also a convenient option for satisfying your sweet tooth without turning on the oven. The beauty of no-bake desserts like these lies in their simplicity: they require minimal ingredients, little prep time, and no fancy equipment.
Creating peanut butter fingers is a breeze; in just about 15 minutes, you can mix up a batch that will keep you coming back for more. Using staples commonly found in your pantry-like peanut butter, graham crackers, and a bit of powdered sugar-you can whip up a protein-packed snack that’s perfect for any time of day. Plus, it’s a great opportunity to involve loved ones in the kitchen. Kids can help mix the ingredients or press them into the pan, making it a fun family activity.
One of the best parts? They are endlessly customizable. Want an extra crunch? Add some chopped nuts or a sprinkle of sea salt on top. Want to indulge your chocolate cravings? Mix in some mini chocolate chips before pressing the mixture into the pan. The possibilities are limitless, allowing your creativity to shine. These no-bake peanut butter fingers are not just a treat; they’re a canvas for culinary invention, inviting you to experiment every time you make them. So grab those simple ingredients and get ready for a scrumptious, no-fuss creation that everyone will love!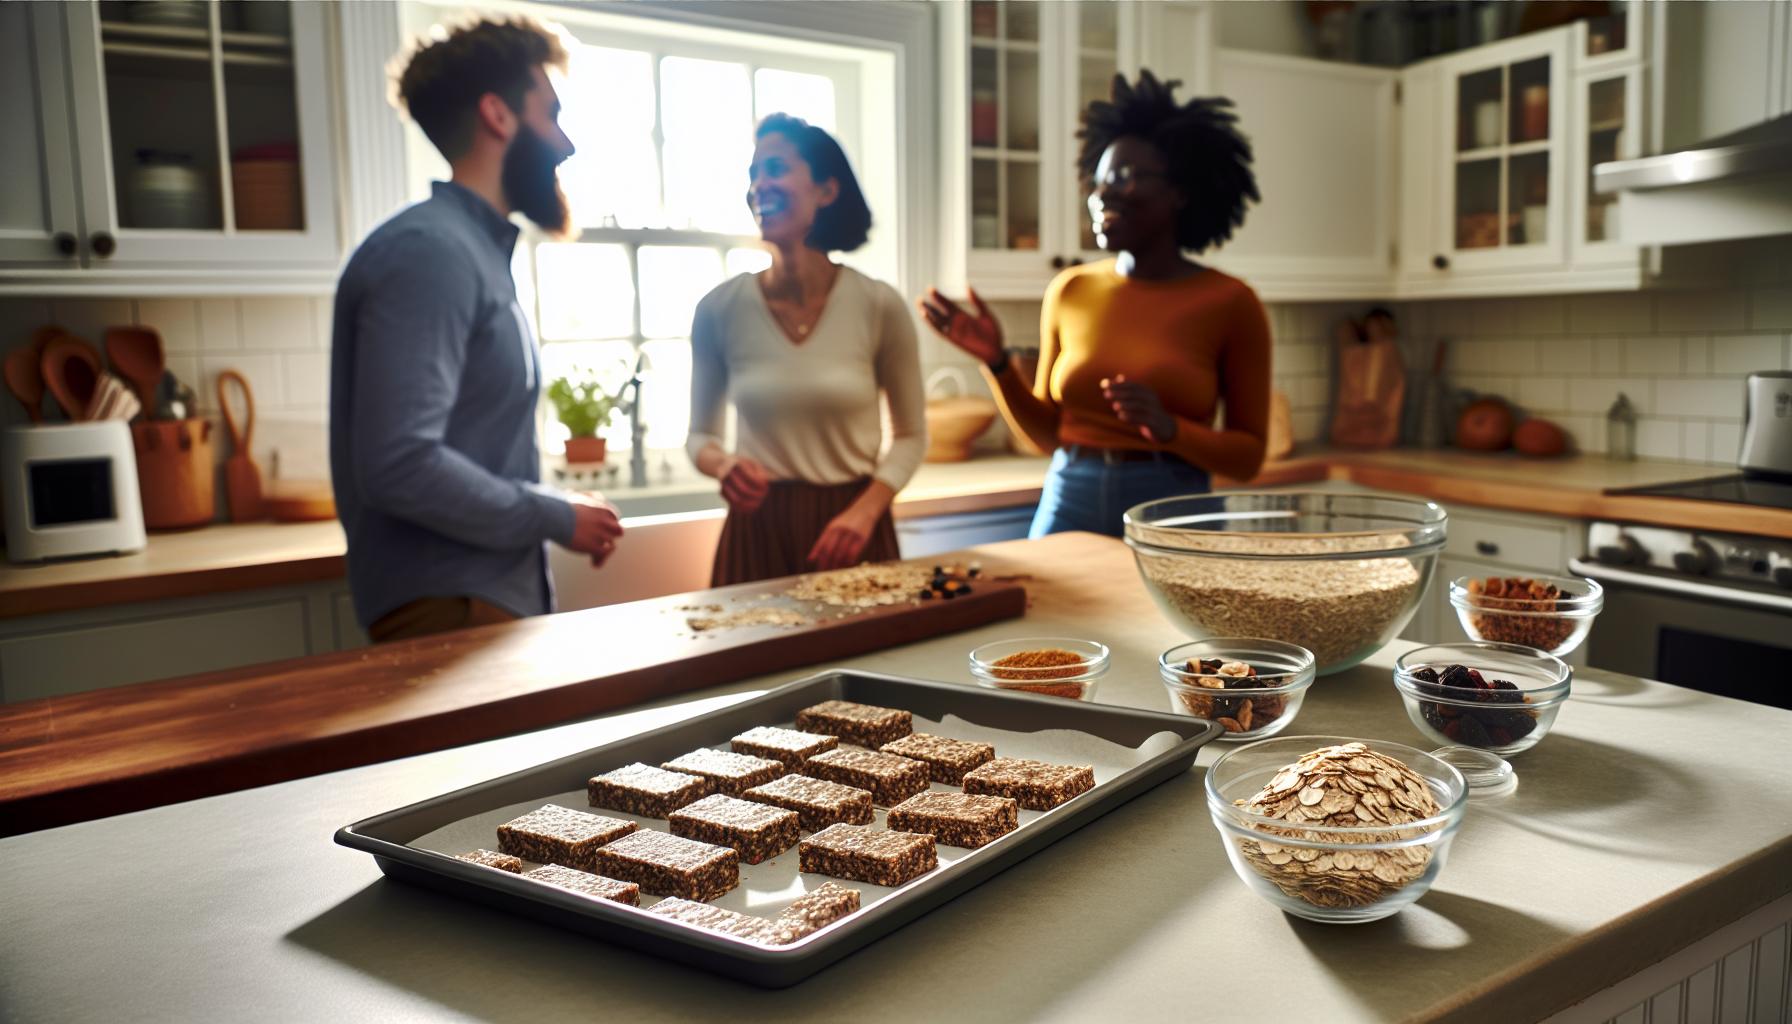
Why Choose No-Bake Protein Squares?
No-bake protein squares are the perfect solution for those busy days when you crave something sweet that’s both delicious and nutritious! Not only are they quick to prepare, but they also eliminate the hassle of baking-no oven, no waiting, and minimal cleanup. With a base of peanut butter, these squares provide a protein punch that helps keep you feeling full and satisfied. In just about 15 minutes, you can whip up a batch that’s perfect for snacking at home or on the go.
Making no-bake protein squares is incredibly straightforward, requiring only a handful of simple ingredients that you probably already have in your kitchen. Think of pantry staples like oats, nut butter, honey, and maybe a touch of chocolate. These ingredients not only blend together beautifully but also create a wholesome treat that you can customize to your taste. Plus, they are a fantastic way to introduce kids to the joys of cooking. Involving them in the kitchen, whether they’re mixing or pressing the mixture into the pan, turns it into a fun family activity.
What truly sets these squares apart is the versatility they offer. Feeling adventurous? Add in some protein powder for an extra boost or swap out the peanut butter for almond or cashew butter for a different flavor profile. You can even throw in some dried fruits, seeds, or spices to enhance both taste and nutrition. The flexibility allows you to experiment with different combinations, making each batch uniquely yours while catering to your specific dietary needs or cravings. Each delicious square becomes a canvas for creativity, inviting you to explore the countless combinations you can dream up.
Ultimately, the choice of no-bake protein squares is about embracing simplicity without sacrificing taste or nutrition. They’re a fantastic answer to the question of how to treat yourself while still staying health-conscious. So gather your ingredients, unleash your creativity, and enjoy a delightful homemade snack that everyone will love!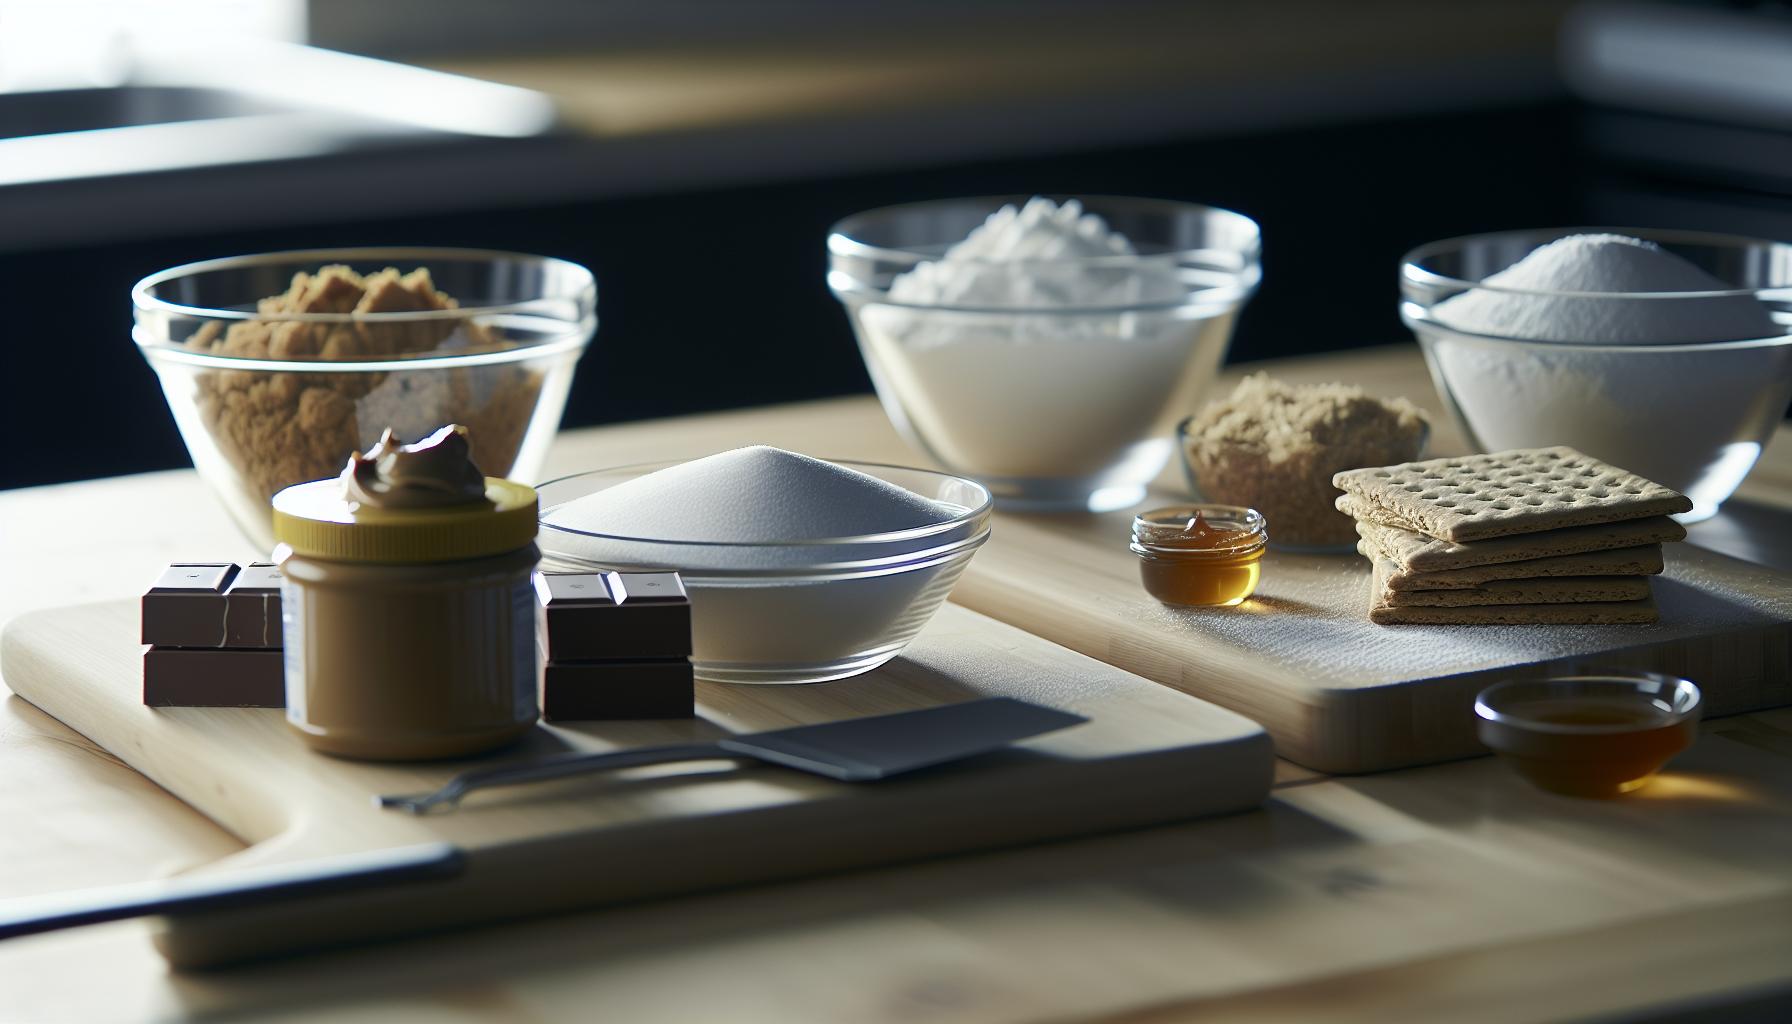
Essential Ingredients for Peanut Butter Squares
To whip up a batch of these delightful no-bake peanut butter squares, you only need a handful of essential ingredients that are likely already in your pantry. This simplicity is part of what makes these treats so approachable and fun to make. Each ingredient plays a crucial role in achieving that luscious, satisfying taste and texture that you expect from a treat that combines peanut butter and chocolate.
Start with peanut butter, the star of the show. Opt for a natural variety without added sugar or oils for the best flavor and health benefits. Creamy peanut butter will give you that luxurious texture, but if you prefer a crunch, don’t hesitate to use chunky peanut butter instead! Next, you’ll need oats-they serve as the base that gives structure to your squares while adding a nutty flavor. Quick oats work best, as they combine smoothly with the other ingredients without needing any cooking.
To bind these squares together, honey or maple syrup is essential. They not only add sweetness but also provide that delicious sticky texture that keeps everything united. If you’re looking for a vegan option, maple syrup is your best bet. For a hint of indulgence, add a touch of chocolate in the form of cocoa powder or chocolate chips. This ingredient elevates your squares into rich, chocolatey bliss.
Lastly, consider throwing in a scoop of protein powder if you want to amp up the nutritional value. This is especially useful if you’re enjoying these squares as a post-workout snack. With just these few ingredients, plus a sprinkle of creativity-think mix-ins like seeds, dried fruits, or spices-you’re well on your way to creating a delicious treat that’s both satisfying and nourishing. The beauty of these squares lies in their versatility, allowing you to adjust and modify based on what you have at home and your personal preferences. So gather your ingredients, and let’s get started!
Step-by-Step Instructions for No-Bake Delights
Starting with making no-bake peanut butter squares is not just about combining ingredients; it’s about enjoying the process and indulging in the delightful results. These squares are quick to whip up and perfect for any time you need a little pick-me-up. Let’s dive into the steps that will guide you through creating these satisfying treats.
First, gather your core ingredients: peanut butter, oats, sweetener (like honey or maple syrup), and chocolate (either chips or cocoa powder). You might also want to include protein powder for an extra nutritional boost. Ensure your peanut butter is smooth and creamy to guarantee a wonderful texture. Mix these in a large bowl. The consistency should be thick and sticky, making it easier to press into your pan.
Next, line an 8×8-inch baking dish with parchment paper to make removing your squares a breeze. Pour the mixture into the dish and use a spatula to evenly spread it out. Make sure to press down firmly; a compact layer will hold together better once chilled. After smoothing the top, create an optional layer of chocolate by sprinkling chocolate chips on top and gently melting them in the microwave, stirring until smooth, then spreading over the base.
Now comes the easy part-letting it chill! Cover the dish with plastic wrap or a lid and place it in the refrigerator for at least 1-2 hours. This allows everything to set properly, making it easier to cut into squares. Once set, lift the entire block out using the edges of the parchment paper. Cut into squares, bars, or any shape you desire.
These no-bake peanut butter squares are not only simple to prepare but also incredibly versatile. Feel free to experiment with different add-ins like shredded coconut, dried fruits, or various nuts. Your kitchen is your playground! Enjoy your delicious creations and remember, no two batches have to be the same. Happy cooking!
Customize Your Squares: Flavor Variations to Try
There’s something magical about customizing your no-bake peanut butter squares. Not only can you create a flavor profile that suits your taste, but experimenting with different ingredients allows you to reflect your unique style in the kitchen. It’s as simple as swapping out or adding a few components to the basic recipe, and you’ll be amazed at how versatile these treats can be.
Flavor Enhancements
Consider adding a teaspoon of vanilla extract for a warm, inviting flavor. Or, if you’re a fan of chocolate, mix in cocoa powder or use chocolate-flavored protein powder. Want to give your squares a fruity twist? Diced dried apricots, raisins, or cranberries can add chewy sweetness and a burst of flavor.
Crunchy Add-Ins
For added texture, think about incorporating nuts or seeds. Chopped walnuts, almonds, or even sunflower seeds can provide a delightful crunch. If you enjoy a bit of spice, a sprinkle of cinnamon or a pinch of sea salt can elevate your squares to a new level of deliciousness.
Switching Up the Sweetness
You can also tailor the sweetener to your liking. While honey and maple syrup are popular choices, try agave syrup for a more subtle sweetness, or even a sugar-free substitute like stevia, especially if you’re watching your sugar intake. For a fun twist, mix in peanut butter-flavored chips or butterscotch chips to introduce new layers of sweetness.
You see, the possibilities are endless! Each time you make these squares, you can reinvent them completely. Encourage yourself to play around with different combinations and discover what you love most! So grab your ingredients and let your creativity shine-after all, cooking is all about joy and experimentation!
Nutrition Benefits of Peanut Butter Protein Bars
Peanut butter protein bars are more than just a delicious snack; they’re also packed with nutritional benefits that can help fuel your day and support your health goals. Each bite is a delightful blend of flavor and functionality, making them a go-to choice for anyone looking to maintain a balanced diet without sacrificing taste.
These bars are an excellent source of plant-based protein, primarily due to the peanut butter and any added protein powder you choose to include. Protein is essential for muscle repair and growth, making these squares an ideal post-workout treat. With the right ingredients, you can easily customize the protein content to match your needs, whether you’re an athlete or just looking to add more of this nutrient to your diet.
In addition to protein, the healthy fats found in peanut butter are incredibly beneficial. They provide energy and help promote satiety, reducing the likelihood of overeating later. Peanuts are also rich in antioxidants and vitamins such as Vitamin E, which supports skin health and immunity.
Another aspect to consider is the fiber content. Adding ingredients like oats, nuts, or seeds not only enhances the texture but also contributes to the fiber content of your bars. Fiber is known for its digestive benefits and can help keep you feeling full longer, which is particularly helpful if you’re managing hunger between meals.
Choosing to make your own peanut butter protein bars means you control what goes in them-no preservatives or artificial ingredients, just wholesome goodness. This DIY approach allows you to experiment with various mix-ins and flavors, ensuring that every batch is not only nutritious but tailored to your taste preferences. So go ahead and indulge in a square (or two) of homemade goodness, knowing you’re nourishing your body in a delicious way!
Perfect Storage Tips for Freshness and Flavor
To keep your no-bake peanut butter squares fresh and flavorful, proper storage is key. After preparing your delightful treats, allow them to cool completely before slicing. This helps achieve the right texture and makes them easier to handle. Once cooled, here are some savvy storage tips to consider:
- Refrigerate for Freshness: Place the squares in an airtight container and store them in the refrigerator. This not only keeps them fresher for longer but also enhances their chewy texture. Peanut butter squares can generally last up to two weeks in the fridge.
- Freeze for Extended Storage: If you’ve made a large batch or want to save some for later, freezing is a great option. Cut the squares into individual portions, wrap each piece in parchment paper, and then store them in a freezer-safe container or bag. They can last for about three months in the freezer. Just grab a square whenever you need a quick snack!
- Room Temperature Storage: If you plan to consume your squares within a few days, feel free to keep them at room temperature. Store them in an airtight container in a cool, dry place, away from direct sunlight.
For an extra tip, consider adding a piece of parchment paper between layers of squares in your container. This prevents them from sticking together and helps maintain their shape. Whenever you feel a craving coming on, just reach for your properly stored squares, and enjoy the perfect balance of texture and taste every time! Making the most of your homemade snacks has never been so simple.
Creative Serving Suggestions for Any Occasion
Whether you’re hosting a gathering or just needing a quick treat for yourself, peanut butter squares are incredibly versatile and perfect for any occasion. Their no-bake nature means you can whip them up in no time, allowing for spontaneous snacks or planned events without a hitch.
One delightful way to serve these protein-packed squares is as a dessert component in a larger spread. Try cutting the squares into fun shapes using cookie cutters-think hearts for Valentine’s Day or stars for a summer barbecue. Arrange them on a platter with fresh fruit, nuts, and a drizzle of honey to create an eye-catching display that encourages guests to indulge guilt-free.
For a movie night or casual hangout, transform these peanut butter squares into a decadent treat by topping them with melted dark chocolate and sprinkling sea salt for a sweet and salty combo. Serve them alongside popcorn and your favorite beverage for a cozy vibe. You could even create a DIY “snack bar” where guests can mix and match their squares with toppings like shredded coconut, chopped nuts, or yogurt for a fun, interactive experience.
Lastly, consider packaging these treats as thoughtful gifts. Cut them into small squares, place them in decorative bags, and tie them with a ribbon. Including a handwritten note or labeling them with their flavor variations adds a personal touch that’s sure to be appreciated. Whether it’s for friends, family, or colleagues, these peanut butter squares make delightful and nutritious gifts that convey your care and creativity!
Common Mistakes to Avoid When Making Squares
Creating delightful no-bake peanut butter squares can be a breeze, but there are a few common pitfalls that can turn your treat into a disaster. Here are some essential tips to keep your squares perfectly delicious and avoid the usual missteps.
First, pay close attention to the measurements. When it comes to no-bake recipes like these, precision is key. Too much peanut butter can make your mixture too sticky to spread, while too little may result in dry squares. Always measure your ingredients carefully. A handy tip is to pack your measuring cup with ingredients like peanut butter or sugar, leveling it off for the perfect amount.
Another common mistake is not allowing enough time for your squares to chill and set. After mixing your ingredients, transferring the mixture to your dish and pressing it firmly is vital, but don’t rush the chilling process. Give your squares at least two hours in the fridge (or longer if possible) to firm up properly. Cutting them too soon not only affects the slicing but can leave you with a gooey mess.
Additionally, experimenting with variations is fantastic, but be cautious with substitutions. If you decide to use honey instead of powdered sugar for sweetness, for example, remember that it will alter the consistency of your mixture. It’s best to stick with tried-and-true ingredients unless you’re ready for a little trial and error. Balance is essential; be mindful of how different flavors, like adding cocoa powder or additional sweeteners, can impact the texture and taste.
Finally, don’t underestimate the importance of storage. Improper storage can lead to your peanut butter squares becoming stale or losing their delightful texture. Make sure to keep them in an airtight container in the fridge, which will keep them fresh and tasty longer. If you’re prepping ahead of time, consider wrapping them individually for easy grab-and-go snacks. These simple but crucial tips will help you master the art of making no-bake peanut butter squares that are always a hit!
How to Incorporate These Squares into Your Diet
Incorporating no-bake peanut butter squares into your diet is a delightful way to enjoy a nutritious snack that satisfies your sweet tooth while providing energy and protein. These squares can be a versatile addition to your meal plan, making it easy to snack smartly throughout your day. Here’s how you can seamlessly fit these treats into your routine.
Start your day off right by adding a square to your breakfast. Pair a peanut butter square with a piece of fruit or a serving of Greek yogurt for a balanced start. The protein from the squares will help keep you feeling full and satisfied as you head into your busy morning. If you’re on the go, these squares also make a great grab-and-go option that you can toss in your bag for a quick breakfast.
For an energizing afternoon boost, consider using these squares as a pre- or post-workout snack. Packed with protein and healthy fats, they’re perfect for fueling your body before a gym session or aiding recovery afterward. Keep a few in your gym bag or at your workspace so that you always have a healthy option on hand.
Another fantastic way to incorporate these squares into your diet is by using them as a dessert alternative. Instead of traditional cookies or cakes, enjoy a peanut butter square when you crave something sweet. They are just sweet enough to satisfy without the refined sugars and heavy ingredients often found in baked goods. Try serving them alongside a warm cup of tea or coffee for a cozy treat in the evening.
Lastly, if you find yourself hosting a gathering, these squares make an excellent addition to any snack table. Cut them into bite-sized pieces and serve them as part of a healthy dessert platter alongside fruits, nuts, and cheese. Not only do they appeal to those looking for healthier snacks, but they also introduce a homemade touch to your entertaining.
By infusing these no-bake peanut butter squares into various aspects of your diet, you transform them from just a recipe into a staple that supports your healthy lifestyle. Whether it’s breakfast, a post-workout snack, or a dessert alternative, these squares create deliciously simple opportunities to indulge while fueling your body.
Inspiring Stories: Readers Share Their Experiences
Many home cooks find inspiration in the kitchen while sharing their experiences, especially when it comes to delicious, no-bake creations like peanut butter protein squares. One reader, Sarah, shared that she began making these squares as a way to provide her kids with a healthy after-school snack. “I was tired of the junk food they demanded, so I experimented with different recipes. This peanut butter square recipe was a hit! They love the taste, and I love knowing they’re getting protein without the added sugar.”
Another reader, Mark, who’s a fitness enthusiast, highlighted how these squares have transformed his post-workout routine. “I used to reach for high-sugar protein bars after training, but these no-bake squares are so much better! They’re quick to whip up and save me time and money. Plus, they hold me over until dinner without that heavy feeling some bars give me.” Mark also noted that by adding a scoop of protein powder to the mix, he tailor-made the squares to meet his dietary needs perfectly.
Even those who aren’t seasoned chefs appreciate the simplicity of this recipe. Emily, a college student, said, “I love how easy these peanut butter squares are to make in my tiny apartment kitchen! I don’t own much equipment, but all I need is a bowl and a spoon. They’re a great study snack too!” This sentiment resonates with many who find that this no-bake option fits seamlessly into busy lifestyles while still being a fun and rewarding way to get creative in the kitchen.
These stories illustrate how nutty and nutritious peanut butter squares can inspire creativity, kick-start healthy eating, and fit into various lifestyles. They remind us that cooking should be fun and accessible, allowing everyone to enjoy homemade treats without the fuss.
Frequently Asked Questions About Peanut Butter Squares
Peanut butter squares are a delightful no-bake treat that appeals to both kids and adults alike. If you’re curious about making these tasty snacks, here are some answers to common questions that will help you get started and ensure your squares turn out perfectly.
How long do peanut butter squares need to chill?
Generally, your peanut butter squares should chill in the fridge for at least 2 to 4 hours. This allows them to firm up nicely, making them easier to cut into squares. If you’re in a hurry, you can also place them in the freezer for about 30 minutes. Just be sure to keep an eye on them to avoid freezing solid.
Can I customize the ingredients?
Absolutely! Peanut butter squares are incredibly versatile. If you prefer a different nut butter, like almond or cashew, feel free to swap it in. You can also add extras such as seeds, dried fruits, or even chocolate chips to create your own unique flavor profile. If you’re aiming to make them healthier, consider using maple syrup or honey as a sweetener instead of sugar.
What’s the best way to store leftover squares?
To keep your peanut butter squares fresh, store them in an airtight container in the refrigerator. They can last up to one week. For longer storage, you can freeze them. Just make sure to wrap each square in plastic wrap or place parchment paper between them to prevent sticking. This way, you’ll have a quick and easy snack ready whenever you need it!
Can kids help with making peanut butter squares?
Definitely! This no-bake recipe is perfect for little chefs. Kids can help measure ingredients, mix them together, and even press the mixture into the pan. It’s a fun activity that teaches them kitchen skills while making a delicious treat they can enjoy afterward.
By embracing these tips and tricks, you’ll be well on your way to mastering the art of making peanut butter squares that are not only scrumptious but also fun to prepare! Enjoy getting creative and sharing these delicious treats with friends and family.
Frequently Asked Questions
Q: What are the benefits of no-bake peanut butter protein squares?
A: No-bake peanut butter protein squares are quick and easy to prepare, requiring no oven, which saves time. They are also packed with protein and healthy fats, making them a nutritious snack option. Additionally, they can be customized with various add-ins to suit your taste preferences.
Q: How long do no-bake peanut butter squares last in storage?
A: No-bake peanut butter squares can last up to one week when stored in an airtight container in the refrigerator. For longer shelf life, freeze them for up to three months. Always defrost properly before enjoying to maintain texture.
Q: Can I substitute ingredients in no-bake peanut butter protein squares?
A: Yes, you can substitute ingredients in no-bake peanut butter protein squares. For instance, replace peanut butter with almond or cashew butter, and oats with other grains or protein powder for different flavors and textures. Experimenting can lead to exciting new combinations!
Q: What can I add to my no-bake peanut butter squares for extra flavor or nutrition?
A: To amp up flavor and nutrition in your no-bake peanut butter squares, consider adding chocolate chips, chopped nuts, dried fruits, or seeds. You can also incorporate spices like cinnamon or vanilla extract to enhance the taste.
Q: Are no-bake peanut butter protein squares suitable for a vegan diet?
A: Yes, you can make no-bake peanut butter protein squares suitable for a vegan diet by using vegan protein powder and ensuring that any chocolate chips or sweeteners are plant-based. They are naturally dairy-free since they rely on nut butters.
Q: What role do oats play in no-bake peanut butter squares?
A: Oats in no-bake peanut butter squares provide essential fiber, aiding digestion while adding bulk to the recipe. They also help to bind the ingredients together, creating a satisfying texture that holds up without baking.
Q: How do I make my no-bake peanut butter squares firmer?
A: To make no-bake peanut butter squares firmer, increase the amount of oats or protein powder in the recipe. Chilling them longer in the refrigerator can also help achieve a firmer texture, making them easier to cut and serve.
Q: What are some creative serving suggestions for no-bake peanut butter protein squares?
A: Serve no-bake peanut butter protein squares topped with drizzle of melted chocolate, a sprinkle of coconut flakes, or alongside fresh fruit. They make for a great snack or dessert at parties, or even as a post-workout treat after exercise!
In Summary
Now that you’ve mastered the Peanut Butter Fingers Recipe, why not take a moment to explore even more delicious treats? These no-bake protein-packed squares not only satisfy your sweet cravings but also fuel your day with wholesome ingredients. With just a few simple steps, you can whip up a snack that’s perfect for busy mornings or afternoon pick-me-ups. Don’t hesitate-pop into your kitchen today and create these nutritious delights!
For more inspiring ideas, check out our other recipes like the Creamy Homemade Peanut Butter or our easy Almond Energy Bites. Have questions or tips to share? We’d love to hear from you in the comments! Remember to sign up for our newsletter for a steady stream of easy, delicious recipes aimed at making home cooking enjoyable for everyone. Your next culinary adventure awaits-let’s keep cooking and creating together!
Get our latest guides, news, and insights highlighted in your Google Search & AI Overviews.










