

Did you know that making your own wine at home can be a fulfilling and enjoyable experience? If you’ve ever enjoyed a glass of sweet, fruity mulberry wine, why not try creating your own batch? This delightful beverage not only showcases the rich, berry flavors of mulberries but also conveys a sense of accomplishment and creativity.
In this guide, you’ll learn that winemaking is not reserved for experts; it’s a fun and approachable project for cooks of all skill levels. With just a few simple ingredients and some patience, you can transform fresh mulberries into a tasty wine that could impress friends and family at your next gathering. Whether you’re looking to explore a new hobby, savor the fruits of your labor, or simply enjoy a unique homemade drink, making mulberry wine is an exciting journey worth embarking on. So, let’s dive in and discover how to bring the sweet, luscious taste of mulberries into a glass right from your kitchen!
Choosing the Best Mulberries for Wine Making
When it comes to crafting delightful mulberry wine, selecting the right mulberries is crucial to achieving a vibrant and flavorful final product. The berries should be ripe, bursting with sweetness, and free from blemishes. It’s best to harvest them at their peak, typically in late summer when they are plump and deeply colored. Ripe mulberries will feel soft to the touch and have a rich, fragrant scent, indicating their readiness for winemaking.
One key factor in choosing mulberries is their variety. While there are several species, the black mulberry (Morus nigra) and red mulberry (Morus rubra) are particularly well-suited for winemaking due to their higher sugar content and rich flavors. White mulberries (Morus alba) are also edible and can be used, but they may result in a lighter and less intense wine. The color of the berries can also influence the wine’s richness; darker berries tend to produce a more complex flavor profile.
When you’re ready to gather your mulberries, consider the following tips:
- Location: Pick from areas away from potential contaminants like traffic or industrial zones. Organic mulberries are ideal as they are less likely to contain pesticides.
- Timing: Collect berries on a dry day. Wet berries can lead to unwanted fermentation before you even start the winemaking process.
- Freshness: Use the berries within a day or two of harvesting for the best flavor. If you can’t use them immediately, freeze them until you’re ready.
With mulberries in hand, you’re on your way to creating a unique and satisfying wine that showcases the sweet, tart nature of this wonderful fruit. Whether you’re a novice or a seasoned home winemaker, selecting the best mulberries will set the foundation for a truly delightful homemade experience.
Essential Equipment for Home Winemaking
To embark on your mulberry winemaking adventure, having the right tools and equipment makes a world of difference. While you don’t need to invest in high-end wine-making gear to create delicious mulberry wine, there are a few essential items that will help streamline the process and ensure your success. The good news is, many of these tools can be found around your kitchen or are easily accessible at your local store.
Start with a fermentation vessel-this is where the magic happens! A food-grade plastic fermentation bucket or a glass carboy will do the trick. Ensure that it has an airtight seal to keep your wine safe from unwanted contaminants. Don’t forget a fermentation lock; this simple gadget allows gases to escape while preventing air from entering, which is vital for healthy fermentation.
You’ll also need a way to squeeze the juice from your mulberries. A simple potato masher or a fruit press works beautifully here. For larger quantities, consider investing in a small fruit press that can handle the workload efficiently. Once you’ve extracted the juice, it’s time to measure your ingredients, so gather up some measuring cups, spoons, and a food scale for accuracy in your recipes.
Next, consider having a hydrometer to measure the sugar content of your must (the juice mixed with sugars and yeast), which helps you ascertain the potential alcohol content of your wine. This handy tool allows you to track the fermentation process and adjust sugar levels as needed. Lastly, don’t overlook bottles and corks-clean, dry bottles with corks or screw caps are essential for storing your finished product.
In addition to these essentials, let’s not forget about cleaning supplies. Proper sanitation is crucial in winemaking. Stock up on a reliable sanitizer that’s safe for food contact; this will help keep your equipment and workspace free from harmful bacteria.
By arming yourself with these tools, you’ll find the process of making mulberry wine not only manageable but also incredibly rewarding. Let your creative juices flow and enjoy the journey of crafting your unique blend!
Step-by-Step Guide to Making Mulberry Wine
To create mulberry wine at home, you’ll enjoy a process that feels like a delightful kitchen experiment rather than an overwhelming task. Mulberry wine is not only uniquely flavored but also a wonderful way to use freshly harvested mulberries, celebrating the sweet essence of these berries with every sip. With approachable ingredients and minimal equipment, you’ll be well on your way to crafting a tasty homemade wine that impresses friends and family alike.
Start by gathering fresh mulberries-about 2 pounds will be perfect for a small batch. If you can source them from a local market or your backyard, great! Rinse the mulberries gently in cool water to remove any dirt and bugs. Once clean, place them in your fermentation vessel. Use a potato masher or a similar kitchen tool to crush the berries gently-this releases the juices while keeping some pulp for flavor.
Next, it’s time to add sugar and water to your crushed mulberries. For a balanced flavor, combine about 3 cups of sugar with 1 gallon of water. Heat the water slightly to dissolve the sugar completely (don’t let it boil!), then pour this syrup over the crushed berries. Stir the mixture well, ensuring everything is combined evenly. Add a packet of wine yeast to kick off fermentation; this does wonders in transforming your fruit mix into wine. If you’re feeling adventurous, try using wild yeast from your environment-but be aware that it’s a bit of a gamble!
Cover your fermentation vessel with a clean cloth secured with a rubber band or string, allowing it to breathe while keeping unwanted contaminants out. Over the next few days, stir the mixture daily, which helps release gases and enhances fermentation. After about a week, when the bubbling starts to slow down, it’s time to strain the liquid from the pulp using a fine mesh strainer or cheesecloth, transferring the liquid into a clean fermentation vessel.
For primary fermentation, attach your fermentation lock and let the wine sit in a dark, cool place for about 4 to 6 weeks. During this time, you’ll notice sediment forming at the bottom. Once fermentation appears complete-check if bubbles stop forming and the liquid tastes slightly sweet-you can siphon the clear liquid off the sediment into clean bottles, sealing them with corks or caps.
Once bottled, you might be tempted to taste your creation immediately, but patience is key! Allow your mulberry wine to age for at least 3 months for the flavors to mellow and develop. And when you’re ready to enjoy, consider serving it chilled or incorporating it into food pairings like cheeses, grilled meats, or desserts.
By following these simple steps, you’ll find the journey of making mulberry wine not just rewarding but also a joyful, shared experience that adds a splash of creativity to your home kitchen. So grab your mulberries, and start experimenting! 🍇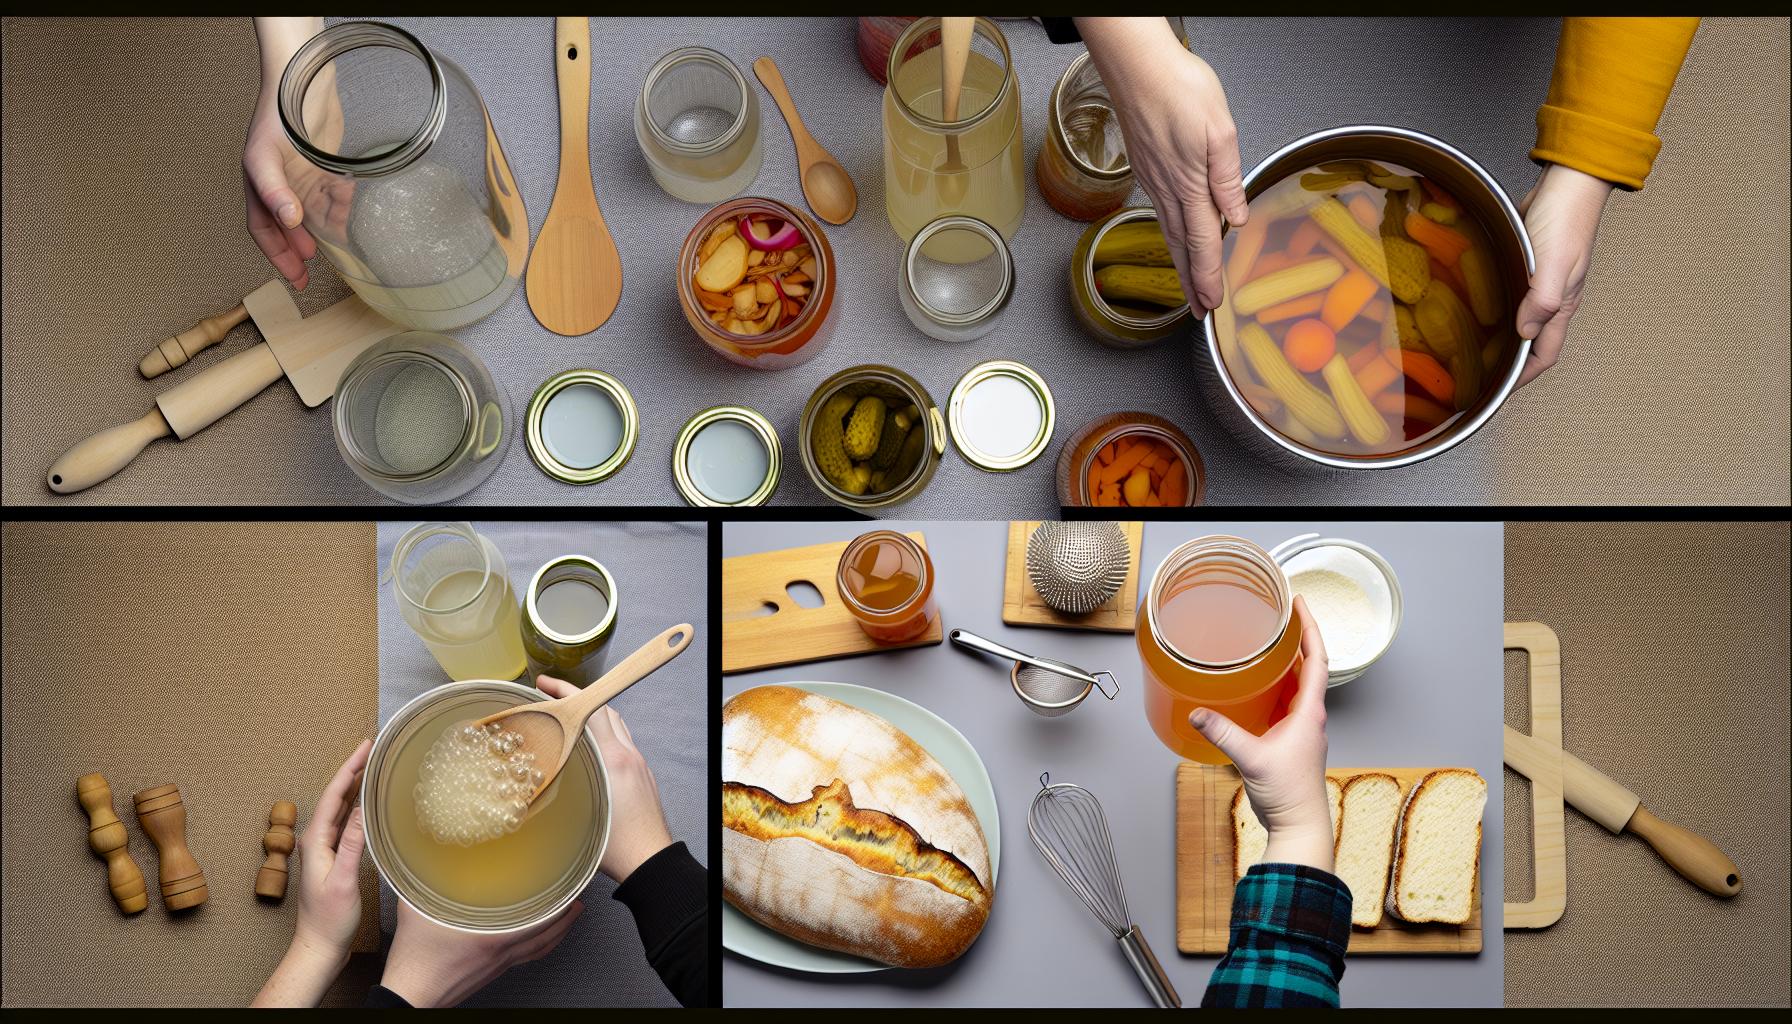
Secrets to Achieving the Perfect Fermentation
Creating the perfect fermentation for your mulberry wine is like coaxing a shy friend out of their shell; it requires patience, care, and the right environment. Fermentation is the magical transformation where sugars convert into alcohol, producing flavors that can only be described as a sweet symphony of nature. The journey begins once you’ve crushed your mulberries and added sugar and water, but there are a few secrets to ensuring this process goes off without a hitch.
To kick off a successful fermentation, temperature control is crucial. Yeast thrives in a warm, but not hot, environment-ideally between 70°F to 75°F (21°C to 24°C). Too cold, and your yeast might go dormant; too hot, and you risk killing it off entirely. If your kitchen tends to be chilly, consider using a heating pad under your fermentation vessel or placing it in a warmer room. A consistent temperature contributes to a steady fermentation process.
Another key factor is oxygen management. While yeast needs oxygen in the early stages to multiply, once fermentation kicks off, too much oxygen can lead to oxidation and spoilage. Cover your fermentation vessel with a clean cloth for the first few days, allowing it to breathe. Once you’ve added your fermentation lock, it’s essential to ensure it’s sealed properly, so no additional air gets in. Remember, your goal is to create a cozy, controlled environment for your little yeast friends to flourish.
Also, don’t overlook the importance of regular stirring within the first week. Gently agitating the mixture helps release gases and integrates the ingredients better, ensuring that the yeast can access sugars more efficiently. Aim to stir your fermenting wine once a day, observing any changes in volume and bubble activity.
Finally, patience is your best ally. While it’s tempting to check on your wine daily, resist the urge to disrupt it too often. Instead, let the fermentation work its magic undisturbed. Keep an eye on the bubbles; once they slow down significantly after about a week and sediment begins to settle, you’ll know you’re on the right path.
By nurturing your fermentation process with these tips, you’ll be well on your way to a bottle of mulberry wine that’s flavorful and enjoyable. Happy brewing!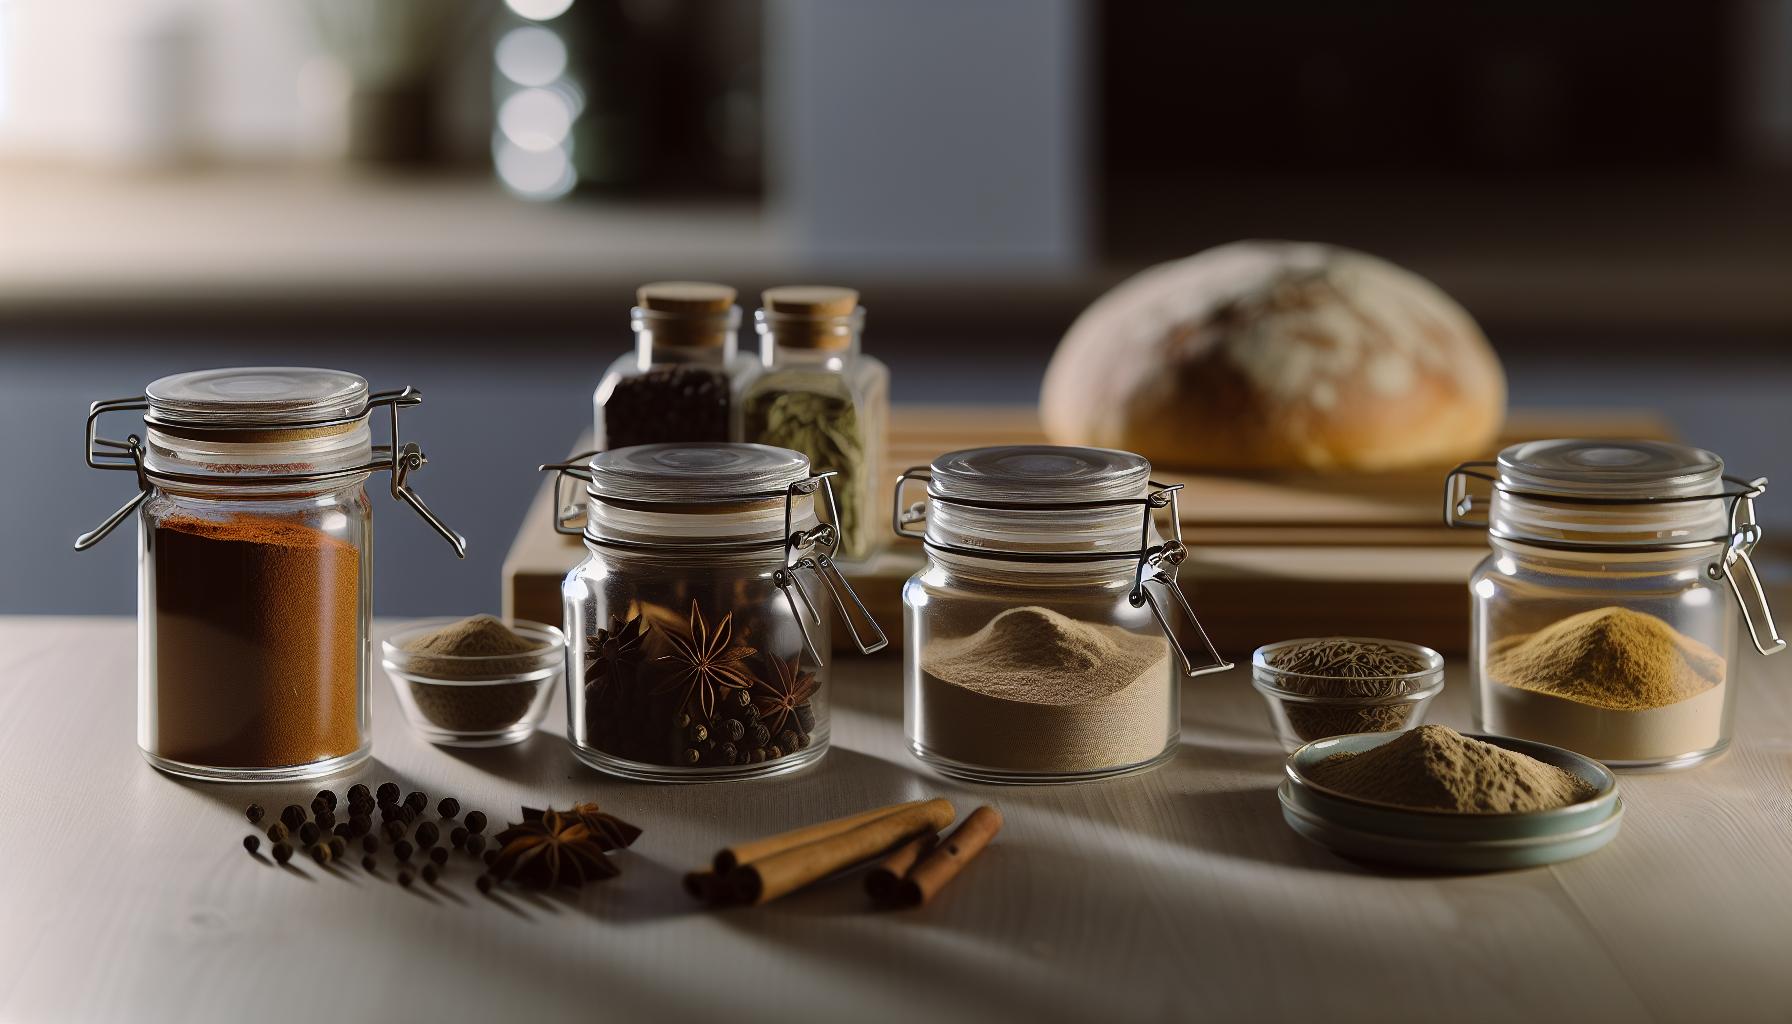
Flavor Enhancements: Adding Spices and Yeasts
When it comes to crafting a delicious mulberry wine, the addition of spices and the right yeast can elevate your creation to new heights. Think of this as a way to highlight the natural sweetness of mulberries while adding intriguing layers of flavor. Each ingredient you introduce can bring its own character, making your wine a distinctive reflection of your personal taste and creativity.
Start by exploring different yeasts. While many home winemakers opt for traditional wine yeasts, consider experimenting with wild yeasts or even brewing yeasts, like those used in beer production. Each yeast strain has unique qualities: some may enhance fruity notes, while others introduce a slight tartness or floral essence. If you’re unsure, a classic champagne or wine yeast is a great starting point, as it ferments well and allows the sweet mulberry flavor to shine through.
Adding spices can transform your wine into something truly special. Cinnamon, cloves, or even a hint of star anise can complement the berry’s natural flavor, creating a warming experience. When using spices, start small-just a pinch can make a significant impact. Allow your wine to taste and adjust as it ferments. Here’s a simple guideline for adding spices:
- Cinnamon: Start with a stick for subtle warmth.
- Cloves: Use 1-2 whole cloves, as they can easily overpower.
- Star Anise: One star can add a lovely anise flavor without being too bold.
Monitor the wine’s progress after adding any spices. As with yeast, patience is key. Let the wine ferment fully before tasting-flavors will meld and develop over time, often revealing new nuances you might not catch initially. Never hesitate to experiment with combinations or even citrus peels like orange or lemon, which can add a refreshing zest.
By combining the right yeast with aromatic spices, you’re not just making a drink; you’re creating an experience. Enjoy the process, and let your palate guide you to the perfect blend that reflects your personal style. Happy winemaking!
Common Mistakes to Avoid When Brewing
When creating your own mulberry wine, it’s easy to get caught up in the excitement and overlook some critical steps that can affect the outcome. Many home winemakers find that avoiding common pitfalls can save time and disappointment in the long run. One of the most frequent mistakes is skipping the sanitation process. It might feel tedious, but ensuring that all your equipment is impeccably clean is paramount to preventing unwanted bacteria and mold. A simple rinse isn’t enough; use a proper sanitizing solution to give your tools the best chance against contamination.
Another common error is misjudging the sugar content of your mulberries. Although they are naturally sweet, not all mulberries will have the same level of sugar. If you’re not careful, you might end up with a wine that’s either too dry or overly sweet. To avoid this, taste your berries and consider adjusting the sugar during fermentation based on their flavor profile. Using a hydrometer can help you measure the specific gravity and estimate the potential alcohol content, making your task more precise.
Temperature control also plays a vital role in the fermentation process. Many beginners neglect to monitor the fermentation temperature, leading to inconsistencies. Ideally, your primary fermentation should occur in a cool, dark place. Extreme temperatures can lead to off-flavors or stuck fermentation, so keep an eye on both the ambient temperature and the specific yeast’s ideal range. If you’re noticing that fermentation seems sluggish, you might want to gently warm the environment to encourage the yeast to wake up.
Lastly, patience is often underestimated. New winemakers sometimes rush the bottling process or taste too early, missing the chance to develop a deeper, more complex flavor. Fermentation and aging are where the magic happens, and mulberry wine often needs time to smooth out its flavors. Remember, the waiting game is part of the winemaking process-trust the journey. Take notes during each batch, noting any adjustments or outcomes. This practice not only improves your next attempt but also builds your confidence as you become more familiar with the art of winemaking. Enjoy experimenting, and savor the fruits of your labor!
Proper Bottling Techniques for Homemade Wine
When you reach the bottling stage, it’s like the grand finale of your mulberry winemaking journey! This is when all your hard work comes together, and you get to seal in those vibrant flavors and aromas. Proper bottling techniques are essential to ensure your mulberry wine remains as delightful as the moment you first pressed those berries. Here are some essential tips to make sure your bottling process goes smoothly.
First, sanitize everything. Just as you did with your fermentation equipment, you must ensure that your bottles, corks, and any other tools you’ll use are thoroughly sanitized. You can use a solution of one-step cleaner or a no-rinse sanitizer specifically designed for home brewing. Simply soak the bottles and equipment in the sanitizer, and let them air dry. This step is crucial to avoid introducing any unwanted bacteria that could spoil your wine.
Next, choose the right bottles. Glass bottles are the best choice for wine storage, with many winemakers preferring standard 750ml wine bottles. These are easy to find, both new and recycled. As you prepare to fill each bottle, make sure they are completely dry. If you’re using corks, go for high-quality corks that fit snugly to prevent oxidation. If you opt for screw caps, ensure they are clean and fit properly, providing an airtight seal.
When you start filling the bottles, it’s best to use a funnel or a siphoning device. This helps reduce spills and makes the process much easier. Fill each bottle to about an inch from the top, ensuring there’s enough headspace for expansion but leaving some room so the cork or cap can make a good seal. After filling, wipe the rim of the bottle to ensure no wine residue is left behind, which can interfere with the seal.
Finally, don’t forget to label your bottles. This is a fun part that helps you remember the details of each batch. Include the date, grape variety, and any special notes about your winemaking process (like if you added any unique spices or ingredients). Not only does this enhance your wine presentation, but it also helps you keep track of how your wine evolves over time.
By following these straightforward techniques, you can confidently bottle your mulberry wine, ready to be enjoyed at cozy gatherings or shared with friends. Embrace the whole experience-bottling is not just a task; it’s a celebration of your efforts and an exciting step toward tasting the sweet fruits of your labor!
Storing and Aging Your Mulberry Wine
When it comes to enjoying the fruits of your labor from homemade mulberry wine, understanding how to properly store and age it can greatly enhance the experience. Mulberry wine is known for its delightful berry flavors, and with a little patience and the right conditions, you’ll amplify those nuances even further.
To start, choose your storage environment wisely. Opt for a dark, cool place with a consistent temperature, typically between 55°F to 65°F (13°C to 18°C). Sudden temperature changes can lead to spoilage, so avoid areas near heaters, ovens, or direct sunlight. A dedicated wine fridge is a luxurious option, but a simple wine rack in a basement or closet works just as well.
Once your mulberry wine is bottled, it’s important to store it upright for a short time. This helps the cork to dry out and prevents any unwanted seepage. After a few days, switch to laying the bottles on their sides. This keeps the cork moist and swollen, ensuring a secure seal that prevents oxidation. Remember to periodically check the corks for any signs of mold or deterioration.
Aging Your Mulberry Wine
Aging can be a magical process for enhancing your mulberry wine’s complexity. While many fruit wines, including those made from mulberries, are best enjoyed young, giving them some time to mature can develop richer flavors. Consider aging your mulberry wine for at least six months to a year to allow the flavors to meld and soften. You might even note hints of caramel or spice in the profile if you experiment with oak aging, which can be done by adding oak chips during fermentation or by using oak barrels if available.
Aging, however, is not an exact science. Taste testing is your best guide. After several months, pour yourself a small glass and savor it. You’ll be the best judge of whether it’s time to enjoy or if it needs a little longer in the bottle. This part of the process is not just about waiting; it’s an opportunity to engage with your craft.
By following these straightforward tips for , you’ll elevate your homemade creation into a truly special experience. Whether you’re sipping it yourself or sharing it with friends, your carefully crafted wine will bring out the sweetness and richness of your mulberries, turning each glass into a celebration of your hard work!
Innovative Ways to Use Leftover Mulberries
After turning a bounty of juicy mulberries into a delightful wine, you may find yourself with some leftover fruit. Don’t let those sweet remnants go to waste; there are numerous innovative ways to incorporate them into your kitchen creations. With a little creativity, you can transform those leftovers into delicious dishes that continue the celebration of mulberry flavor.
One fantastic option is to make mulberry compote. Simply simmer your leftover berries in a saucepan with a splash of water, a bit of sugar to taste, and a squeeze of lemon juice for brightness. Cook until the berries break down and the mixture thickens slightly, about 15-20 minutes. This compote can be served warm over pancakes, yogurt, or ice cream, or even used as a glaze for meats like pork or chicken, adding a sweet-savory twist.
If you’re in the mood for something different, consider crafting mulberry syrup. The process is similar to making compote but with less cooking time to retain more of the fruit’s vibrant flavor. Combine your mulberries with equal parts water and sugar, bring to a boil, then simmer until you achieve a thick syrup consistency. This can be drizzled over waffles, stirred into cocktails, or mixed into sparkling water for a refreshing homemade soda.
You can also put those berries to use in baking. Add them into muffin or bread batter for a delightful burst of flavor. Try mixing them into standard recipes like banana bread or vanilla muffins; they complement well and add a unique twist. Alternatively, use them to create fruit-leather snacks. Puree the leftover berries, spread them into a thin layer on a baking sheet lined with parchment, and dry them in the oven at a low temperature, resulting in a chewy, flavorful treat that’s perfect for snacking.
Lastly, don’t overlook the potential of infusing spirits. Toss your leftover mulberries into a jar with vodka or gin, let it steep for a couple of weeks, and you’ve got a fruit-infused beverage perfect for cocktails. This not only makes use of the leftover fruit but also creates a unique ingredient to enjoy in your next refreshing drink.
By utilizing these innovative approaches, you can create several delicious dishes and drinks that celebrate the essence of mulberries long after the wine is bottled. Happy experimenting!
Pairing Mulberry Wine with Food: Tips and Tricks
When it comes to enjoying your homemade mulberry wine, knowing what to pair it with can elevate your dining experience to new heights. With its rich, sweet, and fruity notes, mulberry wine offers a delightful complement to a variety of foods, making it a versatile choice for different occasions. Whether you’re hosting a cozy dinner or a festive gathering, these tips will guide you in creating the perfect pairings that highlight the unique flavors of your mulberry creation.
Best Food Pairings
- Cheese Boards: Soft cheeses like goat cheese or brie work beautifully with mulberry wine. The creaminess balances the wine’s sweetness, while the tartness of the cheese cuts through the richness.
- Grilled Meats: Try mulberry wine alongside grilled chicken or pork. The wine can enhance the smoky flavors of the grill while providing a sweet contrast that can transform a simple meal into something special.
- Salads: A fresh salad topped with berries, nuts, and a light vinaigrette can be a refreshing pairing. The acidity of the dressing will complement the fruity sweetness of the wine, bringing harmony to the plate.
- Desserts: Mulberry wine can also shine when paired with desserts. Serve it with a fruit tart, cheesecake, or dark chocolate to create a delightful end to your meal that plays on the wine’s inherent fruity flavors.
Serving Temperature and Presentation
For the best experience, serve mulberry wine slightly chilled. This enhances its refreshing qualities and makes it even more enjoyable. Consider presenting your wine in elegant glasses, perhaps with a few fresh mulberries floating on top for a beautiful visual. This simple touch not only looks appealing but also reinforces the wine’s fruity essence. Pair it with the right dish, and you have a match made in culinary heaven that will impress your guests.
By embracing these pairing suggestions, you can fully appreciate the sweet, berry-forward nuances of your homemade mulberry wine. Whether enjoyed casually on a sunny afternoon or paired alongside a thoughtfully prepared meal, this delightful beverage promises to enhance any occasion. Cheers to your winemaking adventure!
Health Benefits of Mulberry and Its Wine
When you uncork a bottle of your homemade mulberry wine, you’re not just indulging in a delicious treat; you’re also tapping into a treasure trove of health benefits that these sweet berries offer. Mulberries are rich in vitamins, antioxidants, and dietary fiber, making them a fantastic addition to your diet-whether plucked fresh from the tree or enjoyed as a delightful fermented beverage.
One of the standout benefits of mulberries is their high antioxidant content, particularly anthocyanins, which give the berries their vibrant color. These antioxidants play a crucial role in protecting your body from oxidative stress and inflammation. This means that enjoying a glass of mulberry wine occasionally can help support your overall health by combating free radicals that can lead to chronic diseases. Plus, the resveratrol found in the wine can also promote heart health by improving blood flow and reducing the risk of cardiovascular issues.
In addition to their protective properties, mulberries are known to aid digestion. The dietary fiber in mulberries helps keep your digestive system running smoothly, which can be particularly beneficial whether you’re indulging in a hearty meal or sipping on sweet wine. The moderate alcohol content in mulberry wine can also enhance relaxation, making it a delightful way to unwind after a long day-all while potentially benefiting your gut health.
It’s worth noting that while moderation is key, enjoying mulberry wine as part of a balanced diet allows you to revel in its unique flavors and the medicinal benefits of mulberries. Whether you’re creating a cozy evening at home or celebrating special occasions, this berry-laden libation can be a joyous and health-conscious companion to your meals. Cheers to creating and enjoying your own mulberry wine, knowing you’re reaping the rewards of both pleasure and wellness with each sip!
Exploring Other Berry Wines for Creativity
Exploring the world of berry wines can be an exhilarating adventure for any home winemaker. While mulberry wine brings its own unique sweetness and character, other berries offer a diverse palette of flavors and aromas that can complement or enhance your winemaking experience. From crisp blueberries to tart blackberries, each berry brings something special to the table.
Imagine infusing your creations with the luscious flavor of ripe blackberries. Their rich, bold taste can produce a deeply colored wine that not only looks gorgeous but also tantalizes the palate with its complexity. To make blackberry wine, all you need is about 2-3 pounds of fresh blackberries, sugar, water, yeast, and a bit of patience. Simply crush the berries, combine them with sugar and water, and let nature do the rest through fermentation!
Another delightful option is raspberry wine, which is known for its bright acidity and vibrant red hue. This berry has a way of producing a refreshing, slightly tart wine that can be especially lovely in the summer months. Use about 4 pounds of fresh raspberries, and you’ll create a wine that bursts with fruitiness. Keep a close eye on your fermentation process, as raspberries can ferment quickly due to their high sugar content.
For a more exotic twist, consider experimenting with elderberries. These tiny, dark fruits can yield a beautifully rich wine-just be cautious, as elderberries need to be cooked before consumption due to their toxic raw state. Boiling the berries before fermentation not only makes them safe but also helps extract their deep flavors.
Incorporating other berries can also open up a world of creative blends. Why not try a mixed berry wine featuring a combination of strawberries, blueberries, and blackberries for something truly spectacular? The interplay of sweetness, tartness, and earthiness can create a well-rounded flavor profile that sets your homemade wine apart.
As you dive into the craft of berry winemaking, remember to keep it simple and fun. The process doesn’t require a lot of fancy equipment-just a fermenting vessel, some bottles, and perhaps a hydrometer if you’re feeling adventurous. Enjoy the journey, celebrate the creativity of mixing flavors, and don’t hesitate to adjust recipes to match your taste. With each batch, you’re not just making wine; you’re crafting delicious memories. Cheers to your homemade berry adventures!
FAQ
Q: What types of mulberries are best for winemaking?
A: The best mulberries for winemaking are ripe, dark-colored ones, such as black and red mulberries. These varieties produce a sweet and rich flavor, which is ideal for wine. Avoid under-ripe or spoiled berries to ensure the best outcome in your wine.
Q: How long does it take to make mulberry wine?
A: The entire process of making mulberry wine takes about 4 to 6 weeks, including fermentation and bottling. However, for optimal flavor, it’s recommended to age the wine for at least three to six months after bottling.
Q: Can I use frozen mulberries for wine making?
A: Yes, frozen mulberries can be used for winemaking. Thaw and mash them before fermentation to release their juices. Ensure they are of high quality before freezing for the best flavor in your wine.
Q: What is the ideal fermentation temperature for mulberry wine?
A: The ideal fermentation temperature for mulberry wine is between 65°F and 75°F (18°C to 24°C). Keeping the temperature consistent helps achieve a good fermentation process and balanced flavor.
Q: How can I enhance the flavor of my mulberry wine?
A: To enhance the flavor of mulberry wine, consider adding spices such as cinnamon or cloves, or experimenting with other fruits like cherries or raspberries. Adding additional yeasts can also contribute unique flavor profiles.
Q: How can I tell if my mulberry wine has gone bad?
A: Signs that your mulberry wine has gone bad include an off or sour smell, presence of mold, or unusual turbid appearance. If the wine tastes sharply acidic or vinegary, it may have spoiled.
Q: What equipment do I need to start making mulberry wine at home?
A: Essential equipment for making mulberry wine includes a fermentation vessel, airlock, bottles, a siphon for bottling, and basic measuring tools. You do not need professional equipment, as many standard kitchen items are sufficient.
Q: Can I mix mulberries with other fruits in wine?
A: Yes, blending mulberries with other fruits such as strawberries or blueberries can create unique flavor profiles in your wine. Just ensure to balance the sugars and acidity for a harmonious final product.
Final Thoughts
Congratulations on embarking on your journey to make mulberry wine at home! You’ve mastered the basics, and now it’s time to experiment with flavors and techniques that suit your taste. Don’t hesitate to share your creations in the comments below, or tag us on social media-we love seeing your homemade triumphs! For more tasty ventures, check out our guides on crafting no-bake treats and gourmet butter, or explore more fermentation tips that elevate your culinary skills.
Ready to dive in? Remember, every batch of mulberry wine is a chance to learn and adjust to your personal preference. Don’t let uncertainty hold you back; you have all the tools you need right in your kitchen! Sign up for our newsletter for exclusive recipes and tips to keep your winemaking journey fruitful. Start today, and let your creativity shine as you craft a sweet berry delight that friends and family will love! Cheers to your homemade wine adventure!
Get our latest guides, news, and insights highlighted in your Google Search & AI Overviews.










