

Did you know that turning leftover red wine into tangy red wine vinegar is not only easy but also a delicious way to reduce waste in your kitchen? In just a few simple steps, you can create a flavorful condiment that elevates your salad dressings, marinades, and sauces. The process is straightforward and doesn’t require fancy equipment-just some basic ingredients and a little patience. Whether you’re an experienced cook or a curious beginner, making your own red wine vinegar is a rewarding project that adds a personal touch to your culinary repertoire. Let’s dive into this quick and natural method to transform your wine into a staple ingredient that enhances your favorite dishes!
Understanding Red Wine Vinegar: What Is It?

Red wine vinegar is more than just a tangy condiment; it’s a delightful product of fermentation that adds depth and flavor to a variety of dishes. Created from red wine through a natural fermentation process, this vinegar retains the rich notes of the original wine while transforming into a slightly tart, yet flavorful ingredient that elevates dressings, marinades, and sauces. It’s a prime example of how something simple can be transformed into a culinary staple that’s both versatile and vibrant.
Making red wine vinegar at home is a rewarding endeavor that does not require extensive equipment or expertise. You’ll typically need just a few essential ingredients: quality red wine, water, and a vinegar mother-a colony of beneficial bacteria. The transformation process takes advantage of these bacteria, which convert the alcohol in the wine into acetic acid, the key component in vinegar. The result? A delightful acidic flavor that can enhance everything from homemade salad dressings to savory stews.
With a little patience and a few easy steps, you can create your own red wine vinegar that showcases your taste preferences and can even be customized with herbs or spices. Imagine having a bottle of homemade vinegar on hand, ready to brighten up your culinary creations. Beyond its use in cooking, homemade vinegar can even be a thoughtful gift. When you master this process, you not only reduce waste by repurposing leftover wine but also gain a delicious product that’s made with your own hands-a true kitchen triumph!
Essential Ingredients for Homemade Red Wine Vinegar
Crafting your own red wine vinegar at home is a surprisingly simple and rewarding project that brings a unique flavor to your cooking. To embark on this tangy adventure, you’ll need just a few essential ingredients that transform basic components into something scrumptious. Let’s break down what you’ll need.
First and foremost, the star ingredient is quality red wine. Avoid any cheap or overly sweet wines; opt for something you enjoy drinking, as the flavors will intensify during fermentation. You’ll also want to add water, usually in equal parts to the wine, which helps balance the acidity while facilitating the fermentation process. Lastly, a crucial component is the mother of vinegar, a gelatinous mass of acetic acid bacteria that kickstarts fermentation. If you don’t have a vinegar mother on hand, you can use ¼ cup of unpasteurized, unfiltered vinegar instead, which contains these helpful bacteria.
With the basics covered, you can experiment with the proportions slightly depending on your taste preference. Here’s a simple breakdown of the trio you need to get started:
- Red wine: 2 parts (ideally a bold, flavorful variety)
- Water: 1 part (to dilute the wine slightly)
- Vinegar mother: 1 part (helps jumpstart the fermentation)
Once these ingredients are gathered, you’re ready to start your DIY vinegar-making journey. The simplicity of these components makes it accessible for anyone, whether you’re a novice or a seasoned home cook. Embrace this hands-on kitchen project that not only champions creativity but also takes advantage of leftover wine. You’ll soon have a delicious homemade red wine vinegar that can elevate your dressing, marinades, and various culinary creations!
Selecting the Right Red Wine for Vinegar Making

Selecting the right red wine is crucial when crafting your own vinegar at home, as the quality of the wine directly impacts the final flavor of your concoction. While it may be tempting to use that half-empty bottle of red you’ve stashed away, the key is to choose a wine that you genuinely enjoy drinking. Look for robust varieties, as richer wines will lend depth and complexity to your vinegar. Full-bodied options such as Cabernet Sauvignon or a zesty Syrah are fantastic choices due to their strong flavors that hold up well during fermentation.
Another factor to consider is sweetness. You’ll want to avoid overly sweet wines, which can lead to a cloying vinegar that doesn’t have the crisp acidity needed for a balanced flavor. Dry reds typically provide a more pleasing result. If you’re unsure, a simple taste test can help; if you wouldn’t drink it straight, it’s best not to use it for vinegar. Remember, the wine’s flavor will concentrate as it ferments, so starting with a wine that’s already delicious will yield the best results.
When gathering your ingredients, think about flavors that excite you. Maybe you enjoy a wine with hints of cherry or pepper-these notes will shine through in your homemade vinegar. Plus, utilizing local wines can add a personal touch to your culinary creations. Don’t hesitate to experiment; perhaps mix a couple of different wines to see how the flavors meld together during the fermentation process. Whether you find a solo star or a harmonious blend, the right red wine can transform your vinegar-making project into a household staple that elevates your dishes.
The Quick and Natural Fermentation Process
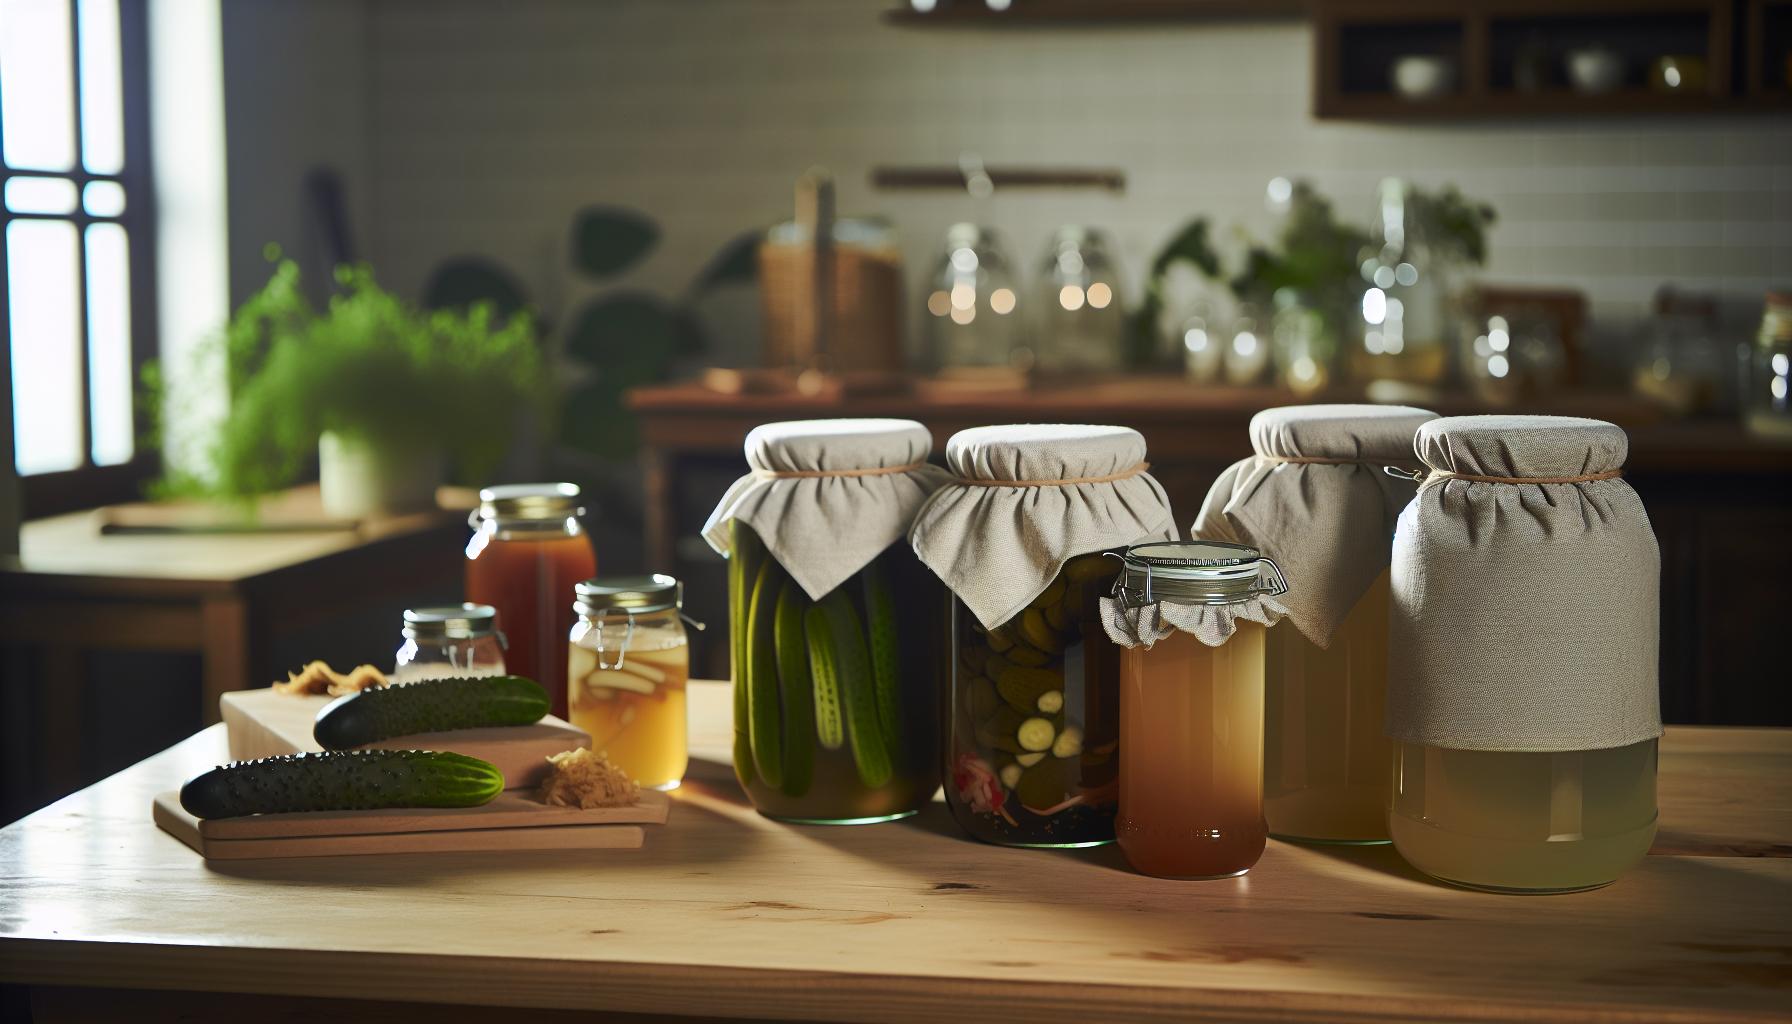
The magic of transforming wine into vinegar lies in a simple yet fascinating fermentation process. At its core, this natural metamorphosis requires just a few ingredients and some time. When you combine red wine with a splash of water and introduce a culture known as the “Mother of Vinegar,” you kickstart a delightful journey where Acetobacter bacteria feast on the alcohol, converting it into acetic acid-the key component that gives vinegar its characteristic tang. What’s truly remarkable is that this process can happen within as little as two to four weeks, depending on the warmth of your environment.
To set the stage for this transformation, choose a glass container, ideally filled about two-thirds to three-quarters full with your mixture of red wine and water. This allows enough space for air circulation, which is vital for the fermentation process. Make sure the container is covered with a breathable material like cheesecloth or a loose lid to protect it from dust and bugs while still permitting airflow. This airflow is essential; without it, the beneficial bacteria cannot thrive.
Temperature plays a crucial role too. A warmer environment speeds up fermentation, whereas colder temperatures can slow it down significantly. Ideally, you want to place your vinegar-making project in a spot that’s around 60-80°F (15-27°C). This is the sweet spot for the Acetobacter to work their magic. Remember to check on your creation periodically. As days pass, you may notice a film forming on the surface-that’s the Mother of Vinegar developing, and it’s a good sign!
As your vinegar ferments, give it a taste test about a week in. You’ll be able to gauge how the flavors are developing and decide when it’s ready for bottling. The beauty of homemade vinegar is the ability to experiment with flavors and acidity levels that suit your palate perfectly. Embrace this opportunity to create something uniquely yours, and prepare to enjoy the rich, tangy result in countless culinary applications!
Step-by-Step Guide to Making Red Wine Vinegar
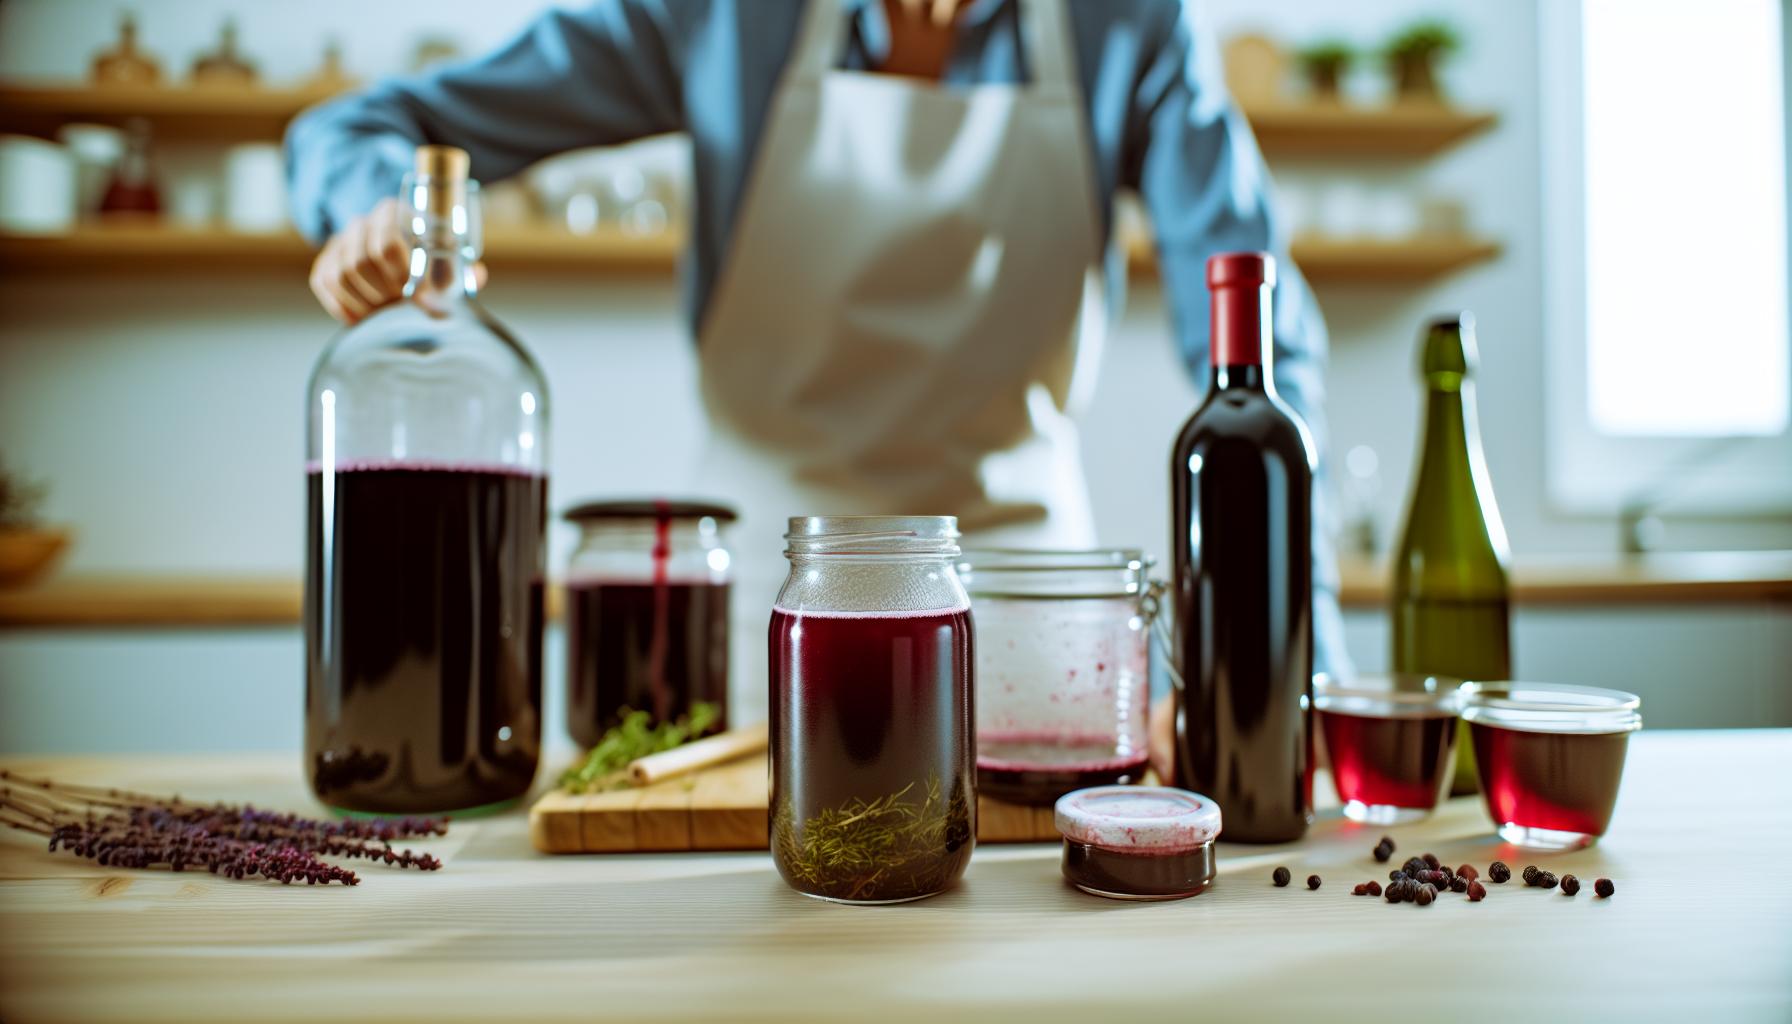
To dive into the delightful world of making red wine vinegar, you’ll find that with just a few simple steps, you can transform a bottle of red wine into a tangy, delicious condiment perfect for salads, marinades, and sauces. The process is not only easy but also incredibly satisfying, allowing you to experiment with flavors and make something truly your own.
Start by gathering your ingredients and tools. You’ll need:
- Red wine (about 3 cups)
- Water (about 1 cup)
- Unpasteurized vinegar or a vinegar “mother” (this is packed with beneficial bacteria)
- A glass container (like a large jar or a wide-mouth glass bottle)
- A breathable cover (cheesecloth or a coffee filter secured with a rubber band works great)
Now, let’s get started:
- Mix Your Base: In your glass container, combine the red wine and water. The water helps dilute the alcohol slightly, making it easier for the bacteria to convert it into vinegar. Aim for a ratio that allows for a balanced flavor-typically about 3 parts wine to 1 part water.
- Add the Culture: Next, introduce your vinegar “mother” or a splash of unpasteurized vinegar if you don’t have a mother. This will kickstart the fermentation process as it’s rich in Acetobacter, the bacteria responsible for converting alcohol to acetic acid.
- Cover and Store: Cover the opening of your container with cheesecloth or a coffee filter. This keeps out dust and bugs while allowing air to circulate, which is crucial for the bacteria to thrive. Store your setup in a warm, dark place with a temperature around 60-80°F (15-27°C) to encourage a robust fermentation.
- Wait and Monitor: Give your vinegar a few weeks to develop-check on it periodically. You might see a film forming on the surface; this is a healthy sign that the “mother” is working hard. Starting around week two, taste your vinegar weekly to see how the flavor is evolving.
- Bottling: After about four weeks, once it has reached a flavor and acidity level you love, it’s time to bottle. Use a fine mesh strainer to remove any solids, and transfer your vinegar into clean bottles. Seal them tightly and store in a cool, dark place.
With this straightforward method, you’re not just making vinegar; you’re creating a versatile culinary staple that enhances your dishes. Feel free to play around-try infusing your vinegar with herbs, spices, or garlic to truly personalize your creation. Enjoy the wonderful world of homemade red wine vinegar, and happy fermenting!
Tips for Accelerating Vinegar Fermentation
To bring your red wine vinegar to life more quickly, a few simple strategies can enhance the fermentation process. The key lies primarily in providing the right environment for the bacteria to flourish. One of the most effective methods is to ensure that your mixture is kept at a warm temperature, ideally between 70-80°F (21-27°C). If your kitchen is cooler, consider placing the jar in a warm spot, like on top of the refrigerator or in a sunny corner. This warmth helps the beneficial bacteria multiply faster, accelerating the conversion of alcohol into vinegar.
Another helpful tip is to create a larger surface area for the fermentation. Using a wide-mouth jar or container allows more air to interact with the liquid, promoting aerobic fermentation. You can also gently stir the mixture a couple of times a week to help introduce more oxygen-just be careful not to disturb the “mother.” Regularly checking your vinegar’s taste is crucial as well; this helps you find the perfect moment for bottling your vinegar, usually within three to four weeks, depending on your flavor preference.
In addition to temperature and oxygen levels, feeding your vinegar sometimes can speed things up. If you notice fermentation is slow, consider adding a splash of unpasteurized vinegar or a bit more red wine to your mixture. This additional input provides more bacterial culture, which can help kickstart the process. Lastly, keep the environment free from contaminants by ensuring your tools and containers are clean. The fewer competing bacteria, the better your vinegar will taste!
Using these techniques, you’ll not only speed up the fermentation process but also boost the flavor profile of your homemade red wine vinegar. Remember, crafting vinegar is as much about enjoying the journey as it is about the final product, so don’t hesitate to taste, experiment, and have fun along the way!
Common Mistakes to Avoid When Making Vinegar
Making homemade red wine vinegar can be a delightful adventure in the kitchen, but there are common pitfalls that can turn this rewarding experience into a frustrating one. Understanding these mistakes can help you achieve that tangy flavor you desire without any hiccups along the way.
One of the most significant errors is neglecting cleanliness. Vinegar fermentation relies on beneficial bacteria, but they can be easily overwhelmed by unwanted contaminants. Always start with clean jars and utensils. Even a tiny speck of residue can introduce rogue bacteria, resulting in off-flavors or spoilage. A quick rinse and sanitization with boiling water can do wonders for ensuring your equipment is pristine.
Temperature is another crucial factor in the fermentation process. Many home fermenters make the mistake of placing their vinegar in a spot that’s too cold or too hot. Ideally, maintain a consistent temperature between 70-80°F (21-27°C) to encourage the bacteria to thrive. If your environment is cooler, you might consider using a heat mat or placing your jar in a sunny spot. Just remember to avoid direct sunlight exposure, which can create unwanted heat fluctuations.
Finally, don’t rush the tasting process! Many beginners may impatiently bottle their vinegar too soon, missing that perfect balance of flavor and acidity. It’s essential to regularly check on your mixture, allowing your taste buds to guide you. Engage your curiosity: when you think it’s ready, taste a small sample to see if it’s at the desired tanginess. This not only enhances your experience but can lead to a more personalized product that reflects your unique palate.
Avoiding these common mistakes will set you on the right path to crafting delicious red wine vinegar. Remember, the journey is just as enjoyable as the destination, so embrace the learning process and savor each step!
Storing and Aging Your Homemade Vinegar
If you’ve successfully made your own red wine vinegar, congratulations! Now it’s time to enhance its flavor through proper storing and aging techniques. Just like a fine wine benefits from time, your homemade vinegar will evolve as it sits, deepening in flavor and complexity.
Begin by storing your red wine vinegar in airtight bottles to keep the oxygen at bay. Glass bottles with tight-sealing caps or corks are ideal. Dark glass is preferable as it protects the vinegar from light, which can degrade its quality over time. Aim for a cool, dark place-think the back of your pantry or a wine cellar-where temperatures hover around 50-60°F (10-15°C). This controlled environment helps preserve freshness and maintain the acidity level.
Aging your vinegar for at least 6 months can lead to delightful changes. During this time, it will mellow out, allowing the harsh edges to soften, while also developing a richer taste profile. Don’t forget to give it a taste every few weeks; this not only helps you track its progress but also allows you to personalize the flavor to your preference. When you’re ready to use it, be sure to shake the bottle gently to mix in any sediment that may have formed at the bottom; this sediment is often harmless and can even contribute to the flavor.
Remember, homemade vinegar is quite forgiving-improving over time without the need for special equipment or complex techniques. So embrace your creative side, and don’t shy away from experimenting with various storage times to see how it transforms. Enjoy the journey and the delicious rewards that come from your homemade culinary endeavor!
Creative Uses for Red Wine Vinegar in Cooking
It’s amazing how a splash of red wine vinegar can elevate a dish from ordinary to extraordinary! This versatile ingredient is not just for salads; it’s a true culinary companion that can enhance flavors, add depth, and even create a refreshing zing in your cooking. Here are some delightful ways to incorporate your homemade red wine vinegar into everyday meals.
Brighten Up Dressings and Marinades
Use your red wine vinegar as a key ingredient in salad dressings or marinades. Its acidity can balance the richness of oils and enhance herbs and spices, resulting in a vibrant dressing. For a simple vinaigrette, mix equal parts red wine vinegar and olive oil, then add a teaspoon of Dijon mustard, a pinch of salt, and pepper. Shake well and enjoy over your favorite greens or grilled vegetables!
Add Depth to Sauces
Red wine vinegar can transform sauces, particularly tomato-based ones. A splash added during cooking can enhance the sauce’s complexity and cut through the sweetness of tomatoes. Try stirring in a tablespoon or two during the last 10 minutes of simmering. You’ll be amazed at how it brightens the flavors, making them pop!
Creative Uses in Cooking
Aside from dressings and sauces, consider using red wine vinegar in various dishes:
- Soups: Add a dash at the end of cooking to give a refreshing lift.
- Pickling: Experiment with quick-pickling vegetables by soaking them in equal parts water, sugar, and red wine vinegar.
- Glazing: Use it in glazes for meats, like a vinegar and honey glaze for roasted chicken or pork.
With these ideas, your homemade red wine vinegar will be a staple in your kitchen. Embrace the experimentation and make your meals truly shine!
Transforming Leftover Vinegar Into Gourmet Gifts
Transforming your leftover red wine vinegar into gourmet gifts is a delightful way to share your culinary creations while adding a personal touch to your presents. Not only is homemade vinegar a thoughtful gift, but it’s also incredibly easy to enhance and customize, making each bottle uniquely yours. Think about infusing your vinegar with herbs, spices, or even fruits to create a signature blend that friends and family will love.
Start by gathering small glass bottles or jars, which can often be found at craft stores or reused from previous purchases. Make sure to clean them thoroughly to ensure no residue affects your infusion. To elevate the vinegar, consider flavors that complement its acidity. You might choose fresh herbs like thyme, rosemary, or basil, whole spices such as peppercorns or star anise, or zest from citrus fruits for a bright twist. For example, a simple infusion could be made by adding a few sprigs of rosemary and a couple of cloves of garlic to the vinegar. Let it sit for at least a week; the longer it steeps, the more pronounced the flavor will be.
Presentation can turn a simple bottle into a gourmet gift. Use decorative labels to denote the contents, and consider including serving suggestions or recipe ideas. Tying a sprig of the infused herb around the neck of the bottle or including a small wooden spoon makes the gift even more personal. You might also create a gift set that pairs the infused vinegar with artisanal olive oil or homemade bread, emphasizing a theme of culinary creativity.
In addition, you could delve into more complex infusions. For instance, try a fig and balsamic vinegar for a sweet, rich flavor perfect for drizzling over cheeses or salads. You could also experiment with berries, like muddled raspberries or blackberries, for a colorful and fruity addition. The options are endless and allow you to explore flavor combinations, making your gifts not only delicious but also a fun culinary experiment! Enjoy the process of sharing your homemade vinegar creations, knowing that each bottle is infused not just with flavor, but with your creativity and care.
Exploring Flavor Varieties: Adding Herbs and Spices
Adding herbs and spices to your red wine vinegar can elevate its flavor profile, transforming a simple kitchen staple into a gourmet ingredient. This process not only enhances the vinegar but also offers an exciting way to experiment with flavors that complement your dishes. Imagine drizzling your homemade herb-infused vinegar over salads, roasted vegetables, or even grilled meats, and you can see how easy it is to impress your family and friends with minimal effort.
To create these delightful blends, consider starting with the basics. Fresh herbs like thyme, rosemary, and basil can provide a fragrant, aromatic background. Whole spices, such as black peppercorns, coriander seeds, or even a hint of star anise, can add warmth and depth. If you’re feeling adventurous, try incorporating citrus zest from lemons or oranges for a refreshing twist. A classic combination could be rosemary and garlic; simply add a few sprigs of fresh rosemary and a couple of crushed garlic cloves to your vinegar. Allow it to steep for at least a week for the flavors to meld beautifully.
Flavor Pairing Ideas
Here are some flavor pairings to inspire your infusions:
- Herb Medley: Thyme, sage, and parsley for a savory touch.
- Spicy Kick: Red pepper flakes paired with oregano for a heat boost.
- Citrus Splash: Lemon zest and fresh mint for a bright, refreshing vinegar.
- Sweet Touch: A hint of honey and dried lavender for a unique floral note.
The key is to keep it simple and tailor your infusions to your palate. You don’t need fancy equipment-just a clean glass jar, a funnel, and a few days of patience. After steeping, strain the herbs or spices out, and your gourmet vinegar is ready to be enjoyed. You can even bottle it up with a decorative label for a thoughtful gift, encouraging your friends and loved ones to explore their culinary creativity as well.
Infusing red wine vinegar not only enhances its taste but also makes it a versatile addition to your kitchen. So feel free to experiment, and don’t hesitate to mix and match herbs and spices based on what you love! The joy of making your own infused vinegars lies in the exploration and personalization-dare to get creative!
Troubleshooting: Ensuring Quality and Safety
Making red wine vinegar at home is a rewarding process, but ensuring its quality and safety is essential. If you’re new to fermentation, it’s helpful to know how to spot potential issues before they ruin your delightful creation. One common concern is contamination. Always use clean utensils and fermentation vessels. Before you start, wash everything thoroughly with hot soapy water and rinse well. Sanitizing with a food-safe sanitizer can add an extra layer of protection against unwanted bacteria and mold.
Watch for signs that your vinegar might be going off. If you see an unusual film on the surface (often called “the mother” of vinegar, which is actually a good thing when it’s the right kind), it can be tricky. Ideally, this film should look somewhat gelatinous, signaling healthy fermentation. If there’s any sign of mold (usually fuzzy and green or black), it’s safer to discard the batch. Don’t take any chances with mold; throw it out and start fresh to enjoy safe, homemade vinegar.
Temperature control is another aspect to keep an eye on. Red wine vinegar ferments best in a warm, but not hot, environment-ideally between 60°F and 80°F (15°C to 27°C). Too much heat can spoil the vinegar, while too little can slow down fermentation. If your kitchen tends to be cold, try placing your vessel in a warmer spot, like near the oven or on a sunny windowsill (just not too much direct sunlight, which can alter flavors).
In terms of flavor and quality, if you’re not satisfied with the taste after the initial fermentation period (around 2-4 weeks), consider extending the fermentation time or adjusting your wine to vinegar ratio. Many home brewers find personal preference plays a huge role in flavor, so don’t hesitate to experiment with different wines to find what you enjoy most. Lastly, trust your senses: if it smells off or tastes wrong, it’s better to err on the side of caution. After all, the joy of homemade vinegar lies not just in the product, but in the safe and satisfying process of creating it.
Frequently Asked Questions
Q: What is the fastest way to make red wine vinegar at home?
A: The fastest way to make red wine vinegar involves combining a bottle of red wine with a *starter culture* or *mother vinegar* in a glass jar. Store the mixture in a warm, dark place for 2-3 weeks, shaking it occasionally. This quick method yields tangy vinegar you can use in recipes.
Q: How long does it take for homemade red wine vinegar to ferment?
A: Homemade red wine vinegar typically takes about 3 to 6 weeks to ferment fully. Factors such as temperature and the *amount of oxygen* can influence fermentation speed, so check for taste and clarity during this period to achieve your desired flavor.
Q: Can I use any type of red wine to make vinegar?
A: While you can use any type of red wine, it’s best to choose *good-quality organic varieties* without additives. *Avoid sweet wines*, as they can yield overly sweet vinegar. For optimal results, stick to wines with complex flavors that resonate with your palate.
Q: What should I do if my red wine vinegar is too sweet?
A: If your homemade red wine vinegar tastes too sweet, allow it to ferment longer. Increasing *oxygen exposure* can help, as it encourages the conversion of sugars into acetic acid. Stirring or transferring it to a wider container can also enhance air circulation.
Q: Can I make red wine vinegar without a vinegar “mother”?
A: Yes, you can make red wine vinegar without a vinegar mother by using store-bought raw, unfiltered vinegar as a starter. Mix it with red wine and allow it to ferment. It will take longer, but this method still produces tasty results.
Q: How can I enhance the flavor of my homemade red wine vinegar?
A: To enhance the flavor of your homemade red wine vinegar, consider adding *herbs and spices* like rosemary, garlic, or chili flakes during fermentation. These additions infuse the vinegar with aromatic qualities, creating a unique flavor profile for your culinary creations.
Q: How should I store homemade red wine vinegar?
A: Store homemade red wine vinegar in a *dark, cool place* in a glass or plastic bottle with a tight seal. Avoid exposure to sunlight to prevent degradation. Properly stored, it can last for several months, allowing you to enjoy its freshness over time.
Q: Is it safe to make red wine vinegar at home?
A: Yes, it is safe to make red wine vinegar at home as long as you use clean equipment and peaceful fermentation practices. Regularly check for mold or unusual odors, and if everything looks and smells good, you can confidently enjoy your homemade vinegar.
Insights and Conclusions
Congratulations on taking the first step toward creating your own red wine vinegar! This quick and natural process allows you to transform leftover wine into a flavorful ingredient that elevates your culinary creations. Keep experimenting with different types of wine to find your perfect vinegar flavor. Don’t hesitate to share your results or questions in the comments; your experience can inspire others!
For more delicious recipes, consider checking out our guides on homemade salad dressings and crafting your own infused oils. Ready to dive deeper into the world of flavor creation? Sign up for our newsletter for exclusive tips and recipes delivered straight to your inbox.
Remember, making vinegar is a rewarding journey that anyone can master. So grab your leftover wine and start crafting-your kitchen awaits your innovative touch!
Get our latest guides, news, and insights highlighted in your Google Search & AI Overviews.










