
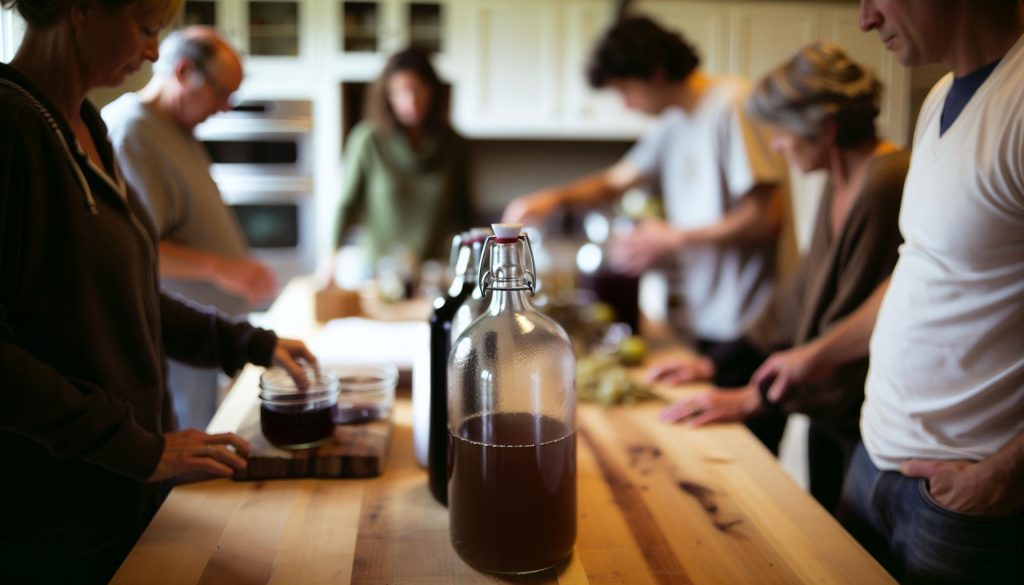
Did you know that you can transform leftover wine into delicious homemade vinegar? This simple DIY kitchen hack not only reduces waste but also enhances your culinary adventures. Whether you have a half-empty bottle of wine sitting in your fridge or want to experiment with flavors, making vinegar at home is surprisingly easy and satisfying. In just a few steps, you can create a tangy, vibrant addition to your pantry that elevates salads, marinades, and more. Plus, this process allows you to customize your vinegar to perfectly suit your taste. So, roll up your sleeves, and let’s dive into the art of vinegar-making. Your taste buds are in for a treat!
How Vinegar from Wine Works: The Science Behind It
The transformation of wine into vinegar is a fascinating blend of science and culinary art. At its core, vinegar production hinges on the fermentation process, where sugars in wine are converted into acetic acid by the action of specific bacteria, primarily Acetobacter. This process begins when exposed wine comes into contact with air. The oxygen facilitates the growth of these beneficial bacteria, which feast on the alcohol in wine, effectively converting it into vinegar. This conversion can take days to weeks, depending on conditions such as temperature and exposure to air.
One captivating aspect of this fermentation is that it requires a balance. If the environment is too anaerobic, or lacks sufficient oxygen, the vinegar may not develop properly, resulting in off-flavors rather than the tart tang associated with quality vinegar. Conversely, too much exposure to oxygen can lead to spoilage. A consistent temperature around 60 to 80°F (15 to 27°C) is ideal for optimal bacterial activity, making a warm, dark place, like a cupboard, an excellent spot for your homemade vinegar to develop.
Not only is this a great way to reduce waste from leftover wine, but the result can also elevate your culinary creations. Once the vinegar is ready, it’s not just the acidity that brings a kick; the remaining flavors of the original wine often shine through, offering a nuanced tasting experience. Think about using a fruity wine for a sweeter vinegar or a robust red for a more complex flavor profile. With a little patience and attention to detail, you can turn an ordinary bottle of wine into a flavorful homemade vinegar-an ingredient that will surely enhance your kitchen endeavors!
Essential Ingredients for Making Vinegar
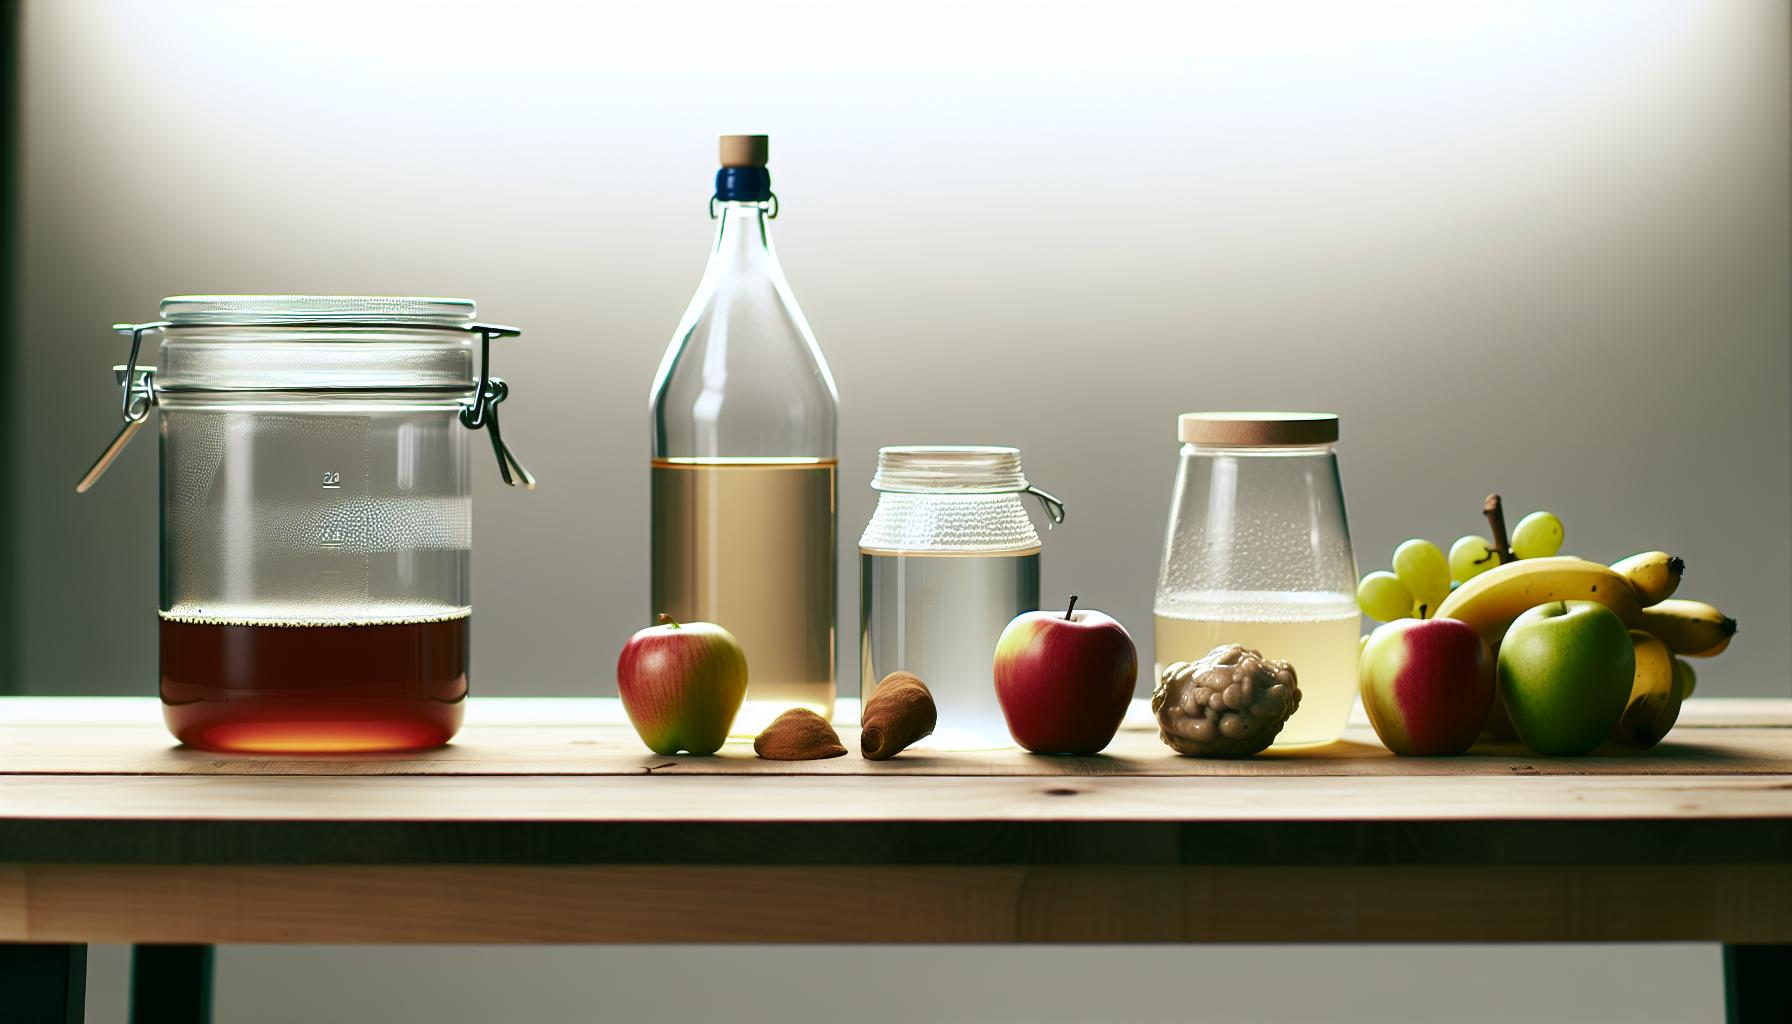
Creating your own vinegar at home isn’t just a rewarding project; it can also transform your cooking with incredible flavors and health benefits. The essentials for this simple DIY process are straightforward and can be found right in your kitchen or easily obtained from your local grocery store.
To start, you will need wine, which serves as the base for your vinegar. Any leftover wine will do, but choosing a wine that you enjoy drinking can infuse your vinegar with delightful flavors. Think about using a crisp white wine for a light, tangy vinegar, or a bold red for a deeper, richer taste.
Next, you’ll need a vinegar mother-this is a colony of beneficial bacteria and yeast that forms naturally during fermentation and is essential for converting alcohol into acetic acid. If you don’t have a vinegar mother, you can kickstart the process by using unpasteurized vinegar from the store as it contains live cultures that can help ferment your wine.
Additionally, a sterilized glass jar or fermentation vessel is necessary for the process. Select a container that can hold at least a quart of liquid and has a wide mouth, allowing for airflow. It’s also important to consider a cheesecloth or breathable fabric to cover the jar. This keeps out dust and insects while allowing oxygen to reach the vinegar and promotes the growth of the bacteria.
Lastly, some filters or strainers will come in handy once fermentation is complete so you can separate the vinegar from the mother and any sediment that forms.
By gathering these essential ingredients-your choice of wine, a vinegar mother, a fermentation vessel, and filtering tools-you’re well on your way to making delicious homemade vinegar. The process is simple and encourages creativity, allowing you to experiment with flavors as your culinary confidence grows. Happy fermenting!
Step-by-Step Guide to DIY Wine Vinegar
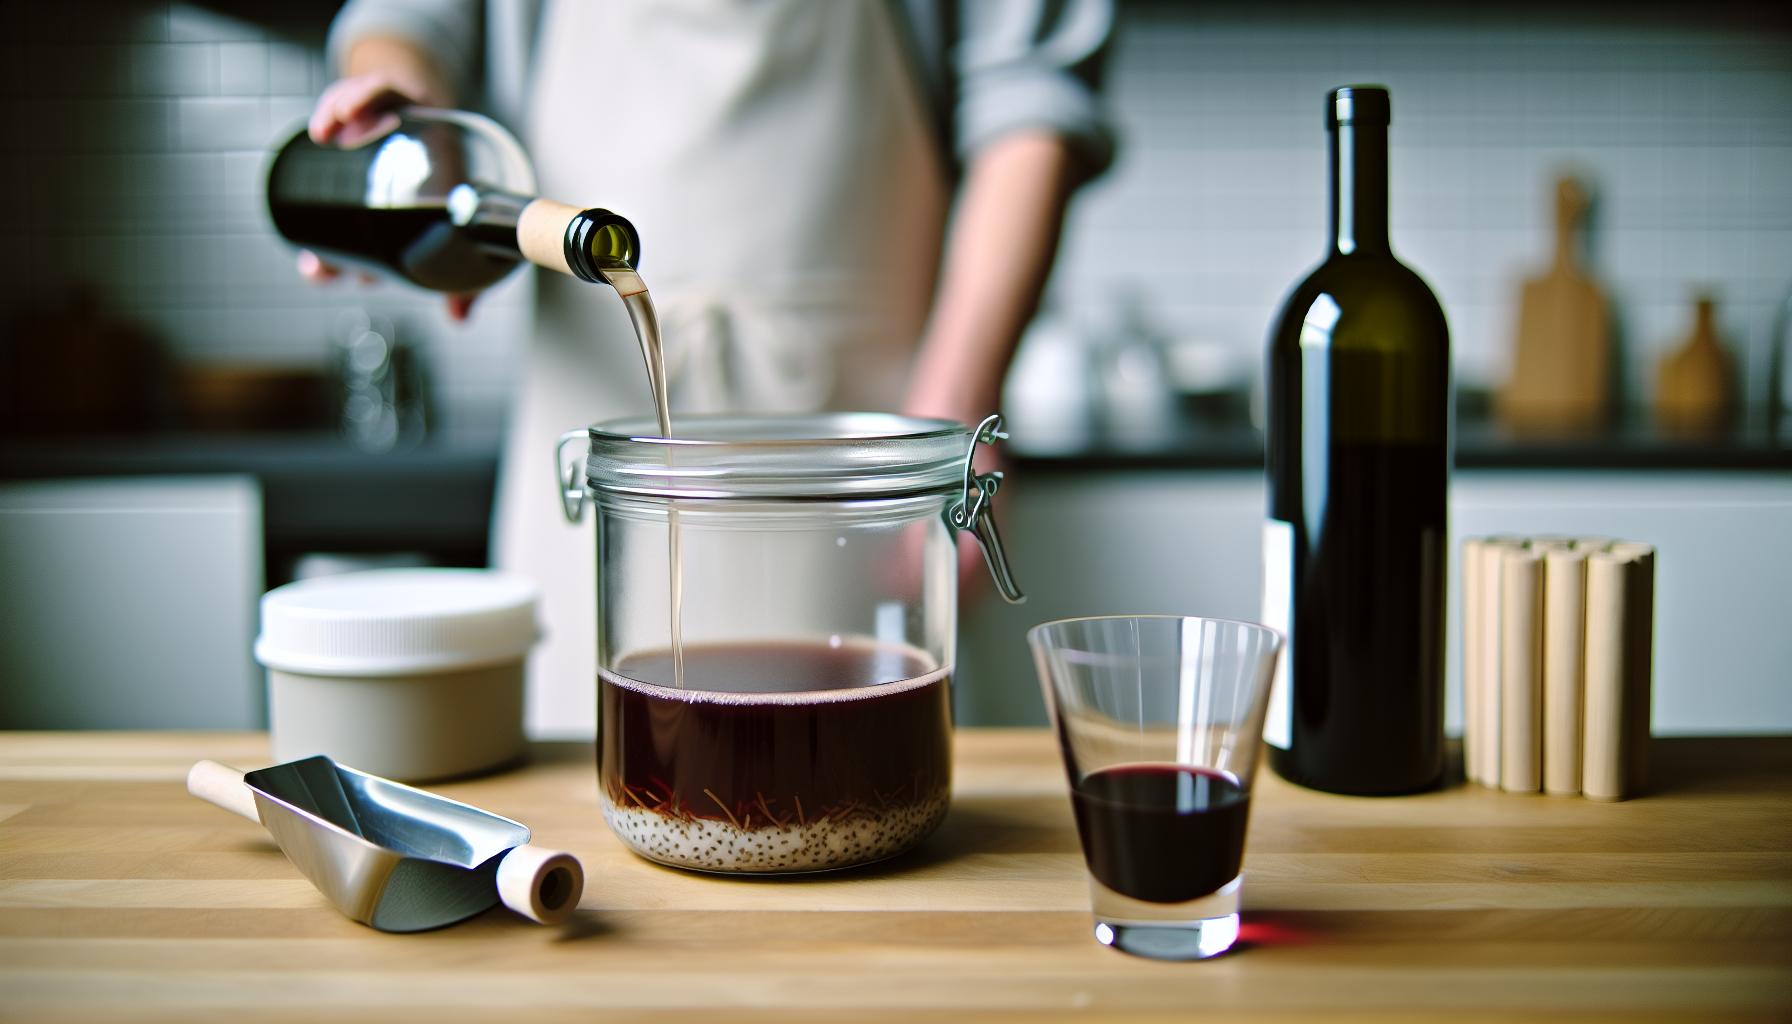
Creating your own wine vinegar at home is not only a fun and rewarding process, but it can also elevate your culinary adventures with vibrant flavors. Once you gather your ingredients and tools, you’ll find that the actual steps are quite straightforward. Here’s a simple, friendly guide to help you along the way.
Start by pouring your chosen wine into a clean, sterilized glass jar. You’ll want enough wine to fill the jar to about three-quarters full-this typically means around 2 to 4 cups, depending on the size of your jar. Next, introduce your vinegar mother to the mixture. If you don’t have a mother, just add a splash of unpasteurized vinegar to introduce those essential bacteria.
Once your wine and mother are combined, cover the jar securely with a cheesecloth or a breathable fabric. This allows air to circulate while keeping out dust and insects. It’s essential to find a warm, dark place for your vinegar to ferment-ideally around 60-80°F (15-27°C).
Now for the fun part: waiting! Leave your mixture alone for about 3 to 4 weeks. You might marvel at the transformation happening inside. Every week, give it a little taste. You’re looking for that delightful tang of vinegar. Once it reaches your desired flavor, it’s time to strain it. Use a fine mesh strainer or coffee filter to separate the liquid from the vinegar mother and any sediment.
Finally, transfer your homemade vinegar to clean bottles for storage. Make sure you label them, especially if you plan on experimenting with different wines or flavor infusions later! Congratulations, you’ve just created your very own wine vinegar, ready to jazz up salads, marinades, and more. Enjoy the journey and the zesty outcomes of your new kitchen adventure!
Choosing the Right Wine for Vinegar

Choosing the right wine for your vinegar is an essential step that can greatly influence the final flavor and character of your homemade concoction. While almost any type of wine can technically be transformed into vinegar, the variety you choose can impart distinct taste notes, so let’s delve into how to select the best option for your project.
Start with quality over quantity: affordable but decent wines will yield better results than low-quality options. Dry wines are generally preferred since they have less residual sugar, which leads to a cleaner vinegar flavor. For red wine vinegar, try using a hearty red like Merlot or Cabernet Sauvignon, while for white wine vinegar, a crisp Sauvignon Blanc or Chardonnay works beautifully. If you’re venturing into fruit wines-like those made from apples or berries-those can also create unique vinegar flavors.
Consider the flavor profile of the wine. A more aromatic wine may produce a vinegar with complex layers, making it particularly delightful in dressings or marinades. For example, if you’re looking to craft a robust balsamic-style vinegar, utilizing a fruity red wine can be the key. If you desire a lighter vinegar, a citrusy white wine could be the perfect choice. You might even experiment with leftover wines from dinner parties or that bottle you bought for cooking but never opened-waste not, want not!
Finally, don’t hesitate to experiment with blends. Mixing different wines can yield exciting new flavors, allowing you to tailor your vinegar to your specific taste preferences or culinary needs. Just remember to keep track of your combinations, so you can recreate those delightful results in the future!
Overall, choosing the right wine for your vinegar is about celebrating the flavors you love-let your taste buds guide you! Have fun experimenting, and enjoy the journey of creating your own flavorful homemade vinegar.
The Best Tools for Your Homemade Vinegar
When embarking on the delightful journey of making homemade wine vinegar, having the right tools can make all the difference. You don’t need fancy equipment or specialized gadgets; most of what you require can be found in your kitchen. Here’s a handy guide to the essential tools that will help you create your delicious vinegar effortlessly.
Basic Tools for Vinegar Making
- Jar or Crock: Start with a wide-mouthed glass jar or a ceramic crock. The wide opening allows for better oxygen circulation, which is crucial for the fermentation process. Aim for a container that holds at least a quart of liquid, giving enough space for the vinegar to breathe.
- Cheesecloth or Coffee Filter: You’ll need something breathable to cover your jar. Cheesecloth works great, but a coffee filter can also do the trick. This allows air in while preventing bugs and dust from contaminating your vinegar.
- Spoon: A long wooden or silicone spoon is perfect for stirring your wine and starter vinegar mixture. Avoid metal spoons as they can react with the vinegar.
- Measuring Cup: Accurate measurements of vinegar and wine are key to achieving the perfect flavor, so keep a measuring cup handy.
- pH Test Strips (optional): If you want to get a bit scientific, pH test strips can help monitor your vinegar’s acidity. Ideally, it should be around 2-3 for optimal flavor and safety.
Additional Useful Tools
While the basics will get you started, a few additional items can enhance your vinegar-making experience.
- Funnel: A funnel can make the pouring process easier, keeping your workspace tidy.
- Thermometer: Monitoring the temperature of your wine during fermentation can help. Ideally, you want a range between 60°F and 80°F (15°C-27°C).
- Fermentation Lock (optional): For those who want to take a more controlled approach, a fermentation lock can help regulate the gases produced during fermentation while keeping contaminants out.
Creating homemade vinegar from wine is as much about the process as it is about the finished product. These tools will help you experiment and have fun in the kitchen. Don’t hesitate to get creative and make this craft your own. Happy vinegar making!
Fermentation Process: Timing and Temperature Tips
Timing and temperature are critical components in the vinegar-making process that significantly influence the flavor and quality of your homemade wine vinegar. Did you know that the ideal temperature range to encourage fermentation lies between 60°F and 80°F (15°C-27°C)? Maintaining this warmth is key to fostering the right environment for the acetic acid bacteria to thrive, transforming your wine into tangy vinegar.
As you embark on your fermentation journey, patience is your best friend. The fermentation process usually takes about three to six weeks, but don’t worry if it varies; every batch is unique! Begin by placing your jar in a warm, dark spot, away from direct sunlight. Check it periodically for activity; you might see bubbles forming or a thin film layer on the surface, signaling that the magic is happening. Remember to give it a gentle stir every week and taste it to monitor the flavor development.
If your environment is too cold, consider moving your vinegar to a warmer location, like near the kitchen stove or using a heat mat. Conversely, if it gets too hot, you run the risk of killing your valuable bacteria. Keep a close eye on the temperature, and if it exceeds 80°F, it might be wise to relocate your fermentation setup to ensure consistent results.
In summary, by carefully managing the timing and temperature during fermentation, you can create a robust and flavorful homemade wine vinegar. Embrace the experiment-it’s all part of the fun! Your kitchen journey will not only enrich your culinary skills but also leave you with a delicious product to share and enjoy. Happy fermenting!
Flavoring Your Vinegar: Creative Ideas to Try
You might be surprised to learn that flavoring your homemade wine vinegar is not just a fun option, but a way to elevate your culinary creations! With just a few creative ingredients and techniques, you can transform a basic vinegar into something truly special. Let your imagination and taste buds guide you as you blend beautiful flavors into your vinegar.
Start with some basic flavoring ideas. Herbs are a fantastic choice; try adding sprigs of rosemary, thyme, or basil to your vinegar during the fermentation process. Simply toss in a few fresh sprigs into your jar before sealing it up. This infuses the vinegar with aromatic goodness. You can also experiment with spices; consider peppercorns, cinnamon sticks, or even star anise. These can add warmth and complexity. For a fruity twist, adding pieces of dried fruit, like cherries or apple slices, is delightful as they break down and release their flavors.
Flavor Combinations to Try
- Garlic & Chili: Add a couple of cloves of peeled garlic and a dried chili for a punchy, spicy vinegar.
- Lemon Zest & Thyme: The brightness of lemon paired with fresh thyme can make for a refreshing dressing.
- Berry Blend: Combine raspberries, blueberries, and strawberries for a sweet and tangy vinegar perfect for salads.
As these flavors mingle, remember that patience is key! Allow your vinegar to sit for a few weeks to fully develop the tastes before giving it a taste test. Feel free to adjust based on your palate; if you desire a stronger flavor, let it sit longer. Don’t hesitate to mix and match ingredients based on what you have on hand or your personal preferences.
Lastly, enjoy the process! Each time you create flavored vinegar, you’re not just following a recipe; you’re crafting a unique condiment that reflects your style. Use these flavored vinegars in dressings, marinades, or a splash in your favorite recipes for an exciting kick. Celebrate your homemade vinegar adventures, and happy flavoring!
Common Mistakes When Making Vinegar
Making vinegar at home is a delightful process, but it’s easy to make mistakes along the way. Understanding these common pitfalls can help ensure that your homemade wine vinegar turns out flavorful and successful. One of the most frequent errors is not using the right type of wine. Always opt for a wine that you enjoy drinking; the quality of your vinegar reflects the quality of the wine used. Vinegars made from low-quality or overly sweet wines can lead to disappointing flavors and a less desirable final product.
Another common mistake is skipping the fermentation process or rushing it. Patience is key when making vinegar. Most homemade vinegar requires a few weeks to a few months to develop its full flavor, depending on the conditions. If you taste it too soon, you might find it lacking in complexity or tang. Aim for a warm, dark place for fermentation, as temperatures around 60-80°F (15-27°C) are ideal for the process. Improper temperature can lead to slow or incomplete fermentation.
Not monitoring the vinegar as it ferments can also lead to trouble. Exposure to outside air is important, but you should also ensure no unwanted contaminants get in. A breathable cover, like cheesecloth, can keep out dust and bugs while allowing airflow. Additionally, be sure to check for signs of vinegar mother forming-this gelatinous mass is a natural byproduct of fermentation and is actually a good sign that your vinegar is on the right track. However, if you notice anything off-putting like mold or an unpleasant smell, it’s best to discard that batch and start fresh.
Lastly, don’t overlook the proper storage of your finished vinegar. It should be bottled in a glass container and stored in a cool, dark place. Vinegar can crumble in quality over time, especially when exposed to light and air. Keeping it sealed and away from heat sources will help maintain its delightful flavor for longer.
By keeping these tips in mind and allowing yourself the freedom to experiment, you can confidently create delicious homemade wine vinegar that you’ll be proud to share with friends and family!
Storing and Using Your Homemade Wine Vinegar
Once you’ve created your own beautiful batch of wine vinegar, storing it properly is essential to keep its flavor vibrant and delightful. Homemade vinegar can be a fantastic addition to your culinary creations, but improper storage can quickly diminish its quality. Always transfer your finished vinegar into a clean glass bottle with a tight-sealing cap or cork. This keeps out air and minimizes any risk of contamination. Remember, vinegar is a natural preservative, but exposure to heat and light can still affect its integrity over time.
Best Storage Practices
To make the most of your homemade concoction, keep the bottles in a cool, dark place-think of a pantry or a cupboard away from direct sunlight. If you’ve flavored your vinegar with herbs, spices, or fruits, they can infuse additional flavors over time: just be sure to check on them periodically. Flavored vinegars typically have a shorter shelf life. Without preservatives, use them within a few months for the best taste. Here’s a quick snapshot of storage tips:
- Bottle: Use clean, dry glass bottles.
- Seal: Tightly seal to keep air and contaminants out.
- Environment: Store in a cool, dark place.
- Monitor: Check periodically if infusing with ingredients.
Incorporating Vinegar into Your Culinary Adventures
Now that your wine vinegar is stored properly, it’s time to enjoy it! The versatility of homemade vinegar makes it a star ingredient in the kitchen. Use it as a tangy addition to salad dressings, marinades, and sauces. You might even drizzle a splash over roasted vegetables or use it to brighten up finished dishes. If you like to experiment, try creating quick pickles or infusing condiments, like a zesty mustard or tangy mayonnaise with your homemade vinegar.
Vinegar can also elevate sweet dishes; a touch of wine vinegar in a fruit salad, for instance, brings out the sweetness and adds an unexpected depth of flavor. Feel free to get creative and make your own signature dressings by mixing your vinegar with olive oil, fresh herbs, and a dash of honey or mustard. Homemade wine vinegar not only enhances your recipes but also adds an artisan flair that you can proudly share with family and friends!
Exploring Different Types of Vinegar
Vinegar isn’t just a one-note wonder; it’s a vibrant world of flavors waiting to be explored. Each type of vinegar carries its unique personality, influenced by the base ingredient used and the fermentation process it undergoes. This diversity opens up exciting possibilities for your culinary creations, elevating everything from salad dressings to marinades while adding depth and complexity to your dishes.
Let’s start with the classic wine vinegar, which you may already be familiar with. Made from red or white wine, it retains the fruity notes of its origin. It’s perfect for salad dressings, where its acidity can cut through richer flavors, or in sauces to create a balanced finish. Balsamic vinegar, known for its sweet and tangy profile, works wonders drizzled over fresh strawberries or used in glazes for meats. Its syrupy texture makes it a favorite for enhancing both savory and sweet dishes alike.
Other fascinating varieties include apple cider vinegar, celebrated for its strong and sharp taste, often utilized in health tonics or as a detox beverage. It adds a wonderful zing to pickles or slaws. Rice vinegar, milder and slightly sweet, is a staple in Asian cuisine, enhancing sushi rolls and stir-fries with its subtle charm. On the more exotic side, try experimenting with malt vinegar, which brings a deeply nutty flavor to fish and chips or as a tangy addition to pickled vegetables.
When crafting your homemade vinegar from wine, embrace the opportunity to experiment. Consider infusing base vinegars with herbs, fruits, or spices to create unique flavors tailored to your palate. Whether adding garlic and rosemary for an Italian twist or ginger and chili for an Asian flair, the creations are limited only by your imagination. Each type of vinegar offers a different pathway to enhance your meals and discover new favorites, making every kitchen adventure more exhilarating. So, grab that bottle of your homemade wine vinegar, try blending it with different bases, and let your culinary creativity flourish!
Health Benefits of Homemade Vinegar
Homemade vinegar not only adds sparkle to your dishes but also comes with a treasure trove of health benefits. It’s more than just a flavorful addition to salads or marinades; it’s a powerhouse of potential that can enhance your well-being in several ways. Did you know that vinegar can help with digestion? Many people find that taking a small amount of vinegar diluted in water before meals can ease digestive issues, making it a comforting companion to your culinary creations.
When you make your own wine vinegar, you’re also harnessing the natural properties of wine. Wine, particularly red wine, is rich in antioxidants, such as flavonoids and resveratrol. These compounds have been linked to various health benefits, including improved heart health and enhanced immune function. By turning that wine into vinegar, you preserve some of those beneficial properties while making it easier to incorporate into your everyday diet.
In addition, vinegar has been celebrated for its potential to help regulate blood sugar levels. Studies suggest that vinegar may improve insulin sensitivity and lower blood sugar responses after meals, making it a smart choice for those looking to manage their glucose levels. Just a tablespoon mixed into a glass of water can be a simple and effective way to help keep your body balanced.
Lastly, let’s not forget about the versatility of homemade vinegar in wellness routines. It can serve as a natural preservative in pickling, extend the shelf life of your favorite vegetables, and even be used as a cleaning agent by tapping into its antimicrobial properties. So, when you craft your own wine vinegar, you’re not just creating a delicious condiment; you’re also making a smart choice for your health and home. Embrace the ease and creativity of DIY vinegar-making, and enjoy the added health perks that come with it!
Fun Ways to Use Wine Vinegar in Recipes
Wine vinegar isn’t just a pantry staple; it’s a culinary secret weapon! This versatile ingredient can elevate your dishes in unexpected ways, from salad dressings to marinades, and it’s incredibly easy to use. Here are some delightful and innovative ways to incorporate your homemade wine vinegar into your cooking.
Start with salad dressings-swapping out traditional vinegar for wine vinegar adds a nuanced depth of flavor. Combine it with olive oil, a touch of honey, and your favorite herbs for a simple vinaigrette. You can even play with acidity levels; try using flavored wine vinegar to complement your salad ingredients. For instance, a red wine vinegar pairs beautifully with spinach, strawberries, and nuts, while a white wine vinegar enhances the freshness of cucumber and feta.
Marinades and Sauces
Wine vinegar shines in marinades, bringing out the best in meats and vegetables. For a quick marinade for chicken or beef, mix equal parts wine vinegar and olive oil, add minced garlic, fresh herbs, and a sprinkle of salt. Let your protein soak in this mixture for at least 30 minutes before grilling or roasting. For veggies, a splash of wine vinegar can brighten up roasted or sautéed dishes; just add it near the end of cooking for that punchy flavor.
Another fantastic use is in sauces. Add a splash of your homemade wine vinegar to a sauce at the end of cooking to balance flavors. Whether you’re reducing a balsamic glaze for drizzling over grilled vegetables or enriching a tomato sauce, the acidity from the vinegar helps cut through richness and enhances the overall taste profile.
Preserving and Pickling
Don’t overlook wine vinegar’s role in preserving! Use it for pickling vegetables. Quick-pickle onions and cucumbers by submerging them in a mix of wine vinegar, water, sugar, and salt. Let them sit for a few hours in the fridge, and you’ll have a zesty, tangy topping for tacos, sandwiches, or charcuterie boards.
Wine vinegar can even be a flavoring agent in grains. Elevate your rice or quinoa dishes by stirring in a teaspoon of wine vinegar after cooking. It not only brightens the dish but also adds a layer of complexity that can transform simple grains into something special.
With these ideas, you can creatively explore the culinary versatility of your homemade wine vinegar. Pair it with your cooking style and experiment with different recipes, letting your taste preferences guide you. Remember, the kitchen is your playground, so have fun with your ingredients, and enjoy the delicious results!
Faq
Q: How long does it take to make vinegar from wine?
A: Making vinegar from wine typically takes three to six weeks, depending on the fermentation conditions. Ensure you monitor the environment’s temperature and provide adequate air circulation to facilitate the process. For detailed timing guidance, refer to the section on Fermentation Process in our article.
Q: Can you use any type of wine to make vinegar?
A: Yes, you can use various types of wine to make vinegar, but dry wines are recommended for a better final product. Adding fruity or aromatic wines can enhance flavor. For more insight on choosing wines, check our section on Choosing the Right Wine for Vinegar.
Q: What tools do I need to make wine vinegar at home?
A: Essential tools for making wine vinegar include a glass or ceramic container, a breathable cover (like cheesecloth), and a funnel. For a simpler process, refer to our section on The Best Tools for Your Homemade Vinegar.
Q: Why does my wine vinegar smell bad?
A: A foul odor in wine vinegar can indicate contamination or improper fermentation. Ensure your equipment is clean and not overexposed to air. For tips on avoiding mistakes, see our section on Common Mistakes When Making Vinegar.
Q: How can I flavor my homemade wine vinegar?
A: You can infuse your homemade vinegar with flavors by adding ingredients like herbs, spices, or fruits during the fermentation process. For creative ideas, check out our segment on Flavoring Your Vinegar.
Q: Can homemade vinegar go bad?
A: While homemade vinegar is quite stable, it can lose its quality and flavor over time. Store it in a cool, dark place to maintain its taste, as described in our section on Storing and Using Your Homemade Wine Vinegar.
Q: Is homemade wine vinegar healthier than store-bought?
A: Homemade wine vinegar can be healthier as it often contains fewer preservatives and additives compared to commercial varieties. For more on health benefits, refer to our section detailing the Health Benefits of Homemade Vinegar.
Q: What should I do if my vinegar doesn’t turn sour?
A: If your vinegar isn’t sour after a few weeks, it might need more time or better conditions. Ensure it’s in a warm location with airflow. For further troubleshooting, see our section on Fermentation Process: Timing and Temperature Tips.
Key Takeaways
Congratulations on discovering how to transform your leftover wine into flavorful vinegar! This simple DIY kitchen hack not only minimizes waste but also empowers you to create unique salad dressings, marinades, and more with ease. Don’t wait-gather your ingredients and start this exciting kitchen adventure today!
If you loved this project, consider diving into our related guides on homemade mustards and pickling vegetables for more ways to spice up your cooking. Remember, experimenting in the kitchen is where the magic happens, so feel free to share your vinegar-making experiences or any questions in the comments below!
For more kitchen tips, recipes, and exclusive updates, sign up for our newsletter. Let’s keep the creativity flowing and elevate your culinary skills together! Happy cooking!
Get our latest guides, news, and insights highlighted in your Google Search & AI Overviews.










