

Have you ever wondered how you can elevate your culinary creations with a touch of homemade flair? Making wine vinegar is not only a fun kitchen project, but it also transforms leftover wine into a tangy, versatile ingredient that enhances dressings, marinades, and even homemade sauces. With just a few ingredients and some patience, you can create a healthy kitchen essential that impresses your family and friends. Plus, it’s an ideal way to reduce waste and experiment with flavors-perfect for anyone looking to add a personal touch to their cooking. So, roll up your sleeves, and let’s dive into the simple world of DIY wine vinegar making! You’ll be amazed at how easy and rewarding it can be.
Essential Ingredients for Homemade Wine Vinegar
To embark on the delightful journey of making homemade wine vinegar, it’s essential to gather a few key ingredients that will set the foundation for your tangy masterpiece. The star of the show is, of course, the wine. Whether you choose a bold red or a crisp white, the flavor of the vinegar will largely depend on the quality and type of wine you select. To bring out the best flavors, aim for a wine that you enjoy drinking-this will translate into a more delightful vinegar.
In addition to wine, you’ll need a vinegar mother, which is a gelatinous substance comprising acetic acid bacteria. If you don’t have a mother on hand, don’t worry! You can use raw, unfiltered vinegar (like apple cider vinegar) to kickstart the fermentation process. You’ll also need some basic kitchen supplies: a glass jar or container for fermentation, a piece of cheesecloth or a clean kitchen towel to cover it, and a rubber band or string to secure the cloth.
Consider these essential ingredients for your wine vinegar venture:
- Wine: Choose a type that reflects your palate; don’t hesitate to mix different varieties for a unique flavor profile.
- Vinegar Mother: Look for one from a trusted source, or use raw, unfiltered vinegar in its place.
- Sugar (optional): If you desire a sweeter vinegar, adding a small amount of sugar (about 1-2 tablespoons per quart of wine) can help balance acidity.
By using these ingredients, you’re well on your way to creating a flavorful and aromatic vinegar that can elevate your dishes and salads. Enjoy the process of experimentation and take notes on your journey-each batch will teach you something new about the art of vinegar making!
Step-by-Step Guide to Making Wine Vinegar
Making homemade wine vinegar is a rewarding process that turns leftover wine into a flavorful kitchen staple. Not only does it enhance your cooking, but it also involves a surprisingly simple fermentation process. Here’s a straightforward guide to transform your favorite bottle of wine into delicious vinegar that you can use in dressings, marinades, or even to brighten up sauces.
Start by gathering your essential supplies. You’ll need:
- A clean glass jar or container: This will be your fermentation vessel. Choose one that can hold at least a quart of liquid.
- Wine: Use about 3-4 cups of any leftover wine you enjoy.
- A vinegar mother or raw vinegar: If you have a vinegar mother, that’s perfect! If not, raw, unfiltered vinegar will do just fine.
- A breathable cover: A piece of cheesecloth or a clean kitchen towel will allow air circulation while keeping out unwanted contaminants.
- A rubber band or string: This will help secure your cover in place.
Once you have your ingredients ready, follow these simple steps:
1. Prepare the Wine
Pour your wine into the glass jar. If you’re feeling adventurous, you can mix different wines to create a unique blend. However, make sure it totals about 3-4 cups.
2. Add the Vinegar Mother
If you have a vinegar mother, drop it into the jar. If using raw vinegar, add about 1-2 tablespoons. This helps kickstart the fermentation process.
3. Cover the Jar
Place the cheesecloth or towel over the top of the jar, securing it with a rubber band. This cover allows your vinegar to breathe while preventing flies or other debris from entering.
4. Store and Wait
Set the jar in a warm, dark place, like a cupboard, where it won’t be disturbed. The fermentation process typically takes about 3-4 weeks. You can taste it along the way; just keep in mind the flavor will develop over time.
5. Strain and Bottle
When your vinegar reaches the desired acidity, strain out the mother and any sediment through a cheesecloth. Pour the vinegar into a clean bottle, and seal it for storage.
You’ve just created your very own homemade wine vinegar! Feel free to experiment with different types of wine and even infuse flavors by adding herbs or spices during the last week of fermentation. Each batch provides a little lesson in flavor, giving you more confidence to tweak and perfect your vinegar-making skills over time. Enjoy your culinary adventure!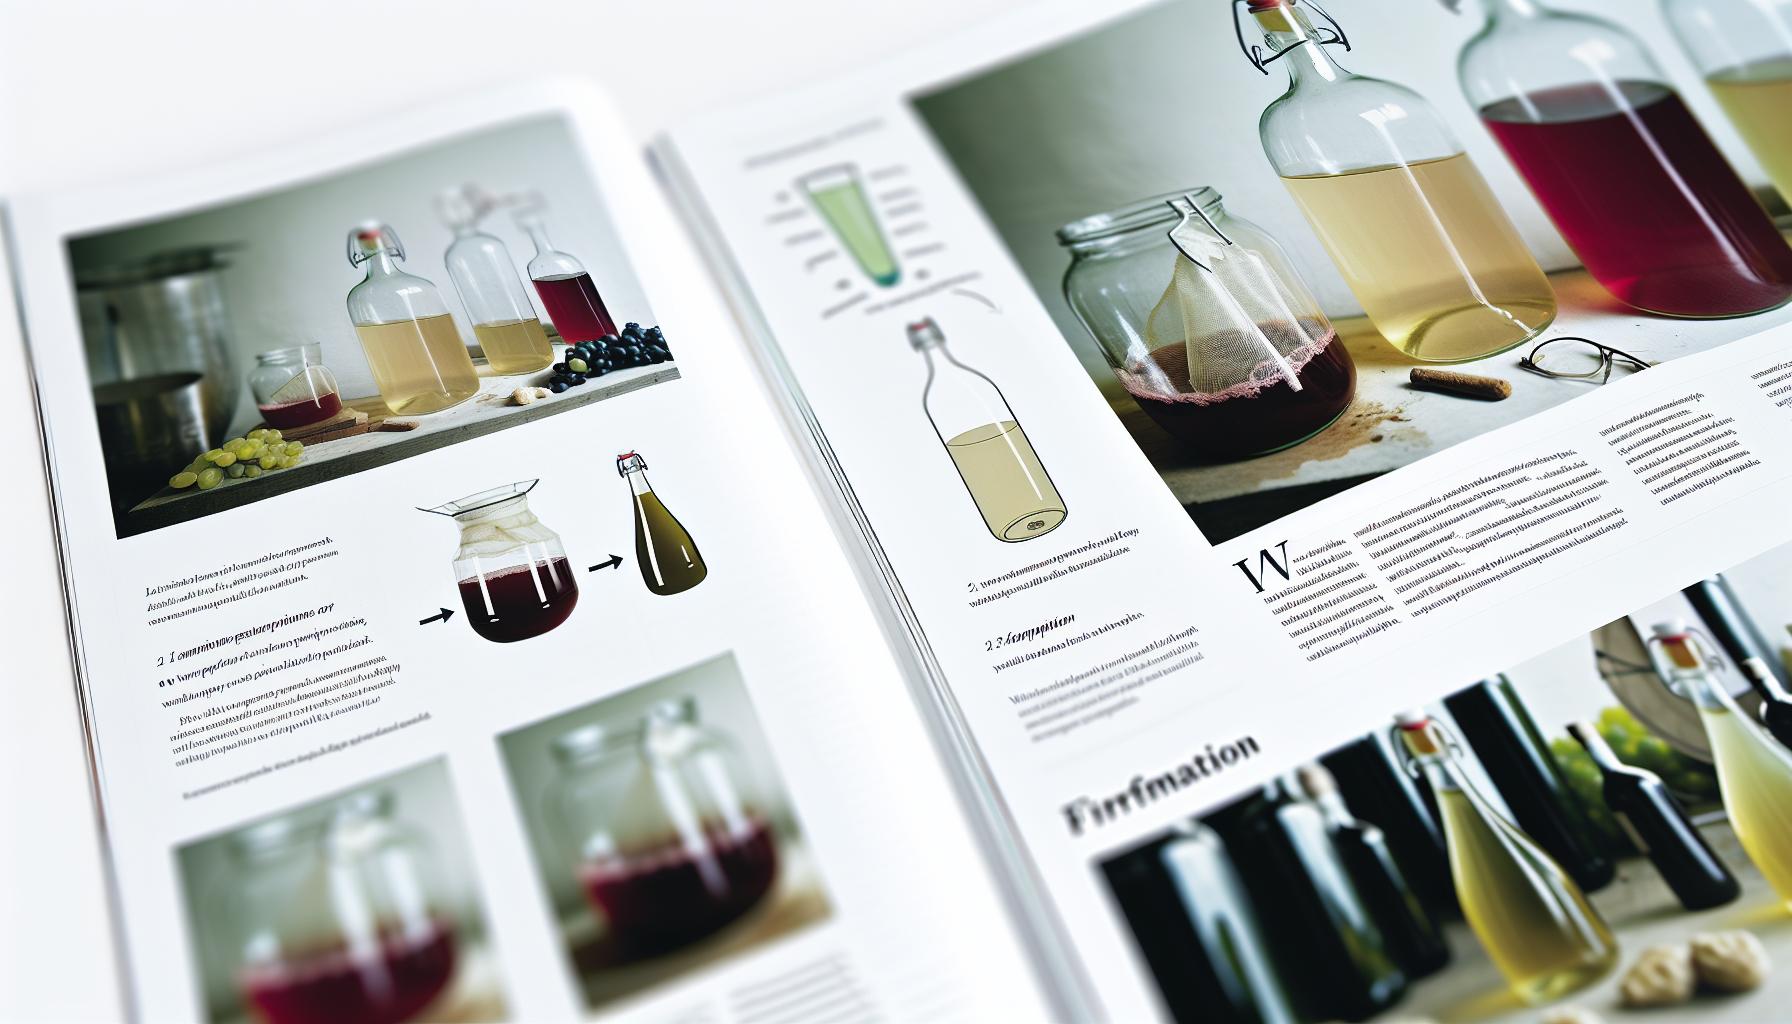
Choosing the Best Wine for Vinegar
When it comes to crafting your own wine vinegar, the choice of wine can significantly influence the final flavor profile. This is an opportunity to get creative and make use of leftover bottles. Think of it as a chance to enhance the dishes you love with unique flavors. It’s a good rule of thumb to use wine that you enjoy drinking because if it tastes good as wine, it will taste good as vinegar!
Red and white wines both make excellent bases for vinegar, but each brings its own characteristics. Red wine vinegar tends to deliver a robust, deep flavor that works beautifully in salad dressings and marinades, adding a bit of complexity. White wine vinegar, on the other hand, is lighter and more acidic, making it a fantastic choice for brightening up sauces or finishing dishes.
If you’re feeling adventurous, consider blending different wines to create a custom vinegar. For example, a mix of red and white wine might offer a balance of both worlds, marrying the richness of red with the crispness of white. Don’t shy away from experimenting with flavored wines, such as those infused with herbs or spices, to craft something truly unique.
When selecting wine, look for varieties that are not too sweet, as sugars can impede the fermentation process. A dry wine will allow for a more balanced acidity once fermented. As a bonus, making vinegar can be a great way to repurpose bottles that may linger at the back of your pantry, giving them a new life with flavor and purpose in your kitchen. So gather your bottles, unleash your creativity, and transform those leftover wines into delightful homemade vinegar!
Fermentation Explained: The Science Behind Vinegar
Understanding the fermentation process is key to transforming your beloved bottles of wine into delicious homemade vinegar. At its core, vinegar is created through a two-step fermentation process involving yeast and acetic acid bacteria. First, yeast converts the sugars in the wine into alcohol during alcoholic fermentation. Next, in what is known as acetic acid fermentation, acetic acid bacteria (like *Acetobacter*) convert that alcohol into acetic acid, the main component of vinegar. This acid gives vinegar its characteristic tangy flavor.
To get started, it’s essential to ensure that your wine is not overly sweet as high sugar levels can inhibit the fermentation process. When you’re ready to begin, simply expose your wine to oxygen. This is where things get a little exciting-after pouring your wine into a fermentation container (a wide-mouth jar works great), cover it with a breathable material like cheesecloth. This will allow air in while keeping out dust and pests. Throughout the fermentation, the yeast will thrive in this oxygen-rich environment, followed by the acetic acid bacteria flourishing as they convert the alcohol to vinegar.
Monitoring the Fermentation
Keep an eye on the development of your vinegar. This is where patience pays off! It can take anywhere from a few weeks to several months for fermentation to fully process, depending on the wine and the temperature of your kitchen. During this time, you can taste your vinegar periodically. When it reaches a flavor that you love, it’s time to strain it and store it. You might notice a gelatinous film on the top of your vinegar; this is a healthy sign-it’s the “mother” of vinegar, composed of acetic acid bacteria that can be used to start new vinegar batches.
The beauty of making vinegar is that it’s an accessible DIY project that celebrates the magic of fermentation. You don’t need fancy equipment-just a sturdy container, a little patience, and your favorite wine. Embrace this simple science and let your kitchen fill with the incredible aroma of homemade vinegar! Your culinary adventures await.
Tips for Flavoring Your Wine Vinegar
The beauty of homemade wine vinegar lies not just in the fermentation process, but also in the endless flavor possibilities you can create. Imagine transforming a simple base of wine into a uniquely flavored vinegar that enhances salads, marinades, and even sauces. By adding natural ingredients during fermentation, you can craft a vinegar that tantalizes your taste buds and complements your culinary creations.
To start flavoring your wine vinegar, consider infusing with herbs and spices. Fresh herbs like thyme, rosemary, basil, or oregano add a vibrant profile. Just a handful can impart wonderful aromatics. Spices such as black peppercorns, coriander seeds, or even crushed garlic can elevate the taste as well. You can experiment with combinations; for instance, try mixing rosemary and garlic for a robust flavor. Be sure to add these ingredients once your vinegar has started fermenting but before it’s fully ready to bottle, allowing them to infuse their flavors effectively.
Don’t overlook the role of fruit in flavoring vinegar! Citrus peels, such as lemon or orange, can introduce a refreshing zing. Dried fruits like apricots or figs also work wonderfully to sweeten and enhance flavor without adding processed sugars. Simply add these into your fermentation jar and let the vinegar work its magic. Remember to taste periodically; your vinegar will evolve over time, so trust your palate to guide you to the optimal flavor profile.
Finally, remember that moderation is key. Start with smaller quantities of flavoring agents-about 1 to 2 tablespoons per quart of liquid is a good guideline-and adjust based on your taste preferences as the vinegar ferments. The goal is to enhance the vinegar without overpowering its subtle wine notes. Whether you’re crafting a zesty citrus vinegar or a deep, herby version, enjoy the journey of trial and error, leading you to a flavor that’s distinctly your own. Happy fermenting!
Storage and Shelf Life: Keeping Your Vinegar Fresh
To get the most out of your homemade wine vinegar, proper storage is crucial for retaining its flavor and quality. While vinegar is inherently preservative due to its acidity, the right storage practices can further extend its shelf life and prevent unwanted changes in taste or aroma. After you’ve gone through the beautiful process of fermentation, bottling your vinegar in the right container is your next step toward a tasty culinary companion.
Use dark glass bottles, preferably amber or green, to protect your vinegar from light, which can alter its flavor over time. If you’re in a pinch, a clean, tightly sealed jar made of ceramic or plastic can work as well, but avoid clear glass as it offers no protection from light. Always ensure that the bottles are sterilized before use to prevent any contamination.
Store your vinegar in a cool, dark place, like a pantry or cupboard, away from heat sources and sunlight. This slows down any chemical reactions that could degrade the quality of your vinegar. While it’s tempting to keep it out on the countertop for easy access, this might not be the best for its longevity.
As for shelf life, homemade vinegar can last up to one to two years when stored properly. However, its flavor may change over time, potentially becoming more robust and tangy. Always give your vinegar a sniff and a taste before using it, especially if it’s been sitting for a while. If you notice any off-odors or flavors, it might be time to throw it out. Homemade wine vinegar that is flavored with herbs, spices, or fruits will generally have a shorter shelf life than plain vinegar, so keep an eye on those flavored varieties.
To extend the freshness of your vinegar, when you open a bottle, be sure to keep track of its flavor. If you’ve infused it with delicate ingredients like fresh herbs, try to use it within six months to a year for the best taste experience. In contrast, plain wine vinegar is a robust kitchen staple that can be enjoyed over longer periods.
By following these simple storage tips, you can enjoy the fruits of your labor-literally!-in your culinary creations for months to come. Whether drizzled over a fresh salad, used in a marinade, or incorporated into a sauce, your homemade wine vinegar will remain a delightful addition to your kitchen arsenal. Happy storing and enjoy your vinegar adventures!
Common Mistakes to Avoid When Making Vinegar
Making your own wine vinegar can be a rewarding kitchen project, but even the most dedicated home cook can stumble over a few common pitfalls. Many first-timers find themselves disheartened when their vinegar hasn’t turned out as expected. Let’s tackle some of the biggest mistakes and how to avoid them so you can enjoy the fruits of your labor.
One of the most frequent errors is not using the right type of wine. Sticking to cheap wine for your vinegar isn’t always the answer; using a wine that you enjoy drinking will ultimately lead to better flavor in your vinegar. Avoid anything that could be too sweet or overly fortified; you’re looking for something balanced. A good rule of thumb is to choose a wine that you would happily pair with a meal-it’s an excellent chance to elevate your culinary creations.
Another critical mistake is not monitoring the fermentation process. Vinegar-making can be a slow art, and while some variation is expected, it’s essential to check in on your vinegar occasionally. Look for signs of activity, such as bubbling or sediment in the jar. If you skip this, you might miss the chance to introduce a little extra oxygen, which can really enhance the fermentation. Remember, vinegar thrives on air, so be generous with your stirring on occasion to keep the process lively.
Sanitation plays a vital role as well; neglecting cleanliness can lead you down a troublesome path. Always ensure your jars, utensils, and fermentation vessels are perfectly clean to avoid any unwanted bacteria or mold. You want to encourage the growth of the right kind of bacteria and yeast, so a good scrub before you begin is essential.
Additionally, don’t rush the waiting period. Many new vinegars are tempted to bottle their concoction too soon. Give your vinegar time-generally, it needs at least 3-4 weeks to ferment properly depending on the environment. You might be eager to taste it sooner, but patience is key, and you’ll end up with a product that’s worth the wait.
By sidestepping these common pitfalls and treating the process with a bit of care, you’ll set yourself up for success in making homemade wine vinegar. Embrace experimentation, enjoy the journey, and remember that each batch may teach you something new. Happy fermenting!
Creative Ways to Use Homemade Wine Vinegar
Using homemade wine vinegar can transform ordinary dishes into extraordinary creations. Not only does the vinegar bring a delightful tang and depth of flavor, but it also adds a personal touch to your culinary adventures. Here are some fun and practical ideas for incorporating your homemade wine vinegar into your kitchen routine.
One terrific way to utilize homemade wine vinegar is in salad dressings. Replace store-bought dressings with a simple blend of oil, vinegar, mustard, and your favorite herbs. For an easy vinaigrette, whisk together 1 part vinegar to 3 parts olive oil, add a teaspoon of mustard for creaminess, and season with salt and pepper. This dressing can elevate your greens or serve as a marinade for vegetables.
Flavorful Marinades
Homemade wine vinegar shines in marinades, too. Use it to tenderize and infuse meats or vegetables with flavor. Combine vinegar with olive oil, garlic, herbs, and spices to create a marinade. Try marinating chicken, beef, or tofu for at least 30 minutes before grilling or roasting. The tartness of the vinegar helps break down proteins while imparting a rich taste.
Unique Pickling Solutions
Experimenting with pickling is another exciting avenue. Homemade wine vinegar can be the star of your pickling projects, whether it’s cucumbers, carrots, or beets. Simply heat equal parts vinegar and water, add sugar and salt, and pour over the vegetables you want to pickle. Let them sit in the fridge for at least 24 hours to develop that scrumptious pickled flavor.
Creative Sauces
Consider using your homemade wine vinegar in sauces. It can add brightness to dishes like stews and braises. A splash at the end of cooking can elevate the flavors remarkably. For example, after sautéing onions and garlic, deglaze the pan with a bit of wine vinegar and reduce it to create a tasty sauce that pairs beautifully with roasted meats.
With these simple yet effective uses, your homemade wine vinegar can be a staple in your kitchen repertoire. The possibilities are endless, so don’t hesitate to get creative and enjoy the process! Happy cooking!
Exploring Different Types of Wine Vinegar
When it comes to homemade wine vinegar, not all wines are created equal, and this significantly affects the flavor profile of your final product. opens up a world of possibilities in flavor, accompanying diverse cuisines and enhancing your culinary adventures. Let’s delve into some of the most popular varieties.
One of the most well-known types is red wine vinegar. This vinegar is robust and tangy, making it a perfect companion for hearty dishes like braised meats and roasted vegetables. Because it retains some of the fruitiness from the wine, it adds depth to marinades and dressings. An excellent choice for your homemade variety is a bold Cabernet Sauvignon or a fruity Merlot, both of which transition beautifully into vinegar form.
In contrast, white wine vinegar tends to be lighter and crisper. It’s ideal for salad dressings, fish dishes, or any meal that benefits from a fresher taste. Using a Sauvignon Blanc or a Pinot Grigio for your vinegar will lend it bright, citrusy notes. When combined with olive oil and herbs, a vinaigrette made from white wine vinegar can elevate a simple green salad into something extraordinary.
Another fascinating option is champagne vinegar. Known for its delicate flavor, it adds a subtle nuttiness and a touch of sweetness. Champagne vinegar is a wonderful alternative in dishes that call for a gentle vinegar note without overwhelming other flavors, like in delicate sauces or light marinades.
Don’t overlook fruit-infused vinegars either! By using your homemade wine vinegar as a base, consider steeping it with fruits such as berries or peaches. This elevates your vinegar to a new level of complexity and is perfect for drizzling over grilled meats or incorporating into fruity dressings.
Ultimately, the type of wine you choose for your vinegar fundamentally changes its character and use in the kitchen. Experimenting with various types allows you not just to understand the subtle differences but to tailor your homemade vinegars to specific dishes, making every meal a delightfully personal experience. So, have fun experimenting, and let your taste buds guide you on this flavor journey!
Health Benefits of Wine Vinegar
Vinegar, especially wine vinegar, is more than just a zesty addition to your culinary creations; it also boasts an array of health benefits that can contribute to your overall well-being. One of the most talked-about advantages of wine vinegar is its potential to aid in digestion. The acetic acid in vinegar can help increase the acidity of your stomach, making it easier for your body to break down food and absorb nutrients. A tablespoon of wine vinegar in a glass of water taken before a meal may help improve digestive health, reducing bloating and discomfort.
Another notable benefit is its impact on blood sugar levels. Studies suggest that vinegar can help lower blood sugar spikes after meals, which can be especially beneficial for individuals managing insulin sensitivity or type 2 diabetes. Incorporating wine vinegar into your salads or marinades may not only enhance flavor but also offer a practical way to stabilize your glucose levels throughout the day.
Weight management is another area where wine vinegar shines. Its sour taste can help curb appetite and make dishes more satisfying, potentially leading to reduced caloric intake. Adding a splash of wine vinegar to your meals not only livens up flavors but might also encourage more mindful eating practices.
Moreover, wine vinegar is packed with antioxidants, particularly in red wine vinegar, which can promote heart health. These antioxidants help combat free radicals in the body, reducing oxidative stress and inflammation. Incorporating this tangy ingredient into your everyday meals can contribute to a healthier heart and body.
In summary, the extend far beyond its culinary uses. By adding it to your diet, you’re not just enhancing flavors; you’re also supporting digestion, stabilizing blood sugar, managing weight, and boosting heart health. So, next time you make homemade wine vinegar, remember that you’re not only creating a delightful kitchen staple but also a potential ally for your wellness journey.
Troubleshooting Vinegar Fermentation Issues
If you’ve embarked on the delightful journey of making your own wine vinegar, you might encounter a few bumps along the way. Don’t worry- is part of the learning experience! With a little patience and observation, you can turn potential problems into practical solutions, ensuring a successful transformation from wine to vinegar.
One common issue is a lack of fermentation. If your mixture isn’t bubbling or showing signs of activity after a week, check a few key things: temperature and oxygen exposure are critical. Vinegar needs warmth (but not too warm!)-aim for a cozy spot between 60-80°F (15-27°C). If it’s too cold, fermentation can stall. Additionally, ensure your container is covered with a breathable cloth. This setup allows oxygen in while keeping contaminants out, vital for the desired Acetobacter bacteria to thrive.
Another frequent hiccup is off-odors or funky smells. Your vinegar should have a pleasant, tangy scent. If it smells sour or like rotten eggs, you might have unwanted contaminants. Don’t panic! You can salvage your batch. Strain the mixture and transfer it to a clean jar. Make sure your utensils and equipment are sanitized to prevent recycling any bacteria that could lead to spoilage.
If your vinegar tastes too harsh or lacks complexity, it may have fermented too quickly due to high temperatures or excessive air exposure. You can mellow it out by aging your vinegar in a cool, dark place for an additional month or two. Alternatively, consider blending it with a batch that has a more balanced flavor profile.
Finally, watch out for cloudy vinegar. While some cloudiness is normal (especially in homemade varieties), an excessive haze could signify a problem. If you’re concerned, strain the vinegar to clarify it. A little bit of patience here can yield a final product that not only looks appealing but also tastes incredible.
Incorporating these troubleshooting tips into your vinegar-making process will enhance your confidence as a home cook. Remember, fermentation is an art, and every batch is a unique exploration. Embrace the journey, trust your instincts, and enjoy the delightful flavors of your homemade wine vinegar!
Elevating Your Cooking with Wine Vinegar
Elevating your dishes with homemade wine vinegar is simpler than you might think, and the rewards are absolutely delicious. Wine vinegar is not just a kitchen staple; it can transform the flavor of your meals, adding brightness and a tangy depth that can elevate even the most basic ingredients. Whether it’s drizzling over roasted vegetables, incorporating into marinades, or enhancing salad dressings, this ingredient is a game-changer.
One delightful way to use your wine vinegar is to make a zesty vinaigrette. Combine 1 part wine vinegar with 3 parts olive oil, and whisk in a touch of mustard, salt, and freshly cracked pepper. This versatile dressing can be customized with herbs like basil or thyme, or even a splash of honey for sweetness. Toss it over greens, grilled chicken, or use it to marinate veggies before grilling. The tanginess of your homemade vinegar will bring a new life to the simplest of salads.
Flavor Enhancements
Wine vinegar can also serve as a fantastic flavor enhancer in cooking. For instance, try adding a splash to your sautéed vegetables just before serving. This not only brightens the dish but also provides a lovely acidity that balances richer flavors, making your creations pop. When making soups or sauces, a dash of vinegar at the end can sharpen the taste and bring everything together harmoniously.
Another creative use is crafting your own pickles. By mixing your wine vinegar with water, sugar, and salt, you can pickle various vegetables. Carrots, cucumbers, and even onions can soak in this flavorful solution, giving you quick, crunchy snacks or toppings that add zing to any meal. Plus, you can experiment with spices like dill or chili flakes for an extra kick.
Simple Substitutions
Don’t overlook wine vinegar as a substitute for other vinegar types in your recipes. It can replace apple cider vinegar in marinades or balsamic vinegar in salad dressing for unique flavor profiles. This adaptability means you can use what you have on hand, allowing your culinary creativity to flow without feeling restricted.
Finally, remember that homemade wine vinegar usually has subtler flavors than store-bought varieties, so don’t hesitate to taste and adjust according to your dishes. The beauty of crafting your vinegar means you can tailor it to your palate-experiment with different wines or additional flavorings like garlic, shallots, or herbs in the fermentation stage to make it uniquely yours.
With these tips, your homemade wine vinegar will not only find a special place in your pantry but also enhance your everyday cooking adventures. Enjoy the journey as your kitchen becomes a hub of flavor and creativity!
Frequently Asked Questions
Q: What is the easiest way to make wine vinegar at home?
A: To make wine vinegar at home, simply combine red or white wine with a vinegar mother in a clean jar, cover it with a breathable cloth, and let it ferment for about 2 to 3 weeks, stirring occasionally. For detailed instructions, check our *Step-by-Step Guide to Making Wine Vinegar*.
Q: How long does it take to make wine vinegar?
A: Making wine vinegar typically takes about 2 to 3 weeks for the fermentation process to complete. However, longer fermentation can enhance the flavor. Check our *Fermentation Explained: The Science Behind Vinegar* section for more insights.
Q: Can I use any type of wine to make vinegar?
A: Yes, you can use any type of wine to make vinegar, but the flavor of the final product depends on the wine chosen. Explore more about *Choosing the Best Wine for Vinegar* in our article.
Q: What should I do if my wine vinegar is too strong?
A: If your wine vinegar is too strong, dilute it with water or blend it with a milder vinegar. For tips on adjusting flavors, refer to *Tips for Flavoring Your Wine Vinegar*.
Q: How can I speed up the vinegar fermentation process?
A: To speed up fermentation, ensure your mixture is warm (around 70-85°F or 21-29°C) and expose it to more oxygen by stirring or using a wide container. See *Troubleshooting Vinegar Fermentation Issues* for more advice.
Q: Is homemade wine vinegar healthier than store-bought?
A: Yes, homemade wine vinegar is often healthier as it can contain no preservatives and can be made using high-quality organic wine. Learn more about the *Health Benefits of Wine Vinegar* in our article.
Q: How should I store my homemade wine vinegar?
A: Store homemade wine vinegar in a cool, dark place in a glass or plastic bottle with a tight-fitting cap. For more storage tips, visit *Storage and Shelf Life: Keeping Your Vinegar Fresh*.
Q: Can I use leftover wine to make vinegar?
A: Absolutely! Leftover wine is perfect for making vinegar. Just follow the steps outlined in the *Step-by-Step Guide to Making Wine Vinegar* for best results.
To Wrap It Up
Congratulations on mastering the art of making wine vinegar! This healthy kitchen essential not only enhances your meals but also empowers your culinary creativity. Remember, you can easily customize flavors by experimenting with different wines and additional ingredients like herbs or spices. Don’t wait-start today and discover the delicious possibilities that homemade wine vinegar brings to your kitchen.
If you enjoyed this guide, why not explore our related recipes on how to craft your own gourmet butter or dive into our step-by-step winemaking process? Each article is designed to keep your kitchen adventurous and filled with delightful projects. For more tips and exclusive content, subscribe to our newsletter and join our community of enthusiastic home cooks.
Feel free to let us know your thoughts or share your vinegar-making experience in the comments below! Your feedback not only inspires us but also helps fellow cooks in their culinary journeys. Happy cooking!
Get our latest guides, news, and insights highlighted in your Google Search & AI Overviews.










