
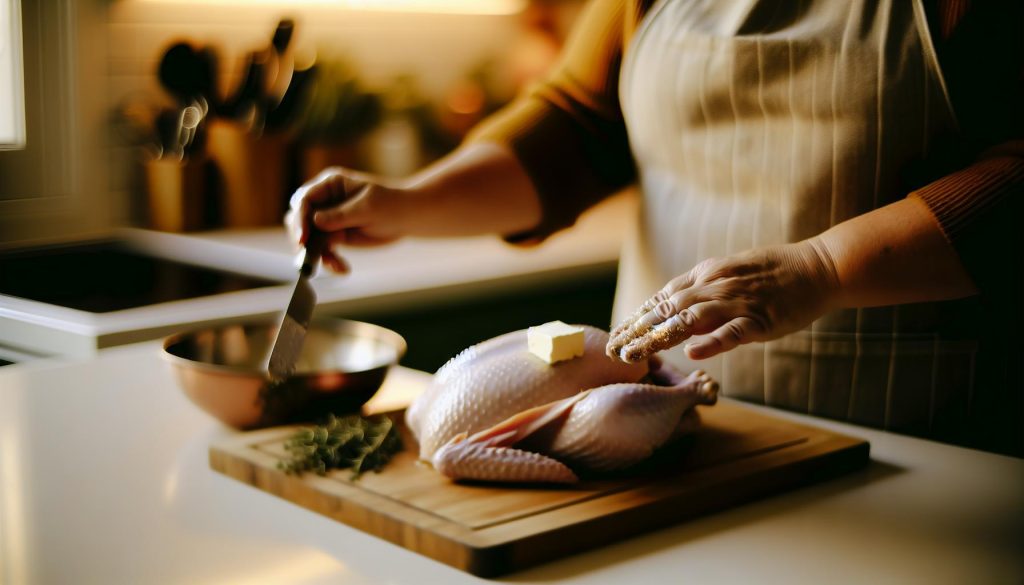
Imagine serving a turkey that not only looks golden and crispy but also boasts meat so juicy that it practically melts in your mouth. The secret lies in a homemade turkey rub with butter that elevates your Thanksgiving feast or Sunday dinner to gourmet status. By combining simple ingredients like herbs and spices with the richness of butter, you can create an explosion of flavor that will impress family and friends alike. Whether you’re a kitchen novice or a seasoned cook, this easy recipe ensures anyone can achieve that perfect combination of crispy skin and succulent meat. Dive into this guide to discover how to make your turkey the star of the show, using ingredients you likely have on hand. Let’s get cooking!
Choosing the Right Turkey for Your Butter Rub Recipe
Choosing the right turkey can significantly elevate your butter rub recipe, ensuring that you achieve the desired crispy skin and juicy meat. Start by selecting a fresh or high-quality frozen turkey. Fresh turkeys are often more flavorful and tender, as freezing can affect the texture. If you’re opting for frozen, make sure to allow ample time for thawing in the refrigerator – about 24 hours for every 4-5 pounds.
When it comes to size, aim for a turkey that suits your gathering while leaving room for delicious leftovers. A good rule of thumb is to plan for about 1 to 1.5 pounds per person. Consider the breed; heritage birds tend to have richer flavor profiles, but they can be pricier and require a longer cooking time. If you’re looking for value, a standard supermarket turkey will yield great results with a careful approach to seasoning and cooking.
Don’t forget about the turkey’s age and source. Younger birds (usually around 4-6 months old) are more tender and have better flavor than older ones. Look for labels that indicate the turkey is organic, free-range, or pasture-raised, which can contribute to a more robust taste. Ultimately, your chosen turkey will provide the blank canvas for your butter rub masterpiece, so take the time to select one that meets your flavor and texture expectations.
Essential Ingredients for Crispy Skin and Juicy Meat
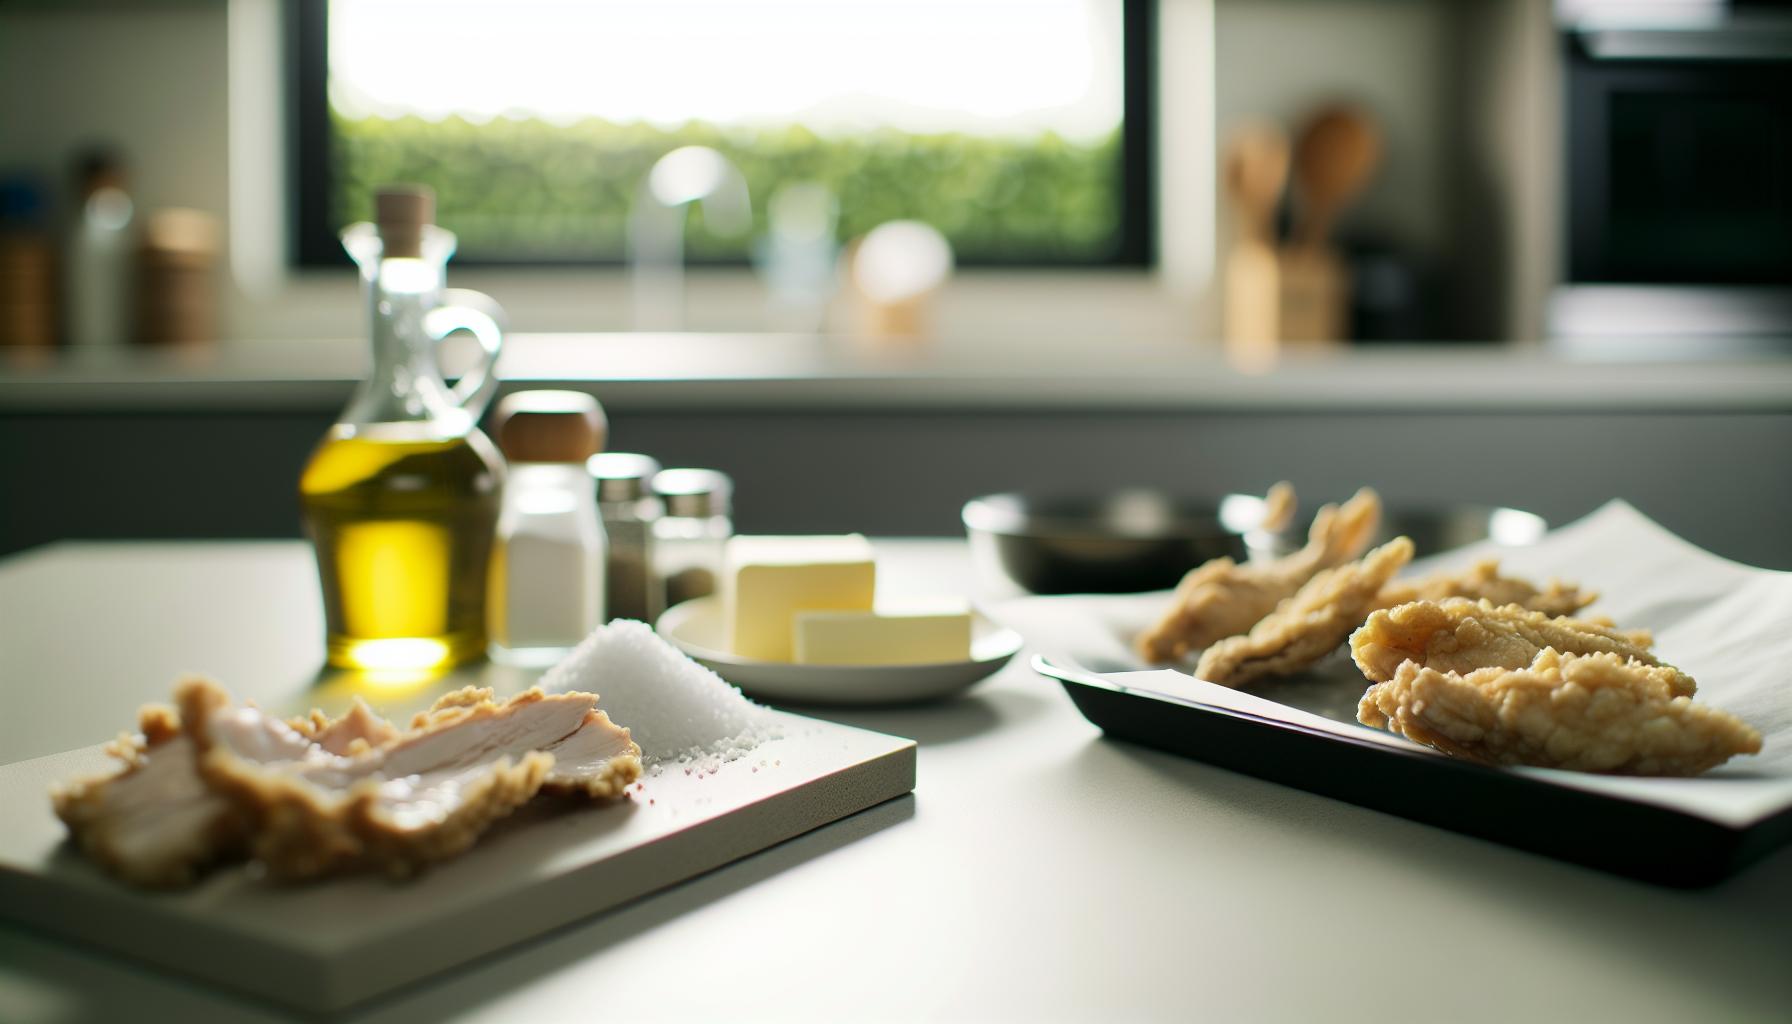
To achieve perfectly crispy skin and juicy meat, the ingredients you choose for your turkey rub can make all the difference. A rich blend of spices and fats not only enhances flavor but also contributes to that coveted golden-brown exterior. Start with high-quality butter as your base; it not only adds richness but also helps crisp the skin when roasted. You may even want to opt for compound butter by mixing fresh herbs and garlic into softened butter for an added layer of flavor.
The success of your rub lies in balancing aromatic spices and seasonings. Consider using a combination of:
- Paprika: for a subtle sweetness and vibrant color.
- Garlic powder: to impart a savory depth.
- Onion powder: for an additional layer of flavor.
- Dried herbs: such as thyme, rosemary, and sage, which are traditional for poultry and enhance the overall taste.
- Kosher salt and black pepper: essential for seasoning and drawing out moisture, helping to form that desired crust.
In addition to these key players, don’t shy away from experimenting with other flavor enhancers. For a sweet touch, a hint of brown sugar can create a lovely caramelization. For some heat, consider adding cayenne pepper or chili powder. This balance of heat and sweetness can make your turkey stand out.
The right mixture of these ingredients will not only create a delightful flavor profile but also help retain moisture in the turkey, ensuring that each bite is as flavorful as it is juicy. Remember, homemade rubs allow for creativity; don’t hesitate to tweak ratios or introduce your favorite spices, transforming your turkey into a personalized feast.
Step-by-Step Guide to Preparing the Turkey Rub
When preparing a turkey rub that promises crispy skin and juicy meat, the process can be as enjoyable as the end result. Let’s break it down into simple steps, ensuring your preparation is easy, satisfying, and yields a flavorful turkey that will impress everyone around your table.
Start by gathering your ingredients. For a classic butter-based rub, you’ll need unsalted butter at room temperature, allowing it to blend easily with your spices. Choose a variety of aromatic spices and herbs-think paprika, garlic powder, onion powder, thyme, and rosemary-to pack a flavorful punch. Remember to keep kosher salt and black pepper handy for that essential seasoning. You can even consider adding a touch of brown sugar or a few dashes of cayenne pepper for extra sweetness or heat.
In a medium-sized mixing bowl, combine your chosen spices with the softened butter. Use a fork or a spatula to create a smooth paste. If you’re making a compound butter, this is the moment to be adventurous! Mix in finely chopped fresh herbs or a bit of minced garlic to boost the flavor even more. The goal is to achieve a well-blended mixture-somewhere between creamy and spreadable, so it can adhere beautifully to your turkey.
Once your rub is ready, it’s time to work some kitchen magic. Pat your turkey dry with paper towels to ensure the skin crisps up nicely in the oven. Then, take a generous amount of your rub and gently lift the turkey skin where possible, especially around the breast and thighs. Use your fingers to massage the rub into the meat underneath the skin-this is crucial for flavor penetration. Don’t forget to apply some rub on the outer surface of the skin too, as it is vital for achieving that golden-brown crust when cooked.
In terms of timing, try to let your turkey marinate with the rub for at least a couple of hours-ideally overnight-before roasting. This not only amplifies the flavors but also allows the rub to work its magic, helping keep the meat juicy during cooking. And don’t worry if you don’t have hours to spare; even a short marination time will enhance the overall taste!
With this step-by-step guide, you’re well on your way to crafting a beautifully seasoned turkey. Enjoy the process and feel encouraged to experiment with flavor variations that speak to your palate. Happy cooking!
Techniques for Applying the Turkey Rub Effectively
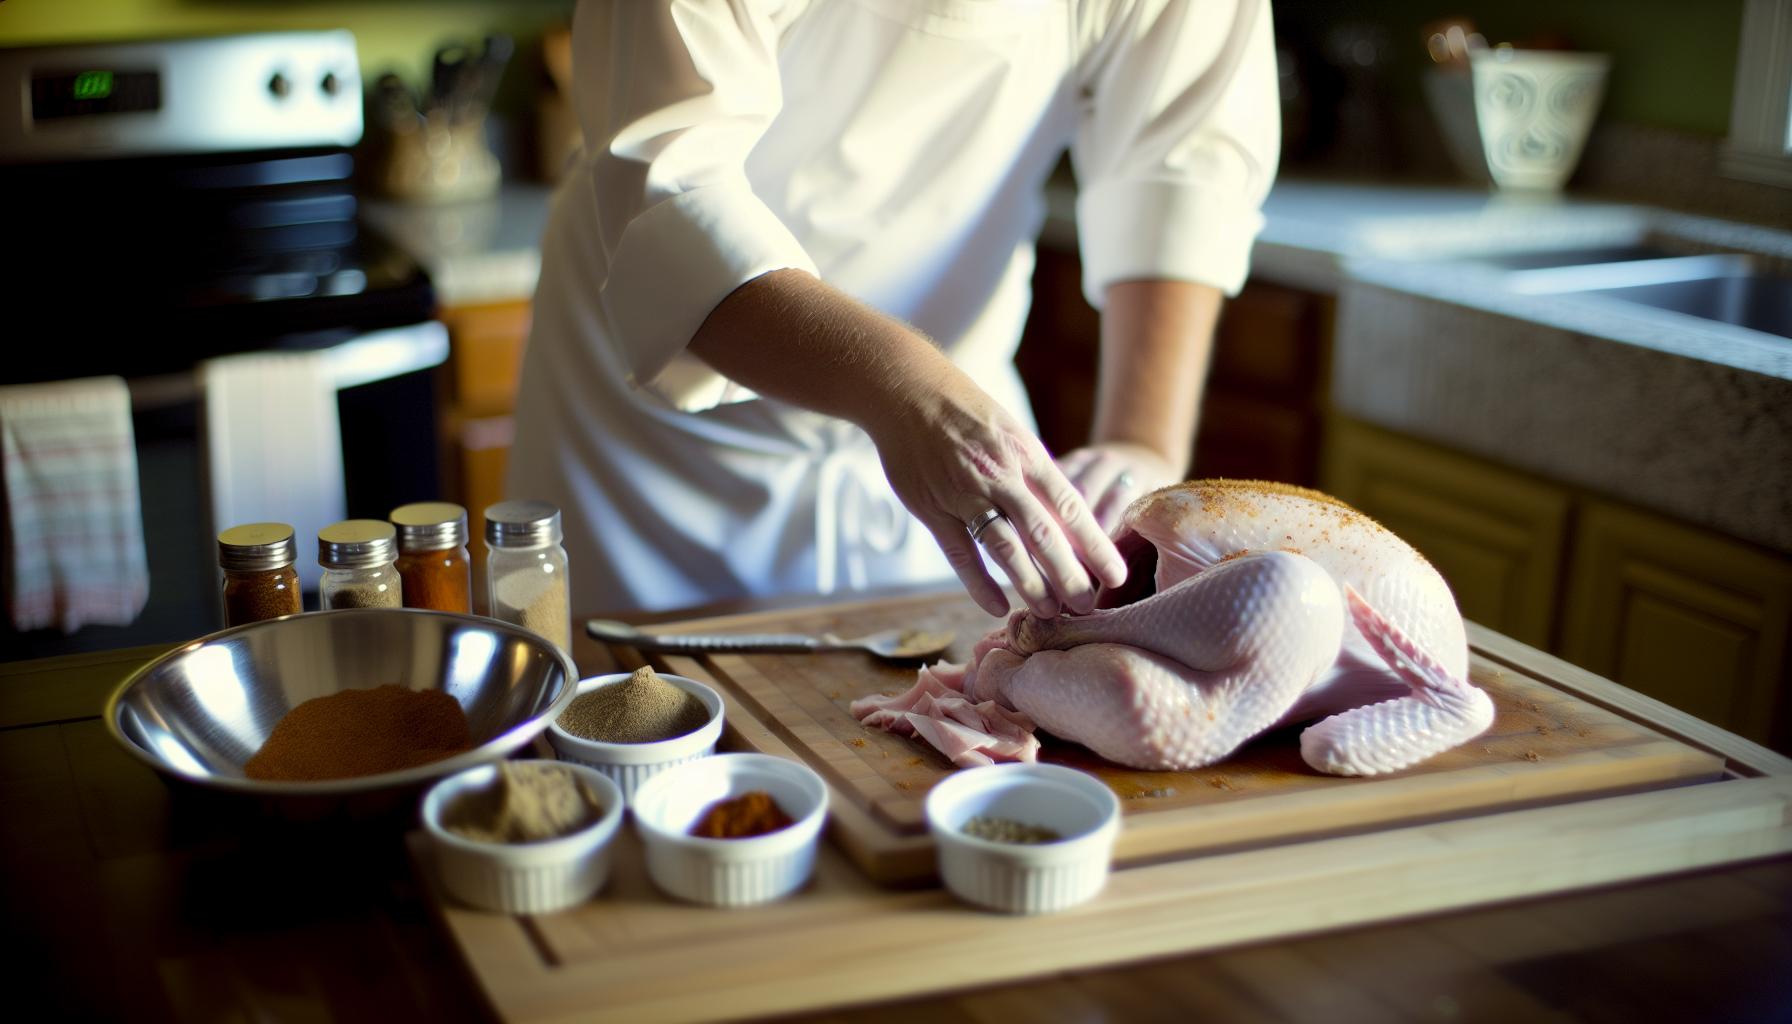
Applying your turkey rub effectively can elevate the flavors and enhance that coveted crispy skin. To get started, make sure your turkey is completely thawed and patted dry with paper towels. This step is crucial because moisture on the surface can prevent the skin from crisping up beautifully during cooking.
Once your turkey is dry, it’s time to work that butter rub magic. Begin by lifting the skin gently, especially around the breast and thighs. This is where the real flavor infusion happens! Use your fingers to create a pocket and generously slather the butter rub underneath, ensuring it’s spread evenly across the meat. Don’t be shy-really get in there to work the rub into the meat! Remember, flavor penetration is key; the more rub that gets beneath the skin, the juicier and tastier your turkey will be.
Next, make sure to coat the outside of the turkey as well. This outer application not only adds flavor but is essential for achieving that golden-brown crust we all crave. Use your hands to massage the remaining rub into the skin, covering every inch. If there’s leftover rub, don’t toss it! You can spread it onto any exposed areas like the wings and legs for added flavor.
Timing is also critical when it comes to applying your rub. For the best results, allow your turkey to rest in the refrigerator for at least a couple of hours, or even overnight if time permits. This resting period allows the rub to meld with the turkey, creating a mouthwatering masterpiece. So be patient-it’s worth the wait! With this thorough application process, you’re well on your way to serving up a turkey that will impress your guests and leave them coming back for more. Happy cooking!
Timing: How Long to Let the Rub Sit
The perfect turkey rub isn’t just about the delightful blend of spices; it’s also about timing. Once you’ve applied your flavorful butter rub, giving it some time to meld with the meat is essential for achieving that coveted juicy and crispy turkey. Ideally, aim to let your turkey sit with the rub on in the refrigerator for a minimum of two hours, but if time allows, overnight is even better. This resting period allows the flavors to penetrate deeply into the meat, resulting in a more flavorful and tender turkey.
When you let the rub sit overnight, it gives your turkey an opportunity to absorb all that delicious goodness, enhancing both flavor and moisture retention. Think of it like marinating – the longer, the better! For those short on time, even a quick two-hour rest can make a noticeable difference compared to cooking it immediately, as it still provides some time for the ingredients to work their magic.
Make sure to cover your turkey while it rests to prevent exposure to air, which can dry out the meat. A simple cover with plastic wrap will do the trick! This step ensures that the rub doesn’t just sit on the surface but actually seeps into the meat, creating a mouthwatering base for roasting.
So, next time you’re prepping your turkey, plan ahead and give that rub the time it needs to shine. You’ll be well on your way to serving a turkey that not only looks stunning with its crisp skin but also tastes like a celebration in every bite! Happy cooking!
Cooking Methods for Perfectly Roasted Turkey
To achieve a perfectly roasted turkey with a crispy skin and juicy meat, choosing the right cooking method is crucial. Whether you prefer roasting, smoking, or using a deep fryer, each technique has its unique benefits and can yield delicious results when combined with your butter rub.
Traditional Roasting
Roasting is the most common method for cooking turkey, and it allows the rub to do its magic. Start by preheating your oven to 325°F (163°C). Place the turkey breast side up on a rack in a roasting pan and tuck the wing tips under the bird to prevent burning. For extra flavor, pour some broth or water into the bottom of the pan to create steam, which helps keep the meat moist. Roast the turkey for approximately 13-15 minutes per pound. Use a meat thermometer to check for doneness; the breast should reach an internal temperature of 165°F (74°C) while the thighs should be around 175°F (80°C).
Smoking
If you want to infuse your turkey with rich, smoky flavors, try smoking it. This method requires a bit more time and patience but the results can be outstanding. Preheat your smoker to 225°F (107°C) and add your choice of wood chips-like apple, cherry, or hickory-for a sweet or bold flavor profile. Place the turkey in the smoker and smoke for about 30 minutes per pound, keeping an eye on the internal temperature. The low and slow cooking will allow the flavors from the butter rub to penetrate the meat deeply, ensuring it remains succulent and flavorful.
Deep Frying
For those wanting crispy skin in less time, deep frying is an exciting option. Make sure you have a safe, flat outdoor area to work, as this method involves hot oil. Heat oil in a large fryer to 350°F (175°C), and carefully lower the turkey into the oil using a fryer basket. Cook for approximately 3-4 minutes per pound. The high heat cooks the skin quickly, sealing in moisture and flavor from your butter rub. Ensure the turkey is fully thawed and dried to minimize splatter.
Rotisserie Cooking
Rotisserie cooking is another fantastic way to achieve evenly cooked turkey with crispy skin. This method allows for even heat distribution, so the bird cooks uniformly. If you have a rotisserie attachment for your grill, preheat it to medium heat, about 350°F (175°C). Secure the turkey on the spit and let it cook for 2-3 hours, checking periodically until it reaches the desired internal temperatures. The rotating action promotes a beautifully golden, crispy exterior while keeping the meat juicy inside.
No matter which method you choose, the key is patience. Allowing the turkey to rest for at least 20-30 minutes after cooking before carving will help redistribute the juices throughout the meat, making every slice tender and flavorful. Enjoy experimenting with these cooking methods to find the one that best suits your taste and style! Happy cooking!
Tips for Achieving Extra Crispy Skin
To achieve a beautifully crispy turkey skin that’s a joy to bite into, consider a few key practices that make all the difference. One great technique is to begin with dry-brining your turkey. This simple process involves applying salt to the turkey and letting it sit uncovered in the refrigerator for about 12 to 24 hours. Dry-brining not only helps season the meat throughout but also draws out moisture, resulting in drier skin that crisp up beautifully during cooking.
When it comes time to apply your butter rub, make sure the turkey skin is as dry as possible. After you’ve brined it, pat the skin down with paper towels to absorb any residual moisture. The drier the skin, the better it will crisp up in the oven or fryer. Incorporating baking powder into your butter rub can also enhance depth of crispiness because it helps to break down the skin proteins and promote browning. Just mix a teaspoon or two into your butter before applying it under the skin and over the exterior.
Timing is also critical. If you have the patience, let the rub sit for at least 30 minutes to an hour, or even overnight if you’re doing a dry brine. This waiting period allows the flavors to meld and the butter to penetrate the skin, improving both flavor and texture. When you’re ready to cook, consider roasting at a higher temperature-around 425°F (220°C) for the first 30 to 45 minutes-to kickstart the crisping process before reducing the heat to finish cooking gently.
Finally, don’t skip the resting phase after cooking! Allow the turkey to rest for at least 20-30 minutes before carving; this step lets the juices redistribute throughout the meat, ensuring each slice is not only juicy but benefits from that gorgeous crispy skin you worked hard to create. Embrace these techniques, and you’ll serve a turkey that’s not just succulent on the inside but a delight to behold on the outside as well.
Flavor Variations: Creative Twists on the Classic Recipe
There’s nothing quite like the rich aroma of a turkey roasting in the oven, especially when it’s infused with a mouthwatering rub. While the classic butter rub is undeniably delicious, there are countless creative twists you can add to spice things up and personalize your holiday feast. Here are some flavorful variations that can elevate your turkey game.
One fantastic way to add complexity to your rub is to incorporate fresh herbs. Instead of sticking to just salt and pepper, consider a blend of rosemary, thyme, and sage. These herbs not only complement the turkey beautifully but can also be mixed into the butter to create a fragrant herb-infused base. You might try adding minced garlic and lemon zest for a Mediterranean flair, giving your turkey a bright and fresh makeover.
For those who love a bit of heat, a spicy twist might be just what your holiday table needs. Mix in some smoked paprika or cayenne pepper to your butter concoction for a subtle kick. If you’re feeling adventurous, a splash of your favorite hot sauce can go a long way in creating a pleasantly spicy flavor, while also contributing to that crispy skin you’re aiming for. A hint of brown sugar in your rub can provide a delightful contrast, balancing the heat with a touch of sweetness.
If you’re leaning towards a more exotic profile, consider using a mixture of spices like cumin, coriander, and cinnamon. This approach adds a warm, earthy quality to your turkey that pairs wonderfully with sides like sweet potatoes or spiced apples. You could even explore a coffee rub by combining ground coffee, brown sugar, and various spices-a fantastic way to achieve a unique flavor while enhancing the turkey’s natural richness.
To make your turkey truly stand out, experiment with incorporating citrus juices or zests into your butter rub. Orange, grapefruit, or even lime can add a tropical twist that brightens up the dish, creating a delightful contrast against the savory meat. Combining citrus with herbs can create an aromatic experience that is sure to impress your guests.
No matter which variation you choose, the goal is to enhance the turkey’s natural flavors while making the cooking process enjoyable and creative. Embracing these innovative ideas not only makes your turkey unique but also transforms a traditional dish into a memorable centerpiece for your gathering. Happy cooking!
Serving Suggestions: Complementary Sides and Sauces
When it comes to serving a turkey seasoned with a delicious butter rub, the choice of sides and sauces can elevate your dish to new heights. A beautifully roasted turkey, with its crispy skin and juicy meat, deserves equally appealing accompaniments that balance its rich flavors. Here are some delightful options to consider for your holiday feast.
Classic Pairings
No Thanksgiving table would be complete without traditional sides that complement the turkey’s flavors. Consider these staples:
- All-Season Stuffing: A savory blend of bread, herbs, and veggies adds a comforting, hearty element to your meal.
- Mashed Potatoes: Creamy, buttery mashed potatoes are perfect for soaking up turkey juices. Add garlic or cheddar for an extra flavor kick!
- Cranberry Sauce: The tartness of cranberry sauce provides a refreshing contrast to the rich meat, making every bite delicious.
- Green Bean Casserole: This classic dish combines crisp green beans, creamy mushroom soup, and crunchy fried onions for a textural delight.
Creative Twists
For those looking to switch things up, introduce some unexpected sides that will tantalize your taste buds:
- Roasted Root Vegetables: A mix of carrots, parsnips, and sweet potatoes caramelized with honey and thyme can enhance the earthy flavors of the turkey.
- Apple and Walnut Salad: A refreshing blend of tart apples, crunchy walnuts, and peppery arugula drizzled with a light vinaigrette adds brightness and crunch.
- Brussels Sprouts with Bacon: The smokiness of bacon combined with crispy Brussels sprouts delivers a savory punch that pairs beautifully with the turkey.
Delectable Sauces
Sauces also play an essential role in enhancing your turkey experience. Here are a few delectable options:
- Gravy: Use the turkey drippings to make a rich, creamy gravy. It’s a must-have for pouring over both turkey and mashed potatoes.
- Hollandaise or Beurre Blanc: For a luxurious touch, these buttery sauces can provide a decadent layer of flavor that beautifully complements your roast.
- Apple Chutney: A slightly sweet and spicy chutney made from apples, onions, and spices offers a delightful contrast to the savory turkey.
By thoughtfully selecting sides and sauces, you can create a harmonious holiday meal that celebrates your turkey’s crispy skin and flavorful meat. Enjoy the process of mixing tradition with creativity-your guests will appreciate the effort as they savor each bite!
Storing Leftovers: Best Practices for Freshness
It’s hard to resist the inviting aroma of a turkey seasoned with a buttery rub, and the good news is that the deliciousness doesn’t have to end once the meal is over. Properly storing your leftover turkey is essential for preserving its flavor and freshness so you can relish those delightful bites for days to come. Here’s how to make the most of your leftovers.
Start by letting that succulent bird cool to room temperature-about an hour after serving-before you tuck it away. This helps prevent condensation inside your storage containers, which can lead to soggy leftovers. Slice or shred the turkey for easier storage, and then pack it into shallow, airtight containers. Not only does this reduce the risk of foodborne illnesses by minimizing air exposure, but it also allows leftovers to cool more evenly in the fridge.
When it comes to refrigeration, keep in mind that properly stored turkey can last for up to 3 to 4 days in your fridge. For longer storage, consider vacuum sealing your portions. This method can significantly extend shelf life-up to several months in the freezer! If you do freeze your turkey, be sure to write the date and contents on the bag, so you know what you have when the craving strikes later.
Savoring your leftover turkey can be as simple or as creative as you like! Think beyond dry sandwiches-use it in soups, salads, or casseroles to create new meal ideas. A little creativity in the kitchen can transform your leftovers into something almost as exciting as the original feast. Enjoy those extra bites!
Troubleshooting Common Turkey Cooking Issues
Cooking the perfect turkey can sometimes feel like a high-stakes endeavor, but common issues can often be resolved with a few simple adjustments. Whether you’re wrestling with an oven mishap or dealing with a turkey that just won’t reach the right temperature, here’s how to troubleshoot your way to a moist, flavorful bird with that coveted crispy skin.
One of the most prevalent challenges is cooking the turkey evenly. If the thighs seem to take forever to cook while the breast risks drying out, consider using a thermal probe for accurate readings. This tool lets you monitor different parts of the turkey simultaneously. Another trick? Try cooking your turkey upside down for the first hour. This method helps the juices flow into the breast meat, keeping it incredibly moist. Just remember to flip it carefully before the skin goes brown and crispy!
If you find your turkey skin isn’t as crispy as you’d hoped, it might be due to moisture. Make sure to pat the skin dry before applying your buttery rub, as excess moisture can lead to sogginess. A high oven temperature in the final stages of cooking also helps achieve that golden-brown finish. Aim for a brief blast of heat at around 425°F (220°C) for the last 30 minutes of cooking. Lastly, resting the turkey after cooking is crucial-this allows juices to redistribute, ensuring every bite is juicy without compromising the lovely crispy skin you’ve worked hard for.
For those who experience undercooking, especially if you notice the meat looks pink in the center, return the turkey to the oven immediately. Cover it lightly with foil to prevent further browning while allowing the internal temperature to come up safely to the recommended 165°F (74°C). If you find yourself with an overly salty turkey due to seasoning, balance it out with a side dish of sweet potatoes or cranberry sauce. Combined, these will enhance the overall flavor profile without drawing attention to the saltiness.
Arming yourself with these tips will not only help you surpass common cooking blunders but also boost your confidence every time you prepare your turkey for special occasions. Remember, each challenge is an opportunity to enhance your skills, so embrace the process and savor the delicious results!
Expert Secrets for Moist and Flavorful Turkey
Cooking a turkey that’s both juicy and flavorful is the ultimate goal for many home chefs, especially during special occasions. The key lies in the thoughtful preparation and application of your turkey rub, particularly when butter is involved. Butter acts as a natural flavor enhancer and moisture retainer, transforming a humble turkey into a succulent centerpiece.
One secret to achieving that moist, flavorful turkey is to liberally apply the butter rub under the skin. This method allows the butter to seep into the meat, imparting rich flavor and moisture as it cooks. To prepare a basic butter rub, combine softened butter with garlic, herbs like rosemary and thyme, and a pinch of salt. Start by gently loosening the skin over the breast and thighs without tearing it. Then, spread the buttery mixture evenly beneath the skin. This technique not only enhances flavor but also helps keep the meat tender by creating a barrier against drying out.
In addition to the rub, brining your turkey before cooking can provide an extra layer of moisture. A simple brine of salt, sugar, and water can work wonders. Submerge the turkey in the brine solution for several hours or overnight. The salt in the brine penetrates the meat, enhancing its flavor and moisture retention during cooking. After brining, rinse the turkey under cold water and pat it dry before applying your butter rub.
Another tip for ensuring a juicy roast is to monitor your cooking temperature carefully. A slow and steady approach at moderate temperatures allows the meat to cook evenly, minimizing the risk of drying out. Use a meat thermometer to check the internal temperature, aiming for 165°F (74°C) for perfectly cooked turkey. Allowing the turkey to rest after cooking is equally critical. This step allows the juices to redistribute throughout the meat, ensuring that each slice reveals tender and juicy strands, making your turkey a memorable feast for all.
With these tips, anyone can master the art of preparing a moist, flavorful turkey that impresses family and friends alike. Embrace the process, stay confident, and you’ll create a delicious centerpiece that not only satisfies appetites but also creates lasting festive memories.
Frequently Asked Questions
Q: How can I ensure my turkey has crispy skin when using a butter rub?
A: To achieve crispy skin, let the turkey sit uncovered in the fridge for several hours after applying the butter rub. This dries out the skin, allowing it to crisp up during cooking. A sprinkling of salt before roasting also enhances the crispiness.
Q: What spices should I include in a turkey rub with butter for added flavor?
A: Common spices for a butter rub include garlic powder, onion powder, paprika, and black pepper. Adding herbs like thyme or rosemary can also enhance the flavor profile significantly. Adjust to personal taste for an extra kick!
Q: When is the best time to apply the turkey rub before cooking?
A: It’s best to apply the turkey rub at least one hour before cooking. For deeper flavor, consider rubbing it on the turkey the night before and storing it in the refrigerator. This allows the flavors to penetrate the meat more thoroughly.
Q: Can I use leftover turkey rub for other meats?
A: Yes, leftover turkey rub can be used on other meats such as chicken or pork. Just ensure that the spice proportions complement the meat being used. It’s a great way to bring extra flavor to your meals!
Q: How does butter affect the cooking time of my turkey?
A: Butter can act as a barrier, so it may slightly extend the cooking time compared to using a dry rub. Keep an eye on the internal temperature, and use a meat thermometer to ensure it reaches 165°F for safety.
Q: Should I let the turkey come to room temperature before cooking with a butter rub?
A: Yes, letting the turkey come to room temperature (about 30 minutes prior to cooking) helps it cook more evenly. Just keep it covered to avoid contamination while you wait!
Q: What should I do if my turkey skin isn’t browning during cooking?
A: If the skin isn’t browning, try increasing the oven temperature to 425°F for the last 30 minutes of cooking. Additionally, basting the turkey with its juices can help promote browning.
Q: How can I store leftover butter rub for future use?
A: Store leftover butter rub in an airtight container in the refrigerator for up to a week. For longer storage, consider freezing it in ice cube trays, making it easy to use later for flavoring meats.
Final Thoughts
Now that you know how to whip up a Turkey Rub Recipe With Butter for that perfect crispy skin and juicy meat, it’s time to get cooking! Remember, the secret to the best turkey is in the details, so don’t shy away from experimenting with flavors to make it truly yours. Want to keep the delicious meals coming? Check out our related recipes for a mouthwatering Thanksgiving spread or some incredible side dishes that will complement your turkey beautifully.
Don’t forget to share your turkey triumphs with us in the comments! We love hearing from fellow home cooks. If you found this recipe helpful, consider subscribing to our newsletter for more tasty tips and exclusive content. And when you’re ready to elevate your cooking game even further, explore our guide on mastering homemade stocks and gravies. Your holiday feast is just a little creativity away! Happy cooking, and may your turkey turn out perfectly every time!
Get our latest guides, news, and insights highlighted in your Google Search & AI Overviews.










