

If you’ve ever spread store-bought butter on your morning toast and wished for something lighter, fluffier, and bursting with flavor, you’re in for a treat! Making whipped butter at home is not only simple but also a delightful way to elevate your spreads. In just minutes, you can create a cloud-like butter that’s perfect for slathering on bread, pancakes, or even using in recipes. With a few easy steps and ingredients you probably already have, you’ll discover how homemade whipped butter can transform your meals and impress your family and friends. Plus, you can customize it with your favorite herbs, spices, or sweet additions for a personal touch. Ready to elevate your butter game? Let’s dive into the delicious world of whipped butter that’s just waiting to be spread!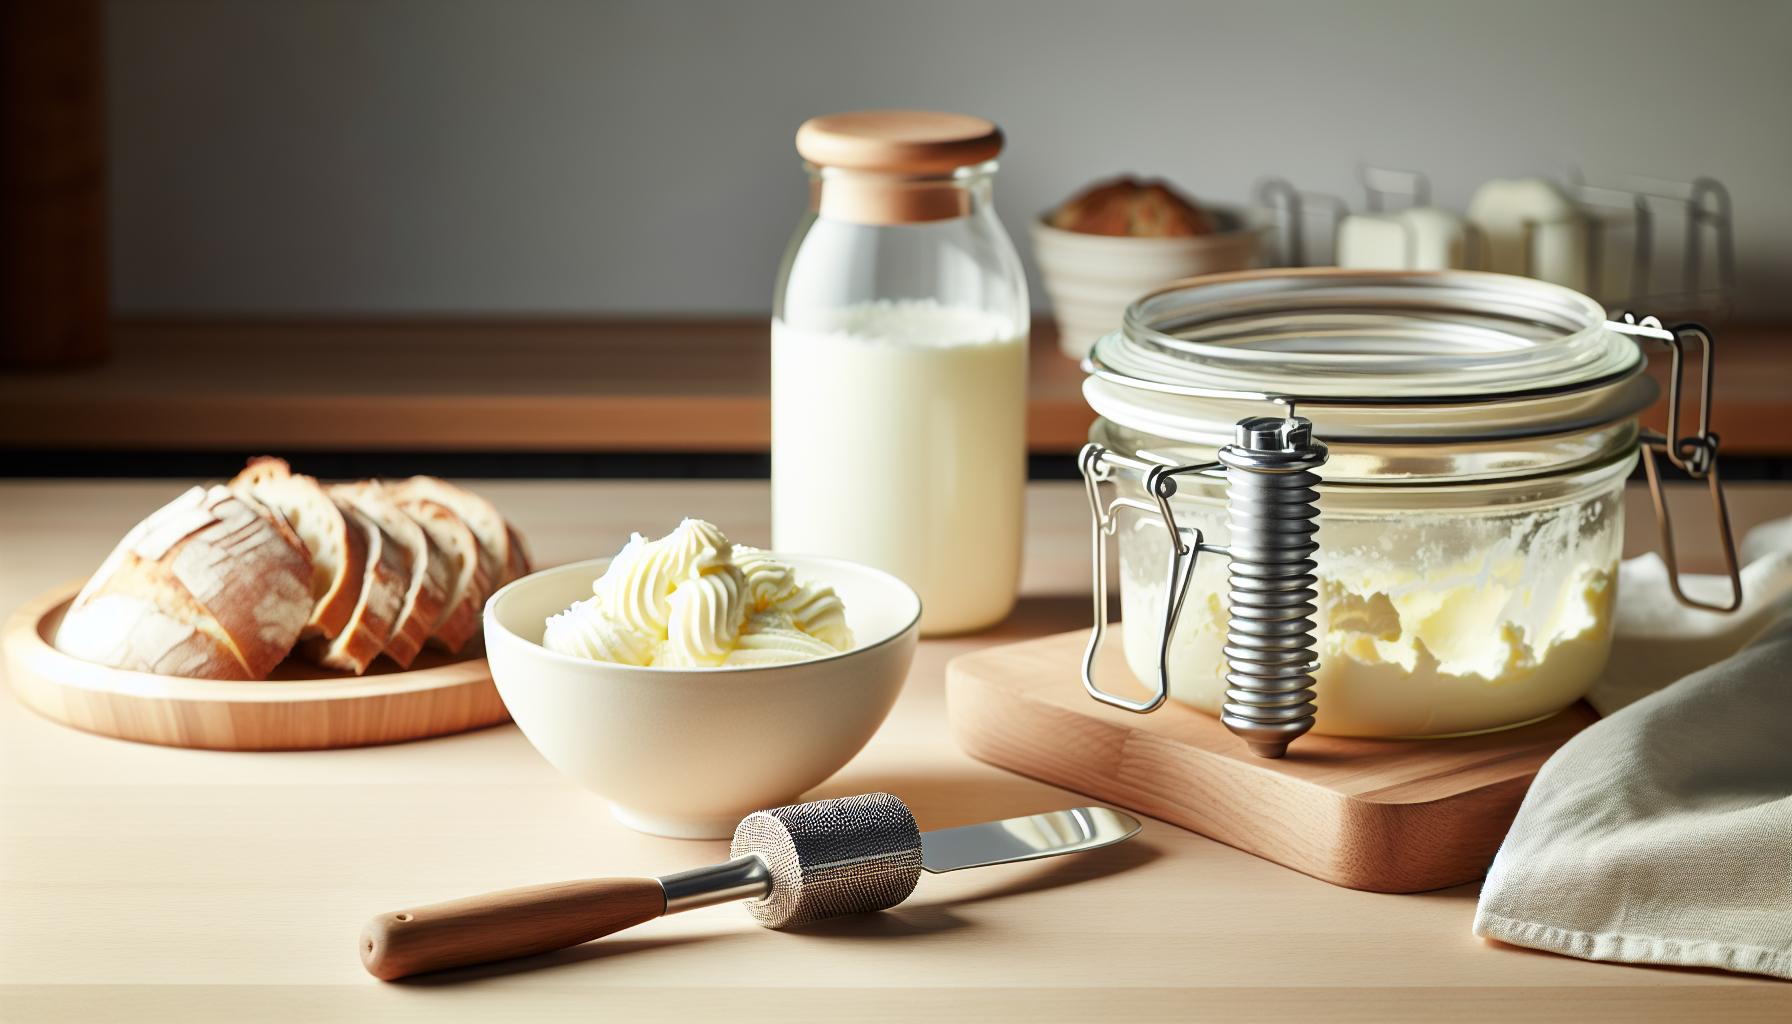
Whipped Butter vs. Regular Butter: What’s the Difference?
When it comes to spreading a little joy on your toast, the choice between whipped butter and regular butter can significantly impact your dining experience. The key difference lies in the texture and aeration. Whipped butter is butter that has been beaten with air, resulting in a light, fluffy consistency that spreads easily even when cold. Regular butter, while delicious, has a denser texture that can be difficult to spread right out of the fridge, often tearing your bread or bagel. This makes whipped butter a go-to choice for those seeking a cloud-light spread that enhances rather than hinders their breakfast bliss.
Another aspect to consider is taste. Whipped butter often feels milder on the palate, as the incorporation of air can diffuse the richness of the butter. This makes it an excellent base for infusing flavors or using it as a companion for a variety of dishes. On the other hand, regular butter has a more concentrated flavor, which can be perfect for baking or as a standalone condiment.
In terms of preparation, creating whipped butter is remarkably simple and requires no specialized equipment. Just use a hand mixer or a whisk to beat softened butter until it’s airy and pale. This easy process opens the door to countless flavor variations, allowing you to experiment with herbs, spices, or sweet ingredients according to your mood or the season. In essence, while both types of butter serve unique roles in the kitchen, whipped butter shines for its versatility and user-friendliness, making it a delightful addition to any home cook’s repertoire.
Essential Ingredients for Perfect Whipped Butter
When crafting perfect whipped butter, the right ingredients can make all the difference in achieving that delightful, airy texture. First and foremost, start with high-quality unsalted butter. Unsalted butter not only allows you to control the saltiness of your final product, but it also tends to whip up to a creamier consistency. Make sure your butter is softened to room temperature; this will help it incorporate air more easily, resulting in that cloud-like fluffiness we all love.
Next, consider adding a touch of powdered sugar. This isn’t a must-have, but incorporating a small amount can enhance the sweetness and smoothness of your whipped butter. It helps dissolve better than granulated sugar and contributes to that light texture, making your whipped butter perfectly spreadable. For those who prefer a savory take, a dash of salt can elevate the flavor, balancing sweetness and lending depth to your spreads.
Flavoring your whipped butter is where the fun really begins! Start with herbs, spices, or even zest. Fresh herbs like chives or rosemary can add brightness, while cinnamon or vanilla extract can deliver a rich, comforting flavor. Just remember to use these additions sparingly at first – you can always add more as you taste! For a fun twist, consider blending in roasted garlic or sun-dried tomatoes for a gourmet touch that transforms your whipped butter into a delightful accompaniment for bread, vegetables, or meats.
Lastly, remember to have a good mixing tool on hand. Whether you choose a hand mixer, stand mixer, or even a whisk, ensure you’re incorporating enough air into the butter. Mix until light and fluffy, and don’t be afraid to experiment with your ingredients to find a combination that excites your palate. This creative process is what makes homemade whipped butter such an enjoyable and rewarding endeavor!
Step-by-Step Guide: Making Whipped Butter at Home
Making your own whipped butter at home can transform your breakfast or snack time from ordinary to extraordinary! It’s not just about spreading butter on your toast; with just a few simple steps, you can create light, fluffy concoctions that burst with flavor. Plus, it’s a fun way to get creative in the kitchen, allowing you to play with different flavors and textures while impressing your family and friends.
Begin with your ingredients. You’ll need 1 cup of unsalted butter, softened to room temperature, which is crucial for achieving that airy texture. If you’re feeling adventurous, consider incorporating 1-2 tablespoons of powdered sugar for sweetness or a pinch of salt for a savory spin. The beauty of whipped butter lies in its versatility, so don’t hesitate to customize it with your favorite additions!
Now onto the mixing process. Using a hand mixer or a stand mixer, start on low speed to avoid splatter, then gradually increase to medium-high. Whip the butter for about 3 to 5 minutes until it becomes light and fluffy. If you want to incorporate any flavorings such as herbs, spices, or zest, now is the time to mix those in, ensuring they are evenly distributed throughout the butter. If you’re adding chunky ingredients like roasted garlic or sun-dried tomatoes, use a spatula to fold them in gently to maintain the airy texture.
Finally, store your whipped butter in an airtight container in the refrigerator. It can stay fresh for up to two weeks, but let it come to room temperature before spreading for maximum fluffiness. You might find yourself reaching for your homemade whipped butter on everything from pancakes to grilled veggies! Embrace the creativity in your kitchen and enjoy experimenting with different flavors – you’ll soon have a selection of delicious whipped butters that elevate every meal.
Creative Flavors to Elevate Your Whipped Butter
Creating whipped butter at home isn’t just about texture; it’s an exciting opportunity to introduce a world of flavors that can transform your meals. Imagine spreading a zesty lemon-herb butter on your grilled chicken or a sweet cinnamon-honey butter on your toast. The possibilities are endless, and with just a few simple ingredients, you can elevate any dish from ordinary to extraordinary!
To get started with flavoring your whipped butter, think about what tastes you love most. Here are some delightful combinations:
- Herb Infusion: Try mixing in fresh herbs like chives or basil for a refreshing twist. A tablespoon of lemon zest adds a bright, citrusy finish.
- Savory Additions: Consider roasted garlic for a robust flavor or a touch of smoked paprika for a warm, smoky kick.
- Sweet Touches: For a sweet variation, blend in honey, maple syrup, or powdered sugar along with cinnamon or vanilla extract. This sweetened butter is perfect for muffins or pancakes!
- Spice it Up: Add a pinch of cayenne pepper or cinnamon to give your butter a subtle heat or warmth.
Don’t hesitate to experiment! Using a simple base of whisked butter, incorporate these flavors by mixing them in after achieving that fluffy consistency. Just remember to taste as you go; this is your chance to make the butter as unique and delicious as possible!
When it comes to storage, keep your flavored whipped butter in an airtight container. Not only does it last for about two weeks in the fridge, but it also makes for a fabulous gift. Imagine gifting a jar of your homemade mixed herb butter to a friend-such a thoughtful and delicious surprise!
Enjoy the process of creating intuitive flavor pairings. Each batch of whipped butter is a canvas for your culinary creativity. Embrace the adventure, and don’t be afraid to explore those flavor combinations that speak to you!
Tips for Achieving the Lightest Texture
Creating whipped butter that’s light and airy can transform your culinary experience, making each spread deliciously indulgent. The secret to achieving that fluffy consistency lies in a few simple techniques and the right ingredients.
Start with room temperature butter; this is crucial for creating the lightest texture. Cold butter is too firm to whip effectively and won’t incorporate as much air. Let your butter sit out for about 30 minutes before you begin. This will not only help it soften but also ensure a more uniform whip.
When whipping the butter, use a hand mixer or stand mixer fitted with a whisk attachment. Begin at a low speed to break up the butter, then gradually increase to medium-high speed. This gentle start prevents splattering and allows the butter to incorporate air evenly. Whip the butter for at least 5 to 10 minutes, stopping occasionally to scrape down the sides of the bowl. You want it to turn a pale, creamy color and take on a light, airy consistency.
To elevate the fluffiness even further, consider folding in a small amount of heavy cream after the initial whipping. This will not only add richness but also introduce extra air, resulting in an even lighter whipped butter. Aim for about 1 to 2 tablespoons of cream per stick of butter, adjusting based on your desired consistency.
Lastly, don’t forget the importance of flavor balance. Incorporating air into your mixture is essential, but so is ensuring that any additional ingredients you add-like herbs or spices-are finely chopped or thoroughly blended. This ensures that they distribute evenly without weighing down the whipped butter.
With these tips, you’re all set to create a cloud-like spread that will enhance any dish, from fresh bread to baked goods. Enjoy experimenting with textures and flavors!
Storing and Using Whipped Butter Effectively
Storing whipped butter correctly is essential to maintain its light and airy texture while ensuring it stays fresh and flavorful. After you’ve whipped up your delightful concoction, transfer the butter into an airtight container. This prevents it from absorbing any odors from the fridge and helps retain that enticing creamy flavor. For the best results, the whipped butter can be refrigerated for up to 2 weeks. If you know you won’t use it all in that time, consider freezing half of it. Simply scoop the whipped butter into a freezer-safe container or form it into logs wrapped in parchment paper, then seal in a zip-top bag. It can last up to 6 months in the freezer!
When you’re ready to use your chilled or frozen whipped butter, simply pull it out of the fridge or freezer and let it sit at room temperature for about 15-20 minutes. This will make it easy to spread again without losing the wonderful texture you’ve created. If you froze it in a log shape, it can be sliced directly off as needed, making it perfect for topping warm bread or even adding a dollop to your favorite veggies.
### Tips for Using Your Whipped Butter
– Enhance Flavor: Incorporate it into various dishes by using whipped butter instead of regular butter. It can add a touch of elegance to your mashed potatoes or be a secret ingredient in your baking for added moisture and richness.
– Perfect Pairings: Whipped butter is fantastic on freshly baked breads, rolls, and muffins. Try it spread on pancakes or waffles for a decadent breakfast treat.
– Creative Uses: Consider using flavored whipped butter as a finishing touch for grilled meats or fish. A dollop on top as they rest off the heat can amplify their flavors.
Embrace the creativity of homemade whipped butter! With just a few simple steps to store and use it effectively, you can turn every meal into a gourmet experience. Always feel free to experiment with flavors, whether it’s a hint of garlic or a sprinkle of herbs, to make your whipped butter uniquely yours.
Whipped Butter Pairings: What to Serve It With
Whipped butter is a delightful way to elevate your meals, adding a light and airy texture that regular butter simply can’t match. It’s incredibly versatile and pairs beautifully with a variety of foods. Imagine spreading a luxurious, fluffy layer of whipped butter on a slice of warm, crusty bread or dolloping it onto freshly grilled vegetables. You’ll not only enhance the flavor but also the dining experience itself.
Fantastic Pairings for Whipped Butter
Breads and Baked Goods: Whipped butter shines as a spread for all kinds of bread. From homemade rustic loaves to sweet rolls and muffins, the fluffy texture makes each bite feel indulgent. Try it on warm cornbread, where the combination of sweetness and richness melds wonderfully. Breakfast treats like pancakes and waffles also benefit from a generous pat of whipped butter-add a drizzle of maple syrup, and you have a morning ritual that’s hard to beat.
Roasted Vegetables and Grains: Elevate your vegetable dishes by using whipped butter as a finishing touch. A simple pat melted over roasted carrots or Brussels sprouts can enhance their natural sweetness. Furthermore, when mixed into grains like quinoa or rice, whipped butter adds both moisture and flavor, transforming a simple side into a comforting side dish.
Protein Pairings: For meats, a flavored whipped butter can work wonders. Consider stirring in fresh herbs, garlic, or a hint of citrus zest, then letting it melt on grilled chicken or steak just before serving. The flavor infusion creates a delicious harmony with the dish, impressing even the most discerning palates without requiring fancy cooking techniques.
Dessert Enhancer
Don’t overlook the potential of whipped butter for dessert applications! It can serve as a luxurious topping for sponge cakes or a delightful spread for shortbread cookies. Consider creating sweet whipped butter by incorporating powdered sugar and vanilla. This creamy, sweetened treat can elevate desserts or simply serve as a delightful pairing for fresh fruit.
Whether you’re enhancing a simple meal or impressing guests, incorporating whipped butter into your dishes allows for easy creativity. With these pairings, you’ll find that this homemade delight is not just a butter replacement but an ingredient that enhances and elevates every dining experience. Enjoy experimenting with it in your kitchen, and watch as your meals transform with just a dollop!
Quick Whipped Butter Variations for Seasonal Ingredients
The beauty of whipped butter is its versatility, allowing you to easily customize it with seasonal ingredients that brighten up its flavor and elevate your dishes. Whether it’s spring’s fresh herbs or the warm spices of fall, a few simple tweaks can transform your whipped butter into a culinary delight. Plus, it’s a fun and creative way to use what’s in season without requiring fancy equipment-just your trusty mixer!
In spring and summer, consider adding fresh herbs. Chopped chives, parsley, or basil can lend a light, vibrant touch perfect for pairing with grilled fish or vegetables. For a sweet twist, try mixing in a bit of finely grated lemon zest and a drizzle of honey. This refreshing spread works wonders on toasted bagels or as a finishing touch on your favorite seasonal salads.
As autumn arrives, transition to warm spices and fruits. Think about combining whipped butter with pumpkin puree and a sprinkle of cinnamon for a delicious spread on warm muffins or toast. Alternatively, mix in some apple pie spice and finely chopped dried apples for a delightful flavor that complements roasted meats and vegetables beautifully.
During winter, embrace the richness of flavors like cocoa or espresso for a decadent treat. Whipping in cocoa powder and a little powdered sugar creates a chocolate version that’s perfect for spreading on pancakes during cozy weekend brunches. You can even experiment with a splash of vanilla and a hint of nutmeg for a creamy, dreamy topping that pairs beautifully with baked goods.
Embrace the seasons in your cooking, and let your whipped butter reflect the ever-changing bounty around you. These quick variations allow for effortless creativity in your kitchen, and they can make even the simplest meals feel gourmet. Enjoy the process and have fun experimenting with your favorite ingredients!
Troubleshooting Common Whipped Butter Mistakes
Creating whipped butter at home is a delightful endeavor, but it’s not uncommon to run into a few hiccups along the way. Whether you’ve faced texture issues or flavor mishaps, troubleshooting is key to achieving that cloud-light spread we all love. If your whipped butter isn’t turning out quite right, don’t worry! Here are some common mistakes and how to fix them so your whipped butter consistently impresses.
One of the most common issues is ending up with a grainy texture. This can happen if your butter is too cold or if it’s mixed too quickly. For a smooth finish, always start with room-temperature butter, which should be soft enough to easily press with a finger. If you accidentally get it too soft and melty, pop it in the refrigerator for a bit to firm up before whipping. Also, when mixing, start on a low speed to blend the ingredients smoothly before increasing the speed to aerate the mixture.
Another common challenge is over-whipping the butter, which can turn your beautiful spread into a curdled mess. To avoid this, keep a close eye on your whipping process, especially if you’re incorporating additional ingredients. Stop mixing as soon as you see a light and fluffy consistency-about 2-4 minutes typically does the trick. If you do over-whip and notice separation, you can gently fold in a bit more softened butter to regain a creamy texture.
If your whipped butter tastes bland, don’t be shy about adding flavor! A pinch of salt enhances sweetness, while fresh herbs, spices, or even a splash of vanilla can elevate your butter to new heights. Experiment with your favorite extracts or zests; however, start small and taste as you go. Remember, you can always add more, but it’s hard to take flavor away once it’s in.
Lastly, if your whipped butter is too thin, you might have used too much liquid when mixing in additional flavors. To rectify this, return your mixture to the mixer and slowly whip in a bit more softened butter until it reaches your desired consistency.
With these handy tips, you’ll turn common whipped butter mistakes into successful spreads that brighten your table. Enjoy the process, and don’t hesitate to express your creativity-happy whipping!
Whipped Butter in Baking: How to Incorporate It
Incorporating whipped butter into your baking can be a game changer, bringing a light, airy texture and rich flavor to your favorite recipes. Whipped butter, due to its aerated nature, blends beautifully into batters and doughs, resulting in baked goods that are tender and moist. Imagine biting into a cake where the delicate crumb practically melts in your mouth-that’s the magic of whipped butter at work!
To get started, replace regular butter with whipped butter in your cake or muffin recipes. Since whipped butter is already aerated, you’ll want to pay attention to mixing times. When creaming with sugar, whip it until combined. The airy consistency means it will incorporate quickly, so take care not to overmix once it’s added to the dry ingredients. A good rule of thumb is to mix until you just see the ingredients come together. This technique helps maintain that fluffy texture that is the hallmark of any great baked treat.
Practical Tips for Incorporation
- Cookies: For cookies, whipped butter can be substituted directly for regular butter. It helps create a light, chewy texture-perfect for sugar cookies or chocolate chip variations. Just remember to chill your dough if you want thicker cookies, as whipped butter tends to spread more than its denser counterpart.
- Cakes: When making cakes, use whipped butter in the creaming stage to ensure it’s well incorporated with sugar. You’ll notice a silkier batter that results in elevated cakes that rise beautifully.
- Pancakes: In pancake or waffle batters, substitute whipped butter for regular melted butter. It blends seamlessly without lumps, creating a smooth batter that cooks evenly for lighter-than-air breakfast treats.
- Frosting: For those dreamy buttercream frostings, whipped butter provides superior fluffiness. Simply whip it until light and airy, and then gradually add sugar, flavorings, and even cream for a smooth, spreadable consistency.
With a bit of creativity and experimentation, you can enhance your baked goods using whipped butter. Whether you’re making classic desserts or trying out new recipes, this ingredient will quickly become a staple in your kitchen. Remember, baking is all about finding joy in the process, so have fun with it and enjoy the delicious results!
Dairy-Free Alternatives for Whipped Butter
Creating dairy-free whipped butter can be a delightful way to enjoy spreads that are just as airy and luxurious as their traditional counterparts. Whether you’re lactose intolerant, vegan, or simply looking to incorporate more plant-based options into your cooking, there are several ingredients that can easily replace regular butter while still achieving that cloud-light texture.
One popular alternative is coconut cream. When whipped, this rich and creamy base provides a lovely, airy texture that mimics butter beautifully. To make a coconut cream whipped spread, simply chill a can of full-fat coconut milk overnight, scoop out the solid cream, and whip it until light and fluffy. You can even add a touch of vanilla extract or powdered sugar for sweetness.
Another excellent choice is plant-based margarine or ready-made dairy-free butter substitutes. Many brands offer products made from oils like sunflower, canola, or avocado, which can serve as a direct swap in your recipes. Just make sure to choose a variety that’s non-hydrogenated for the healthiest option. These products usually blend well with sugar and can take on various flavors, making them versatile for sweet and savory dishes alike.
Nut butters like almond or cashew butter are fantastic for a different twist on whipped spreads. They add a wonderful nuttiness and are packed with healthy fats and protein. To create a whipped nut butter, combine it with a bit of coconut milk or almond milk in a mixer. Whip until light and fluffy, then add a sprinkle of salt and perhaps some honey or maple syrup for sweetness.
Using these alternatives not only allows for dairy-free enjoyment but also opens the doorway to new flavors and textures in your cooking. Don’t hesitate to experiment with different oils, nut butters, or flavoring agents like herbs and spices to tailor your whipped spread just how you like it. With just a little creativity, your dairy-free whipped butter can be a star ingredient in both baking and spreads that everyone will enjoy!
The Benefits of Making Whipped Butter at Home
Crafting whipped butter at home is not just easy; it’s an act of creativity that transforms ordinary ingredients into something special. When you whip butter, you’re incorporating air into it, creating a light, fluffy texture that enhances anything you spread it on. Imagine slathering your morning toast with whipped butter that’s not only lighter but also richer in taste. You can tailor it to your preferences, experimenting with flavors and add-ins, making every batch unique.
One key benefit of making your whipped butter is the ability to control the ingredients. Store-bought options often contain additives and preservatives. However, at home, you select quality, fresh butter and any mix-ins you desire-be it fresh herbs, spices, or sweeteners. This allows for healthier options, tailored to your taste and dietary requirements. For instance, using organic butter or flavored oils can elevate your whipped creation far beyond what you’d find at the grocery store.
Another advantage is the sheer versatility of whipped butter. You can create various flavors to complement different dishes. Want a savory garlic herb spread for homemade bread? Or perhaps a sweet honey vanilla whipped butter perfect for muffins and pancakes? The possibilities are endless, and experimenting with different combinations can be a delightful culinary adventure. Not only does it elevate your meals, but it also impresses guests without a lot of effort.
Lastly, making whipped butter can be a fun and rewarding kitchen project. It’s a simple process that requires minimal tools-just a mixer or a whisk! Plus, the joy of creating something from scratch that enhances your favorite recipes is incredibly satisfying. So, whether you’re a seasoned cook or just starting, whisking up your own whipped butter is an accessible and enjoyable way to add a gourmet touch to your kitchen.
FAQ
Q: What type of butter is best for making whipped butter?
A: The best butter for making whipped butter is unsalted, soft butter. It should be at room temperature to ensure easy whipping and a smooth texture. Using high-quality butter will enhance the flavor of your whipped spread. For more details, see the section on Essential Ingredients for Perfect Whipped Butter.
Q: How long does homemade whipped butter last?
A: Homemade whipped butter can last up to one week in the refrigerator when stored in an airtight container. For longer storage, consider freezing it, which can extend its shelf life up to three months. Check our tips on Storing and Using Whipped Butter Effectively for best practices.
Q: Can you make whipped butter without a mixer?
A: Yes, you can make whipped butter without a mixer by using a whisk or a fork. It will require more effort and time, but the process is effective. Just ensure the butter is very soft to facilitate whipping. Refer to the Step-by-Step Guide: Making Whipped Butter at Home for further insights.
Q: Can whipped butter be flavored with spices?
A: Absolutely! Whipped butter can be easily flavored with spices like cinnamon, garlic powder, or herbs. Adding spices enhances the flavor and makes it versatile for various dishes. Explore more in the section on Creative Flavors to Elevate Your Whipped Butter.
Q: What are some common mistakes to avoid when making whipped butter?
A: Some common mistakes include using too cold butter, which leads to lumps, or over-whipping, which can cause it to become too airy. Make sure the butter is softened properly, and whip just until fluffy. Setbacks and solutions can be found in our Troubleshooting Common Whipped Butter Mistakes section.
Q: How do you incorporate whipped butter into baked goods?
A: To incorporate whipped butter into baked goods, gently fold it into the batter after mixing other ingredients. This adds a light texture and richer flavor. Check our tips in Whipped Butter in Baking: How to Incorporate It for detailed methods.
Q: Is there a dairy-free option for whipped butter?
A: Yes, you can use plant-based butter or coconut oil as a dairy-free alternative for whipped butter. Make sure to soften them before whipping for the best texture. Look at our section on Dairy-Free Alternatives for Whipped Butter for recommendations.
Q: How can I make whipped butter sweeter for desserts?
A: To make whipped butter sweeter for desserts, simply add powdered sugar and vanilla extract while whipping. This creates a deliciously sweet spread ideal for pastries. For more desserts options, explore the Quick Whipped Butter Variations for Seasonal Ingredients section.
Wrapping Up
Now that you’ve learned how to whip up your very own cloud-light butter spreads, it’s time to get creative in your kitchen! This homemade delight is not just a simple treat; it opens up a world of possibilities for enhancing your favorite dishes. Whether you’re spreading it on warm toast or using it in baking, homemade whipped butter is sure to impress your family and friends.
Before you go, check out our tips on delicious spreads and baking with butter for more inspiration! Don’t forget to subscribe to our newsletter for exclusive recipes and kitchen hacks that will make cooking fun and easy. Your feedback matters to us, so drop a comment below sharing your experience or any variations you’ve tried! Remember, there are no limits to what you can create-experiment and enjoy the process. Happy cooking!
Get our latest guides, news, and insights highlighted in your Google Search & AI Overviews.










