

Have you ever sipped a glass of crisp, homemade apple wine and thought, “I want to make this myself?” You’re not alone! Crafting your own apple wine can be both rewarding and surprisingly simple. With just a few basic ingredients and some patience, you can transform fresh apples into a delightful beverage that highlights their natural flavor and sweetness. This guide will show you how to navigate the essential steps of winemaking, from selecting the right apples to the fermentation process that brings your creation to life. Whether you’re a seasoned home cook or a curious beginner, making apple wine is a fun and fulfilling project that connects you with the joy of homemade craftsmanship. So, roll up your sleeves, and let’s embark on this delicious journey together!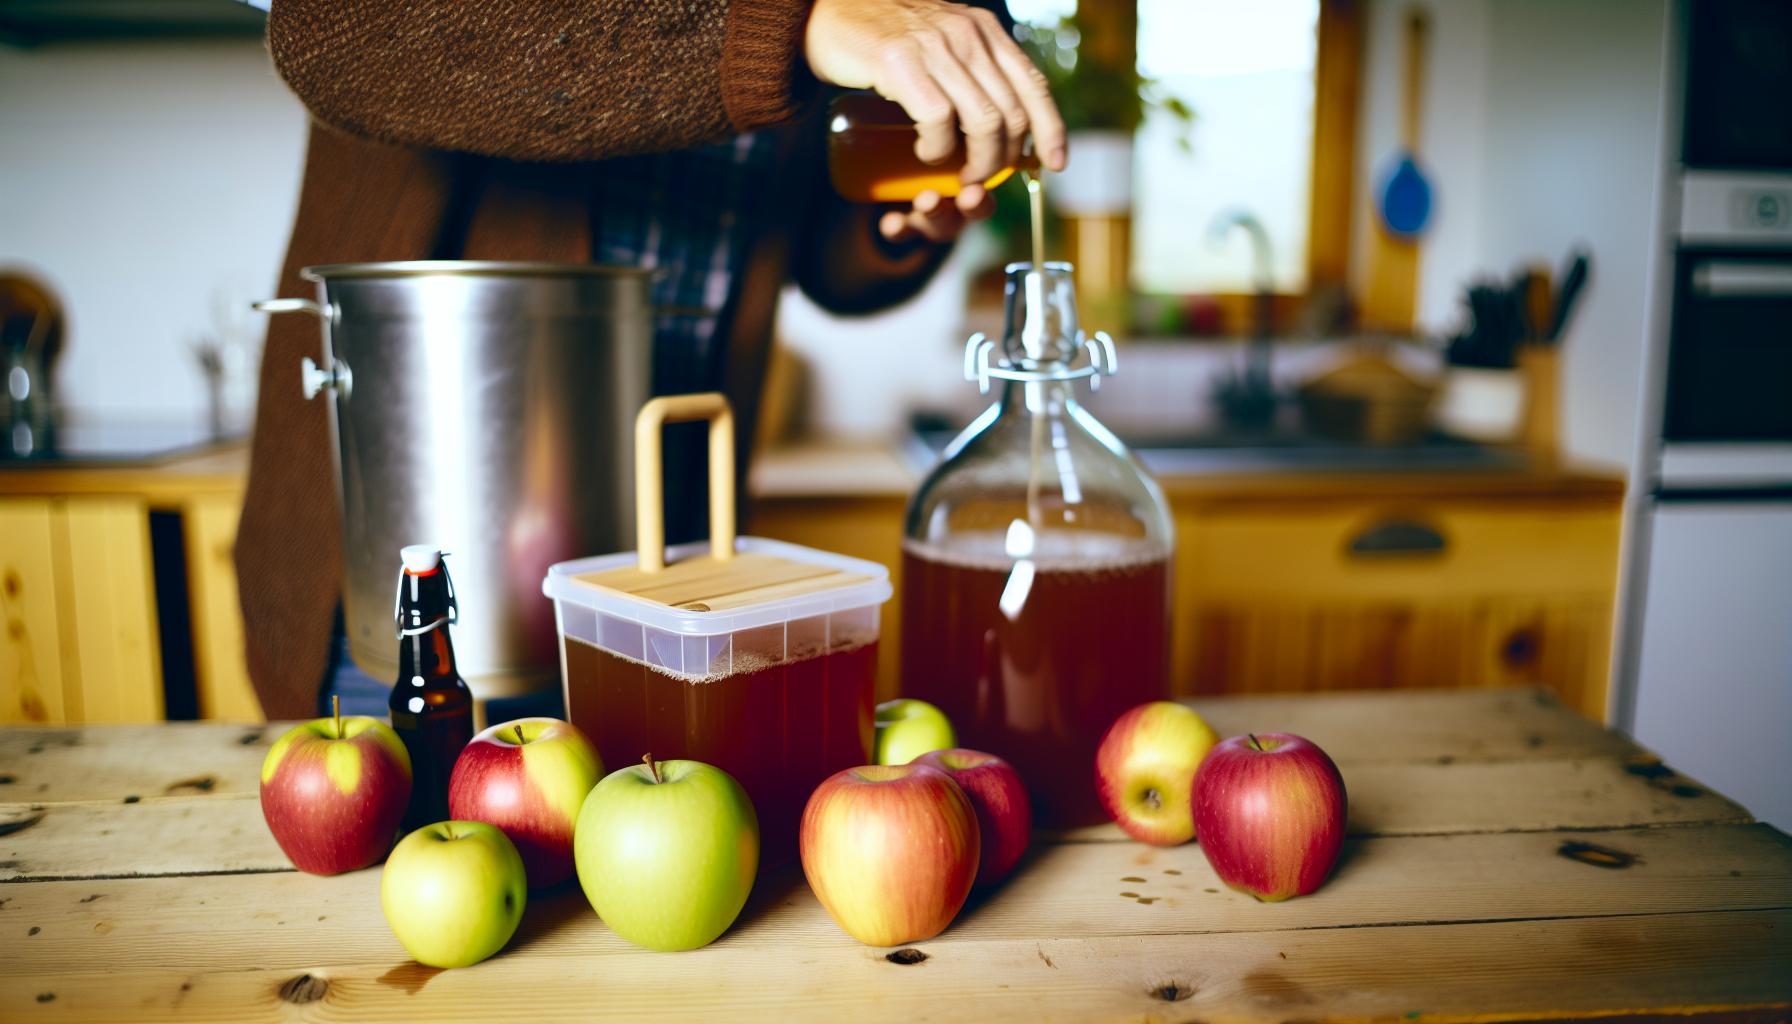
Choosing the Perfect Apples for Wine Making
When it comes to creating a vibrant apple wine, the type of apples you choose can make all the difference. Different varieties bring unique flavors, aromas, and acidity levels to your brew, setting the stage for a delightful tasting experience. It’s important to consider aspects like sweetness, tartness, and juiciness when selecting your apples. Aim for a mix of sweet and tart apples to achieve a balanced flavor profile that’s both crisp and tangy.
Recommended Apple Varieties:
- Granny Smith: These tart apples are excellent for adding acidity and balance, making them a staple in many apple wine recipes.
- Fuji: Known for their sweetness, Fujis can add a rich, fruity depth to your wine.
- Cider Apples: Varieties like Bittersharp apples (e.g., Yarlington Mill) are specifically grown for cider and can significantly enhance the complexity of your apple wine.
- Honeycrisp: This popular variety combines sweetness with a hint of tartness, making it great for a fruity finish.
- Golden Delicious: For those who prefer a sweeter wine, Golden Delicious apples can provide that desired sugar content.
Consider mixing different types of apples to create your custom blend. This not only enhances the flavor but also balances the wine’s natural acidity. Don’t shy away from exploring local orchards or farmers’ markets to find unique, seasonal varieties-freshly picked apples often yield the best results. When choosing, always look for apples that are firm, unbruised, and fragrant, as these qualities contribute to a better extraction of flavors during fermentation.
A little experimentation can lead to delicious discoveries, so trust your palate and enjoy the process of crafting your apple wine! Remember, the journey of winemaking is about creativity and personal taste, so embrace the flavors that resonate with you.
Essential Equipment for Home Winemaking
When venturing into the world of home winemaking, having the right equipment is essential for crafting your apple wine smoothly and successfully. While it may seem daunting, you don’t need a professional setup to produce a delightful brew. Most of the necessary tools can be found in your kitchen or easily obtained without breaking the bank.
To kick off your winemaking journey, here are a few must-have items:
- Primary Fermentation Vessel: A large, clean container, such as a food-grade plastic bucket or glass carboy, is perfect for the initial fermentation process. It should have enough capacity to hold the juice from your apples and allow for bubbling during fermentation.
- Small Fermentation Vessels: After primary fermentation, you’ll want smaller containers to hold your wine as it clarifies. Mason jars or smaller glass carboys work well for this stage.
- A Hydrometer: This handy tool measures the specific gravity of your liquid and helps you calculate alcohol content. It’s crucial for understanding the fermentation process and ensuring you achieve the desired sweetness and strength.
- Airlock and Stopper: These items are essential for allowing gases to escape while preventing contaminants from entering your fermentation vessels. The airlock fits into the stopper on your primary fermentation vessel, ensuring a safe and clean environment for your wine.
- Juicer or Apple Crusher: To extract juice from your apples, you can use a juicer, or if you’re feeling a bit more adventurous, an apple crusher will help you break down the fruit for better juice yield.
- Siphon or Racking Cane: This tool allows you to transfer your wine from one container to another without disturbing the sediment that forms at the bottom, ensuring a clearer final product.
- Bottles and Corks: Once your apple wine is ready, you’ll need bottles to store it. Clean, used wine bottles are perfect, and you can either cork them yourself with a corking tool or use screw caps for ease.
- Sanitizer: Keep everything clean by using a food-safe sanitizer to wash all your equipment before use. This step is crucial to prevent any unwanted bacteria from spoiling your batch.
In addition to these key pieces of equipment, remember that improvisation can make the experience even more enjoyable. For instance, if you don’t have a traditional juicer, a simple food processor can also do the trick. The winemaking process is as much about creativity and personal touch as it is about following the steps. So gather your supplies, don your apron, and get ready to experiment with flavors and techniques that will make your apple wine uniquely yours!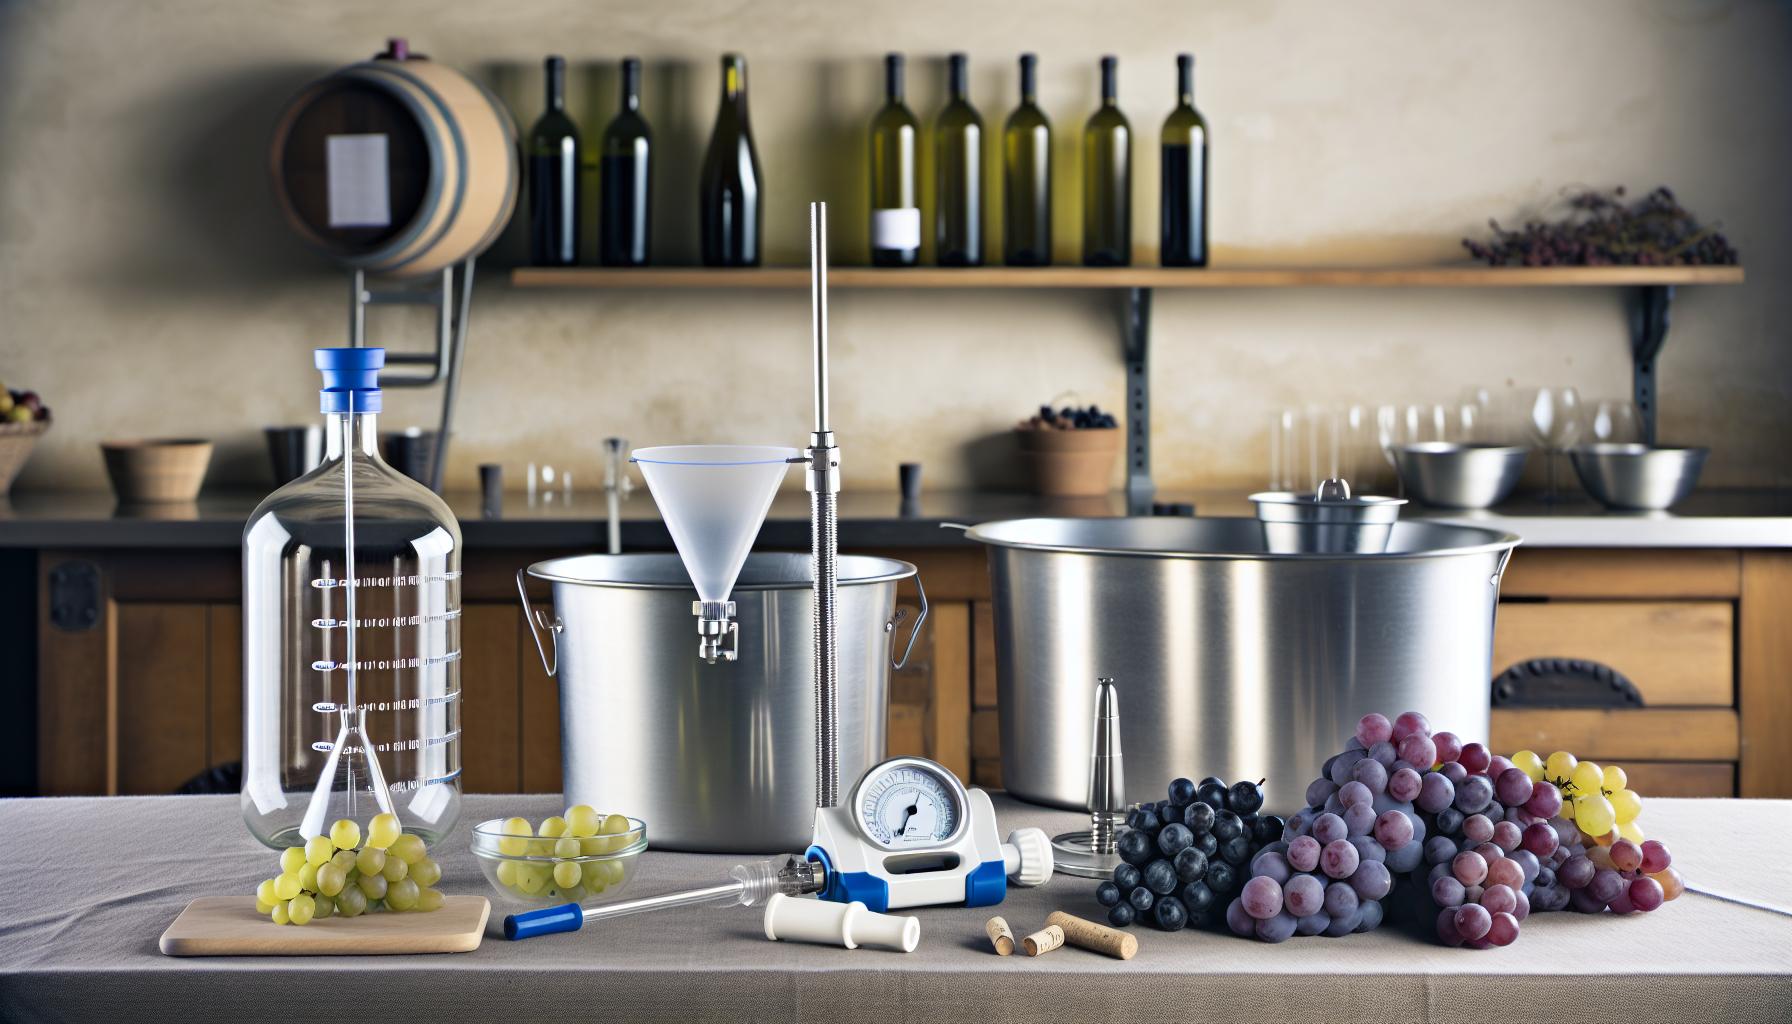
Step-by-Step: Crafting Your Apple Wine
To make your own apple wine, the process is as enjoyable as it is rewarding. As you start, focus on the simple joy of transforming fresh apples into a crisp, tangy brew that you can share with friends or enjoy yourself. Gather your fresh-picked or store-bought apples, and let’s dive into the delightful world of home winemaking!
Begin by thoroughly washing your apples to remove any dirt or pesticides. Once cleaned, it’s time to extract the juice. If you own a juicer, this part is straightforward-just feed the apples through and collect the juice. If you’re feeling adventurous or if a juicer isn’t available, you can chop the apples and use a sturdy food processor. After processing, strain the mixture through a fine mesh sieve or cheesecloth to separate the juice from the pulp.
With your juice ready, pour it into the primary fermentation vessel. At this point, you can add sugar to enhance the sweetness-typically, about 1 to 2 cups per gallon of juice, depending on your taste. Stir well until the sugar is fully dissolved. Next, it’s important to introduce yeast, the magical ingredient that will transform your sweet juice into delightful apple wine. A standard wine yeast works best for this, but don’t hesitate to experiment with different strains for unique flavors.
After adding the yeast, fit your fermentation vessel with an airlock and place it in a dark, temperate spot (ideally around 60-75°F). Over the next week or two, you’ll notice bubbling-this is your sign that fermentation is in full swing! Once bubbling slows down significantly, usually within two weeks, it’s time to check the specific gravity using your hydrometer. This measurement will guide you on how sweet or strong your wine will be. When it reaches your desired level, it’s time to siphon your wine into secondary fermentation vessels, leaving any sediment behind.
In just a few weeks, you’ll be ready to embark on your bottling journey, but watch for the clarity of your wine. The clearer, the better! As you embark on this adventure, remember that each batch can reflect your personal touch, making every sip truly unique and delicious.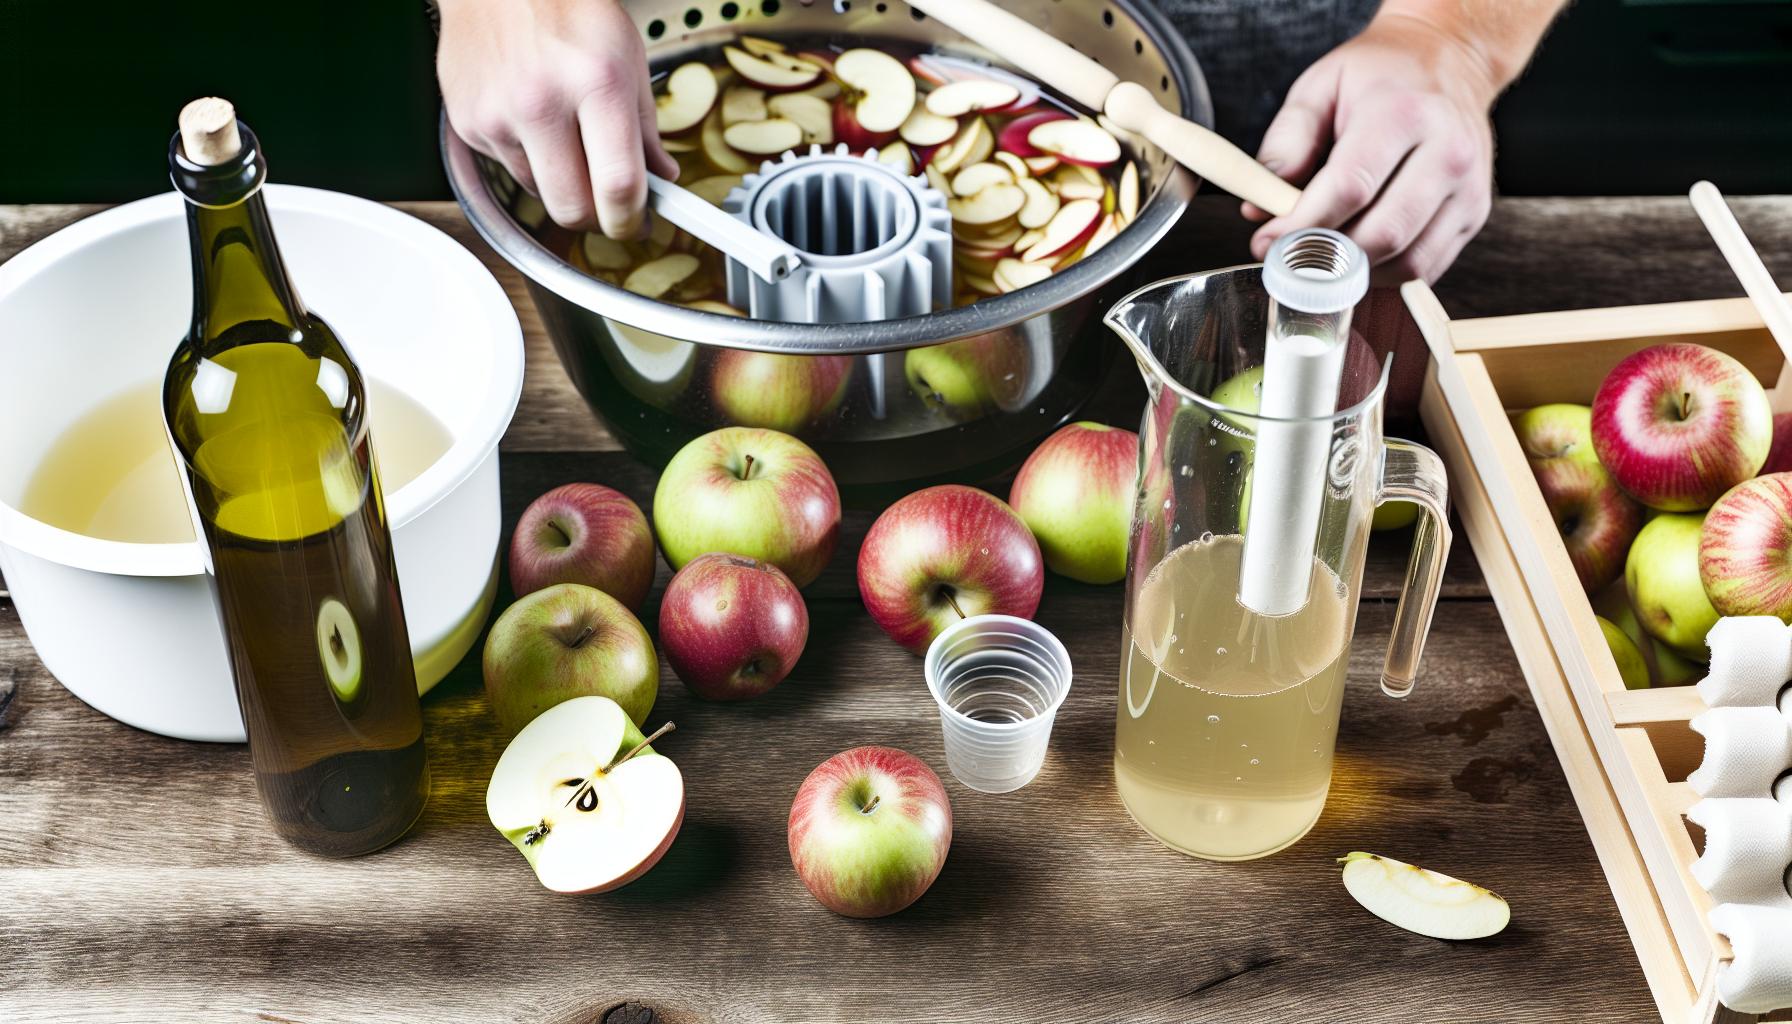
Fermentation Fundamentals: Transforming Juice to Wine
To truly understand the magic of winemaking, one must appreciate the alchemy of fermentation, where sweet apple juice transforms into a delightful apple wine. This isn’t just a science project; it’s an opportunity to witness nature’s process at work. The transformation begins as soon as you introduce yeast to your freshly pressed apple juice. This tiny organism, often underestimated, is the star of the show, consuming the sugars in the juice and converting them into alcohol and carbon dioxide.
Once you’ve added the yeast, it’s time to monitor your fermentation vessel-this is where patience becomes your best friend. You’ll want to keep the vessel in a dark, temperate environment, ideally between 60-75°F. The yeast thrives here, and you’ll soon notice bubbling as it actively ferments. This bubbling is a joyous sign that your apple wine is on its way to being born! Each day brings subtle changes, and checking the specific gravity using a hydrometer during this stage will give you insight into how far along your wine is and how sweet or strong it’s becoming.
After about a week or two, once the bubbling has slowed significantly, it’s time to move to the next stage: secondary fermentation. This is where clarity in your wine starts to form. By siphoning the liquid into a new vessel, you leave behind the sediment, which helps ensure a smoother final product. This step allows the flavors to mature and stabilize, leading to a cleaner sip when you finally pour yourself a glass.
As you traverse this winemaking journey, keep in mind that every batch can have its unique character, influenced by the variety of apples used, the yeast strain chosen, and even the ambient conditions during fermentation. Embrace the experimentation! The transformation of that humble juice into something crisp and tangy is not just a science; it’s a beautiful process that rewards your patience and creativity with every sip.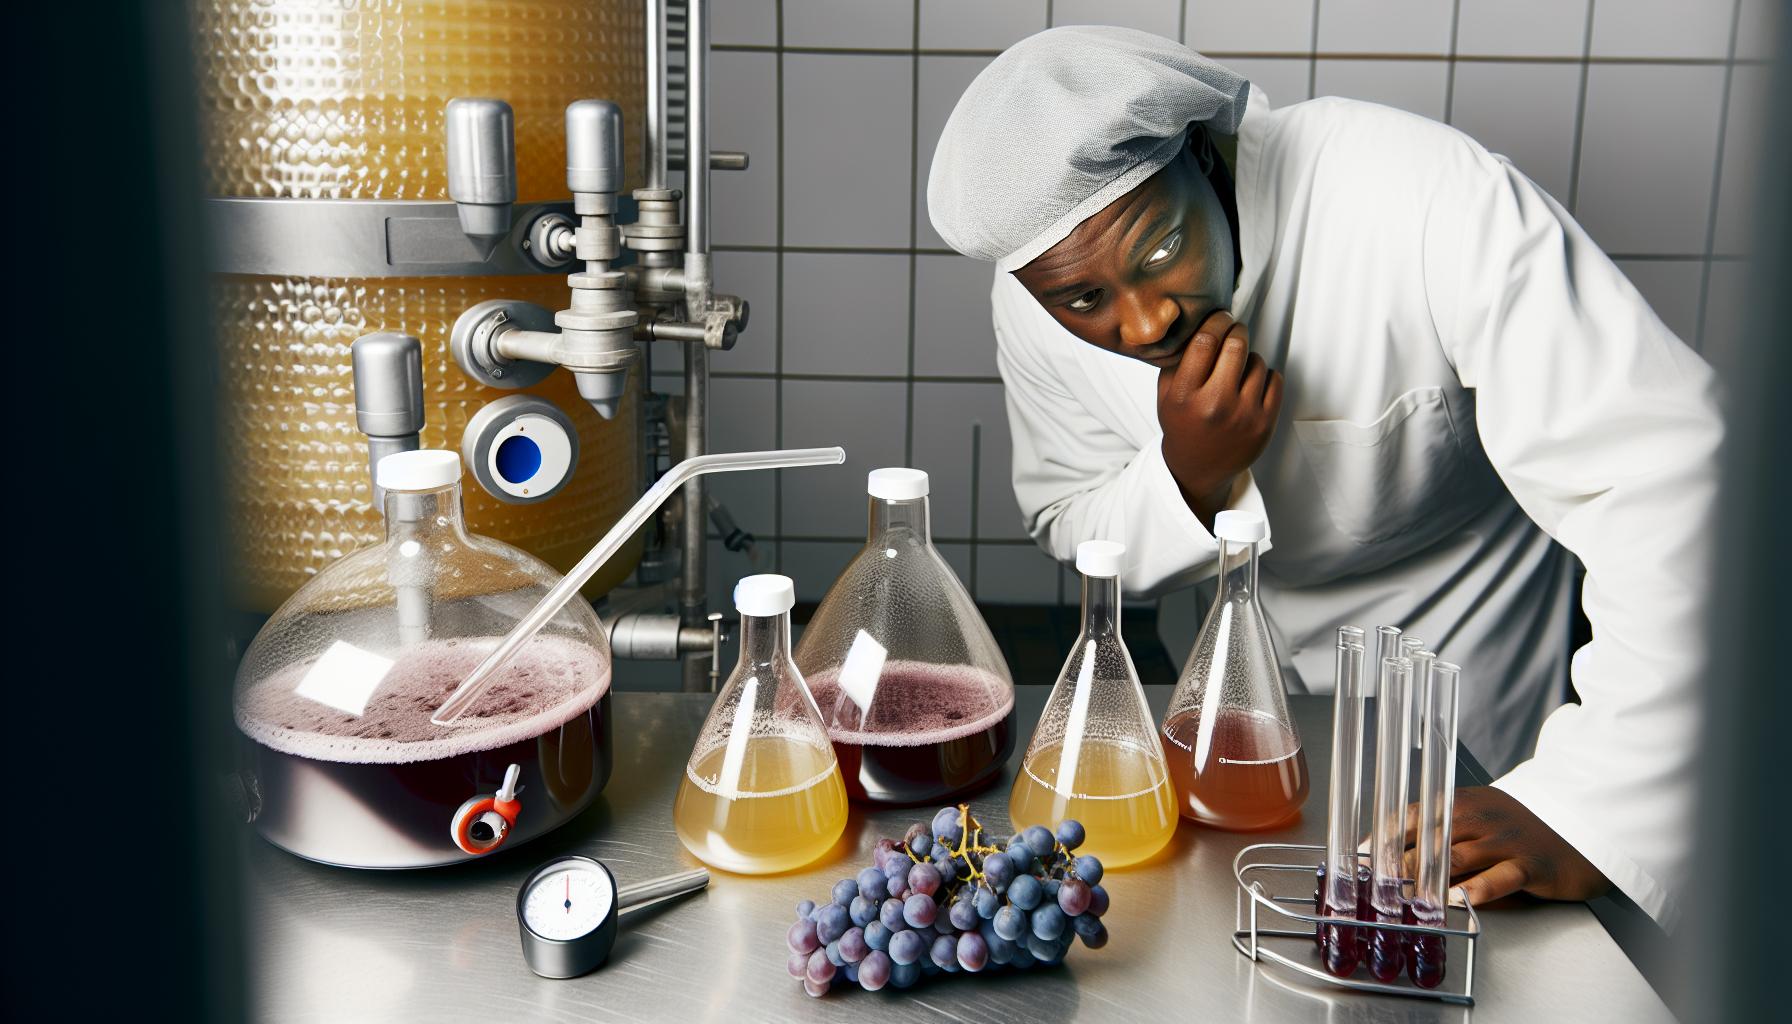
Flavor Boosters: Spices and Additives for Apple Wine
To elevate your homemade apple wine from ordinary to extraordinary, consider experimenting with spices and additives that can enhance its flavor profile. Just like cooking, winemaking is all about creativity and personal touch. Incorporating various herbs and spices not only adds depth but can also tailor the wine to your taste preferences.
Start with some classic spice options that pair wonderfully with apple wine. Cinnamon, for example, brings a warm flavor that complements the natural sweetness of apples, creating a cozy, autumnal feel. A simple way to incorporate cinnamon is by adding a couple of sticks during the primary fermentation or a sprinkle of ground cinnamon just before bottling. Another great addition is cloves; they add a sweet and slightly peppery note. Use them sparingly, as their flavor can be quite strong-about two or three whole cloves can do the trick based on your taste.
In addition to spices, don’t overlook the power of citrus zests. The bright notes from lemon or orange zest can add a refreshing twist. Simply peel the outer layer of the skin and toss it into your fermentation vessel. This technique complements the apple flavor, making your wine more vibrant and refreshing. If you’re feeling adventurous, try adding a touch of vanilla extract or even ginger for a spicier kick.
For those who want to give their apple wine an extra layer of complexity, consider incorporating some additives. Honey is a popular choice, not only for additional sweetness but also for its rich flavor. Just a few teaspoons can add a unique culinary element. Oak chips can impart an earthy undertone, reminiscent of traditionally fermented wines; soak the chips in water before adding them to your fermentation to help release their flavors.
Remember, the key to successful flavor boosting lies in balance. Start with small amounts, as you can always add more, but it’s challenging to remove flavors once they’ve integrated. Embrace the process, and let your experiments lead you to a signature apple wine that’s truly your own!
Troubleshooting Common Apple Wine Issues
When making your own apple wine, it’s important to remember that the journey isn’t always smooth sailing. There may be bumps along the way, such as unexpected flavors, fermentation troubles, or unwanted cloudiness. But don’t fret! Identifying and troubleshooting these common issues can turn your apple wine from a potential flop into a delightful brew that you’ll be proud to share.
One of the most common issues is a stuck fermentation, where your fermentation seems to come to a halt. This may be due to several factors, from insufficient yeast nutrients to temperature fluctuations. If you suspect fermentation has stalled, try gently stirring the mixture to aerate it-sometimes yeast just needs a little encouragement. If that doesn’t work, consider adding a small amount of active yeast or yeast nutrient. Always check the specific gravity with a hydrometer to gauge whether fermentation has actually stopped or just slowed down significantly.
Another frequent concern is unwanted off-flavors, which can arise from various sources including improper sanitation, too much of certain spices, or even the type of apples used. If your apple wine has a strange taste, it might have been contaminated. Always sanitize your equipment thoroughly before use. If you find that your spices are overpowering the apple flavor, start using smaller amounts in future batches, and remember to taste as you go. Sometimes, a simple adjustment in the recipe can save your batch from turning from delightful to disastrous.
Cloudiness in your wine is another common issue that can be easily remedied. This could stem from residual pulp or proteins that didn’t settle out. If your wine is cloudy, consider racking, which means transferring your wine from one vessel to another, leaving the sediment behind. If after racking it still appears cloudy, you might use a fining agent, such as bentonite, to help clarify it-just follow the package instructions for best results.
Lastly, if you’ve tasted your apple wine and it’s too sweet for your liking, consider back-sweetening with a simple syrup or waiting to see if the sweetness balances out as it ages. On the other hand, if it’s too dry, a small amount of sugar can be added before bottling. Always remember to taste your wine at different stages, as this will help you better understand how it evolves.
By staying observant and making adjustments as needed, you’ll find that the art of winemaking becomes an exciting adventure. Embrace mistakes as learning opportunities, and soon you’ll discover the perfect balance in your homemade apple wine that makes every effort worthwhile!
Bottling and Storage Tips for Fresh Apple Wine
When it’s time to bottle your homemade apple wine, rejoice! This moment means that you’ve navigated the fermentation journey and are now ready to savor the fruits of your labor-literally. Proper bottling and storage are key to preserving the flavor and freshness of your wine, ensuring that each sip reflects the care you’ve put into the process. Here are some essential tips to make sure your apple wine shines.
Start by selecting the right bottles. Glass wine bottles are ideal, as they don’t interact with the wine and allow you to store your concoction for an extended period. Check thrift stores or online marketplaces for used bottles, but make sure they are in excellent condition and properly sanitized before use. To sanitize, wash them with hot soapy water and then rinse thoroughly; you can also soak them in a sulfite solution for added security.
Once your bottles are ready, it’s time to fill them. Using a siphon or racking cane helps to fill each bottle while leaving sediment behind. Pouring directly from the fermentation vessel can disturb the sediment and cloud your wine. Aim to leave about an inch of space in each bottle to allow for some expansion and prevent overflow when corking. Consider using a funnel-this handy tool can help minimize spills and keep your bottling area tidy.
After filling, securing the bottles is crucial. Corking is the most common method, and a simple hand corker can make this task effortless. Ensure your corks are also sanitized. If you’re using screw caps, they should fit tightly to avoid oxidation. Label your bottles with the date and type of wine for easy identification later. This also adds a personal touch, especially if gifting!
Storage is another vital factor. Store your bottles upright for the first week to allow the corks to absorb moisture, but after that, lay them on their sides. This helps keep the corks moist and prevents them from drying out, which could lead to spoilage. Keep your apple wine in a cool, dark place, ideally between 55-60°F (13-16°C). This temperature range protects the flavor as it matures. Avoid direct sunlight and fluctuating temperatures, as both can negatively impact your wine’s quality.
By following these straightforward tips, you’ll be well on your way to enjoying your crisp and tangy apple wine at its best! Each bottle will be a testament to your experimentation and creativity, ready to impress friends and family alike. Happy bottling!
Creative Variations: Experimenting with Flavors
Experimenting with flavors in apple wine can turn a simple homemade brew into a truly personal creation that reflects your own taste preferences. It’s exciting to think about all the different paths you can take! From spices to fruits, each addition can transform your wine, making it uniquely yours while showcasing the best of what your kitchen has to offer.
One of the easiest ways to start is by incorporating spices. Think of classic pairings-cinnamon, ginger, and clove bring warmth that complements the apple’s crispness. Adding just a stick of cinnamon during fermentation can yield a delightful spiced apple wine. If you’re feeling adventurous, try vanilla or even a hint of nutmeg for a more complex flavor profile. Always remember to start small; you can always add more, but it’s tough to correct an overpowering spice.
Fruits are another fantastic avenue for creative variations. While apples are the star, they don’t have to be alone on this stage. Incorporate pears for a mellow sweetness or berries like raspberries or blackberries for a tart kick. These fruits not only enhance the flavor but also add a beautiful color to your wine. A mix of apple and berry can be especially refreshing during warmer months, turning your wine into a seasonal treat.
You can also play with types of apples to create different flavor profiles. For instance, using a mix of sweet Fuji and tart Granny Smith apples can give you a delightful balance that’s both crisp and rich. Alternatively, try adding a splash of citrus-think of a bit of fresh lemon juice or orange zest-for bright, zesty notes that brighten up the whole brew.
Finally, don’t forget about the sweetness level. If you prefer a dessert wine, consider a small addition of honey or agave syrup during fermentation. This not only adds sweetness but can also layer in complexity. Just remember, balancing sweetness with acidity will help maintain the refreshing characteristic of your apple wine.
With these creative variations, the possibilities are virtually endless! Feel free to let your imagination run wild, and remember that each batch represents your own journey in winemaking-so have fun with it! Happy brewing!
Pairing Apple Wine with Food: What to Serve
Imagine sitting down to a meal, and your homemade apple wine is waiting to brighten the table. Pairing apple wine with food can elevate your dining experience, highlighting the wine’s crisp and tangy notes while complementing a variety of dishes. This delightful brew, with its range of flavors, can be versatile enough to match both light and robust fare.
For an effortlessly delicious pairing, consider starting with salads and light appetizers. The refreshing acidity of apple wine goes beautifully with crisp green salads featuring vinaigrettes, especially those incorporating fruity elements like apple slices or citrus. Cheese boards are another great choice; mild cheeses such as goat cheese or brie can enhance the wine’s flavors, while sharper cheeses like aged cheddar create a nice contrast.
When it’s time for the main course, think about poultry and pork. The bright notes in your apple wine can cut through the richness of roasted chicken or grilled pork chops. A glaze made with apple cider or even a berry reduction can further tie the dish to your wine, making for a cohesive and satisfying meal. If you’re serving something heartier like a meat pie or shepherd’s pie, the wine’s fruitiness will lighten up the dish, making it a perfect pairing.
Don’t overlook desserts either! Apple wine shines with sweet treats like tarts or crumbles, especially those that feature spices like cinnamon or nutmeg. For a more adventurous option, serve it alongside steamed puddings or spiced cakes-its crispness and acidity work wonderfully against the richness of these desserts.
Lastly, always remember to serve apple wine slightly chilled. This not only enhances its refreshing qualities but also helps it mesh well with the flavors of your meal. So grab a glass of your homemade apple wine, and let it inspire your next culinary adventure!
Understanding Alcohol Content and Adjustments
To genuinely enjoy your homemade apple wine, understanding its alcohol content is essential. The alcohol content can significantly impact the flavor and overall experience of your wine. Generally, apple wine falls between 6% to 12% alcohol by volume (ABV), but this can vary depending on the fermentation process and the specific apples used. If your fermentation is efficient and the sugar levels in your juice are high, you may end up with a higher ABV, while lower sugar content can result in a lighter wine.
Adjusting Alcohol Levels
There are several ways to adjust the alcohol content to suit your taste. If you find your wine too strong, you can dilute it with a bit of water or apple juice before fermentation begins. Conversely, if you want a stronger wine, you can increase sugar content by adding more apple juice, honey, or even sugar to your mix. Just keep in mind that any sugar addition should be calculated to ensure fermentation can occur without overwhelming your yeast. A general rule of thumb is that 1 pound of sugar added to 1 gallon of juice increases the alcohol content by about 1.5% ABV.
Calculating Potential Alcohol Content
To estimate the potential alcohol content of your apple wine, you can use a hydrometer. This handy tool measures the specific gravity of your mixture before and after fermentation. Here’s a simple breakdown:
- Measure Before Fermentation: Collect a sample of your must (unfermented juice) and measure its specific gravity.
- Ferment and Measure Again: Once fermentation is complete, take another gravity reading.
- Calculate the Potential ABV: Subtract the final gravity from the original gravity and multiply by 131.25 to get the approximate ABV.
Consider this: if your original gravity was 1.090 and your final gravity after fermentation is 1.000, you’d calculate as follows:
– 1.090 – 1.000 = 0.090
– 0.090 x 131.25 = 11.78% ABV
Experimentation is Key
Don’t be afraid to experiment! Winemaking is both an art and a science. Keep notes of any adjustments you make and how they affect the final product. Each batch of apple wine can be a new adventure-try using different apple varieties or include natural flavorings like spices to find the right balance that works for you. Remember, it’s all about enjoying the process and having fun creating something uniquely yours!
The Importance of Hygiene in Winemaking
When embarking on the adventure of making your own apple wine, one crucial element you must never overlook is hygiene. It sounds simple, but the cleanliness of your workspace and equipment can make or break your fermentation experience. A clean environment ensures that your homemade apple wine is not only delicious but also safe to drink. After all, you want your crisp and tangy brew to shine, not to be compromised by unwanted bacteria or wild yeasts.
To start, making sure that all your equipment is sterilized is key. This includes everything from your fermentation vessel to any tools you’ll use, like spoons and siphons. Use a potassium metabisulfite solution to sanitize your items or soak them in a bleach solution-just be sure to rinse everything thoroughly afterward. A quick rinse won’t do; any lingering bleach can affect the flavor of your apple wine. Think of sanitation as the foundation of your winemaking process; without it, your hard work could lead to disappointing results.
Be mindful of your fruit as well. Wash your apples thoroughly to remove pesticide residues and natural bacteria that may linger on the skin. Even if you’re using organic apples, it’s a good idea to scrub them under running water. This not only helps prevent spoilage but also reduces the risk of introducing undesirable elements into your fermentation. If you’re particularly concerned, consider peeling the apples to achieve an extra level of cleanliness, though this might slightly alter the flavor profile.
Finally, maintain a tidy workspace throughout your winemaking process. This means cleaning as you go, which can help prevent the buildup of mess and potential contamination. After all, the goal is to create a delightful homebrew that you’ll be proud to share with friends and family. Treat your kitchen as a laboratory where you can experiment with flavors and techniques-keeping it spotless is the first step to crafting a truly exceptional apple wine. By consistently prioritizing cleanliness, you’ll set yourself up for timely fermentation, great flavor, and, ultimately, a satisfying sip of your homemade creation.
Ready to Bottle: When Is Your Apple Wine Done?
In the world of homemade apple wine, timing is everything. How do you know when your crisp, tangy concoction is ready to bottle? There are a few simple indicators that can guide you through this exciting moment.
Firstly, monitor the fermentation process closely. Typically, primary fermentation takes about one to two weeks, but this can vary depending on temperature, yeast type, and the sugar content of your apple juice. You’ll know it’s time to bottle when the bubbling in your fermentation vessel noticeably slows down. This reduction in bubbling is a sign that the yeast has consumed most of the sugar, and the fermentation process is nearing completion.
Another key factor is clarity. While your wine may initially appear cloudy due to yeast and sediment, it should start clearing up as fermentation ends. You can gently swirl the fermentation container to encourage any remaining solids to settle. If you can see through your wine and it has a nice golden hue, it’s an excellent sign you’re ready to proceed.
It’s also essential to check the specific gravity with a hydrometer. If your readings stabilize at a consistent level over a few days, your fermentation is likely done. Aim for a final gravity that reflects the sweetness you desire. An ideal range for apple wine can be from 1.000 to 1.010, depending on whether you prefer a dry or slightly sweeter profile.
Ultimately, patience is key. Rushing the bottling process can lead to problems like exploding bottles or off-flavors. Once you confirm that fermentation has fully completed, and your liquid looks and tastes good, it’s time to prepare your bottles for that joyful moment when you seal in your homemade masterpiece. Enjoy the process, and celebrate your creation!
Frequently Asked Questions
Q: What type of apples are best for making apple wine?
A: The best apples for wine making are those that balance sweetness and acidity. Varieties like Honeycrisp, Granny Smith, and Fuji are great choices as they offer rich flavor profiles. Using a mix of sweet and tart apples can enhance the overall taste of your wine. Explore more about Choosing the Perfect Apples for Wine Making in our guide.
Q: How long does it take to ferment apple wine?
A: Fermentation typically takes 1 to 3 weeks depending on the temperature and yeast used. You’ll know fermentation is complete when bubbling ceases and sediment settles at the bottom. Check the fermentation fundamentals in our section on Fermentation Fundamentals: Transforming Juice to Wine for more details.
Q: Can I add other fruits to my apple wine?
A: Yes, adding other fruits such as pears, berries, or citrus can create unique flavor combinations in your apple wine. Just ensure the additional fruits complement the apple base. For tips on experimenting with flavors, see our section on Creative Variations: Experimenting with Flavors.
Q: Why is hygiene important in winemaking?
A: Maintaining hygiene is crucial to prevent unwanted bacteria and wild yeast from contaminating your wine. Clean all equipment and sanitize surfaces thoroughly. Our guide covers The Importance of Hygiene in Winemaking to ensure your apple wine turns out perfectly.
Q: How can I tell when my apple wine is ready to bottle?
A: Your apple wine is ready to bottle when fermentation has completely stopped, and it has cleared, typically about 4 to 6 weeks after fermentation begins. For more information, refer to our section on Ready to Bottle: When Is Your Apple Wine Done?.
Q: What is the alcohol content of homemade apple wine?
A: Homemade apple wine can have an alcohol content of around 8% to 12%, depending on the amount of sugar and the fermentation process. You can use a hydrometer to accurately measure it. Check our section on Understanding Alcohol Content and Adjustments for guidance.
Q: How should I store my apple wine after bottling?
A: Store your bottled apple wine in a cool, dark place, ideally at temperatures between 50-60°F. This helps maintain its flavor and stability. For storage tips, see Bottling and Storage Tips for Fresh Apple Wine in our article.
Q: What food pairs well with apple wine?
A: Apple wine pairs beautifully with a variety of foods, such as pork dishes, cheeses, and fruit desserts. The crispness complements rich flavors while balancing sweetness. For more pairing suggestions, refer to our section on Pairing Apple Wine with Food: What to Serve.
Final Thoughts
Congratulations on embarking on your apple wine-making journey! You’ve now learned how to create a crisp and tangy homebrew that’s sure to impress friends and family. Remember, the beauty of winemaking lies in experimentation-feel free to tweak your ingredients or try different apple varieties to find your perfect flavor. If you have any questions or need further guidance, don’t hesitate to reach out in the comments below!
Before you dive into your next batch, check out our guides on “Essential Winemaking Equipment” and “Creative Fruit Wine Recipes” to enhance your skills. And if you love what you’re creating, sign up for our newsletter for more tips, recipes, and exclusive content delivered straight to your inbox. Your apple wine adventure doesn’t have to end here-explore our website for even more delicious DIY projects. Cheers to your success, and happy brewing!
Get our latest guides, news, and insights highlighted in your Google Search & AI Overviews.










