
Have you ever sipped sparkling wine and dreamed of creating that bubbly magic at home? You’re in luck! Making sparkling wine is not just for vineyards and fancy winemakers-it’s a fun and rewarding project you can tackle right in your kitchen. With just a few simple ingredients and some patience, you can pop open your very own homemade bottle of fizz.
Imagine impressing your friends with a DIY sparkling wine that you crafted from start to finish! Whether you’re celebrating a special occasion or just want to elevate your everyday meals, this guide will take you through the easy steps of winemaking. We’ll cover everything you need to know, from selecting the right base ingredients to adding the perfect touch of bubbles, all while keeping the process enjoyable and accessible for everyone, no previous experience required. Let’s uncork this adventure and dive into the world of sparkling wine-your taste buds will thank you!
How Sparkling Wine Is Made at Home
Creating sparkling wine at home is an adventurous and rewarding process that allows you to savor the fruits of your labor-literally! Imagine popping open a bottle of bubbly that you crafted yourself, perfect for celebrations or simply to enjoy with friends. The foundation of sparkling wine production is fermentation, where yeast converts sugars into alcohol, producing carbon dioxide that creates those delightful bubbles we all love.
To start your journey into home winemaking, you’ll need to gather a few essential items. Basic equipment includes fermentation vessels, airlocks, wine bottles, a siphon, and of course, high-quality grape juice or fresh fruit. You can keep it simple with easily accessible tools without requiring professional equipment. For the fermentation process, ensure your workspace is clean and sanitized to avoid any unwanted bacteria that could spoil your wine.
Once you have everything ready, the process typically involves primary fermentation, when the yeast is added to your juice or must, converting sugars into alcohol. You’ll then transfer the wine to a secondary fermenter for clarifying and aging. It’s important to monitor the temperature and specific gravity, as these will influence the final taste and bubbles of your wine. After a few weeks, you’ll add a small amount of sugar and yeast before bottling. This step encourages secondary fermentation, where the carbon dioxide is trapped in the sealed bottle, creating that effervescence we adore.
Equipped with patience and creativity, you’ll discover ways to tweak your bottles with various fruits, herbs, or spices to craft unique flavor profiles. Don’t be afraid to experiment; making wine at home is as much about enjoying the process as it is about the final product. With a little practice, you’ll soon be celebrating your very own homemade sparkling wine!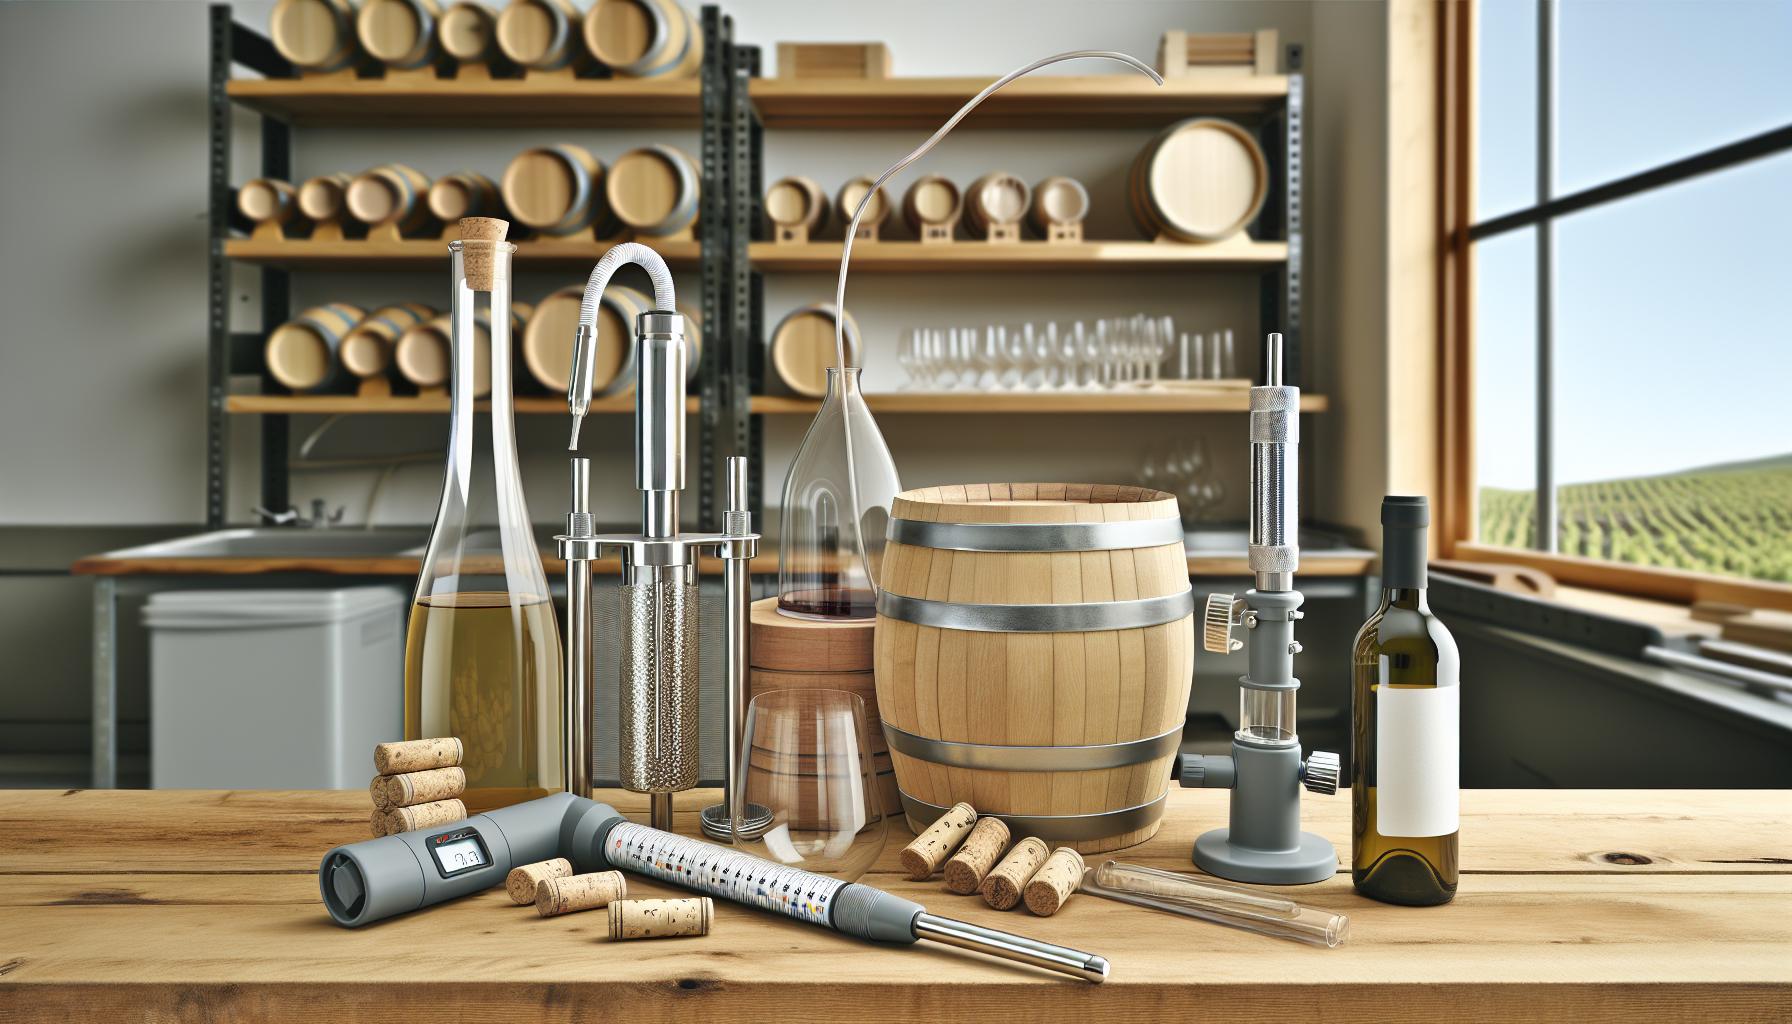
Essential Tools for Home Winemaking
Creating your own sparkling wine at home can feel like a magical experience, transforming simple ingredients into a bubbly celebration. To embark on this exciting adventure, you’ll need a few essential tools that don’t require a professional vineyard setup but will set you up for success.
Start with the most crucial item: the fermentation vessel. This can be a glass carboy or a food-grade plastic bucket. Ensure it has a tight-fitting lid equipped with an airlock, which allows the carbon dioxide produced during fermentation to escape while preventing contamination. Next, ensure you have wine bottles that are designed to withstand the pressure of carbonation-typically, bottles that have previously held sparkling wine are best.
A siphon or racking cane is also essential for transferring your wine without disturbing the sediment at the bottom of the fermentation vessel. You’ll also need bottling caps or a corker for sealing your bottles after fermentation. For measuring the sugar levels and ensuring fermentation proceeds smoothly, a hydrometer is a fantastic addition that allows you to monitor specific gravity-a key factor in achieving that perfect balance of sweetness and alcohol content. Don’t forget your sanitizing solution, as keeping everything clean is paramount to avoid any off-flavors or spoilage.
To sum it up, here’s your essential toolkit:
- Fermentation vessel (glass carboy or food-grade plastic bucket)
- Airlock
- Wine bottles (suitable for sparkling wine)
- Siphon or racking cane
- Bottling caps or corker
- Hydrometer
- Sanitizing solution
Embrace the journey of home winemaking! Each tool you gather will lead you closer to your sparkling masterpiece. Remember, the joy is in the process, so don’t stress about perfection; instead, relish each bubble-filled step. Happy winemaking!
Choosing the Best Ingredients for Your Bubbly
To create your own sparkling wine at home, the ingredients you choose are just as crucial as the tools you’ll use. The flavor and quality of your bubbly depend on selecting the right base wine and sugars, alongside any additional flavorings that inspire your creativity. Start with selecting your base wine; you can either use store-bought white or rosé wines, which do not contain any added sulfites, or make your own from fresh grapes or fruit. The key is to choose a wine that has sufficient acidity-this bright character balances the sweetness brought in during the fermentation process. A high acidity will ensure that your sparkling wine is refreshing and enjoyable.
Next, consider the importance of sugar. You will need to add sugar to trigger the second fermentation, which is where all those delightful bubbles come from! Common choices include granulated sugar, brown sugar, or even maple syrup for a unique twist. A simple guideline is to use about one teaspoon of sugar per bottle, but depending on your taste preference, feel free to adjust. For a dryer sparkler, less sugar is ideal, while a sweeter profile will require more.
You might also want to experiment with additional flavorings to make your sparkling wine truly unique. Consider herbs like mint or rosemary, or fruits like peaches and berries. Infusing these flavors can add layers to your drink. When trying out new ingredients, it’s often beneficial to start with a small batch to ensure the flavors meld beautifully before attempting a larger one.
In summary, here’s a simple checklist to get you started on selecting ingredients for your homemade bubbly:
- Base Wine: Fresh, high-acidity white or rosé
- Sugar: Granulated, brown, or alternatives like maple syrup
- Optional Flavorings: Fruits, herbs, or spices of your choice
With these ingredients in hand, you’re well on your way to crafting a sparkling wine that’s not only delicious but reflects your personal taste. So gather your ingredients, embrace the process of creating something special, and enjoy every sip of your homemade masterpiece!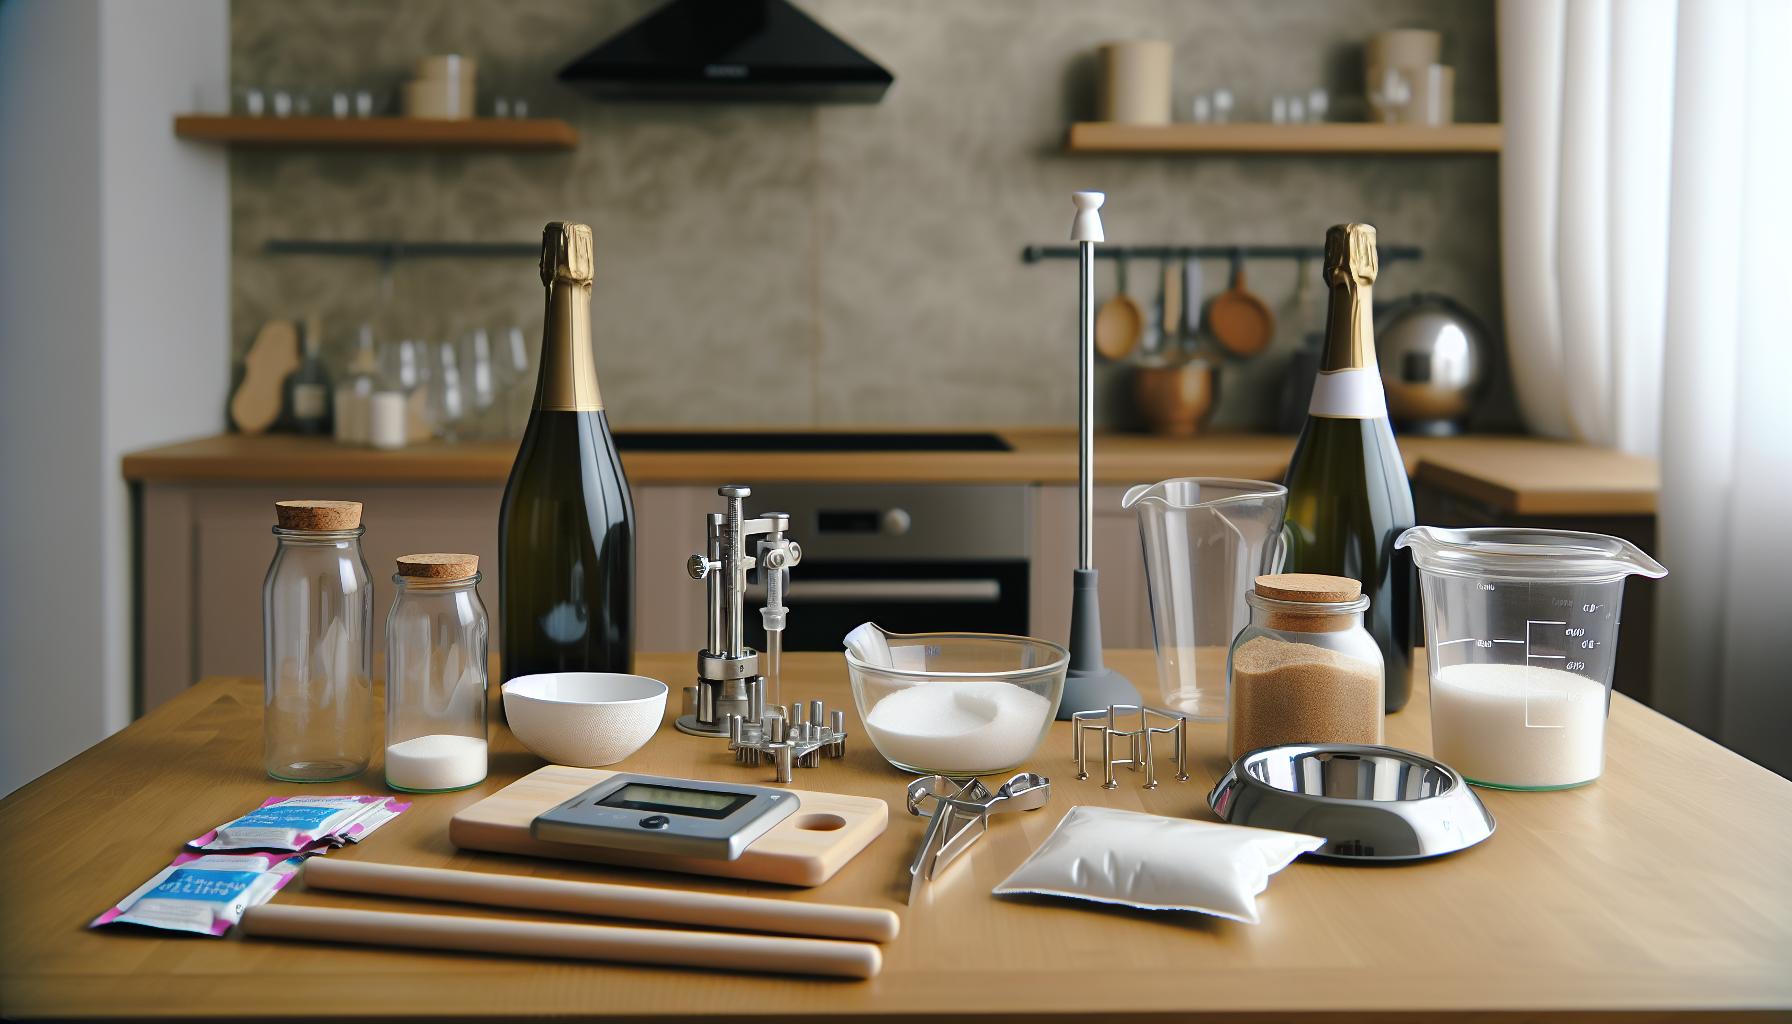
Step-by-Step Instructions for DIY Sparkling Wine
To craft your own sparkling wine at home, follow these accessible and enjoyable steps that will have you popping bottles in no time! This DIY process isn’t just for seasoned winemakers; it’s perfect for anyone looking to explore home fermentation. Whether you’re starting with store-bought wine or pressing your own grapes, the journey to bubbly perfection is filled with creativity and fun.
First, gather your essentials. You’ll need a base wine, sugar for the second fermentation, and any additional flavorings you desire. The initial fermentation can take about 1-2 weeks, while the entire process, including bottling and carbonation, might stretch over a month. Don’t worry if you’re new to this; it’s all about trial and error, and you’ll learn much along the way!
Step-by-Step Process:
1. Prepare Your Base Wine
Begin with your chosen base wine. If you’re using store-bought wine, make sure it has no added sulfites for the best results. Pour about 750ml into a clean glass fermenting vessel. This vessel should be wide enough to allow for vigorous bubbling.
2. Add Sugar
Next, add approximately one teaspoon of sugar per bottle of wine. This sugar will feed the yeast during the second fermentation, creating those delightful bubbles. If you prefer a drier wine, adjust accordingly, but remember: more sugar leads to more bubbles and a sweeter taste.
3. Choose Your Flavorings (Optional)
If you’re looking to infuse some creative flavors, now’s the time to add herbs, fruits, or spices. For example, a few slices of peach can add a fruity twist, while a sprig of mint can bring a refreshing touch. Experimentation is key, and starting with small batches is always a good idea to see what flavors meld well.
4. Seal and Ferment
Once everything is combined, securely seal your fermenting vessel with a lid that can handle pressure (like a swing-top bottle). Leave it in a cool, dark place at room temperature. Over the next week or so, check daily for bubbles; fermentation will create a bit of energy inside the bottle.
5. Bottle Your Wine
After about two weeks, it’s time to bottle your sparkling wine. Carefully transfer it into smaller bottles, leaving some space at the top. For best results, you might want to use stabilizing agents to stop fermentation before bottling and avoid over-carbonation.
6. Chill and Enjoy
Allow your bottled wine to chill in the fridge for a few days. When you’re ready to enjoy your homemade bubbly, gently twist open the bottle to release the pressure. Pour into flutes or glasses and toast to your homemade creation!
Remember, each batch may vary, so it’s all about tasting and adjusting as you go. With patience and a little creativity, you’ll find the method that works best for you. Cheers to making sparkling wine that’s uniquely yours!
Common Mistakes to Avoid in Winemaking
Creating your own sparkling wine can be a thrilling venture, but it’s easy to stumble into common pitfalls that could derail your bubbly dreams. From fermentation errors to bottling mishaps, being aware of these mistakes can save you time and disappointment. Here’s a closer look at what to avoid as you embark on your DIY sparkling wine journey.
One of the most significant missteps for novices is not choosing the right base wine. Opting for a wine with added sulfites can interfere with fermentation and affect the taste. Always select a quality base wine without preservatives. This foundation is critical to the final flavor of your sparkling wine. Similarly, be cautious with sugar; adding too much can lead to over-carbonation and exploding bottles. Begin with about one teaspoon per bottle and adjust according to your taste preferences, keeping in mind that sweeter wines require a bit more sugar.
Another key area of concern is the fermentation process itself. Many home winemakers underestimate the importance of temperature control. Fermentation needs a stable, cool environment-ideally between 60°F and 75°F (15°C to 24°C). A temperature that’s too high can lead to a rapid fermentation that may produce off-flavors, while too low can stall the process altogether. Regularly checking the progress of your fermentation can help prevent these issues.
When it comes to bottling, don’t rush! Bottling too soon can trap active fermentation processes, leading to excess carbonation and potentially dangerous situations. Ensure fermentation is fully completed before transfer. Furthermore, using unsuitable bottles can lead to disaster; traditional wine bottles may not withstand the pressure from sparkling wine. Always use bottles rated for sparkling wine to ensure safety.
Lastly, don’t skimp on sanitation. One of the biggest mistakes is underestimating the importance of cleaning and sanitizing all equipment. Any contamination can spoil your wine and ruin your hard work. Make sure to use a food-safe sanitizer to clean fermenting vessels, bottles, and any tools before use.
By steering clear of these common errors, you’ll be well on your way to crafting your perfect homemade bubbly. Remember, every winemaking journey is a learning experience, so embrace the process and enjoy! Cheers to your sparkling success!
Creative Flavor Variations to Try
Experimenting with flavors can elevate your homemade sparkling wine, allowing you to create something truly unique and delightful. The beauty of making sparkling wine at home lies in the endless possibilities for customization. Start by choosing a solid base wine-white, red, or rosé-and then let your creativity run wild with infusions and flavor enhancements.
Fruit Inflections
One of the simplest ways to add a burst of flavor is by infusing your sparkling wine with fruits. Consider the following options:
- Berries: Raspberries, strawberries, or blueberries can add vibrant color and tartness. Mash a handful and add them during the second fermentation.
- Citrus Zest: A strip of lemon, lime, or orange peel can bring a refreshing twist. Add a couple of strips to your fermentation vessel.
- Stone Fruits: Peaches or cherries lend a sweet, juicy character to your wine. Try adding a small amount of pureed stone fruit after fermentation.
Herb and Spice Twists
For those who enjoy aromatic profiles, consider blending in herbs and spices. A handful of fresh mint or basil can impart a lively, fragrant note. Alternatively, a pinch of cinnamon or ginger adds warmth and depth, perfect for seasonal variations. Just be sure to start with small amounts, as herbs and spices can be potent!
Floral Notes
Floral flavors offer a delightful layer to your sparkling creation. Dried hibiscus flowers or chamomile can provide a light, aromatic touch. Simply steep them in hot water, cool, and add a splash to your secondary fermentation for an enchanting infusion.
Sweet Enhancements
Lastly, don’t shy away from experimenting with sweetness. Adding a dash of honey, agave syrup, or flavored simple syrups (like lavender or vanilla) can transform your bubbly into a unique treat. Start with a small quantity, tasting as you go, to achieve your desired balance and avoid overpowering the wine.
Embrace this exciting process and let your taste buds guide you. Trying these creative flavors not only shapes your wine’s personality but also makes each batch a fun adventure. Happy blending!
How to Perfect Your Bubbles: Tips and Tricks
Creating the perfect bubbles in your homemade sparkling wine is all about understanding the science behind fermentation and how to balance flavor and carbonation. One exciting fact is that the effervescence in sparkling wine originates from carbon dioxide produced during fermentation. To make sure your bubbles are just right, you’ll want to master a few key techniques that can elevate your bubbly from good to spectacular.
Firstly, temperature control is crucial during fermentation. Yeast is temperature-sensitive; too hot or too cold can inhibit its action, resulting in less carbonation. Aim for a fermentation temperature around 65-75°F (18-24°C) for optimal yeast activity. Monitoring this will ensure consistent and sustained bubbling. When you’re ready for the second fermentation-when you actually trap the bubbles-you’ll need to bottle your wine with a dosage (a mixture of wine and sugar). This step generates more carbon dioxide, and a general guideline is to use about 1 to 2 teaspoons of sugar per bottle, depending on how sweet you want your final product.
Using the right equipment can also help achieve that perfect sparkle. Invest in high-quality bottles capable of withstanding pressure, such as champagne bottles. Traditional corking is recommended for sparkling wines to maintain pressure, but be careful to use proper wire cages or muzzles that hold the cork securely to prevent any unfortunate pops!
Lastly, patience is important. Many budding winemakers rush the aging process, but letting your wine rest for a few months can enhance its complexity and allow flavors to meld beautifully. You’ll notice that as you experiment more, particularly with different base wines and flavor infusions, the character of your bubbles will evolve, giving you a delightful sense of achievement every time you pop open a bottle. Enjoy the journey of crafting your bubbly, and happy winemaking!
Understanding the Different Types of Sparkling Wine
When diving into the world of sparkling wine, it’s fascinating to discover just how diverse this bubbly category can be. Each type not only brings different flavors and aromas to your palate but also different methods of production. Understanding these variations is crucial as you make your own sparkling wine at home, allowing you to experiment and create a bubbly that reflects your personal taste.
Types of Sparkling Wine
As a home vintner, knowing the primary styles of sparkling wine will guide your choices in ingredients and techniques. Here are the most prevalent varieties you might want to consider:
- Champagne: Only sparkling wine from the Champagne region of France can be officially labeled as Champagne. It generally involves a traditional method called “Méthode Champenoise,” where a second fermentation occurs in the bottle to create its signature bubbles.
- Prosecco: Originating from Italy, Prosecco is made using the Charmat method, where fermentation happens in large tanks rather than in individual bottles. This results in lighter bubbles and a fruitier flavor profile.
- Cava: This Spanish sparkling wine uses the traditional method like Champagne but tends to be more affordable. It’s often characterized by a slightly nutty flavor due to aging on its lees.
- Cremant: This is a sparkling wine from regions in France outside of Champagne, made using traditional methods. Each region imparts unique character based on local grapes and terroir.
- Spumante: Typically sweeter than other sparkling wines, Spumante is a category of Italian sparkling wine, often smooth and creamy with a fruity flair.
Choosing Your Style
When you decide what type of sparkling wine to make, consider the occasion and your flavor preferences. For a festive celebration, a classic Champagne-inspired bubbly will impress, while a fruity Prosecco could be perfect for a casual brunch. Experimenting with local grapes or a mix of styles can also yield delightful surprises, making your homemade creation truly unique.
In your winemaking adventure, aim to replicate the characteristics of these styles through your choice of fermentation methods, levels of sweetness, and blending of different grape varieties. Remember, making your sparkling wine is as much about creativity as it is about technique-so have fun playing with flavors and styles to craft the perfect bottle!
Pairing Your Homemade Sparkling Wine with Food
There’s something magical about bubbling up your homemade sparkling wine and pairing it perfectly with food. The effervescence can elevate even the simplest dishes, making every meal feel special. Whether you’ve crafted a zesty Prosecco or a more complex Champagne-like bubbly, knowing how to complement your wine can turn an ordinary evening into an unforgettable experience.
When it comes to food pairing, the general rule is to match the wine’s body and flavor profile. Here are some delightful pairings to consider:
Classic Combos
- Brut Sparkling Wine: Think salty snacks like potato chips or popcorn. The dryness of brut sparkling wine cuts through the fat, making each bite even better.
- Prosecco: This fruity sparkling wine shines with fresh seafood dishes, particularly grilled shrimp or ceviche. Its light and lively bubbles beautifully complement the freshness of the ocean.
- Cava: Pair Cava with savory tapas, such as chorizo or patatas bravas. The complexity of the wine enhances the flavors of the dish without overpowering it.
Creative Pairing Ideas
Don’t be afraid to experiment! Consider blending flavors from different cuisines. For instance, use your homemade bubbly to wash down spicy Asian dishes like Thai green curry or dim sum. The sweetness often found in Prosecco can balance the heat beautifully.
For dessert, try pairing a sweeter sparkling wine, like Spumante, with fruity tarts or creamy cheesecakes. The bubbles and sweetness can create a luxurious experience that feels indulgent but is surprisingly simple to pull off.
Serving Tips
Remember, temperature matters! Serve your sparkling wine well-chilled-ideally between 43°F and 50°F (6°C to 10°C). This not only enhances its refreshing qualities but also makes it enjoyable alongside your chosen dishes. Use elegant flutes for a classic presentation, or go casual with tumblers to make it approachable.
So, as you raise a glass of your homemade creation, let your culinary imagination roam free. Pairing food and sparkling wine should feel like a celebration, so enjoy the process. With every sip and bite, you’ll discover new favorites that spotlight your unique taste and flair for winemaking!
Fermentation and Aging: What You Need to Know
Creating sparkling wine at home may seem daunting, but understanding fermentation and aging can demystify the process and enhance your DIY bubbly’s quality. The magic lies in the transformation that occurs during fermentation, where sugar is turned into alcohol and carbon dioxide, creating the delightful bubbles we all love. This is your chance to embrace the art of winemaking and make something uniquely yours!
The first stage in this exciting journey is primary fermentation. You’ll start by mixing your base ingredients-usually a fresh fruit juice, water, and sugar-with your chosen yeast. For those just starting out, using a wine or champagne yeast is preferable, as these strains are designed to handle high sugar levels and produce cleaner flavors. Allow this mixture to sit for about one to two weeks, keeping it at a consistent temperature around 60°F to 75°F (15°C to 24°C). During this time, the yeast will work hard, bubbling away and eventually settling down once fermentation is complete.
After primary fermentation, you’ll want to gently transfer the liquid into a new container-a process called siphoning or racking-while leaving behind the sediment. This is crucial for clarity. At this stage, adding a small dose of sugar (also known as “dosage”) will set the stage for the secondary fermentation, which is where the bubbles are born. This can be done in bottles (if you’re aiming for traditional sparkling methods) or in a larger fermentation vessel. Seal them tightly, giving the yeast access to the new sugar. Over the next few weeks, the yeast will produce more carbon dioxide, which gets trapped in the liquid, forming those lovely bubbles.
Aging plays a pivotal role in enriching your sparkling wine. Initially, it’s wise to age your wine for a minimum of three to six months. This time allows the flavors to meld and develop complexity. You can age your wine either in bottles or large containers, keeping them away from direct sunlight and at a consistent, cool temperature. Here’s where the fun begins-experiment! You can try different aging times or add herbs for flavor variations. Remember, even small changes can dramatically influence the final taste of your bubbly.
As you navigate through your fermentation and aging journey, it’s crucial to monitor your wine’s progress. Ensure you check the fermentation temperature and taste it periodically-this will help you understand how the flavors develop over time. With patience and a little whimsy, your homemade sparkling wine will evolve into a delightful accompaniment to your meals, elevating even the simplest gatherings into a festive celebration!
Troubleshooting Sparkling Wine Issues
No homemade sparkling wine is without its quirks and challenges, but understanding a few common issues can help you ensure a bubbly success. If your DIY project seems to go off the rails, don’t worry-each problem usually has a straightforward fix, so grab your wine journal (you should keep one!) and let’s troubleshoot.
One of the most common issues is a lack of bubbles. If your sparkling wine is flatter than you hoped, the culprit may be insufficient secondary fermentation. Ensure you added enough sugar during the dosage stage, as this sugar is what the yeast uses to produce carbon dioxide. You can also check that your bottles were sealed properly; any leaks can let that precious gas escape. If you find yourself in this situation, try adding a little more sugar, re-sealing, and allowing it some extra time to ferment.
Another frequent challenge is cloudiness or sediment that remains in your wine. This can happen if you didn’t properly siphon your wine without disturbing the sediment during racking. To avoid this, always be gentle when transferring your wine and leave a gap of about an inch above the sediment. If you still end up with a cloudy product, don’t despair! You can use fining agents available at brewing supply stores, or just embrace the rustic look-after all, it’s homemade!
Some home winemakers may encounter an off-putting taste or odor, which can stem from a few sources: poor yeast health, contamination, or even wild yeast strains. If your wine smells like vinegar, it’s likely a result of acetobacter-this can often happen if oxygen gets into your fermentation vessel. To combat these issues, always use clean, sanitized equipment and select quality yeast from a reputable supplier. If you do detect an unpleasant smell, it’s usually best to discard the batch, but don’t lose heart-every experienced winemaker has had at least one ‘learning experience.’
Lastly, if your wine ends up too sweet, it may be due to a stuck fermentation, where the yeast stops working too early, often from low temperatures or high sugar content. If you catch this in time, you can try gently stirring your wine, raising the temperature, or pitching more yeast to kick-start fermentation again. If it still stays sweet despite your efforts, consider it an opportunity to create a delicious dessert wine!
With each hurdle, remember that the process of making sparkling wine at home is as much about experimentation as it is about following specific recipes. Embrace the lessons along the way, and keep a positive attitude-your next batch may just be pure bubbly magic!
Storing and Serving Your Homemade Bubbly
Storing your homemade sparkling wine properly ensures that each glass is as delightful as the first sip. Once it’s ready to drink, the goal is to preserve its effervescence and complex flavors while preventing any premature aging or flatness. Ideally, your sparkling wine should be stored in a cool, dark place, away from direct sunlight and temperature fluctuations. A dedicated wine fridge is fantastic, but a regular refrigerator will do the job too-just make sure you lay the bottles horizontally to keep the cork moist and prevent it from drying out.
When it comes time to serve your bubbly, chill it before pouring. Aim for a temperature between 40-50°F (4-10°C), which allows the flavors to shine while maintaining a refreshing crispness. You can chill your wine in the fridge a few hours before serving or in an ice bath for about 20 minutes if time is short. Remember, serving sparkling wine too warm can dull the taste, while too cold can mask its nuances.
Let’s not forget about the pouring! Tilt the glass at a 45-degree angle and pour gently to minimize foam. As the wine hits the glass, gently straighten it. This method helps release the bubbly’s aromas and affords a beautiful presentation with a steady stream of bubbles rising. Each pour should create a nice, frothy head at the top without overflowing.
Lastly, consider the occasion or meal you’re pairing it with to enhance the experience. Homemade sparkling wine can elevate a casual dinner with friends or a fancy celebration. Whether it’s a simple appetizer, like cheese and crackers, or a more complex dish, finding the right pairing can make your homemade bubbly shine. Enjoy every moment of sharing your creation and be proud of the delicious result you’ve crafted in your kitchen!
Faq
Q: What ingredients do I need to make sparkling wine at home?
A: To make sparkling wine at home, you’ll need quality wine, sugar, and yeast. Optional flavorings like fruits or herbs can enhance your wine. Ensure you have fresh grapes or a good wine base, as this is crucial for flavor. For a detailed ingredient guide, check the “Choosing the Best Ingredients” section.
Q: How long does it take to make DIY sparkling wine?
A: The entire process of making DIY sparkling wine can take several weeks to months. Fermentation generally takes 1-2 weeks, followed by aging for up to several months to develop the desired flavors. For a quicker reference, see the “Fermentation and Aging” section in the article.
Q: What types of bottles should I use for homemade sparkling wine?
A: Use thick glass bottles designed for sparkling beverages, such as champagne bottles. These can withstand the pressure from carbonation. Avoid regular wine bottles, as they may break under pressure. For more details, refer to the “Essential Tools for Home Winemaking” section.
Q: Can I carbonate sparkling wine without fermentation?
A: Yes, you can carbonate wine using a self-carbonating system or by adding carbon dioxide gas directly. However, this method may not yield the same depth of flavor as traditional fermentation. Explore more in the “How to Perfect Your Bubbles” section of the article.
Q: Why is my sparkling wine flat after opening?
A: Your sparkling wine may be flat due to improper sealing or exposure to air. Always ensure bottles are tightly sealed and use adequate storage techniques. For troubleshooting tips, check the “Troubleshooting Sparkling Wine Issues” section for more strategies.
Q: What are the best types of grapes for making sparkling wine?
A: The best types of grapes for sparkling wine include Chardonnay, Pinot Noir, and Pinot Meunier. These varieties have the ideal balance of acidity and sweetness that contribute to vibrant, bubbly flavors. For a deeper dive, go to the “Understanding the Different Types of Sparkling Wine” section.
Q: How do I serve homemade sparkling wine correctly?
A: Serve homemade sparkling wine chilled, ideally around 45-50°F (7-10°C). Use flute glasses to accentuate the bubbles and enhance the drinking experience. More serving tips can be found in the “Storing and Serving Your Homemade Bubbly” section.
Q: What common mistakes should I avoid when making sparkling wine?
A: Avoid using low-quality ingredients, incorrect bottle types, and not monitoring fermentation temperature. These mistakes can lead to undesirable flavors or carbonation issues. For a complete list of common pitfalls, visit the “Common Mistakes to Avoid in Winemaking” section.
Insights and Conclusions
Congratulations on your journey to crafting sparkling wine at home! With just a few ingredients and some patience, you can enjoy your very own bubbly creation. Remember, the magic is in the fermentation process, and experimenting with different fruits or blends can lead to delightful surprises. Don’t wait-gather your supplies and pop that cork to start your sparkling adventure today!
If you’re eager to expand your winemaking skills further, check out our guides on Making Fruit Wines and Essential Winemaking Equipment to enhance your home brewing experience. And for tips on pairing your sparkling wine with delicious meals, visit our Food Pairing section. Join our community by signing up for our newsletter to keep up with all the latest tips and updates!
Your feedback matters! Share your winemaking experiences in the comments below, and connect with fellow enthusiasts. Let’s toast to creativity in the kitchen-cheers to your homemade bubbly!
Get our latest guides, news, and insights highlighted in your Google Search & AI Overviews.










