

Did you know that making your own white wine vinegar can transform your kitchen adventures? It’s a simple process that not only saves you money but also allows you to create a unique flavor profile tailored to your taste. White wine vinegar is an essential pantry staple, perfect for salad dressings, marinades, and even pickling.
Whether you’re a novice cook or a seasoned kitchen pro, this DIY project is both accessible and rewarding. With just a few ingredients and a little patience, you can create a gourmet vinegar that elevates your dishes without breaking a sweat. Plus, the satisfaction of using something you’ve made yourself is unmatched! Ready to dive in? Let’s explore how to effortlessly whip up your own white wine vinegar at home!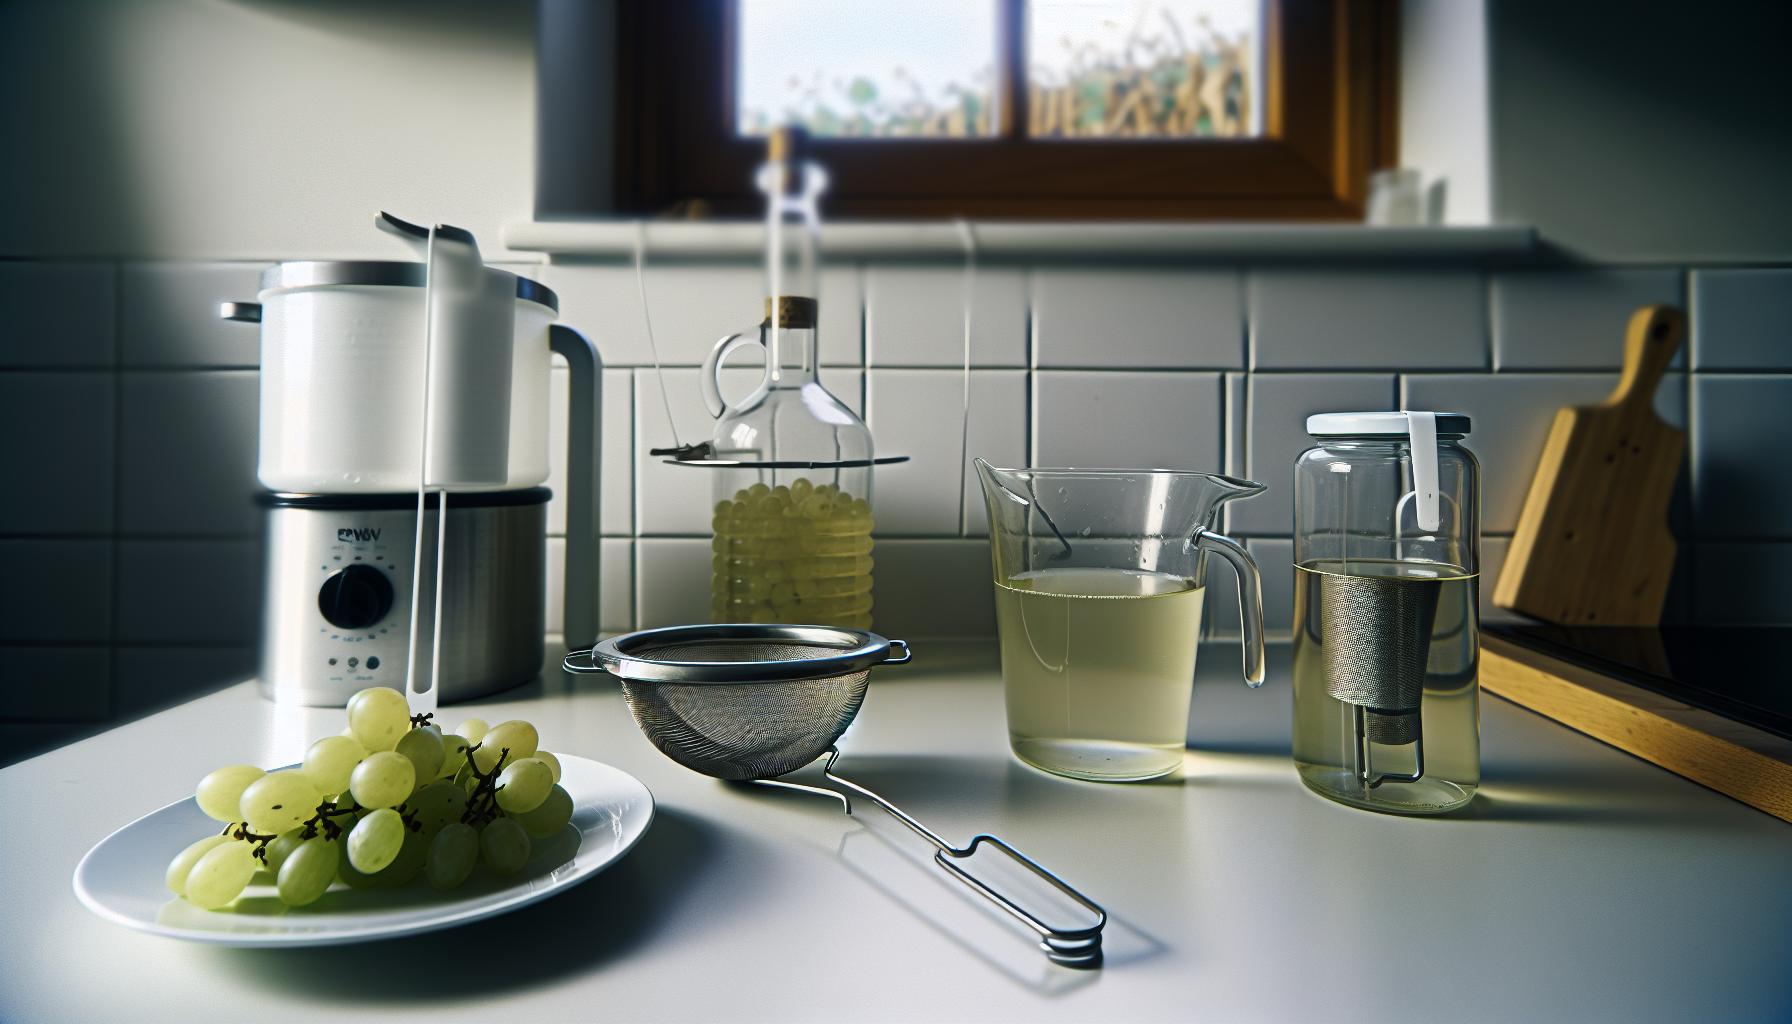
Choosing the Right White Wine for Vinegar Making
When it comes to crafting your own white wine vinegar, selecting the right wine is just as crucial as the fermentation process itself. The wine serves as the foundation for your vinegar, influencing its flavor, aroma, and overall quality. To achieve a well-balanced and versatile vinegar, look for wines that are high in acidity and not overly sweet. Generally, dry white wines such as Sauvignon Blanc, Pinot Grigio, or Chardonnay are excellent choices. These varieties offer a bright, tangy profile that will translate beautifully into vinegar.
It’s also important to consider the quality of the wine you choose. Since the flavor of the vinegar will reflect the wine, opt for a wine you would enjoy drinking. There’s no need to splurge on something expensive, but avoid the very cheapest options as they might contain undesirable additives that can affect the fermentation process. A good rule of thumb is to select a wine that is labeled as “produced from grapes” without artificial flavors or sweeteners.
For those feeling adventurous, experimenting with different varietals can yield unique and exciting results. You can mix different types of white wines or even add a splash of fruit juice or herbs to enhance complexity. As you become more comfortable with the process, keep notes on your choices and outcomes. This practice will help you refine your technique and develop a signature flavor profile that reflects your personal taste.
Tip:
When starting your vinegar-making journey, it’s wise to use around 1 to 2 bottles of wine, which typically yields about 1 quart of vinegar. This amount is manageable and perfect for home cheeseboards or salad dressings, leaving you plenty of room for creativity as you build your skills. Enjoy the process and let your kitchen become a place of culinary exploration!
Essential Equipment for DIY Vinegar Creation
To get started on your journey to making white wine vinegar, you’ll be happy to know that you don’t need a lot of fancy equipment. Just a few everyday items can help you transform your favorite wine into a tangy, flavorful kitchen staple. Here’s a breakdown of the essential gear you’ll need to successfully create vinegar at home.
- Glass Containers: Opt for a large glass jar or a ceramic crock. Glass is non-reactive, which is crucial for vinegar-making, as plastic can taint the flavor. A wide-mouth jar makes it easy to access and stir your mixture.
- Cloth Cover: A breathable cover, such as a cotton cloth or coffee filter, is essential. This keeps dust and insects out while allowing air to circulate, which is vital for the fermentation process.
- Rubber Band or String: Use this to secure your cloth cover over the mouth of the jar. This simple step helps to prevent contamination while still promoting airflow.
- Wooden Spoon: For stirring your mixture, a non-metal spoon is best. Wood is gentle and won’t scratch your glassware.
- Measuring Cup: Use this to pour your wine accurately. Keeping track of your quantities helps in replicating successful batches.
- Temperature Thermometer: Optional, but helpful to monitor the conditions. Vinegar ferments best in a temperature range of 60°F to 80°F (15°C to 27°C).
- Strainer or Cheesecloth: Once fermentation is complete, a strainer will help to separate the vinegar from any floating sediments or solids.
As you dive into making your own vinegar, remember that it’s all about enjoying the process and experimenting with flavors. You might even have some of these items at home already, so there’s no need for a big investment. Home vinegar-making is accessible and rewarding; soon enough, you’ll be crafting unique bottles to enhance your culinary creations!
Step-by-Step Guide to Making White Wine Vinegar
Creating your own white wine vinegar is not just a fun kitchen project; it’s a delicious way to transform a simple ingredient into a culinary staple. Let’s dive into the straightforward process of making white wine vinegar at home. With just a few steps, you’ll be well on your way to enjoying a homemade condiment that can brighten up any dish.
Start with a quality white wine that you genuinely enjoy drinking, as this will significantly affect the flavor of your vinegar. Pour your wine into a large glass jar, filling it about three-quarters full. This will allow room for the fermentation process to work its magic. To kick off the fermentation, you’ll need a vinegar mother, which is a gelatinous mass composed of acetic acid bacteria. If you don’t have a vinegar mother on hand, don’t worry; simply add a splash of unpasteurized vinegar to your wine, which can introduce these helpful bacteria.
Cover the jar with a breathable cloth or coffee filter secured by a rubber band or string. This will prevent any dust or bugs from getting in while allowing air to flow, which is essential for fermentation. Place the jar in a warm, dark place, ideally where the temperature stays between 60°F and 80°F. Now comes the magical waiting game. Over the next 3 to 4 weeks, stir the mixture weekly and check its progress. You’ll notice it beginning to turn tangy-this is a great sign!
Once the vinegar has reached your desired acidity, it’s time to strain it. Use a fine strainer or cheesecloth to remove any solids, pouring the liquid into a clean bottle. If you want to get creative, this is a fantastic time to flavor your vinegar. Think fresh herbs, garlic, or citrus peels! Just add your chosen flavorings to the bottle and let it steep for another week for an extra zing.
Congratulations! You now have homemade white wine vinegar ready to enhance your salads, marinades, and sauces. Enjoy the pride of crafting something delicious and personalized; it’s a small touch that makes a big difference in your cooking. Happy vinegar-making!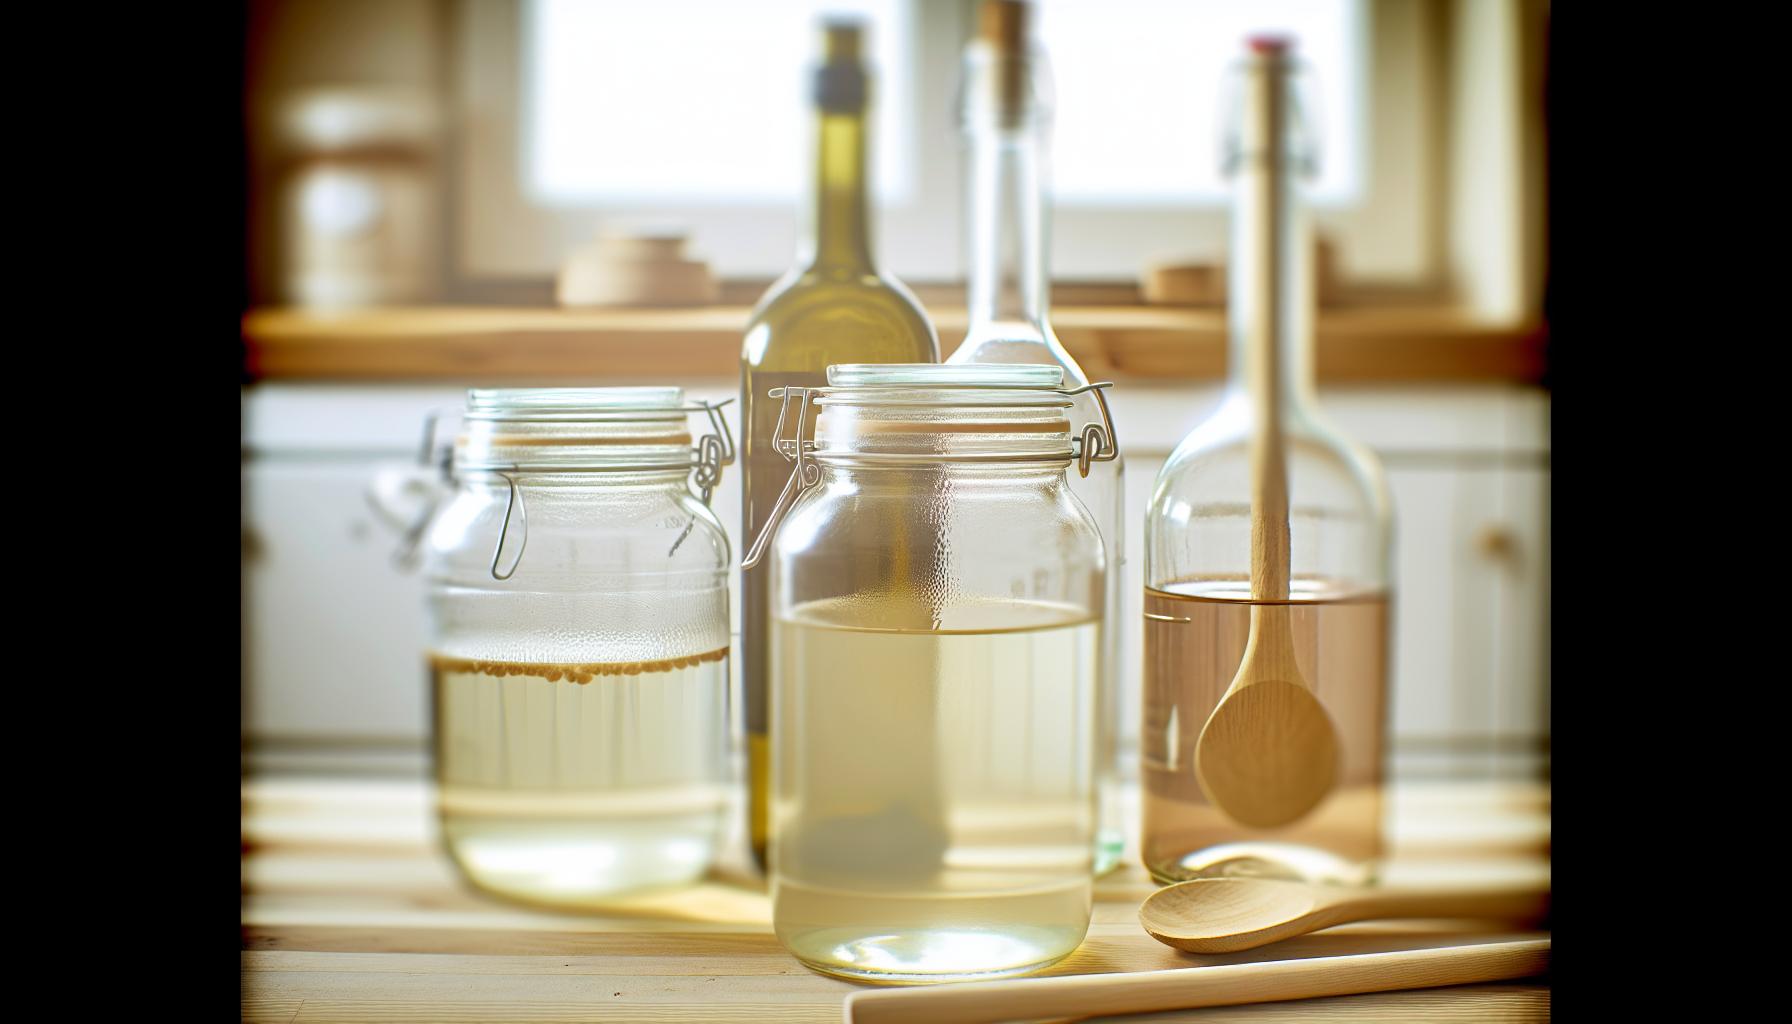
Fermentation Process: What to Expect
The fermentation process of making white wine vinegar is a fascinating transformation that takes place right in your kitchen. Once you’ve combined your chosen wine with a vinegar mother or a splash of unpasteurized vinegar, you initiate a lively interaction between the alcohol and acetic acid bacteria. This is the beauty of transforming liquid into something tangy and delicious!
The initial phase of fermentation can be quite visual. You might notice bubbles forming and a slight fizzing sound, which can signal that fermentation is well underway. This enthusiastic activity typically lasts for about a week. Over the next few weeks, keep an eye on the color and clarity of your vinegar. It may become murky or develop a film on top, indicating that the vinegar mother is active. Don’t worry; this is perfectly normal and part of the process.
As fermentation progresses over the first two to four weeks, you’ll want to periodically taste your vinegar. This is a crucial step! The acidity will gradually increase, and the flavor will shift from that of wine to a more complex vinegar taste. You might find it slightly sweet at first, but as time passes, it will develop the sharp, vibrant notes that characterize white wine vinegar. If it reaches a level of acidity that feels right to you, it’s time for the next step.
To wrap it up, when your vinegar has reached your desired flavor profile, strain out any solids using a fine mesh strainer or cheesecloth. Remember, patience is key during this transformation! You’re not just making a condiment; you’re engaging in a culinary craft that celebrates the vibrant life of microorganisms at work. Enjoy the process, and your homemade white wine vinegar will surely add a delightful zing to your favorite dishes!
Common Mistakes to Avoid When Making Vinegar
While the process of making white wine vinegar is exciting, it’s also easy to make a few slip-ups that could impact the quality of your homemade creation. Here are some common pitfalls and how you can avoid them:
One significant mistake is using poor-quality wine. Remember, you’re essentially transforming this wine into vinegar, so if the wine tastes bad, the vinegar likely will too. Always choose a wine that you enjoy drinking. A bottle labeled “cooking wine” is often full of preservatives and other additives that can hinder the fermentation process. Instead, opt for a reasonably priced, good-quality wine that you would enjoy sipping.
Another common issue is neglecting cleanliness. It’s crucial to use clean equipment to minimize contamination. Any leftover residues from previous uses could introduce unwanted bacteria, affecting fermentation. Always sanitize your fermentation vessel, utensils, and any containers you’ll use to store the vinegar afterward. A simple solution can be made using a mix of vinegar and water, ensuring everything is spotless before starting.
Monitoring the temperature during fermentation is also key. Ideally, your vinegar should ferment in a cool, dark place with a consistent temperature, around 60 to 75°F (15 to 24°C). If it’s too warm, you risk losing desirable flavors or even spoiling the batch, while temperatures that are too cold could slow or halt fermentation. Keep an eye on your environment to ensure the best conditions for your vinegar.
Not tasting your vinegar as it ferments is a blunder many beginners make. Regularly sampling your vinegar throughout the fermentation process allows you to gauge the acidity and flavor progression. It’s a way to personalize your vinegar, ensuring that it reaches your desired level of tanginess. If you find it’s too sweet or not acidic enough, you can extend the fermentation time or adjust the conditions accordingly.
By avoiding these common mistakes, you’ll be well on your way to crafting a delicious batch of white wine vinegar that adds vibrant flavor to your culinary creations. Enjoy the journey, embrace the learning process, and know that a little experimentation in the kitchen can lead to delightful surprises. Happy fermenting!
Flavoring Your Vinegar: Tips and Ideas
Experimenting with flavors in your homemade white wine vinegar can transform an ordinary condiment into something extraordinary that elevates your culinary creations. The beauty of vinegar making lies not only in the fermentation process but also in the endless possibilities for flavor enhancement. Whether you prefer a subtle twist or a bold profile, here are some inspiring ideas to get you started.
One of the simplest ways to infuse flavor is by introducing herbs and spices. Think fresh or dried herbs like thyme, rosemary, or basil. Just add a few sprigs to your vinegar during the last week of fermentation to allow their flavors to meld. Similarly, fragrant spices such as peppercorns, cloves, or fennel seeds can add warmth and complexity. For a zesty kick, include citrus peels-orange or lemon work beautifully. Just remember to strain the vinegar after infusion to remove any solid bits before bottling.
Another fun option is to introduce fruits into your vinegar for a vibrant and refreshing taste. Consider using sliced strawberries, peaches, or apples. The key is to ensure that any added ingredients are fully submerged in the vinegar to prevent mold growth. For an extra layer of delight, you might even try a combination, like mixing chili peppers with mango for a sweet and spicy version.
Common Flavor Combinations to Try
- Garlic and Herb: Mix garlic cloves with fresh parsley or basil for a savory kick.
- Spicy Citrus: Combine jalapeños with lime peels for a tangy heat.
- Berry Medley: Use a mix of blueberries, blackberries, and raspberries for a fruity twist.
When it comes to the infusion time, you might start with a week or two-taste testing regularly to find the perfect profile for your palate. Feel free to play around and adjust according to your favorite flavors or the season. Remember, the joy of crafting homemade vinegar is in the process, so embrace the opportunity to explore new tastes and have fun along the way!
In addition to enhancing flavors, don’t overlook the potential for color. Berries, citrus, and certain herbs can give your vinegar a stunning hue that adds visual appeal to your kitchen creations. Once you’ve perfected your flavored vinegar, use it in salad dressings, marinades, or even as a finishing touch on your dishes. The key to creativity in the kitchen starts with those simple, delicious experiments-so dive in and start tasting your way to the perfect homemade fusion!
Storage Tips to Extend Shelf Life
Storing your homemade white wine vinegar properly can significantly extend its shelf life and maintain its delicious flavor. Unlike many other homemade condiments, vinegar has a relatively long shelf life thanks to its acidic nature, which discourages bacterial growth. However, to keep your vinegar in top shape, consider these simple yet effective storage tips.
First and foremost, choose the right container. Opt for dark glass bottles or containers, as exposure to light can degrade the quality of the vinegar over time. A tight seal is also essential to prevent air from getting in, which can lead to spoilage. If you have a larger batch or want to keep some for longer storage, consider using vacuum seal jars.
Additionally, store your vinegar in a cool, dark place-like a cupboard or pantry-away from direct sunlight and heat sources. While vinegar can be stored at room temperature, refrigerating it can help preserve the flavor, especially if you’ve added fresh ingredients during the infusion process.
Signs of Spoilage
Keep an eye out for any changes in smell or taste. If you notice an off odor or strange appearance, such as cloudiness beyond what’s common with homemade vinegar, it might be time to discard it. Generally, however, properly stored vinegar can last for years due to its acidity.
Lastly, remember that vinegar’s flavor can change and deepen over time. While it may not spoil in the traditional sense, its sharpness might mellow out, and combined flavors can become more complex. This aging can be delightful if you enjoy the nuances of flavor development, adding a unique touch to your culinary creations.
With these simple storage practices in place, you can ensure that your homemade white wine vinegar remains a vibrant and flavorful staple ready for all your cooking adventures!
Using Homemade White Wine Vinegar in Recipes
Using your homemade white wine vinegar is not only a delightful way to add flavor to your dishes but also a fantastic opportunity to experiment with your culinary creations! This kitchen staple is versatile, easy to incorporate, and might just elevate your cooking to new heights. Let’s dive into how you can use it effectively in your recipes.
A simple vinaigrette is one of the best ways to showcase your white wine vinegar. Combine 3 parts oil (olive oil is a classic choice) to 1 part vinegar, add a teaspoon of mustard, and whisk it all together. Season with salt and pepper to taste. This dressing brings a bright acidity that’s perfect for drizzling over fresh salads or roasted veggies. You can also infuse your vinaigrette with herbs or garlic for an extra flavor boost.
Marinades and Pickling
Homemade vinegar shines in marinades, making meats and vegetables tender and flavorful. For a simple marinade, mix 1/2 cup of white wine vinegar, 1/4 cup of soy sauce, and your favorite spices-think garlic, ginger, or herbs. Let your protein or veggies marinate for at least 30 minutes before cooking for a burst of flavor.
Another exciting way to use your vinegar is in pickling. Quick pickles can be made by combining equal parts vinegar and water, adding sugar and salt to taste. Pour this brine over sliced veggies and let them sit for a few hours to soak up all those delicious flavors. These pickles make fantastic toppings for sandwiches, burgers, or as a tangy side dish.
Flavor Enhancements in Cooking
Don’t forget that a splash of white wine vinegar can brighten up sauces and soups. If you’re making a creamy sauce, add a tablespoon of vinegar at the end of cooking to enhance the depth of flavor. Similarly, a dash added to a simmering soup can elevate the overall taste without overpowering the dish.
Lastly, consider using your homemade vinegar in baking. A teaspoon of white wine vinegar can be added to the wet ingredients of cakes or muffins to enhance moisture and create a tender crumb-especially in recipes where you might use buttermilk or yogurt. It’s these little tricks that can transform everyday recipes into something truly special!
Enjoy the process of using your homemade white wine vinegar, and don’t hesitate to get creative. Each recipe provides a canvas for you to explore different flavor combinations while enjoying the satisfaction of crafting something unique right in your kitchen!
Exploring Creative Uses for Vinegar Beyond Cooking
Vinegar is an incredible, multifunctional ingredient that extends well beyond the confines of your kitchen. While homemade white wine vinegar shines in your culinary creations, its uses encompass a variety of everyday applications that can enhance your home life. From cleaning to personal care, the versatility of vinegar allows you to embrace a more natural lifestyle.
Natural Cleaning Power
One of the most popular uses for vinegar outside of cooking is as a natural cleaner. Its acidic properties make it great at cutting through grease and grime, making household surfaces sparkle without harsh chemicals. Simply mix equal parts water and white wine vinegar in a spray bottle and use it to clean countertops, mirrors, and windows. For tough stains or soap scum, apply undiluted vinegar directly and let it sit for a few minutes before wiping away. You’ll love how it leaves your home fresh and free from synthetic cleaners!
Crafting Homemade Beauty Solutions
Another creative use for your white wine vinegar is in personal care products. This versatile ingredient can help balance your skin’s pH levels and even enhance your beauty routine. Try using a vinegar-based toner by diluting one part vinegar with two parts water, which can be applied after cleansing to tighten pores and refresh your skin. Additionally, adding a cup of white wine vinegar to your bath can help soothe tired muscles and soften your skin, turning an ordinary soak into a spa-like experience.
Gardening Ally
If you spend time in the garden, homemade white wine vinegar can come to your rescue! It serves as a natural weed killer; mix three parts vinegar with one part water and spray it on weeds during a sunny day. Just be careful to target the weeds specifically, as this mixture can also harm desirable plants. Moreover, vinegar can help keep your flowers looking fresh longer; add a tablespoon to your cut flower water to inhibit bacteria growth and extend their lifespan.
Incorporating homemade white wine vinegar into your everyday routine is an inspiring way to cut back on store-bought products and unleash your creativity. Whether you’re sprucing up your home or refreshing your beauty regimen, this DIY staple proves to be a helpful companion in countless situations. Explore these alternative uses and enjoy the satisfaction of knowing you’ve crafted something versatile and beneficial straight from your kitchen!
How to Troubleshoot Vinegar Fermentation Issues
As you embark on your journey of making homemade white wine vinegar, understanding how to troubleshoot common fermentation issues can significantly enhance your success. Fermentation may be one of the most rewarding aspects of vinegar making, but it can also be tricky. A little knowledge goes a long way in ensuring that you achieve that perfect tangy flavor.
One of the most frequent challenges during fermentation is a slow or stalled process. If after a week or two your vinegar isn’t bubbling or showing signs of activity, it could be due to several factors: the temperature may be too low or too high (ideally between 60°F to 80°F), or you might not have enough exposure to oxygen. To encourage fermentation, ensure your vinegar is stored in a warm spot, and consider using a breathable cloth over your fermentation vessel. This allows oxygen in while keeping unwanted contaminants out.
Another common issue is off-flavors or odors, which can indicate contamination. If your vinegar exhibits a moldy or undesirable smell, it’s best to discard it and start over. To minimize this risk in future batches, ensure that all your equipment is thoroughly cleaned and sanitized before use. Additionally, using fresh, high-quality white wine can also help prevent undesirable flavors from developing.
Finally, if you notice an excessive amount of sediment at the bottom of your fermentation container, don’t worry! This is quite ordinary and often just a combination of yeast and bacteria. When bottling your vinegar, use a fine mesh strainer or cheesecloth to filter out this sediment, ensuring a clearer final product. Remember, making vinegar is as much about experimentation as it is about following guidelines. Enjoy the process and trust your instincts, and soon you’ll be savoring the fruits of your labor!
Benefits of Homemade Vinegar Over Store-Bought
When you craft your own white wine vinegar, you unlock a world of benefits that far surpass the offerings of store-bought varieties. One of the most delightful advantages of homemade vinegar is taste customization. Instead of settling for generic flavors, you have control over the ingredients and the process. Choose your favorite quality white wine and infuse it with herbs, spices, or fruit to create unique flavor profiles. Imagine a rosemary-infused white wine vinegar drizzled over fresh salads or a zesty citrus version brightening up your marinades!
Another compelling reason to venture into vinegar making is the satisfaction of crafting something from scratch. There’s a sense of accomplishment that comes from nurturing your own batch, patiently waiting for it to ferment, and then finally enjoying the fruits of your labor. It’s a creative journey, akin to making homemade bread or brewing your own beer. Plus, sharing your homemade vinegar with friends or using it in gifts adds a personal touch that store-bought options simply can’t replicate.
Homemade vinegar is also often more cost-effective in the long run. If you frequently use vinegar in your cooking, think of the savings over time. A bottle of quality white wine can yield multiple batches of vinegar, providing a significantly lower cost per use than constantly buying pre-made vinegar, especially the gourmet or specialty varieties.
Lastly, by making vinegar at home, you can avoid unnecessary additives and preservatives commonly found in commercial options. You get pure, unadulterated vinegar made with just the ingredients you choose. This not only enhances the quality but also aligns with healthier eating habits. Whether you’re crafting dressings, preserving foods, or simply adding an acidity boost to your dishes, homemade white wine vinegar stands out as a versatile and rewarding kitchen staple.
Benefits of Homemade Vinegar
- Customizable Flavor: Tailor the taste to your liking with your preferred wine and flavorings.
- Satisfaction: Enjoy the pride of creating your own product from scratch.
- Cost-Effective: Save money over time with a more economical approach to a kitchen staple.
- No Additives: Opt for pure ingredients without preservatives or additives.
Embrace the joy of making your ever-own vinegar and transform your culinary creations!
Understanding the Science Behind Vinegar Making
Vinegar making is a fascinating blend of biology and chemistry that transforms everyday ingredients into a tangy staple. At its core, vinegar is created through the fermentation of sugars, which are converted into alcohol and then into acetic acid-the component that gives vinegar its sour taste. For white wine vinegar, this process begins with high-quality white wine. The sugars in the wine are first fermented by yeast, converting them into alcohol. Next, acetic acid bacteria, primarily from the genus Acetobacter, convert that alcohol into acetic acid when oxygen is present.
Understanding this fermentation process is key to successfully making vinegar at home. The transformation starts when you expose your wine to air in a container equipped with a breathable cover-like cheesecloth or a loosely fitted lid. This exposure encourages the growth of acetic acid bacteria, which need oxygen to thrive and do their magic. During this stage, you’ll start to notice changes in flavor and aroma within a few weeks. The trick is ensuring a consistent temperature (ideally around 60-80°F) and a steady oxygen supply, while also keeping it away from direct sunlight to prevent spoilage.
At various stages, you can taste the vinegar to monitor its development. You might find it pleasantly mild at first, eventually taking on a sharper character as the acetic acid concentration increases. Beyond flavor, the smell also transforms; you may notice a hint of fruity or floral notes initially, which will evolve as the fermentation progresses. This is why patience is essential, as good vinegar takes time to ferment properly.
Be mindful of common pitfalls. Overfermentation can lead to an overly acidic product that’s hard to use. You want to aim for a balance-rich flavors combined with a pleasant tang. If you find your vinegar is too strong, mixing it with fresh wine or other ingredients in recipes can help you adjust its intensity. By truly engaging with this process, you not only heighten your culinary skills but also enjoy the satisfaction of crafting a truly unique condiment that enhances your cooking in delightful ways.
Frequently Asked Questions
Q: What is the best type of white wine for making vinegar?
A: The best white wine for making vinegar is dry white wine, such as Sauvignon Blanc or Chardonnay. Dry wines contain less sugar, which helps to prevent unwanted bacteria during fermentation. Avoid sweet wines, as they can lead to a sticky, undesirable vinegar. For tips on choosing the right wine, check out our section on that topic.
Q: How long does it take to make white wine vinegar at home?
A: Making white wine vinegar typically takes 3 to 6 weeks. The fermentation process needs time to allow the wine to convert into vinegar properly. Be sure to check the vinegar periodically to assess its taste and quality during this period. For a step-by-step timeframe, refer to our fermentation process section.
Q: Can I use leftover wine to make vinegar?
A: Yes, leftover wine is perfect for making vinegar! It’s an excellent way to repurpose wine that may not have been enjoyable to drink. Just ensure the wine is still good quality, as its flavor will influence the vinegar. For more insights, see our common mistakes to avoid.
Q: What should I do if my vinegar is not fermenting?
A: If your vinegar isn’t fermenting, ensure it has sufficient oxygen and is kept in a warm environment (60-80°F). If it’s too cold or sealed tightly, the fermentation process may stall. Additionally, consider adding a bit of store-bought vinegar as a starter. For troubleshooting tips, explore our troubleshoot vinegar fermentation issues section.
Q: How can I tell when my white wine vinegar is ready?
A: You can tell your white wine vinegar is ready by its sour taste and sharp smell, akin to store-bought vinegar. Taste it regularly after the first few weeks to monitor its development. Once it reaches your desired flavor, strain it and bottle it. Check out our fermentation process for details on what to expect.
Q: How should I store homemade white wine vinegar?
A: Store homemade white wine vinegar in a cool, dark place, ideally in a glass bottle. It should last for several months to a year. Always use a clean utensil when pouring to prevent contamination. For further details on extending shelf life, refer to our storage tips section.
Q: What are some creative uses for homemade vinegar?
A: Homemade white wine vinegar can be used in salad dressings, marinades, or as a flavor enhancer in cooking. Additionally, it can be used for pickling vegetables or as a natural cleaning agent. Explore more creative uses in our section on exploring creative uses for vinegar beyond cooking.
Q: Is homemade vinegar healthier than store-bought?
A: Yes, homemade vinegar is often healthier than store-bought because you can control the ingredients and avoid preservatives. It can also be more cost-effective. For more benefits, check our section on benefits of homemade vinegar over store-bought.
Key Takeaways
Congratulations on taking the first step towards making your own white wine vinegar! This simple, rewarding DIY project not only adds a gourmet touch to your culinary creations but also transforms leftover wine into a flavorful kitchen staple. Remember, the key to great vinegar is patience and a little experimentation, so don’t hesitate to try different wines or add herbs and spices for unique flavors.
If you enjoyed this guide, be sure to check out our related articles on homemade condiments and preserving techniques. For more tips and tricks, subscribe to our newsletter for fresh ideas delivered right to your inbox, and why not share your vinegar-making journey in the comments below? Your feedback helps our community grow and thrive! Start your flavorful adventure today; the kitchen is waiting for your creativity!
Get our latest guides, news, and insights highlighted in your Google Search & AI Overviews.










