
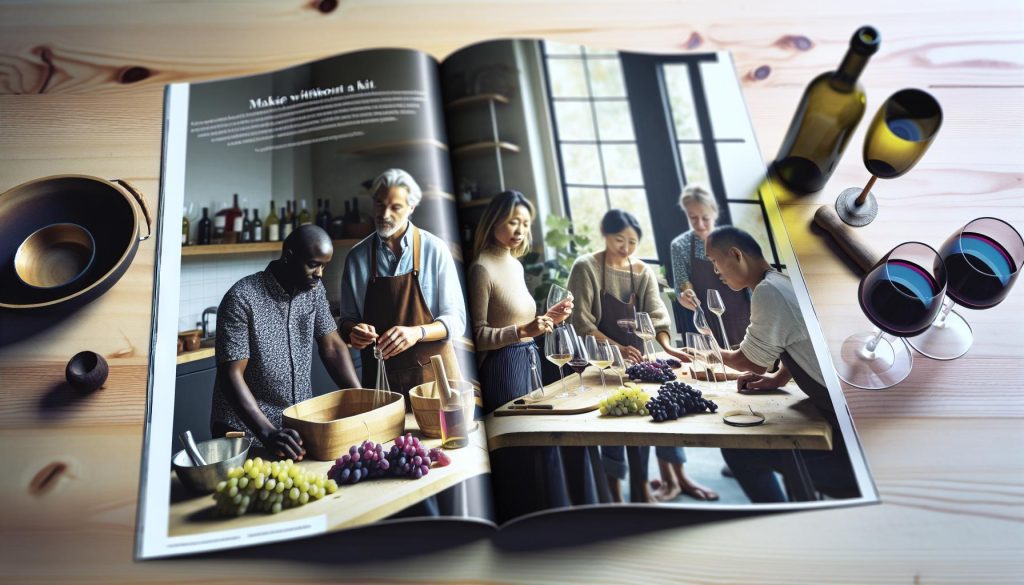
Did you know that making your own wine at home is not only a fun project but also a great way to save money? Many people think winemaking requires expensive kits or complex processes, but the truth is, you can create delicious wine right in your kitchen using simple ingredients and household items. This guide will walk you through budget-friendly tips that make winemaking accessible to everyone, regardless of skill level. Whether you’re looking to impress friends with a homemade vintage or simply explore a new hobby, you’ll discover that crafting wine can be both enjoyable and rewarding. Let’s unlock the creativity of winemaking together, and you’ll be sipping your very own creation in no time!
Choosing the Right Grapes for Homemade Wine
Choosing the right grapes for your homemade wine can significantly influence the flavor and quality of the final product. While it might seem daunting at first, selecting grapes is all about finding varieties that suit your taste and the style of wine you want to create. Did you know that different grape varieties can have drastically different flavor profiles and sugar content? For instance, Cabernet Sauvignon grapes are known for their bold flavors and are perfect for a rich red wine, while Chardonnay is more versatile, providing crisp and fruity white wines.
When selecting grapes, consider these essential factors:
Grape Variety
Different grape varieties contribute unique characteristics to your wine. Here are some popular options:
- Red Grapes: Cabernet Sauvignon, Merlot, Pinot Noir.
- White Grapes: Chardonnay, Sauvignon Blanc, Riesling.
Choose a variety that aligns with your flavor preference and the style of wine you’re aiming to craft.
Ripeness
Ripeness is crucial for achieving the right sugar levels for fermentation. Grapes that are too green will produce sour wines, while overripe grapes can lead to overly sweet or jammy flavors. A good rule of thumb is to taste the grapes; they should be sweet and flavorful, with slightly soft skins.
Freshness and Quality
Always select fresh, high-quality grapes. Look for berries that are plump and free from blemishes or mold. If you’re sourcing grapes from a local farm or market, don’t hesitate to ask about their growing practices. Ideally, you want organically grown grapes without excessive pesticide residues.
Location Matters
Consider the climate and soil of your region. Some grape varieties thrive in cooler climates, while others flourish in warm, sunny areas. If you want to try your hand at growing your own grapes, do a little research on which varieties can adapt to your local conditions.
By taking these aspects into account, you can select grapes that not only meet your flavor preferences but also enhance your winemaking success. Enjoy the process of experimenting with different grapes-who knows, you might just stumble upon a new favorite!
Basic Equipment You Already Have for Winemaking
Making wine at home may sound like a complex endeavor, but you might be surprised to discover that you already have many of the necessary tools right in your kitchen! Let’s take a look at some common household items you can repurpose for your winemaking journey, proving that creativity can lead to delicious results without breaking the bank.
First off, food-grade buckets or containers are likely already in your storage. These are perfect for fermentation. You can often find them in your kitchen if you’ve ever made large batches of food or received takeout in bulk. Just ensure they are clean and sanitized to avoid any unwanted flavors in your wine.
For the fermentation process, glass jars or bottles come in handy too. If you’ve got some empty wine bottles or even large pickle jars lying around, they’re great for storing your homemade wine once it’s ready! Ensure you give them a good wash and sanitization, which leads us right into the importance of cleanliness in your winemaking process.
You’ll also likely have a wooden spoon and perhaps some measuring cups at hand. Use that sturdy spoon for stirring your grape mixture thoroughly; it’s an invaluable tool for combining ingredients and maintaining an even fermentation. Measuring cups will help you stay on track with your sugar, water, and other additions.
When it comes to crushing the grapes, you don’t need a fancy grape press. Simply pull out a sturdy bowl and a potato masher (or something similar) for this task. You can easily crush grapes to release their juices and kick off the fermentation process right from your kitchen countertop!
Lastly, don’t forget about the importance of bottles or corks for storing your finished product. If you don’t have corks, you can sometimes use plastic caps or lids from other containers as a temporary solution while your wine ages.
Using your existing kitchen equipment not only saves money but also gives you a sense of accomplishment as you craft your wine from start to finish. So, gather what you have, embrace the process, and get ready to enjoy your homemade creation!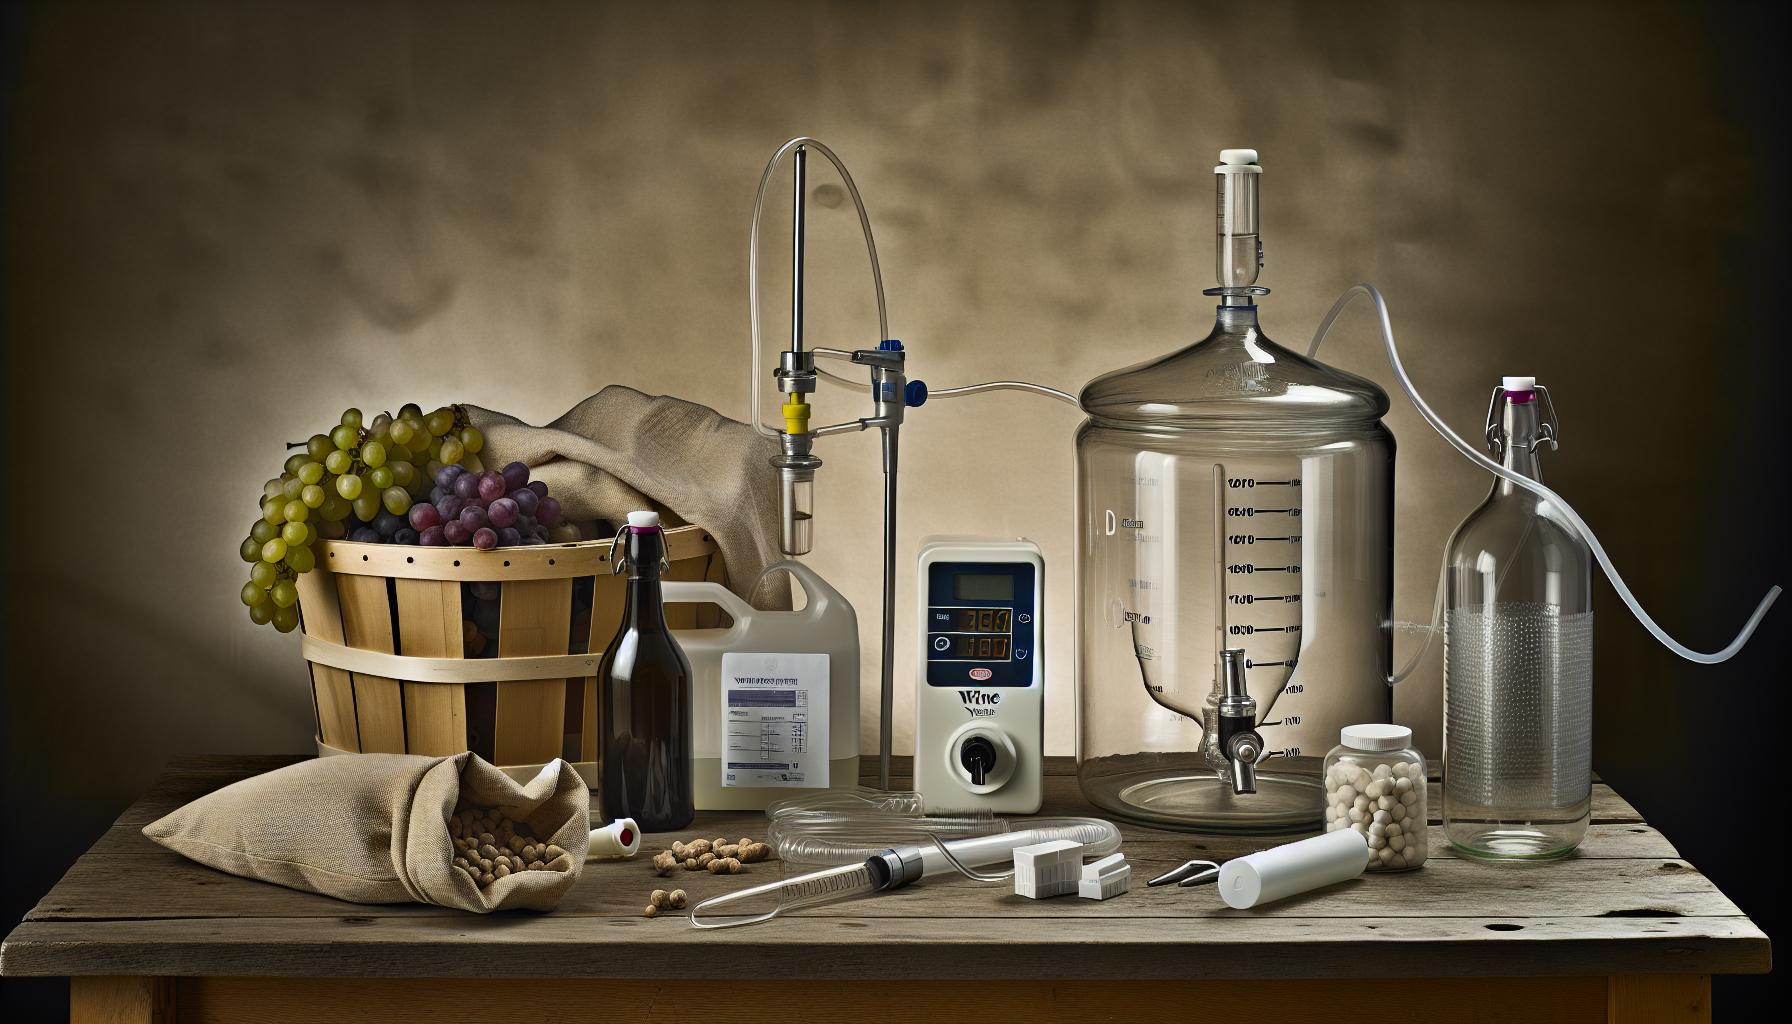
Step-by-Step Guide to Fermenting Wine
The fermentation phase is where the magic happens in winemaking, transforming sweet grape juice into delightful wine with unique flavors. By using ingredients you might already have at home, this process can be budget-friendly and simple, making it accessible for any aspiring vintner.
To start, you’ll need your crushed grapes or fruit juice, water, and sugar. These basic ingredients set the stage for fermentation. Begin by ensuring your fermentation container is clean and sanitized; this prevents unwanted bacteria from spoiling your wine. Transfer your crushed grapes into this container, then add the right amount of water and sugar. A good rule of thumb is to start with a 3:1 ratio of juice to water and adjust according to your taste preferences.
Next, it’s time to introduce yeast-nature’s tiny fermentation crew! For home winemaking, you can use a packet of active dry yeast from your pantry or a special wine yeast, both of which can kickstart the fermentation process. Sprinkle the yeast over your grape mixture and give it a gentle stir with a clean wooden spoon. The key here is to mix well without introducing too much air, as this can affect the flavor.
Now comes the crucial part: sealing your fermentation container. If you have an airlock (which you can buy or make from a balloon), use it to allow CO2 to escape while keeping out outside air. If not, a simple piece of cloth or a plastic wrap secured with rubber bands will do the trick. Place your container in a dark, warm spot in your kitchen, ideally around 70-75°F (21-24°C). This is where the yeast will convert sugars into alcohol, a process that typically takes about 1 to 3 weeks, depending on the temperature and amount of sugar.
After the initial fermentation, you’ll notice bubbling or fizzing, a sign that the yeast is at work. Once bubbling slows down significantly, it’s time to move on to the next stage. Carefully siphon or pour the wine into another sanitized container, leaving sediment behind for a clearer finished product. Be patient, as allowing your wine to settle for a few days can enhance its quality.
Each step you take brings you closer to crafting a unique homemade wine. Remember, winemaking is an adventure filled with experimentation-don’t hesitate to tweak recipes or try different fruits. With your guidance and creativity, the process will not only be enjoyable but also deeply rewarding. Cheers to your first homemade wine!
Essential Tips for Crushing and Pressing Grapes
Crushing and pressing grapes is the exciting first step in transforming your fresh harvest into wine. Picture this: plump, juicy grapes bursting with flavor, just waiting to release their sweetness into your fermentation batch. The process can be straightforward and doesn’t require fancy gadgets or pricey equipment. Instead, all you need is a little creativity and some common kitchen tools to extract every drop of juice from your grapes.
Start by washing your grapes thoroughly to remove any dirt or pesticides. Remove the stems, which can add unwanted bitterness, and sort out any damaged or rotten grapes. From there, you’ll want to crush the grapes to release their juice. A simple method is to use your hands (clean, of course!) or a potato masher. If you prefer not to get messy, placing the grapes in a clean, food-safe bag and using a rolling pin can do the trick. Aim for a mash that has a mix of whole berries and broken-down fruit, as this will help with juice extraction.
Once your grapes are crushed, it’s time for pressing. This is where you bring out the real juice! You can create a makeshift press using a durable colander or a fine mesh strainer placed over a large bowl. Pour your crushed grape mixture into the colander and, using the bottom of a saucepan or a clean hand, press down to extract the juice. Remember to be gentle yet firm; the goal is to get as much liquid as possible without crushing the seeds too much, which can introduce bitterness.
To maximize juice yield, you can consider a two-step process. After the initial pressing, collect the remaining pulp and squeeze again or add a little water before pressing for a second time. This can help you get that extra juice without needing to crush more grapes. Once you’ve collected the juice, measure it before starting your fermentation to keep track of your efforts and make adjustments as needed.
Finally, always remember that winemaking is about experimentation. Feel free to play around with different grape varieties, or even mix fruits like apples or berries with your grapes to create something uniquely yours. With these tips in hand, you’ll be well on your way to crafting delicious, homemade wine-celebrating each batch with pride as you toast to your creativity!
Understanding the Importance of Sanitization
When making wine at home, one of the most crucial yet often overlooked steps is sanitization. It’s tempting to think that a little dirt won’t hurt, but maintaining a clean environment can make or break your batch. Remember, you’re not just welcoming your carefully selected grapes; you’re also inviting a host of microorganisms, some of which can ruin your wine if they’re given the chance to multiply.
To keep your homemade wine safe and delicious, start by thoroughly sanitizing all your equipment before you begin. This includes everything that will come into contact with your grapes or juice: fermentation containers, stirring spoons, bottles, and even your hands. You don’t need fancy equipment-common household items work wonders. For instance, a solution of a tablespoon of bleach to a gallon of water can effectively sanitize surfaces when used properly. Just be sure to rinse everything well to avoid any unwanted flavors.
Simple Steps to Ensure Sanitization
Here’s a quick guide to ensure your winemaking process is as clean as possible:
- Gather Your Supplies: Collect all your equipment-jugs, airlocks, funnels, and anything else you’ll need.
- Wash Everything: Start by washing all your items with hot, soapy water. This will remove any dirt or residue.
- Sanitize: Use a sanitizing solution (like bleach or a no-rinse sanitizer) following the instructions on the label. Make sure to wear gloves if using bleach, and handle everything safely.
- Keep the Area Clean: Clean your workspace. Wipe down surfaces with your sanitizing solution. Avoid any cross-contamination by keeping raw foods and wine supplies in separate areas.
- Store Properly: Once sanitized, store your equipment in a clean, dry place until you’re ready to use it. Covering your equipment can also help keep it clean.
By following these sanitization steps, you’ll drastically reduce the risk of spoilage and enhance your chances of creating a delightful homemade wine. Plus, embracing this practice fosters a sense of pride in your craft, knowing that every sip of your creation is a pure reflection of your efforts. Remember, the first part of a successful wine journey begins long before fermentation; it starts with the care you take to keep things clean!
The Science Behind Fermentation Explained
Fermentation is the magical process that turns grape juice into wine, and understanding the science behind it can take your homemade wine-making skills to the next level. At its core, fermentation is a biochemical process where sugars are converted into alcohol and carbon dioxide by yeast. This natural transformation begins when you crush your grapes and release their juice, exposing it to the yeasts present in the environment. While it may sound simple, many factors influence the final flavor and quality of your wine.
Yeast is the unsung hero of fermentation, and the type you choose can dramatically shape your wine. There are numerous yeast strains, each bringing distinct flavors and aromas. Wild yeasts can lend a complex and unique character, while commercial yeasts provide more predictable results. Experimenting with different yeasts can personalize your wine, so don’t hesitate to try a few to see what you like best. Remember, fermentation occurs best in a controlled environment; temperatures ranging from 68°F to 75°F (20°C to 24°C) are generally optimal.
The Fermentation Process
The fermentation process can be broken down into several key stages:
- Primary Fermentation: This initial stage usually lasts about one to two weeks. As the yeast munches on sugars, it produces alcohol and carbon dioxide. You’ll notice bubbling in your fermentation container during this time, which is the carbon dioxide escaping.
- Secondary Fermentation: After primary fermentation, it’s time to transfer your wine to a different container, leaving behind the sediment. This stage helps clarify your wine and can last several weeks to months.
- Bottling: Once fermentation is complete and your wine has cleared, it’s ready to bottle. Ensure everything is sanitized to prevent spoilage.
To monitor your fermentation, consider using a hydrometer, a handy tool that measures the specific gravity of your wine. This measurement helps you understand how much sugar is left and whether fermentation is complete. Remember, clearer wines often result from patience-allowing time for sediment to settle can enhance the clarity and overall flavor.
By grasping these fundamental principles of fermentation, you’ll feel more confident in your winemaking journey. It’s not just about following a recipe; it’s about understanding how each component-yeast, temperature, and time-works together to create a delightful glass of homemade wine. So, roll up your sleeves, unleash your creativity, and enjoy the exhilarating process of crafting your own wine!
Budget-Friendly Alternatives to Winemaking Kits
You don’t need fancy equipment or elaborate kits to embark on your winemaking adventure. With some creativity and a little resourcefulness, making wine at home can be both affordable and rewarding! Here are some budget-friendly alternatives to traditional winemaking kits that will keep your wallet happy while you experiment with crafting your own unique blends.
First off, let’s talk about fermentation vessels. While winemaking kits often come with specialized containers, you can repurpose everyday items. Old glass or plastic containers, such as clean 5-gallon buckets or large glass jars (make sure they’re food-grade), can work wonders for primary fermentation. Just ensure they can be sealed with a lid or an airlock made from a simple piece of tubing and a water-filled bottle to allow gases to escape while preventing contaminants from entering.
When it comes to ingredients, instead of purchasing pricey specialty kits, consider using fresh fruits that are in season or even exploring local farmers’ markets. Grapes are obviously a classic choice, but many other fruits can work beautifully in wine-making, such as apples, pears, or berries. Just remember to adjust the sugar levels accordingly, as different fruits have varying sweetness. Fresh juice is another great option and can often be found at a lower cost; just check that it’s 100% juice without additives.
Essential Equipment and Tools
You might be surprised by how much you already have hidden in your kitchen. Here’s a list of common kitchen items that can be invaluable:
- Measuring cups and spoons: Essential for accurate measurements of sugar and other ingredients.
- Cheesecloth or fine mesh strainer: Perfect for straining out solid materials after fermentation.
- Bottles: Recycled wine or soda bottles can be sanitized and reused. Just make sure they have corks or screw tops.
- Hydrometer: While not necessary, this tool can help you measure the specific gravity of your wine and gauge sweetness if you want to get technical.
Another great way to save money is by relying on wild yeasts. Instead of purchasing specialized wine yeast, embrace the natural fermentation process with the yeasts found on the skin of fruits or in the air around you. This method requires some patience, as wild fermentation can be unpredictable, but it often results in deliciously complex flavors that are uniquely yours.
Additionally, consider joining local winemaking clubs or forums. You can often borrow equipment, share ingredients, or trade tips with fellow enthusiasts. With these budget-friendly approaches, making wine at home can be not only cost-effective but also a thrilling way to explore your creativity in the kitchen! So, gather your supplies, let your imagination flow, and enjoy the journey of crafting your very own vintage.
Creative Flavoring Options for Your Wine
Experimenting with flavors in your homemade wine can be an exciting adventure that elevates your creations from basic to extraordinary. While classic grape wine is delicious, adding a twist of creativity allows you to craft unique blends that reflect your personal taste. Whether you have a surplus of seasonal fruit or want to infuse your wine with herbs and spices, the possibilities are boundless!
To start, think about incorporating fruits beyond just grapes. Consider adding a handful of berries, such as strawberries or blueberries, during the fermentation process. They bring a vibrant color and a burst of natural sweetness. For a tropical twist, pineapple or mango can add a refreshing dimension to your wine. Just remember to adjust the sugar content based on the sweetness of the fruits used.
Herbs and spices offer another layer of flavor. A few sprigs of mint can impart a fresh note, while a couple of cinnamon sticks can bring warmth and depth. If you’re feeling adventurous, try infusing your wine with lavender or rosemary for a distinct aromatic experience. Simply add these ingredients during the fermentation stage and taste regularly to find the right balance.
Essential Flavoring Techniques
- Fruit Maceration: Crush your choice of fruit to release its juices before adding it to the wine mixture. This technique enhances flavor extraction.
- Cold Extraction: Allow herbs or spices to sit in the wine for a few days. This method preserves their bright flavors without overwhelming the wine.
- Flavor Blending: After fermentation, experiment by blending small batches of different wines together to find your ideal flavor combination.
Using these creative flavoring options not only enhances your wine but also makes the process enjoyable and personal. Don’t hesitate to experiment with what you have on hand; the key is to trust your palate and have fun along the way. Who knows? You might just stumble upon a new favorite blend that will impress your friends and family!
Age-Old Techniques: Barrel vs. Bottle Aging
Aging wine is a fascinating and essential part of the winemaking process. The decision between barrel aging and bottle aging can significantly influence the flavor, aroma, and overall character of your homemade wine. Understanding these age-old techniques helps you choose the approach that aligns with your vision for your wine, whether you’re after richness and complexity or seeking to retain the fresh, fruity notes of your grapes.
Barrel aging involves storing wine in wooden barrels, typically made from oak. This method allows for a gentle infusion of wood flavors and contributes to the development of tannins, which can enhance the structure and mouthfeel of the wine. The interaction between the wine and the barrel also allows for oxidation, which softens harsh flavors and adds layers of complexity. Using barrels may seem daunting, and if you don’t have access to a traditional barrel, consider using smaller oak chips or staves placed in your fermentation vessel, as they can impart similar characteristics without requiring the investment in full barrels.
On the other hand, bottle aging focuses on allowing the wine to mature inside the bottle after it’s been sealed. This method is typically less intensive and doesn’t require specialized equipment. Bottle aging is a great way to let the wine develop its flavors over time, allowing for a harmonious balance to emerge. While it may take longer for the wine to evolve in the bottle, this method is more accessible for home winemakers. As an added benefit, bottle aging can bring out the varietal characteristics of your grapes without overwhelming them with heavy oak influence.
Regardless of which aging method you choose, timing is key. Many red wines benefit from extended aging, often several months to years, while whites may only need a few months to balance and mature. Always taste your wine throughout the aging process to gauge its development and to find that sweet spot where it showcases the best version of itself. Enjoy the journey of aging your wine, as each bottle reflects your unique approach and creativity!
Troubleshooting Common Winemaking Problems
Creating your own wine at home can be a wonderfully rewarding experience, but it’s not without its challenges. Whether you’re a newbie or have dabbled in winemaking before, knowing how to troubleshoot common issues can save you a lot of stress and disappointment. From fermentation hiccups to off flavors, here are some practical tips to help you navigate potential problems.
First and foremost, the most frequent issue you might encounter is stuck fermentation. This is when the yeast stops converting sugar into alcohol before reaching your desired sweetness or alcohol level. A few factors could cause this: temperature is too low, the yeast is stressed, or there isn’t enough sugar in the mix. If you find yourself in this situation, gently raise the temperature of your fermentation vessel (but avoid sudden changes), or consider adding a nutrient specifically designed for yeast to encourage activity. If those methods don’t yield results, you might also introduce a fresh packet of yeast to revive the process.
Another common issue is the development of off flavors, which can often stem from inadequate sanitization. Any equipment not properly cleaned can introduce unwanted bacteria or wild yeast, leading to sour, vinegar-like tastes. To troubleshoot this, ensure every piece of equipment-from your fermentation vessel to your bottles-is thoroughly sanitized with a solution of one tablespoon of bleach per gallon of water or a no-rinse sanitizer. Moreover, taste your wine during various stages of the process. If you notice any off flavors early on, it may be easier to make corrections before bottling.
Lastly, if you’ve bottled your wine but find it tastes overly harsh or astringent, it might benefit from additional aging. Consider storing the bottles in a cool, dark place for a few extra months to let the flavors mellow and integrate. Remember, patience is key; wine often improves over time. If you feel bold, you can experiment with blending small amounts of different batches to balance out undesirable flavors.
Overall, don’t be discouraged by hiccups-every winemaker faces challenges. Each batch of homemade wine is a unique testament to your creativity and willingness to learn. With these tips in hand, you’re better equipped to tackle common issues, and your next glass might just be that perfect sip you’ve been dreaming about!
How to Bottle Wine Like a Pro
As you approach the final stages of your winemaking journey, bottling is your opportunity to showcase your hard work and creativity. It’s not just about putting the wine into a bottle; it’s an art that, when done well, preserves the flavors you’ve cultivated and enhances the wine’s shelf life. Here’s how you can bottle your homemade wine like a pro, even without fancy equipment!
Gather Your Supplies
Before you start, make sure you have the right tools on hand. Here’s a quick list to get you started:
- Bottles: Choose clean glass bottles that can hold at least 750ml of wine.
- Corks: Look for natural or synthetic corks designed for home bottling.
- Bottle filler or siphon: These help you transfer wine without introducing air.
- Sanitizer: Keep your bottles and corks sanitized to avoid spoilage.
- Labels: Don’t forget these to mark the date and type of wine!
Prepare Your Bottling Station
Set up a clean, organized area that makes the bottling process easy. Start by washing and sanitizing your bottles and corks. A solution of one tablespoon of bleach per gallon of water works well, or use a no-rinse sanitizer for quick efficiency. Rinse thoroughly to remove any bleach residue.
Next, if you have a bottle filler, it’s time to use it! Siphon your wine into the bottles, leaving about an inch of space at the top to prevent overflow. If you don’t have a bottle filler, a clean funnel works in a pinch-just pour slowly to minimize aeration of the wine.
Corking the Bottles
With your bottles filled, it’s time to seal them. If you’re using corks, position them over the bottles and push down with firm, even pressure. If you have a corking device, use it for a snug fit. Always aim for an even cork insertion to prevent any leakage or spoilage.
Once corked, place your bottles upright and let them settle for a few hours to ensure they’re sealed properly. Afterward, store them on their sides to keep the cork wet, which helps maintain a proper seal.
Labeling and Storing
As a final touch, label your bottles with the type of wine and the date it was bottled. This is not just for identification but also helps track the aging process. Store your bottles in a cool, dark place to allow your wine to mature.
Remember, bottling is just one more enjoyable step in your winemaking adventure. As you celebrate your first batch, take pride in your craftsmanship-every bottle reflects your creativity and effort. Enjoy sharing your homemade wine with friends and family, and don’t hesitate to keep experimenting with new flavors and techniques in your next batch!
Celebrating Your First Batch: Enjoying Your Homemade Wine
Enjoying the fruits of your labor is one of the most rewarding aspects of winemaking! Now that you’ve carefully bottled your first batch of homemade wine, it’s time to celebrate and savor the moment. This is not just about drinking; it’s about appreciating the entire journey-from selecting the grapes to fermentation, bottling, and finally, uncorking your creation. Make it special!
Start by selecting a perfect occasion or gathering. Whether it’s a holiday, a birthday, or just a casual get-together with friends, having a reason to celebrate adds to the joy. Set the scene with some thoughtful touches. Consider pairing your wine with complementary snacks or meals that enhance its flavors. For a red wine, serve hearty cheeses, charcuterie, or rich pasta dishes. If you’ve made a refreshing white, think about lighter fare like grilled seafood, fresh salads, or even a simple cheese platter.
As you pour your wine, take a moment to admire its color and aroma. Encourage your guests to do the same-wine tasting is as much about the senses as it is about flavor. Share the story of your winemaking adventure: the challenges you faced, the little victories, and what you learned along the way. This personal touch makes the experience even more memorable and connects your friends to your journey.
Finally, don’t forget to take notes! As you savor each sip, jot down your impressions. This will help you refine your techniques and flavor profiles for future batches. Perhaps you’ll want to experiment with different grapes or aging methods next time! Remember, every bottle tells a story. Enjoy not just the wine, but the delightful fun of sharing it as you embark on your next winemaking adventure!
Q&A
Q: What fruits can I use to make homemade wine besides grapes?
A: You can use a variety of fruits such as *apples, pears, cherries, and strawberries* to create flavorful wines. Each fruit imparts its unique taste and aroma, providing an excellent starting point for experimentation. Explore the flavor profiles of different fruits to find your preferred combinations!
Q: How long does it take to make wine at home without a kit?
A: Making wine at home typically takes about *4 to 6 weeks* from fermentation to bottling. Depending on the type of wine and aging process, some varieties might benefit from additional aging time. Plan accordingly to enjoy your wine at its best!
Q: Can I make wine without fermentation locks?
A: Yes, you can make wine without fermentation locks by using a *clean towel or cloth* to cover your fermentation vessel. Just ensure to check it regularly and replace the covering to keep contaminants out while allowing gases to escape during fermentation.
Q: What is the best temperature for fermenting homemade wine?
A: The ideal fermentation temperature for most wines is between *65°F to 75°F (18°C to 24°C)*. Keeping your fermentation area within this range promotes optimal yeast activity and fermentation, ensuring better flavors in your final product.
Q: How can I prevent spoilage in homemade wine?
A: To prevent spoilage, ensure all equipment is *thoroughly sanitized* and monitor your wine’s fermentation closely. Maintain proper fermentation temperatures and avoid exposure to light and oxygen. When bottling, use corks that fit snugly to limit air contact.
Q: Is it necessary to add chemicals to homemade wine?
A: While some winemakers choose to add chemicals like sulfites for preservation, it is not necessary for *every recipe*. If you prefer a natural approach, focus on proper sanitation and fermentation methods to keep your wine safe and tasty.
Q: What is the purpose of racking wine during the process?
A: Racking involves transferring wine from one container to another, leaving sediment behind. This process helps to *clarify the wine*, improve its taste, and prepare it for bottling. Racking also contributes to a smoother final product.
Q: Can I use store-bought juice to make wine?
A: Yes, *store-bought fruit juice* can be used, but ensure it is 100% juice with no preservatives or additives. This option is convenient for beginners and can yield a fruity and delightful homemade wine. Just follow your fermentation process closely!
Concluding Remarks
Now that you have the essential tips to create wine at home without a kit, it’s time to get started on your winemaking adventure! Remember, making wine is not just about the end product; it’s about the fun and satisfaction of crafting something unique. Don’t let any hesitations hold you back; simple ingredients and a bit of time are all you need to make your first batch. Check out our deeper dive into “Exploring Different Wine Flavors at Home” and “Essential Wine-Making Tools for Beginners” to enhance your experience.
If you enjoyed this guide, join our community by signing up for our newsletter for more budget-friendly recipes and culinary inspiration. Share your winemaking journey in the comments below or connect with others who are making their own wine too! Your next culinary creation awaits-let’s dive into the world of homemade wine and enjoy every sip together!
Get our latest guides, news, and insights highlighted in your Google Search & AI Overviews.










