
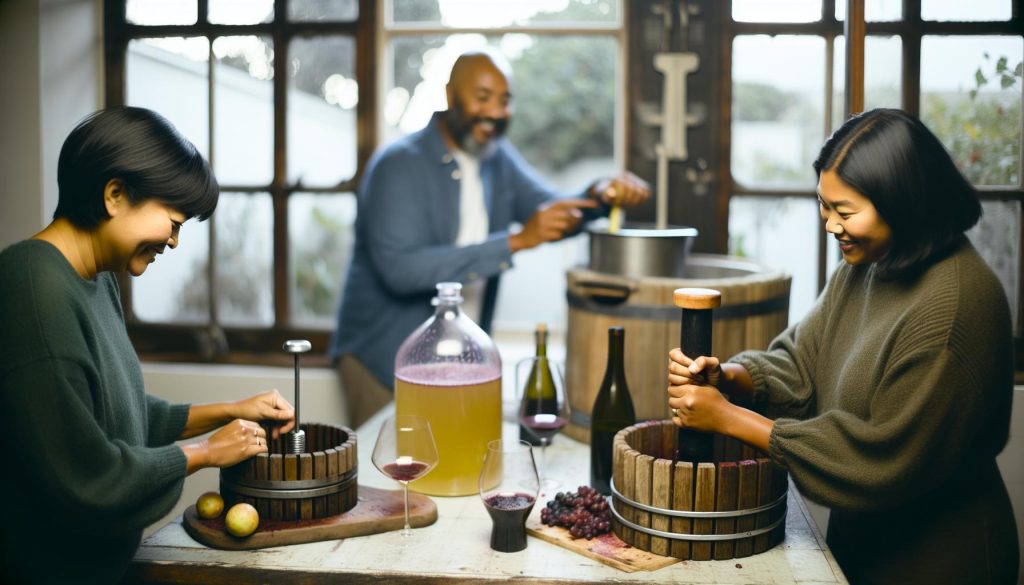
Have you ever sipped a glass of wine and thought about the magic behind it? Making wine from scratch is not just a fun hobby; it’s a rewarding experience that connects you to age-old traditions and the art of fermentation. In this complete DIY guide for beginners, you’ll discover how simple ingredients-like grapes, yeast, and a bit of patience-can transform into a homemade vintage that impresses your friends and family. Whether you dream of crafting a rich red or a crisp white, this guide will walk you through the essentials of winemaking, from fermentation to bottling. No fancy equipment is required, just a spirit of adventure and a willingness to experiment. So, roll up your sleeves and embark on this delicious journey that celebrates your creativity and complements your meals! Let’s dive into the delightful world of winemaking, where every bottle tells a story.
Choosing the Right Grapes for Your Homemade Wine
Choosing the right grapes can set the tone for your entire winemaking adventure. Just like the secret to a great dish begins with the freshest ingredients, quality grapes will ensure your homemade wine is delightful and unique. For beginners, starting with grape varieties that are known for their resilience and flavor can help simplify the process and boost your confidence.
When considering which grapes to use, pay attention to the style of wine you want to create. If you’re dreaming of a robust red, varieties like Cabernet Sauvignon, Merlot, or Syrah are excellent choices. These grapes are widely cultivated and offer a range of flavors, from fruity to earthy, which will develop beautifully with proper fermentation and aging techniques. If white wine is more your style, look no further than Chardonnay, Sauvignon Blanc, or Riesling. These grapes produce wonderful aromatic wines that can be enjoyed fresh but also benefit from some aging.
Factors to Consider
- Climate: Ensure that the grape variety you select is suitable for your region’s climate. Some grapes thrive in warmer conditions, while others prefer cooler temperatures.
- Availability: Look for local vineyards or farmers’ markets where you can purchase fresh, in-season grapes. This not only supports local agriculture but also often results in better flavor.
- Freshness: The fresher the grapes, the better your wine will turn out. Overripe or underripe grapes can lead to off-flavors, so aim for grapes that are plump and bursting with juice.
Once you’ve settled on the type of grapes you want, it’s beneficial to experiment with small batches. This allows you to taste and learn without committing to large quantities, making it easier to refine your techniques and preferences. Additionally, consider blending different varieties to create a personalized flavor profile that reflects your palate. Remember, winemaking is as much about creativity as it is about technique-so don’t hesitate to put your own spin on it!
Essential Winemaking Equipment for Beginners
Starting your winemaking journey is as much about the equipment you have on hand as it is about the grapes you choose. Thankfully, crafting delightful homemade wine doesn’t require a winery’s worth of expensive gear. In fact, many beginners find they can whip up a batch with just a few basic tools and a little creativity. Let’s explore the essential equipment you’ll need to get started, ensuring your venture into winemaking is both enjoyable and effective.
First on the list is a large fermentation vessel, such as a 2-gallon glass jar or a food-safe fermentation bucket. This container will be where the magic happens during fermentation, so it should be clean and free from any contaminants. If you’re working with larger quantities, consider a carboy, which is a glass or plastic bottle ranging from 3 to 6 gallons. These can often be found at home brewing supply stores or online.
Next, you’ll need a reliable airlock. This small device allows gases produced during fermentation to escape while preventing air (and unwanted bacteria) from entering. It’s incredibly simple but crucial; most airlocks fit snugly into the neck of a wine bottle or fermentation vessel. To complement your airlock, don’t forget a rubber stopper that seals the jar but still accommodates the airlock.
Another essential tool is a siphoning device, or racking cane, which allows you to transfer your wine from one container to another without disturbing the sediment settled at the bottom. This step is important for clarity and flavor. And while you’re at it, having a hydrometer on hand can help you measure the specifics of your fermentation process (like sugar content) before and after the fermentation, which is fun and informative!
Lastly, don’t overlook the importance of bottles and corks. You can reuse wine bottles, which saves money and reduces waste. Make sure to clean and sanitize them thoroughly before use. If you’re new to corking, consider purchasing a corker which simplifies the process and ensures a tight seal.
With just these few pieces of equipment, you’re well on your way to making your first batch of homemade wine. Remember, the key ingredients may be the grapes, but the right equipment ensures your winemaking experience is smooth and successful. Have fun experimenting, and don’t be afraid to tweak your process as you find what works best for you!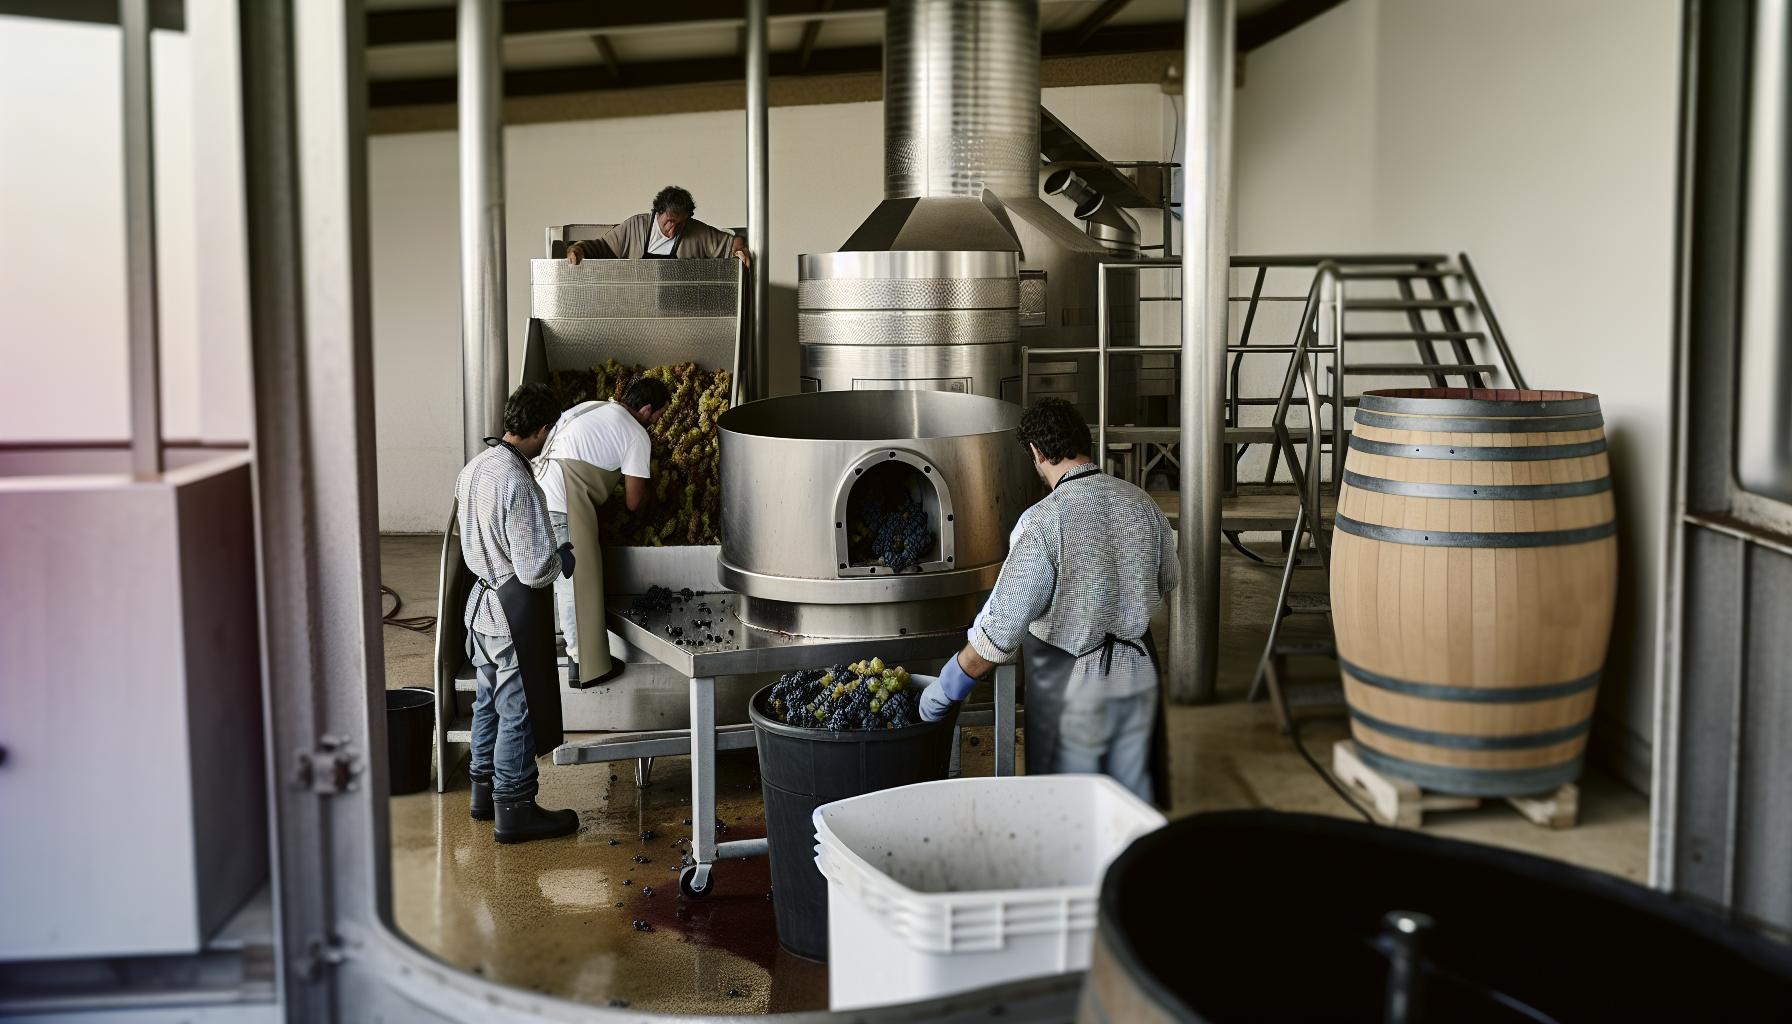
Step-by-Step Process: Crushing and Fermenting Grapes
Crushing and fermenting grapes is where the magic of winemaking truly begins, transforming fresh fruit into a delightful elixir. This stage not only kicks off the fermentation process but also sets the foundation for the flavors that will develop in your wine. Let’s dive into the steps you need to follow, making it straightforward and enjoyable.
Start with clean, ripe grapes; this is crucial for achieving a delicious final product. If you’ve chosen to pick your own grapes, gently wash them to remove any dirt or unwanted residues. Once they are clean, it’s time for the fun part: crushing them! You can use a variety of methods depending on what you have at home. Many beginners find that simply using their hands in a clean bowl or bucket works beautifully. If you prefer a more traditional approach, a potato masher or a wine press can be wonderful tools for this phase. The goal is to break the skins and release the juice while keeping the seeds intact, as they can add bitterness if crushed.
Fermentation Begins
After crushing, you’ll need to transfer the juice and pulp into your fermentation vessel. This should be your cleaned and sanitized fermentation bucket or carboy. If you’re making red wine, it’s common to leave the skins in during fermentation, as they contribute to the wine’s color and taste. For white wine, you’ll typically separate the skins and press them out after crushing.
At this point, it’s essential to add yeast to the mixture, unless you’re opting for a wild fermentation (which can add unique characteristics). Opt for a good quality wine yeast that matches your grape variety, as this will significantly influence the flavor profile of your wine. Stir in the yeast, and if you’re feeling adventurous, this is also the time to add any desired flavorings or adjustments like sugar or acid.
Monitoring the Process
Once everything is in your fermentation vessel, seal it with an airlock. This allows carbon dioxide produced during fermentation to escape while keeping out unwanted bacteria. It’s an exciting time! Check on your wine every day or two; you should see bubbles forming in the airlock, indicating that fermentation is underway. This process typically takes one to three weeks, depending on various factors such as the temperature and the yeast strain used. Always taste along the way-this is your homemade creation!
By following these simple yet effective steps, you’re well on your way to making your first batch of wine. Embrace the process, be patient, and enjoy experimenting with different grape varieties and techniques to develop a wine that is uniquely yours!
Understanding Yeast: The Key Ingredient for Fermentation
Yeast is the magical microorganism at the heart of winemaking, responsible for transforming sugary grape juice into the beloved wine we enjoy. It’s a tiny powerhouse that plays a huge role in determining the flavor, aroma, and character of your homemade batch. Without yeast, the fermentation process simply wouldn’t exist, making it a fundamental component of your winemaking adventure.
When adding yeast to your crushed grapes, you have some choices to make. Cultured yeasts, which are specifically cultivated for winemaking, tend to produce consistent results and are generally recommended for beginners. Look for strains that match your grape type; for example, a strain that complements the fruity notes in whites is ideal if you’re crafting a Chardonnay. On the other hand, if you fancy a more adventurous route, wild fermentation can add unique complexities to your wine, but it requires a bit more experience and patience, as the unpredictable nature of wild yeasts can yield variable results.
Choosing the Right Yeast
Here are some tips for selecting and using yeast in your winemaking:
- Type of Wine: Different yeasts excel with different grape varieties. Research which strains are best suited for the type of wine you’re making-reds, whites, or dessert wines.
- Temperature Tolerance: Ensure the yeast you choose can thrive in your fermentation temperature range. Some yeasts prefer cooler conditions, while others need warmth to flourish.
- Aromas and Flavor Profiles: Certain yeast strains can enhance specific flavors and aromas, like fruity or spicy notes, so choose a strain that aligns with the taste you’re aiming for.
Before adding yeast to your mixture, consider activating it in warm water for about 15 minutes. This step can ensure the yeast is healthy and ready to kick off fermentation. Once you add it to your must (the mixture of juice and pulp), give it a gentle stir to evenly distribute the yeast, and then seal your fermentation vessel with an airlock. This step not only helps maintain a sterile environment but also allows the carbon dioxide generated by fermentation to escape.
As fermentation begins, monitor the process closely. You’ll notice bubbles forming in your airlock as the yeast consumes the sugars in the juice and converts them into alcohol and carbon dioxide. This stage typically lasts from one to three weeks, depending on various factors, including yeast type and fermentation temperature. Remember to taste your wine periodically! It’s an exciting way to track how the flavors develop, giving you a front-row seat to your wine’s evolution.
Understanding and harnessing the power of yeast can make all the difference in your winemaking journey. Embrace experimentation, trust your taste buds, and you’ll soon be celebrating your unique wine creations!
How to Monitor Fermentation: Tips for Success
Monitoring the fermentation process is one of the most crucial aspects of winemaking-imagine it as the heartbeat of your homemade wine! As the yeast turns the grape juice into alcohol, it creates a bubbling symphony that signals its activity. Understanding how to effectively monitor this stage not only ensures a successful fermentation but also helps you fine-tune the flavors of your creation.
As fermentation gets underway, keep a close eye on your fermentation vessel. You’ll want to check for bubbles in the airlock, which indicate that carbon dioxide is being released-a sign that fermentation is in full swing. These bubbles can be mesmerizing; consider them little reminders that your wine is transforming! Typically, fermentation lasts one to three weeks, depending on factors like the type of yeast used and the temperature of your environment. A warmer temperature can speed up the process, while cooler conditions might slow it down. Monitoring the temperature closely is essential, as it can significantly impact the flavor profile.
Taste your wine periodically to track its development. Gently draw a sample using a sanitized wine thief or turkey baster. This is not just practical-it’s an enjoyable way to connect with your creation! Pay attention to the sweetness level and how the flavors evolve; this process will help you decide when it’s time to transfer your wine to the next stage. Remember, the fermentation isn’t just about turning sugar into alcohol; it’s also about building complexity. If you prefer a dryer wine, you’ll want to wait until the bubbling slows down and the sweetness has diminished.
Lastly, keep thorough notes throughout the fermentation process. Documenting the timing, temperatures, and tastes will serve as a useful reference for your current and future batches. It’s all part of the learning journey, and you might just discover a personal trick that works best for you. Embrace the excitement of this fermentation phase-it’s where your passion for winemaking meets the magic of transformation!
Bottling Your Wine: Best Practices and Techniques
After weeks of careful fermentation, it’s finally time to bottle your homemade wine, marking a milestone in your winemaking journey. This is an exciting moment that transforms your hard work into something tangible that you can share with friends and family. To ensure a smooth bottling process, preparation and cleanliness are key. A quick reminder: the right tools can make all the difference, but you don’t need fancy equipment to succeed!
Begin by gathering your supplies. You’ll need clean bottles, corks, a corker (which can be as simple as a hand-held model), a siphon or racking cane, and a few clean towels. It’s best to start with sanitizing everything that will touch your wine to prevent unwanted bacteria from spoiling your hard work. A no-rinse sanitizer works wonders here-just follow the instructions on the product for effective use.
Next, familiarize yourself with the bottling process. Start by carefully siphoning the wine from the fermentation container into your bottles. This method, known as “racking,” minimizes oxygen exposure which can spoil the flavor. Fill each bottle, leaving about an inch of space at the top. This is essential to allow for any potential expansion from temperature changes. After you’ve filled your bottles, it’s time to cork them. Insert a sanitized cork using your corker firmly, ensuring it’s seated properly.
To keep the wine in top condition, it’s advisable to store the bottles upright for a few days. This helps the cork to expand and seal, preventing any wine from leaking out. After that initial period, store your bottles horizontally in a cool, dark place to keep the cork moist and maintain an airtight seal.
Don’t forget to label your bottles! Whether you opt for simple handwritten labels or creative designs, labeling not only preserves the memories of your winemaking experience but also adds a personal touch when you share your wine. Now, you’re ready to enjoy the fruits of your labor, whether it’s by tasting your creation or hosting a small gathering where your homemade wine can shine! Cheers to the delicious journey you’ve undertaken!
Flavoring Your Wine: Creative Variations to Try
Experimenting with flavors is one of the most exciting aspects of homemade winemaking. Not only does it allow you to infuse your personal touch into your wine, but it also offers a delightful journey into the world of taste. Whether you’re looking for a fruity burst, a spicy kick, or a herbaceous twist, there are endless possibilities to explore.
Start by considering fruits and herbs that can complement your base wine. Common choices include strawberries, raspberries, or peaches for sweetness and freshness. To introduce an herbal note, think about adding basil, rosemary, or thyme. When adding any flavoring ingredients, ensure they are clean and organic if possible. Here’s a simple method for flavoring your wine:
- Choose your flavors: Consider combinations like peach and ginger, or black currant and mint to see what excites your palate.
- Macerate: For fruits, slice them into small pieces and soak them in the wine for a few days to extract their essence. Conversely, herbs can be steeped in the wine for a shorter period-1-2 days to avoid overpowering the base flavor.
- Taste test: Regularly taste your wine during the infusion process to achieve your desired flavor intensity.
Once you’ve achieved the perfect blend, strain the mixture to remove any solids. This simple step will leave you with a clear, flavorful wine ready for bottling. Don’t hesitate to jot down your experiments! Keeping track of what you try helps refine your recipes in future batches.
Additionally, consider spices as an alternative route for flavor enhancement. A touch of cinnamon or even a hint of vanilla can create unique flavor profiles, particularly in fruit wines. The key is to be adventurous yet cautious; start small and gradually adjust the intensity of your flavors.
Lastly, remember that every batch of wine may turn out differently based on the ingredients’ quality and your method. Celebrate the variations and share your discoveries with friends. With a little creativity and a willingness to experiment, you’ll find flavoring your homemade wine can be a personal and rewarding experience! Enjoy the journey of flavor exploration as you sip your crafted creations.
Aging Wine: The Art of Patience and Perfection
Aging your homemade wine is a delightful journey into patience and transformation. Just as a fine cheese or a well-crafted piece of furniture improves with time, so too does wine. During the aging process, the flavors meld and evolve, leading to a more complex and enjoyable sip. The key here is understanding that time can be your best friend, but it’s also crucial to monitor your wine to ensure it reaches its potential.
To start, consider the type of wine you’re making. Red wines generally benefit from longer aging compared to whites. Typically, you’ll want to hold onto red wines for at least six months to a year, while whites can reach their prime in as little as three months. Your wine will undergo several changes-tannins will soften, and fruity notes might deepen, allowing the subtle hints of oak or other flavors to shine through. Use this time to taste your wine periodically. Each sample is a chance to witness its development and evaluate whether it’s heading in the right direction.
During aging, it’s important to keep your wine stored in the right conditions. A dark, cool environment with a consistent temperature between 50-60°F (10-15°C) is ideal. Avoid vibrations and dramatic temperature changes, as these can disturb the wine and affect its maturation process. If you’re using bottles with corks, lying them on their sides will keep the cork moist and prevent it from drying out, which can let air in and spoil your wine.
Once you’ve decided it’s time to bottle your creation, make sure to use good quality materials. Clean bottles and new corks are essential to maintain the integrity of your wine. After bottling, continue to age if desired; some wines can surprise you with their longevity, improving even more in the bottle. Whether you decide to open a bottle now or save it for a special occasion, celebrating the culmination of your patience and hard work can be one of the most rewarding experiences in winemaking. Each sip tells the story of your journey and creativity, so cheers to the art of aging your homemade wine!
Troubleshooting Common Winemaking Issues
It’s not uncommon for beginner winemakers to run into a few bumps along the road. Whether it’s a lingering off-flavor or fermentation that seems to take a permanent vacation, can make the difference between a forgettable batch and a flavorful success. Understanding these issues is vital to building your confidence and skills, so let’s dive into some frequent challenges you might encounter and how to tackle them with grace.
Fermentation Problems
One of the most common issues is sluggish or stuck fermentation. If your fermentation appears slow or has completely stopped, fear not! This can happen for several reasons, including insufficient yeast, inappropriate temperature, or a lack of nutrients. First, check the temperature of your fermentation area. Yeast thrives best in a warm, stable environment, typically between 70°F and 75°F (21°C to 24°C). If it’s too cold, your yeast might be taking a nap. Try gently warming the wine, and if needed, consider adding more yeast-just be sure it’s the same variety you started with!
If fermentation is slow due to a lack of nutrients, you can add a yeast nutrient to give your yeast a little boost. Remember to taste your wine periodically to track your progress and see if fermentation is on track!
Off-Flavors and Odors
Experiencing off-flavors? This can be disheartening, but it’s often an issue that can be resolved. Common off-flavors include a vinegar taste or a buttery richness that might be reminiscent of popcorn. If you detect a vinegar taste, it may be due to exposure to oxygen during fermentation; this could also mean unwanted bacteria have set up camp. Ensure your equipment is sanitized, and consider adding sulfites to help preserve your wine and fend off bacteria.
On the other hand, if buttery flavors persist, this could be a result of a specific yeast strain used that can produce diacetyl, a compound that imparts a buttery flavor. Blending your wine with a fresh batch made from a different yeast can sometimes balance out these characteristics. Remember, experimenting is part of the fun!
Cloudy Wine
Cloudiness is another common issue, often caused by yeast or other particulates still floating around in your wine. Here, patience is key! Allowing your wine enough time for sediment to settle is crucial. If needed, you can also use fining agents like bentonite to help clarify your wine. Just ensure that you follow the instructions carefully to avoid unwanted results.
Preventing Problems in the Future
To arm yourself against these common hiccups, keep proper notes during your winemaking process. Document your ingredients, measurements, and environmental conditions. This not only helps you recognize patterns in your batches but also gives you a roadmap to tweak your processes for future creations.
Each problem is a learning opportunity, and with each batch, your knowledge will grow. Remember, winemaking is an art as much as it is a science. Don’t be afraid to tweak and experiment. Trust your instincts and enjoy the journey as much as the delicious results! Cheers to your winemaking adventure!
Exploring Different Wine Styles: From Red to White
Every winemaker has their favorite style of wine, and exploring the various options can be a delightful adventure. From the rich, bold flavors of red wine to the crisp and refreshing qualities of white wine, understanding these styles will help you craft your perfect homemade creation. One key aspect to consider is that different grape varieties exhibit distinct flavor profiles, influenced by factors like climate, soil, and winemaking techniques. Let’s dive into the vibrant world of wine styles that you can try making at home!
Red Wines
Red wines are typically made from dark-colored grape varieties. The process involves fermenting the juice with the grape skins, which contributes to their color and tannin structure. Popular regions for red wine include Bordeaux and Burgundy in France, and Napa Valley in the United States. When making red wine, you might consider grapes like Cabernet Sauvignon, Merlot, or Pinot Noir. These grapes offer flavors ranging from rich blackcurrant to bright cherry, accompanied by tannins that can be softened through aging.
To craft your red wine, start by crushing your grapes to release the juice and then allow it to ferment with the skins for several days to weeks. Keep in mind that temperature plays a crucial role; warmer fermentation temperatures can extract more color and tannin, while cooler temperatures lead to a fruitier profile. Once fermentation is complete, the wine is usually aged in oak barrels or stainless steel to enhance its complexity.
White Wines
White wines, on the other hand, are often made from green or yellow grapes and can also be made using red grapes by excluding the skins. This style typically emphasizes the fresh fruit flavors and crisp acidity. Common white grape varieties include Chardonnay, Sauvignon Blanc, and Riesling. Each offers a different tasting experience-from the buttery notes of a Chardonnay to the zesty, citrus flavors found in Sauvignon Blanc.
When making white wine, the process begins similarly with crushing and pressing the grapes to separate the juice from the skins immediately. Fermentation usually takes place at cooler temperatures to preserve the delicate aromas and flavors. As you experiment, you might also explore stainless steel versus oak aging methods, as each imparts unique characteristics to the final product.
Experimenting with Styles
Don’t hesitate to experiment by blending different grape varieties or adjusting fermentation techniques. For example, consider creating a fruit-forward blend of Merlot and Cabernet Sauvignon for your red wine, or a Sauvignon Blanc mixed with a touch of Chardonnay for extra depth in your white.
Additionally, look into unique styles such as rosé, which combines elements of both red and white winemaking, resulting in a delightful, pink-hued wine that offers refreshing summer sips. The process involves limited contact with grape skins to achieve that lovely blush color.
By embracing these diverse styles, you can truly explore winemaking as an art form. Whether you end up with a bold red or a light white, each batch tells a story of your unique preferences and creativity in the kitchen. Cheers to experimenting and discovering what wines resonate with your taste buds!
Labeling and Enjoying Your Homemade Creations
Once your wine is bottled, don’t underestimate the power of a good label! Not only does labeling your homemade wine create a polished look, but it also adds a personal touch, making it a perfect gift or party centerpiece. Create engaging labels that reflect your personality and the wine’s character. You can start with some basic information: the wine’s name, the grape variety, and the year it was made. Adding fun descriptions or tasting notes can also intrigue those who taste your creation.
To keep things simple, consider using blank adhesive labels that you can print or write on. Alternatively, craft labels with decorative paper and string for a charming, rustic feel. If you’re feeling creative, use art supplies or even digital design tools to create custom designs. Remember to include bottling date; as your wine ages, this will help you track its development and understand how it changes over time.
Once labeled, it’s time to enjoy your wine! Whether you’re hosting a dinner party or just relaxing at home, serve your homemade wine in nice glassware to elevate the experience. Consider offering a selection of snacks that complement your wine-like cheeses, fruits, or chocolates. As you sip your creation, share the story behind it with your guests; it’s a great conversation starter!
Another fun idea is to organize a casual wine tasting with friends. Set up a tasting station with your wines, complete with tasting notes, suggested food pairings, and a little information about each variety. This creates an interactive and educational experience, allowing everyone to appreciate the fruits of your labor. Enjoying wine made by your own hands not only enhances the ambiance but creates lasting memories with each pour. Cheers to your winemaking adventures!
Hosting a Wine Tasting: Sharing Your Passion with Friends
Gathering friends for a wine tasting is a delightful way to celebrate your winemaking efforts and share your passion. The excitement of sampling various wines can turn a simple gathering into an unforgettable experience, where laughter, conversation, and community flow as freely as the drinks. To kick things off right, consider choosing a theme that reflects your creativity-like a “backyard blend” featuring your latest homemade red, a “white wine wonderland,” or even a “varietals exploration” highlighting different grape types.
Setting up your tasting station can be as simple or as elaborate as you like. For starters, arrange your bottles neatly on a table, ideally with a clean tablecloth to set the mood. Use tasting glasses for each guest, or if you’re low on glassware, encourage everyone to take notes for future reference. Include a few small platters of complementary snacks, such as artisanal cheeses, fresh fruits like apples or pears, and dark chocolate. These flavors not only enhance the tasting experience but also provide a lovely backdrop for conversation.
As the host, you can elevate the experience with educational tidbits. Prepare small cards or an informational sheet for each wine, noting its grape variety, origin, and tasting notes. This gives your guests a little insight into what they’re sampling. Engage everyone by discussing what flavors they detect. Encourage them to share their impressions-what they like, what surprises them, and how it pairs with the snacks at hand.
Remember, the goal is to create a relaxed atmosphere where everyone feels at home. Don’t hesitate to recount the stories behind your winemaking journey-what inspired you, challenges you faced, and any lessons learned. This personal touch not only enhances the enjoyment but also creates bonds over shared learning and laughter.
Finally, consider incorporating a friendly competition to taste-test and vote for a “favorite wine” of the evening. This interactive element can make for a lively discussion and provide insights into the tastes of your friends. You might even choose to gift the winner a bottle of their favorite wine from the night as a fun reward! Embrace the spirit of exploration and enjoyment with each pour-cheers to unforgettable memories with every sip!
Faq
Q: What ingredients do I need to make wine from scratch?
A: To make wine from scratch, you’ll need fresh grapes, yeast, and sugar (optional, depending on grape sweetness). You may also want to use water and acid to adjust flavors. Always ensure your equipment is sterilized to prevent contamination for the best results.
Q: How long does it take to make wine from scratch?
A: The winemaking process typically takes 4 to 6 weeks from fermentation to bottling. However, aging can enhance flavor, so many choose to age their wine for several months to years depending on the type and desired taste.
Q: Can I use other fruits to make wine besides grapes?
A: Yes, you can make wine from a variety of fruits, including apples, peaches, and berries. Each fruit will impart unique flavors, so adjust sugar levels and fermentation techniques accordingly to achieve the desired taste.
Q: What is the best temperature for fermenting wine?
A: The ideal fermentation temperature for wine is generally between 65°F to 75°F (18°C to 24°C). This range helps yeast thrive without producing unwanted flavors. Monitor the temperature closely for optimal fermentation results.
Q: How can I flavor my homemade wine?
A: To flavor your homemade wine, consider adding herbs, spices, or fruits during fermentation. You can experiment by adding ingredients like vanilla bean or citrus peels to enhance the overall profile. Refer to the Flavoring Your Wine section for more creative ideas.
Q: What should I do if my wine doesn’t ferment?
A: If your wine isn’t fermenting, ensure the yeast is viable and fresh. Check that the fermentation temperature is within the optimal range and use a hydrometer to measure sugar levels. If necessary, add more yeast to kickstart the fermentation process.
Q: How do I know when my wine is ready to bottle?
A: Your wine is ready to bottle when fermentation is complete, indicated by stable specific gravity over several days. Also, the wine should taste balanced and free of any unwanted odors. Refer to the Bottling Your Wine section for best practices.
Q: How can I store my homemade wine properly?
A: Store your homemade wine in a cool, dark place with a consistent temperature around 55°F (13°C). Position the bottles horizontally to keep the cork moist, preventing air from entering. Avoid temperature fluctuations to ensure your wine remains in prime condition.
Insights and Conclusions
Congratulations on diving into the exciting world of winemaking! You’ve learned how to craft your own delicious wine from scratch, using simple ingredients and accessible techniques. Remember, winemaking is as much an art as it is a science; don’t hesitate to experiment with different flavors and methods-your creativity can lead to unique and personalized wines!
Now that you have the basics down, consider exploring our related guides on “Easy Wine Pairings” or “Homemade Butters to Elevate Your Dishes” for even more culinary inspiration. Whether you want to perfect your technique or expand your kitchen repertoire, we’re here to support your journey. Don’t forget to leave a comment sharing your winemaking experience, and subscribe to our newsletter for tips, exclusive recipes, and the latest updates-your next delicious creation is just around the corner! Happy winemaking!
Get our latest guides, news, and insights highlighted in your Google Search & AI Overviews.










